First-Time Setup
This guide will walk you through the initial steps to configure User Management and License Optimizer after installation.
Step-by-Step Installation
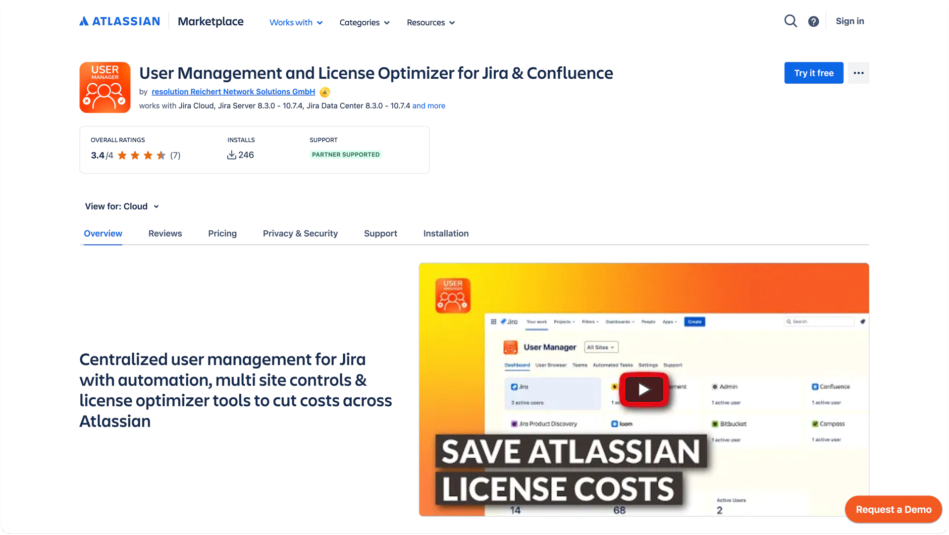
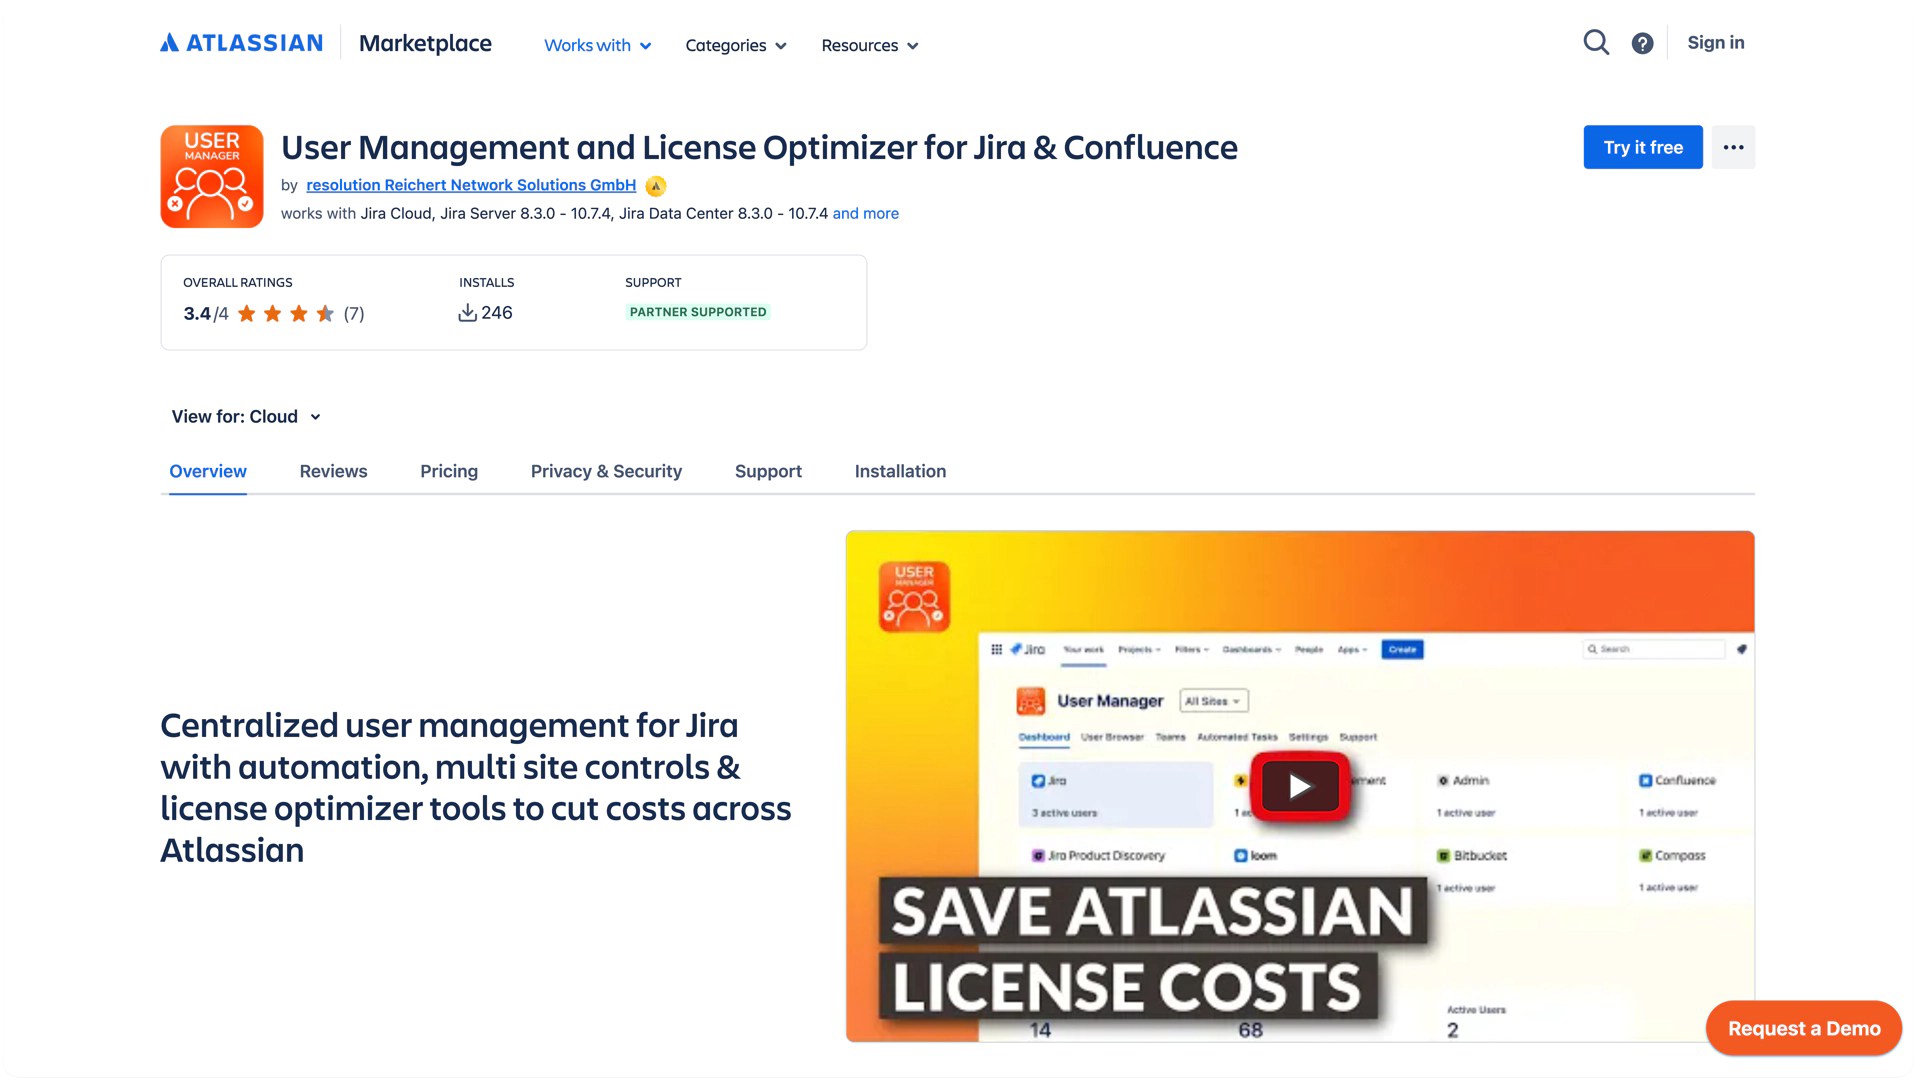
Install User Management and License Optimizer: Navigate to the Atlassian Marketplace and search for "User Management and License Optimizer." Click Try it free and follow the on-screen prompts to add the app to your instance.

Grant Permissions: Once installed, the app will request certain permissions to access user and group data. Review the permissions and click Grant Access to proceed.
After Installation: Go to the User Manager under Your Apps and click Allow Access. Grant the app access to your data by clicking Accept. After that you need to provide an organization admin API key.
Initial Synchronization: The app will begin its first synchronization to import user and group data from your connected sites. This process may take a few moments depending on the number of users.
Initial Configuration
After the initial sync, you will be taken to the User Management and License Optimizer dashboard.
Review Settings: Set the time when a User is considered as inactive.
Review the Dashboard: Take a moment to familiarize yourself with the dashboard. The dashboard provides an overview of user metrics and a comparison of sites.
Explore Features: You are now ready to start using User Management and License Optimizer. Use the top navigation to explore the User Browser, Automated Tasks, and Bulk Operations features.

