
HubSpot to Jira (Workflows)
Automation: Creating Jira Issues from HubSpot Workflows
This guide explains how to configure HubSpot → Jira automations with the HubSpot for Jira app. It walks you through
Creating an Action Rule in Jira that tells the app what to do.
Calling that action from a HubSpot Workflow that decides when to do it.
When we are done, HubSpot will automatically create a new Jira issue whenever the workflow is triggered (for example, when a Contact is created or a Deal reaches a specific stage).
1. Prerequisites
Requirement | Notes |
|---|---|
HubSpot for Jira app installed & licensed | Accessible from the Automations tab in the HubSpot for Jira Configuration Screen. |
Jira permissions | Jira Administrator access |
HubSpot permissions | Workflow access. |
Object data in HubSpot | The fields you intend to pass to Jira have to exist & be populated. |
API usage in HubSpot | Creating issues counts as a write call against the Jira REST API. Check any corporate allow‑listing or rate limits. |
Naming convention: Keep action‑rule names short but descriptive (e.g.
Contact ➜ Support Ticket). They appear verbatim in the HubSpot action dropdown, so clarity here makes life easier later.
2. Create the Action Rule in Jira
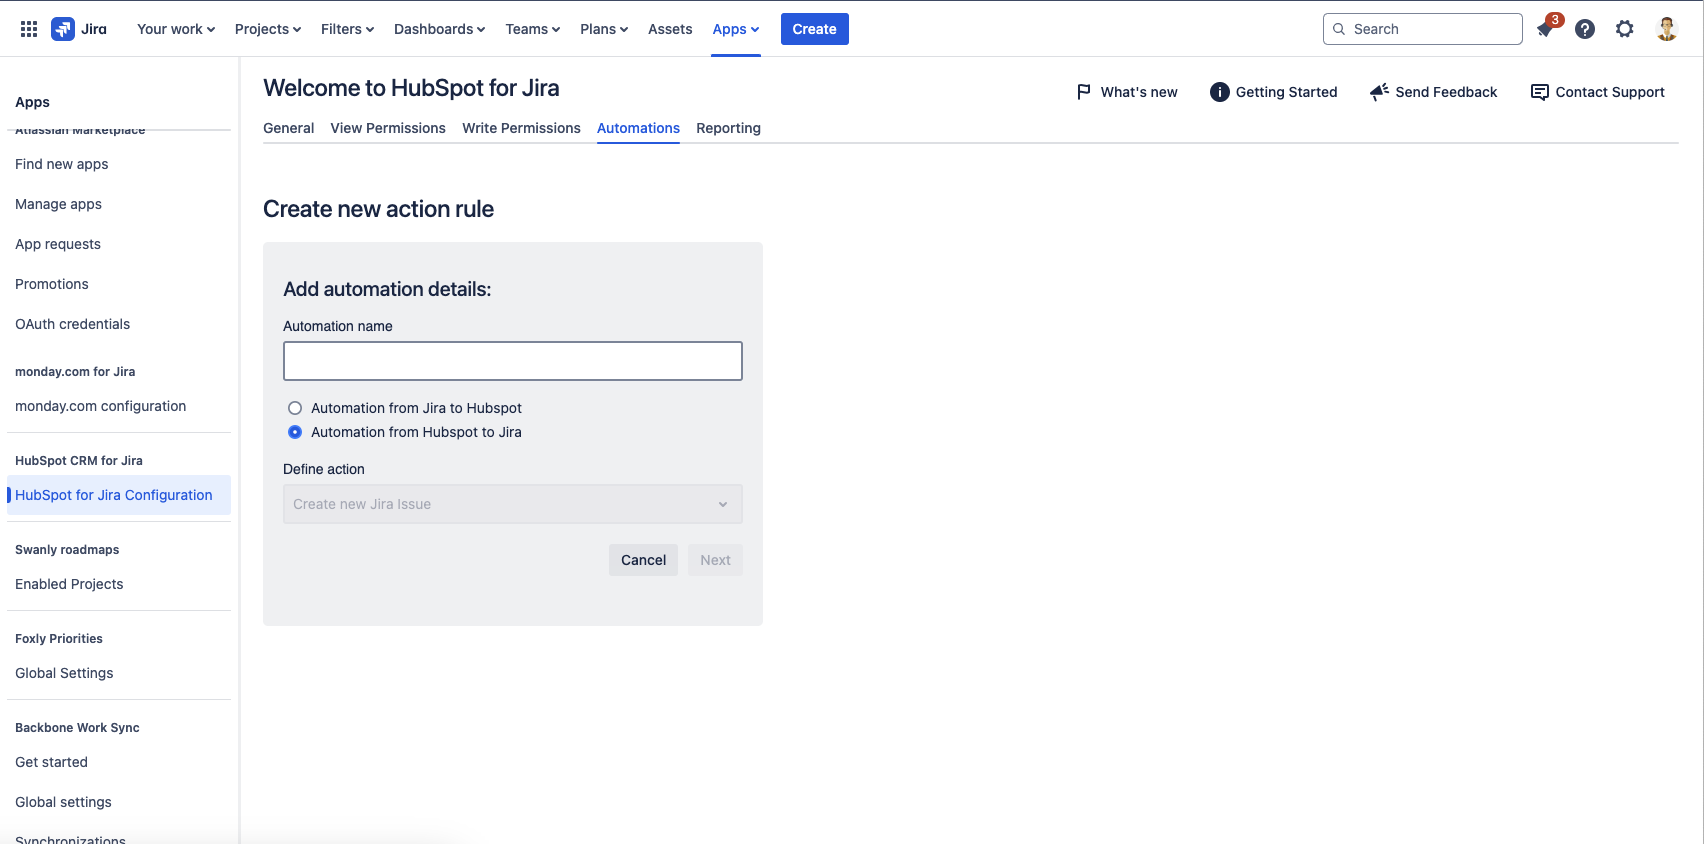
Navigate to Apps → HubSpot CRM for Jira → Automations.
Click Create new action rule.
Automation name – enter a unique and descriptive name. (Screenshot 1 – field highlighted)
Direction – choose Automation from HubSpot to Jira. (Radio button in Screenshot 1)
Click Next.
2.1 Choose the HubSpot object & search keys
Object type – use the dropdown to select Contact, Company, Deal or Ticket. (Screenshot 2 – “Select Object Type”)

2.2 Select where the Jira issue will be created
Project – select the destination Jira project.
Issue type – choose an issue type that the integration user can create (e.g. Task, Bug). Required fields from the screen scheme will surface in the mapping table.
2.3 Map HubSpot fields to Jira fields
In Additional Field Mappings, click Create New Attribute Mapping. Add at least:
Summary – every Jira issue needs a Summary.
Description – optional but helpful.
You can also map custom fields; both sides must be the same data type (text ➜ text, date ➜ date, etc.).
10. Click Save Rule. Your action rule is now available to HubSpot.
⏺ Heads‑up – If a Jira field is required and you do not map it, the action will fail at runtime. Use HubSpot tokens or hard‑coded fallback values to guarantee data.
3. Reference the Action in a HubSpot Workflow
In HubSpot, go to Automation → Workflows and create or open your workflow.
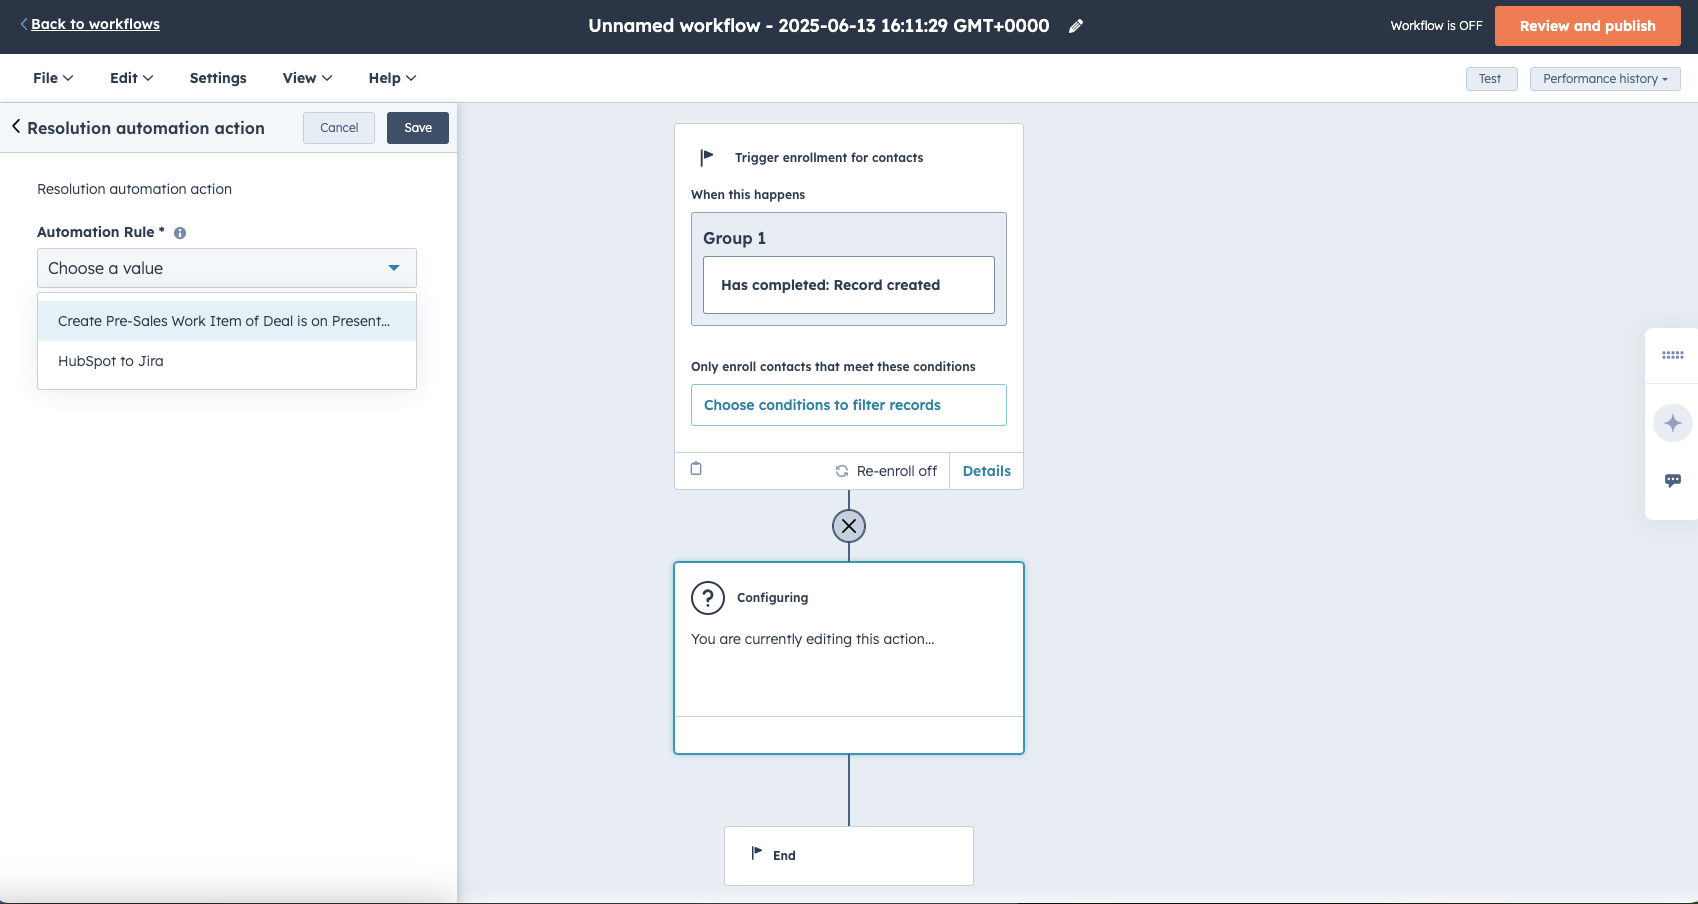
Set a trigger – e.g. Contact → has completed “Record created”. (Screenshot 3 – left panel)
Click the + icon to add an action.
Choose Integrated apps → HubSpot for Jira.
From the Automation Rule dropdown, select the rule you saved in Jira (it will appear by the name chosen in Step 2.3). (Screenshot 3 – dropdown shown)
Configure any additional filter criteria if needed, Save, then Review and publish the workflow.
Once the workflow is turned ON, every time a record meets the trigger conditions HubSpot will call the action rule and create a Jira issue.
4. Activate the Action Rule in Jira
Even though the rule is saved, it is inactive by default so that no issues are created until you are ready.
Return to Apps → HubSpot CRM for Jira → Automations.
Locate your newly‑created rule in the list. Disabled rules show a grey status label Inactive.
Click Activate from the ••• actions menu. The status changes to Active and the toggle turns green.
(Optional) Edit the rule to make last‑minute changes, then Save & Activate.
Done! The rule now listens for calls from HubSpot workflows and will create Jira issues immediately
5. Testing Your Setup
In Jira, ensure the target project has no webhooks or validators that might block issue creation.
In HubSpot, use the Test button (top‑right of the workflow editor) to simulate a record through the workflow.
Check the performance history of the workflow – failed actions include the HTTP error code and Jira response.
Verify the issue appears in Jira with the expected field values.
6. Best Practices & Notes
Separate rules per object type – Mixing objects complicates mappings and triggers.
Version control – Changing an action rule affects every workflow that references it. Duplicate the rule if you need a variant.
Deletion behaviour – Deleting an action rule removes it from the dropdown in HubSpot but existing workflows will error until updated.
Rate limits – Bulk operations may hit HubSpot’s workflow execution limits (10 M actions/day) or Jira REST API rate limits (see Atlassian Cloud limits). Stagger triggers if needed.