

Configuring the Reporting Properties
Follow these steps to configure reporting properties for HubSpot data in Jira.
Step 1: Accessing the App Configuration
From the main Jira screen, click on Apps in the menu.
In the Apps dropdown, select Manage your apps.
In the left-hand panel, click on HubSpot for Jira Configuration.
Open the Synchronize Data tab
Step 2: Updating the HubSpot Data
Click on the Synchronize Data
If you started using HubSpot for Jira after the reporting feature was introduced, your data is already synced
Step 3: Adding HubSpot Object Properties to Jira Work Items
Navigate back to the Jira space where you want to configure reporting properties.
Open any Jira work item in the project.
Click Configure within the Jira work item.
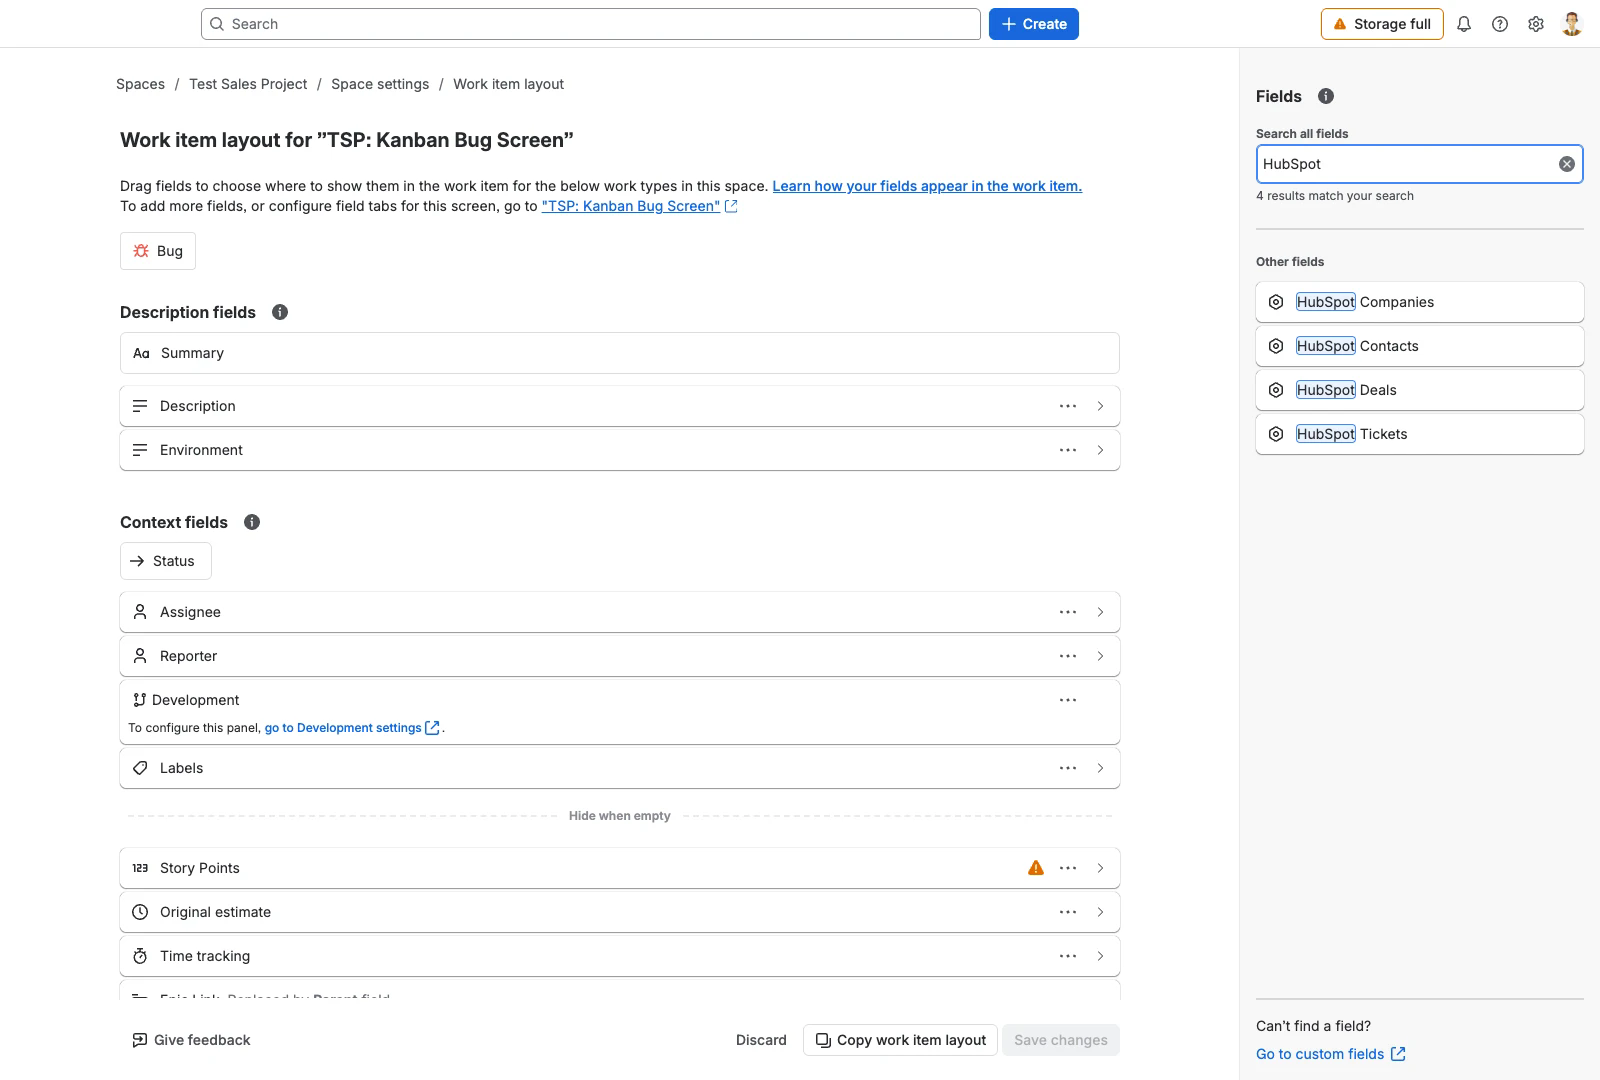
In the search box, type HubSpot to find the HubSpot object fields.
Select the four HubSpot object properties:
Contacts
Companies
Deals
Tickets
Add these fields to your Jira work item view.
Drag and position them where you want them to be displayed.
Click Save changes to apply the new layout.
Step 4: Viewing HubSpot Data in Jira Work Items
Open any Jira work item in the project, preferably one linked to HubSpot objects.
View the HubSpot object property fields and confirm that they match the linked HubSpot data.