
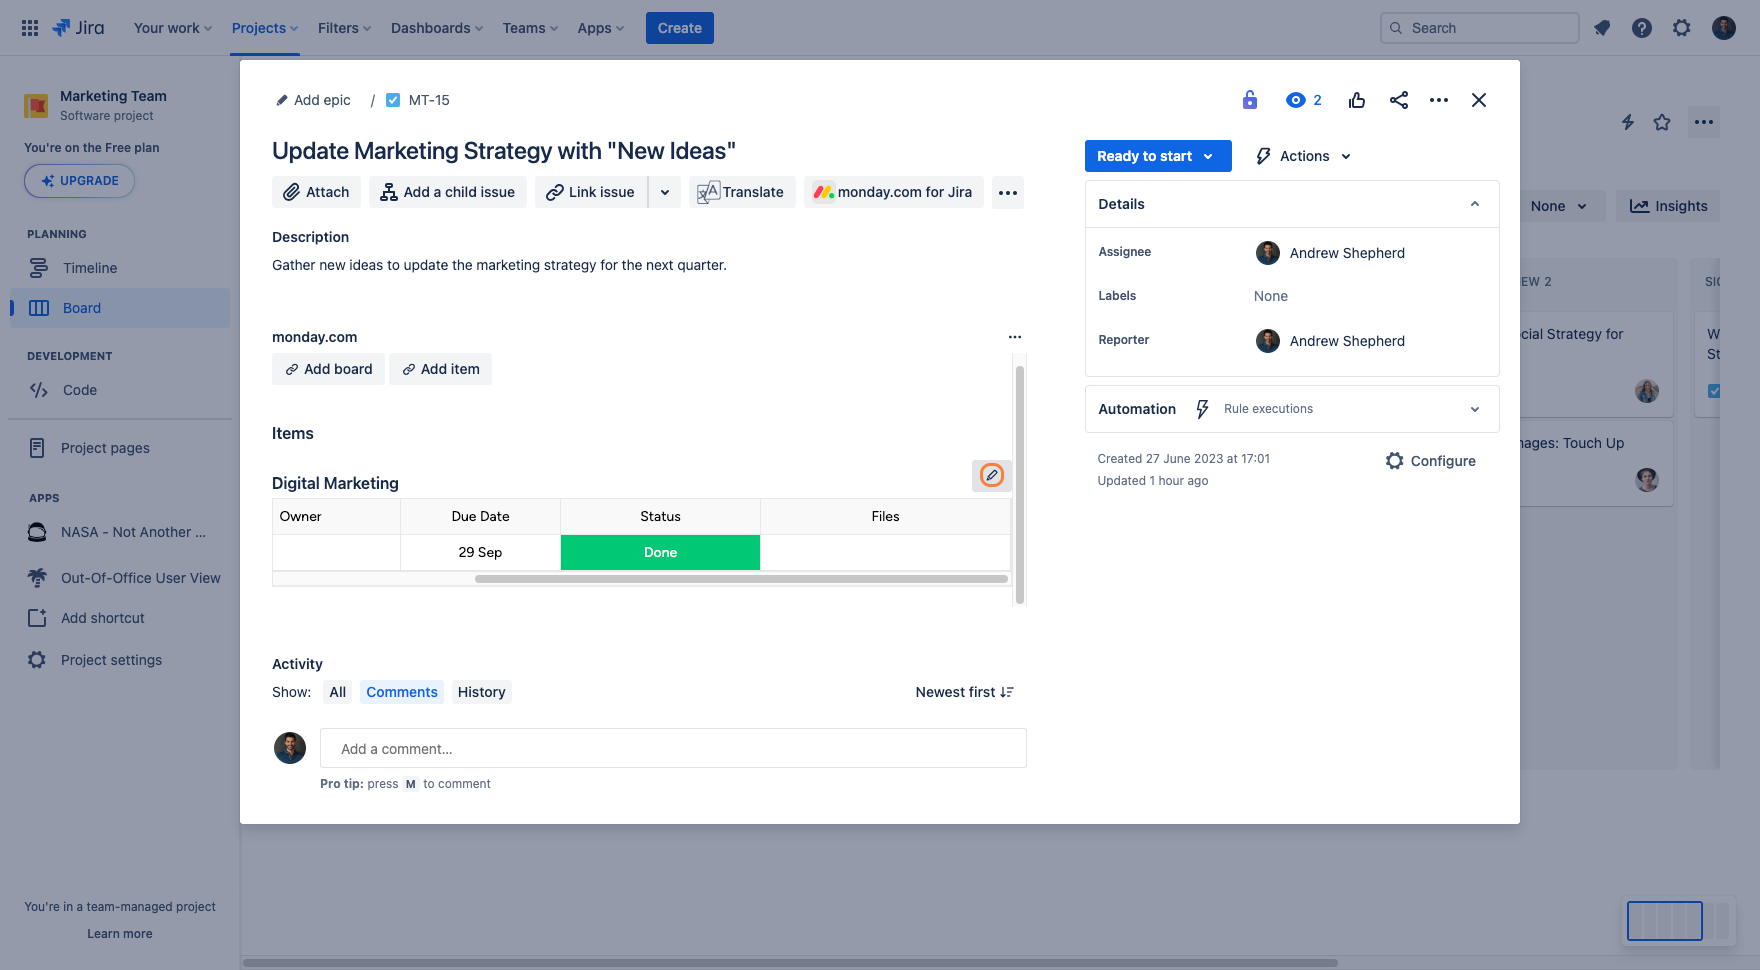
Engaging with a monday.com item in Jira
Users can customize their views of the monday.com table by clicking on the “Pencil“ button to start adding or removing columns.
To remove a column, click the x button next to the column name.
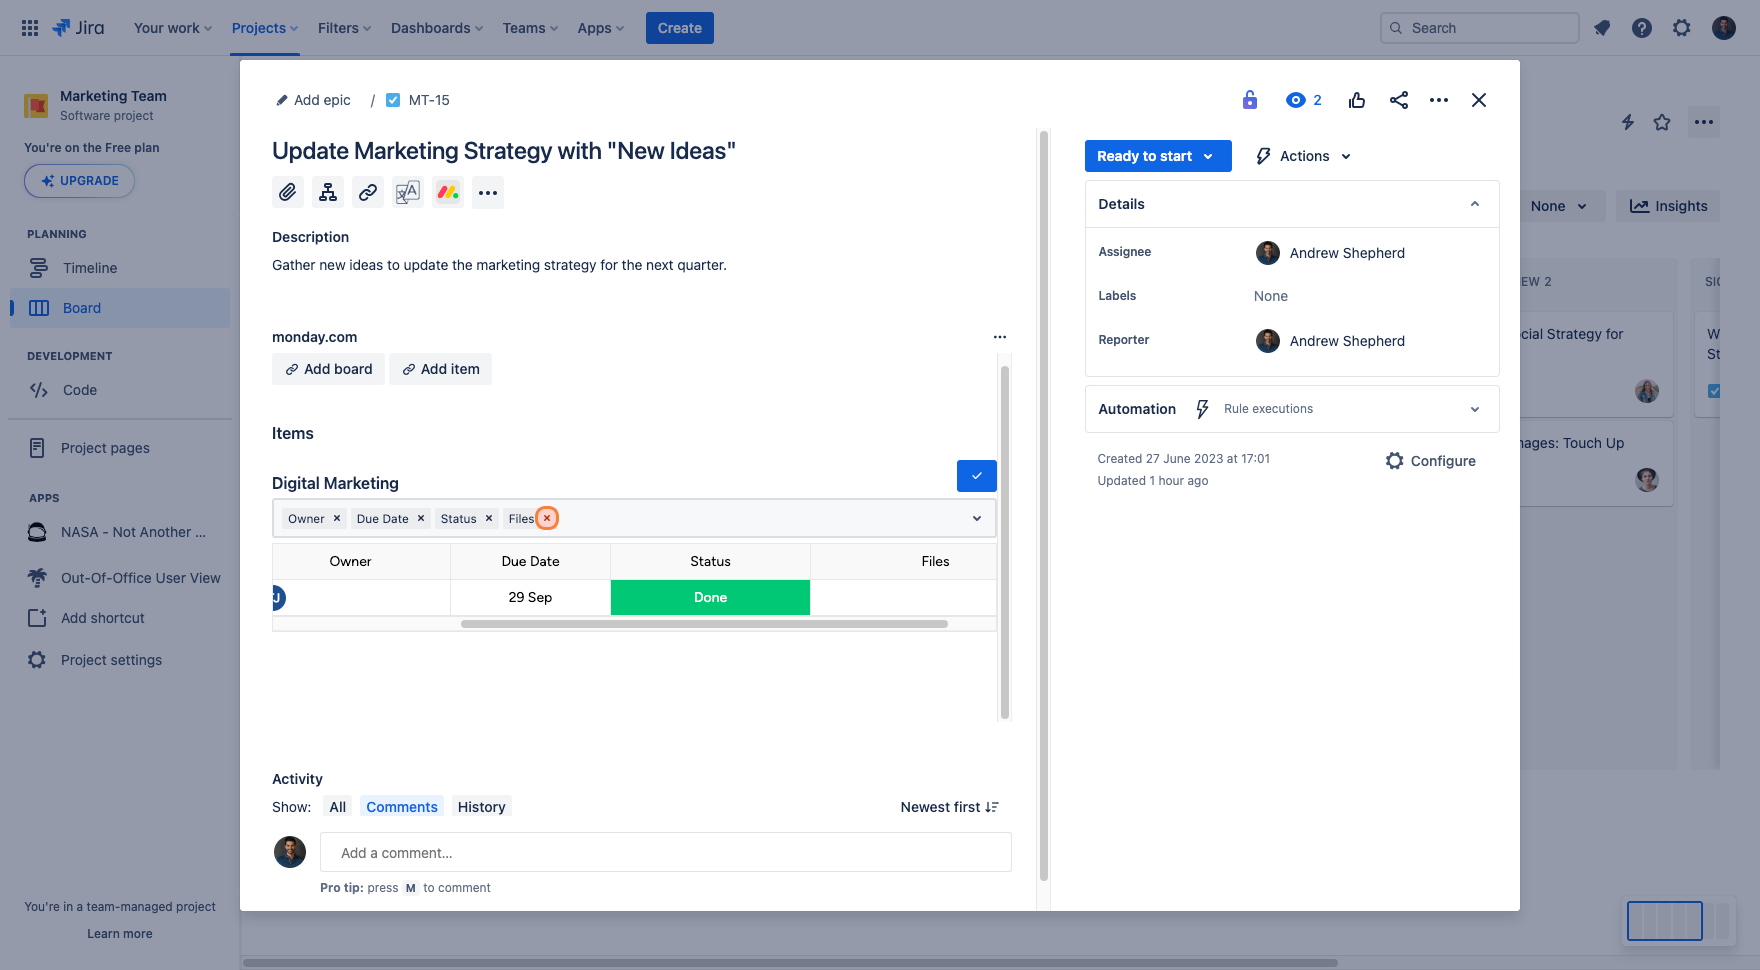
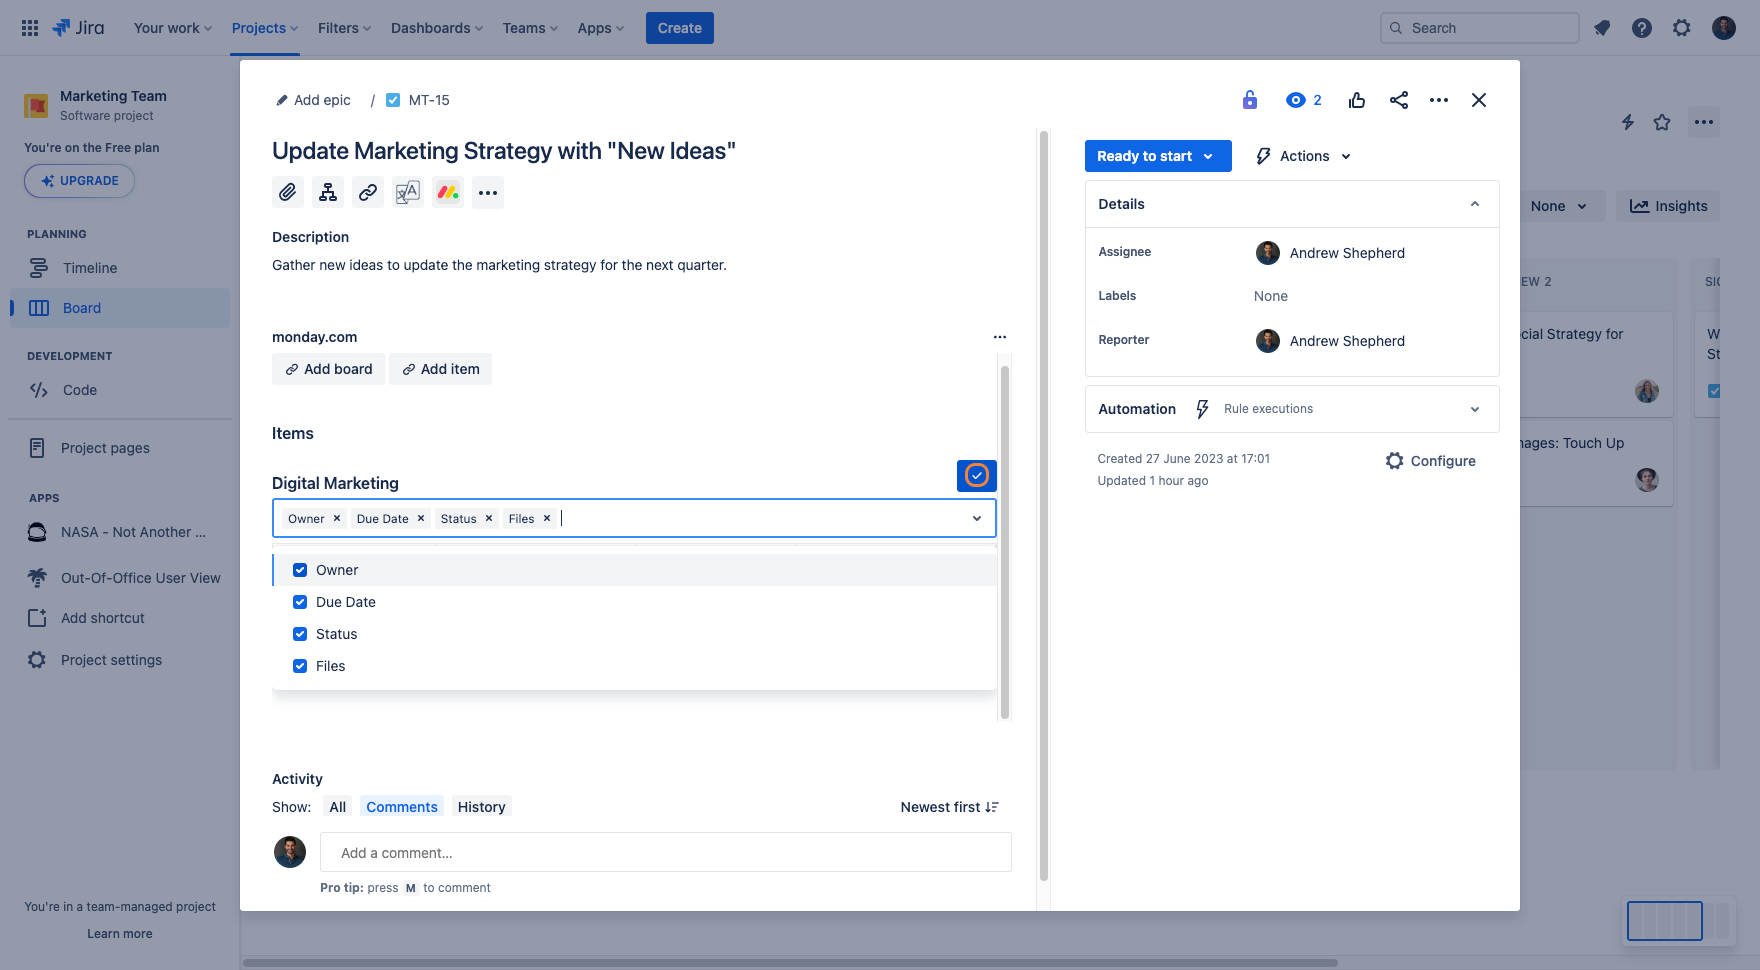
To add columns, click the “dropdown arrow” button to reveal which columns are available to choose from.
Tick the box next to the desired column name to add it to the view.
Click on the “Checkmark“ to confirm and save the column view.
To remove an item from a Jira issue, click on the “Pencil“ button to enter the editor.
On the left-hand side of the item name, click on the “Unlink“ button to remove the item from the Jira issue.
Click on the “Unlink item“ button to confirm the action.
