
OneLogin example configuration with the OneLogin TestConnector
This article describes how to configure OneLogin to authenticate JIRA/Confluence-Users
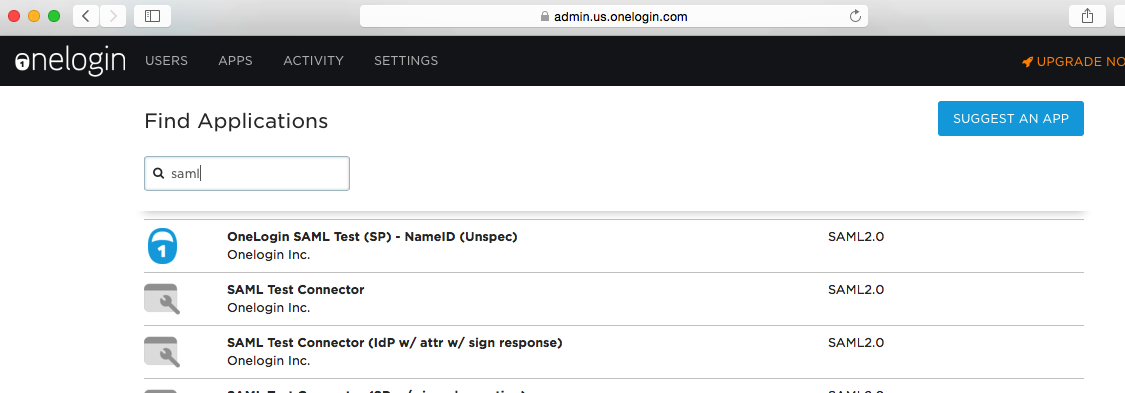
Login to OneLogin and select APPS/Company APPS. Click ADD APP

Search for saml and select the SAML Test Connector
SAML Test Connector signs the Assertion in the expected way. SAML Test Connector (SP w/ signed assertion) does not. It seems like there is a little bug in the naming.
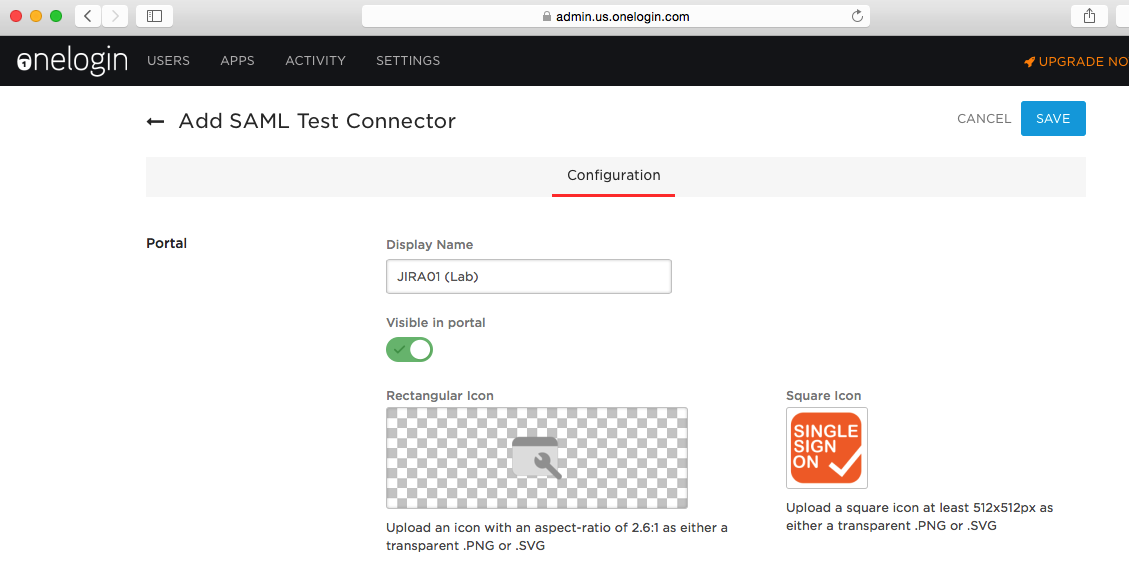
Give it an appropriate Display Name and upload an icon if requested. Click SAVE.
Enter the plugin URL https://<jira>/plugins/servlet/samlsso (in this example it's https://jira01.lab.inserve.local/plugins/servlet/samlsso) in the field Audience, Recipient, ACS URL Validator and ACS URL. Click SAVE.

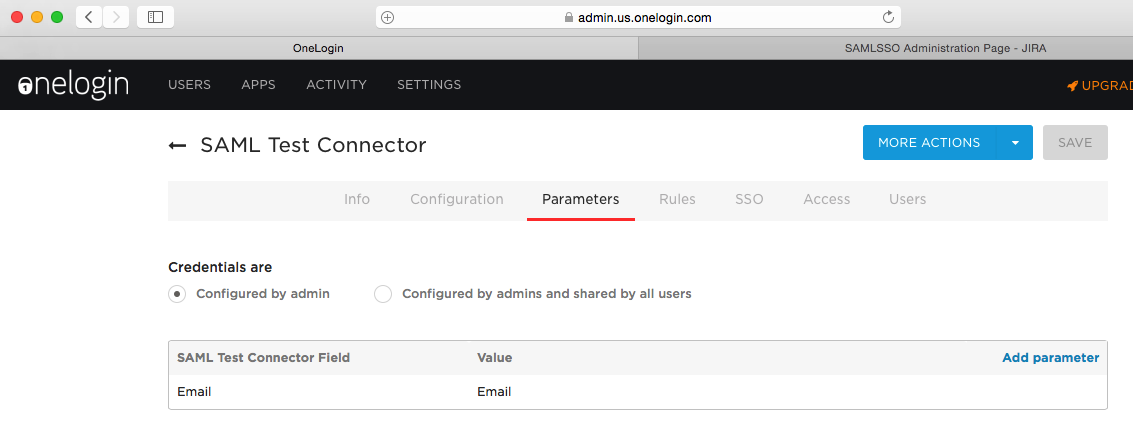
Leave the default as Parameters. This sends the email address as NameID-attribute in the SAML response.
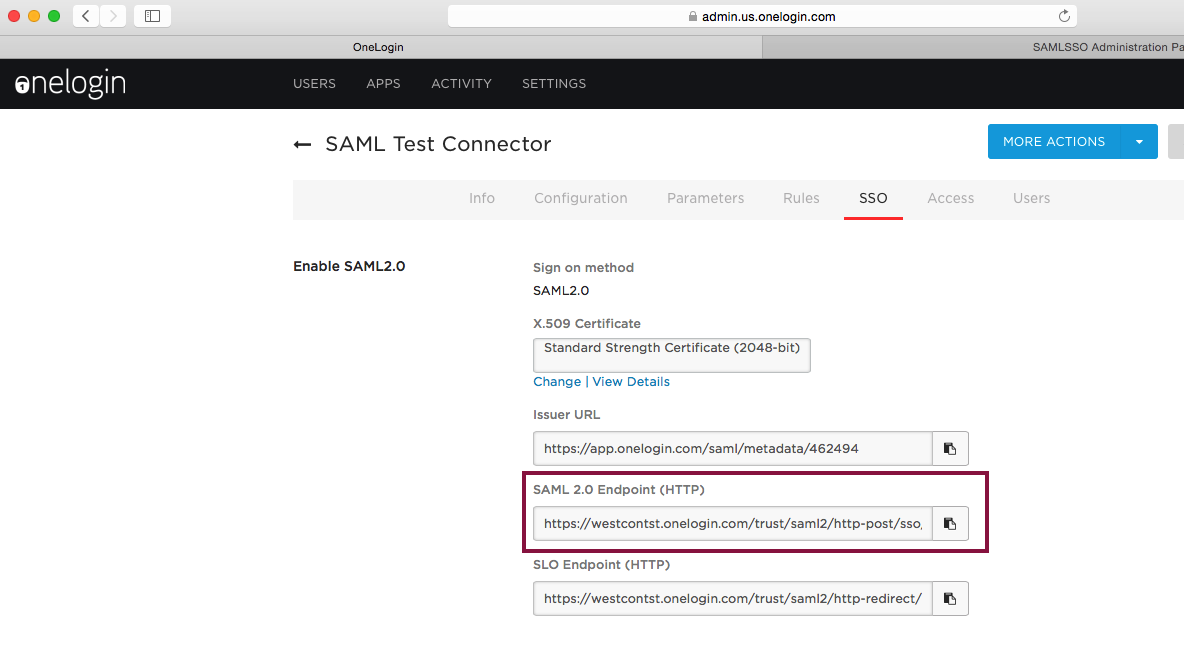
From the SSO-section, copy the SAML 2.0 Endpoint (HTTP) URL to the clipboard and paste it as IdP URL into the plugin configuration.

Click the View Details and copy the certificate to the clipboard. Paste it into the plugin configuration.


Configure the transformation rule in the plugin configuration to transform the email address to the userid

Save the plugin configuration.
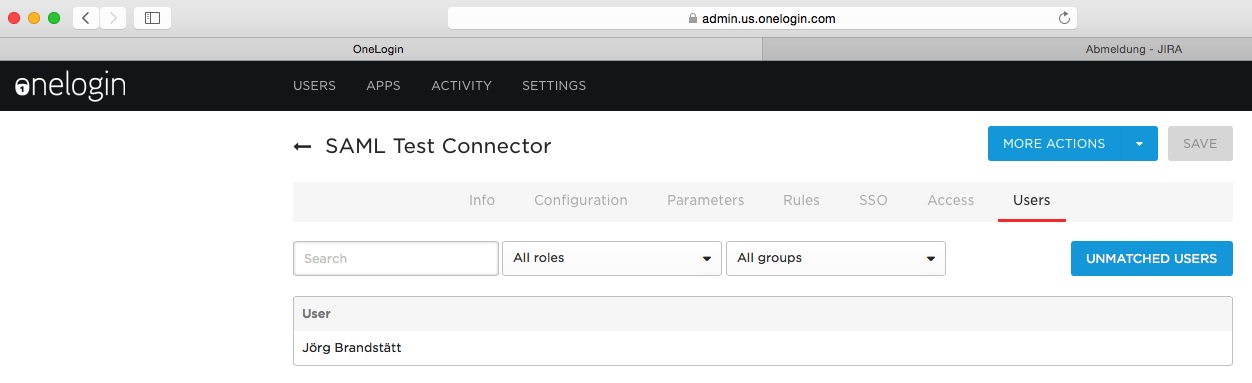
Configure OneLogin-Users to allow this application. In this example, only one user is configured:
That should do it. Logout of JIRA/Confluence and OneLogin.
Browse your application's the SAMLSingleSignOn-URL (e.g. https://jira01.lab.inserve.local/plugins/servlet/samlsso). You should be redirected to the OneLogin login, and after successful authentication you should be logged into JIRA/Confluence.