
Auth0 with Just-In-Time Provisioning
Goal
After completing this setup guide, you will have setup Auth0 with Just-In-Time Provisioning and your Atlassian Server or Data Center product for the SAML SSO app. Additionally, you will test SSO and enable the SSO redirection.
Prerequisites
To use the SAML SSO app with Auth0, you need the following:
An Auth0 subscription
A (trial) subscription for the SAML SSO app for Server or Data Center
Admin access to your Atlassian product
Step-by-Step Setup Guide
Install the SAML SSO App for Server or Data Center
In your Atlassian product, open the in-product marketplace as described in the Atlassian documentation.
Search for "resolution saml" and click "Install" for SAML Single Sign On (SSO) by resolution Reichert Network Solutions GmbH.
After the installation is complete, click on Manage, then choose Configure.
Now, you are on the Add-on / app configuration page and the first step of the setup wizard will appear.

First Steps - Wizard
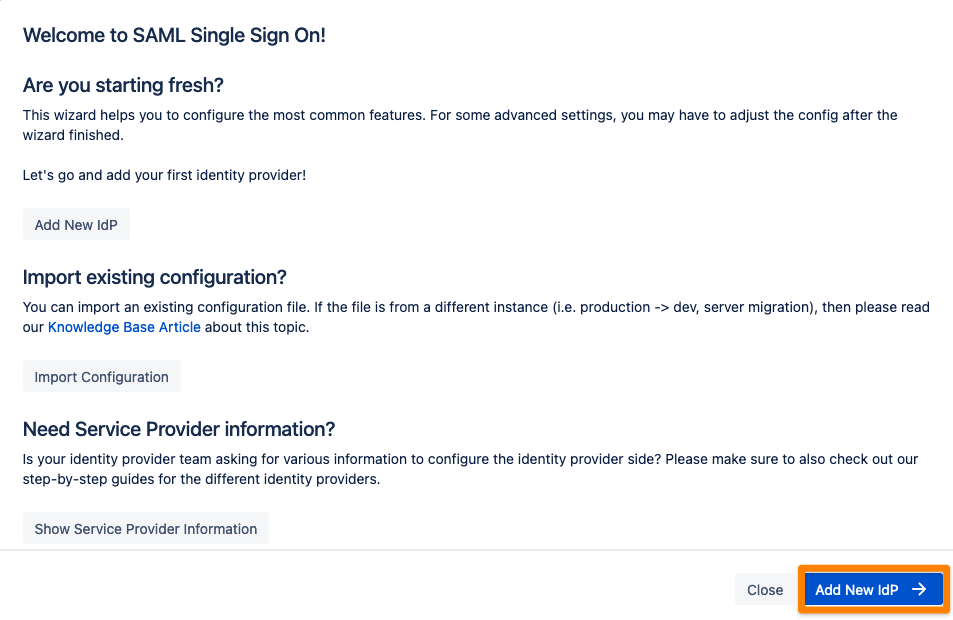
When you configure our plugin for the first time you directly start with our configuration wizard. Click Add New IdP.
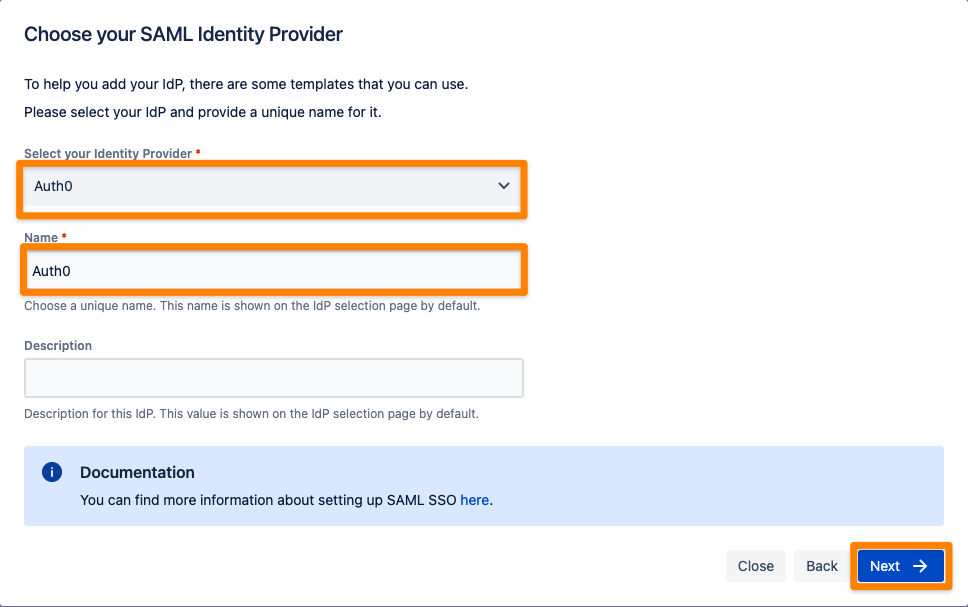
For the IdP Type, choose "Auth0". You can also change a Name. Click on "Next" to continue.
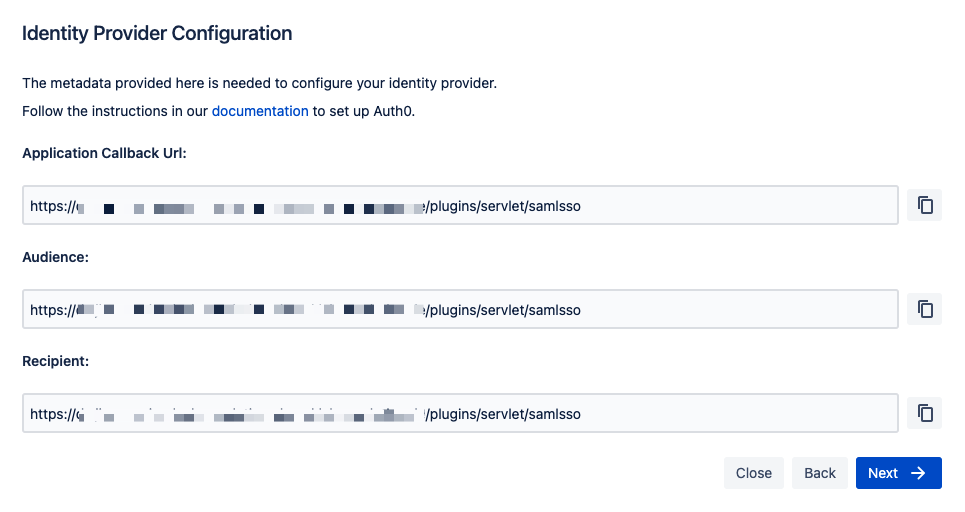
In the next step, you will configure Auth0. Please keep this tab open or copy the information.
Create and Configure an Auth0 Web Application for SAML SSO
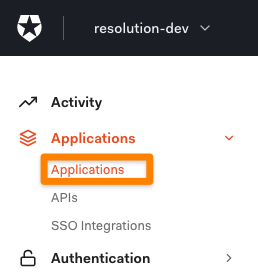
Navigate to the Auth0 Portal. In the left panel, click on Applications.
Create a new application.

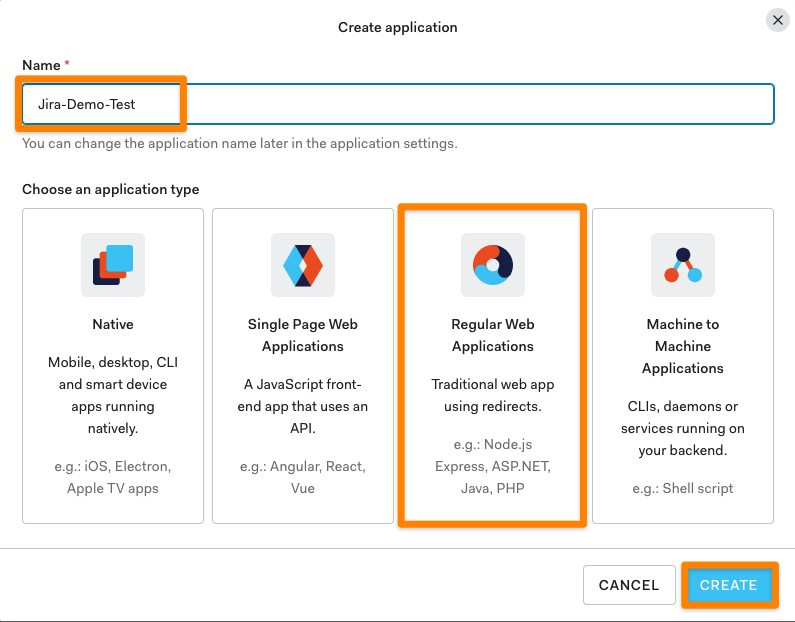
Add a Name for this application and choose Regular Web Applications. Click on Create.
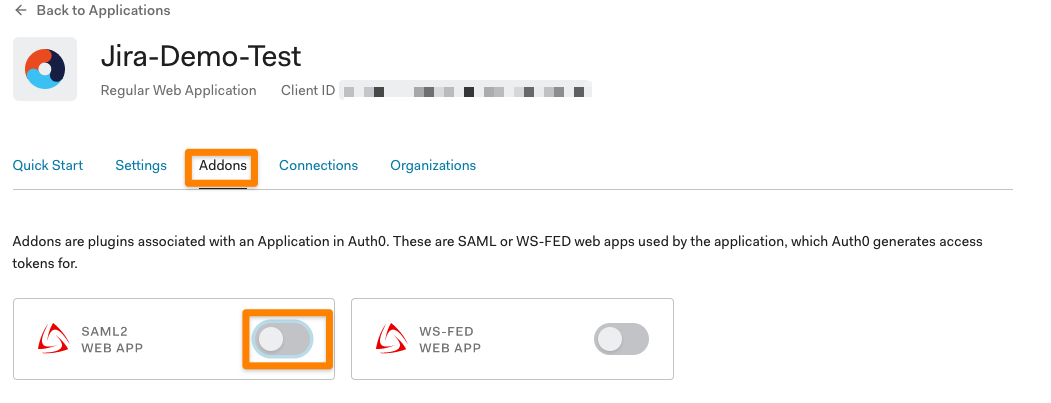
Click on Addons and enable the SAML2 WEB APP.
Switch to Settings and enter the Callback URL. You can copy it from where you left the SAML plugin wizard.
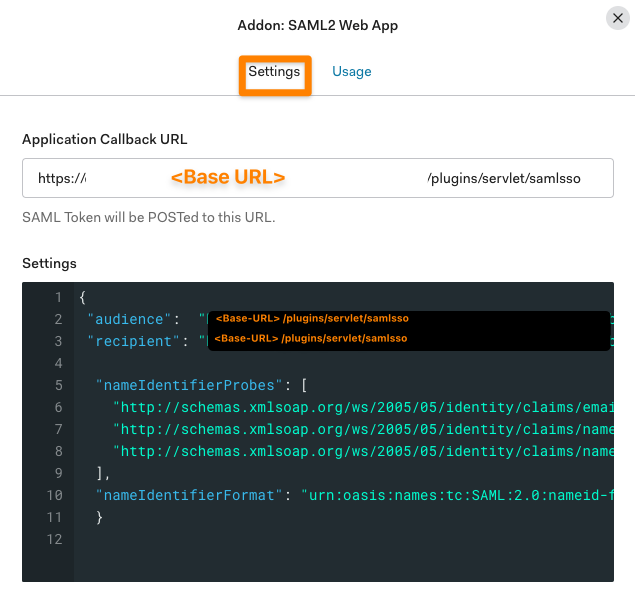
The Auth0 Identity Provider configuration also needs to be adjusted for Atlassian products. To do so you can copy the configuration from below, adjust the audience and recipient (take again the info from the SAML plugin wizard), and paste it into the black Settings box.
Configure Auth0 as Identity Provider for Atlassian
- {
- "audience": "<Base-URL>/plugins/servlet/samlsso",
- "recipient": "<Base-URL>/plugins/servlet/samlsso",
-
- "nameIdentifierProbes": [
- "http://schemas.xmlsoap.org/ws/2005/05/identity/claims/emailaddress",
- "http://schemas.xmlsoap.org/ws/2005/05/identity/claims/nameidentifier",
- "http://schemas.xmlsoap.org/ws/2005/05/identity/claims/name"
- ],
- "nameIdentifierFormat": "urn:oasis:names:tc:SAML:2.0:nameid-format:email"
- }
Scroll down and click Enable.
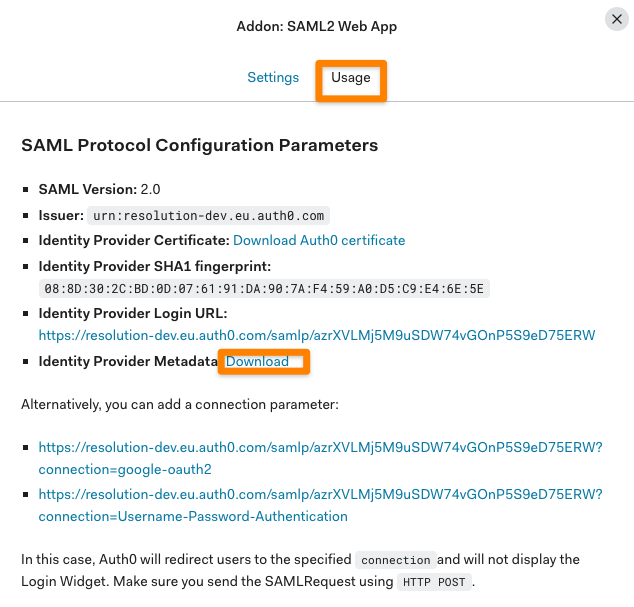
Switch back to Usage and copy the link for the Identity Provider Metadata by right clicking and copy link.
Continue the Configuration of Auth0 in the SAML SSO plugin
Click Next and paste the Metadata URL into the Metadata URL field. Click on Import to import the IdP metadata.
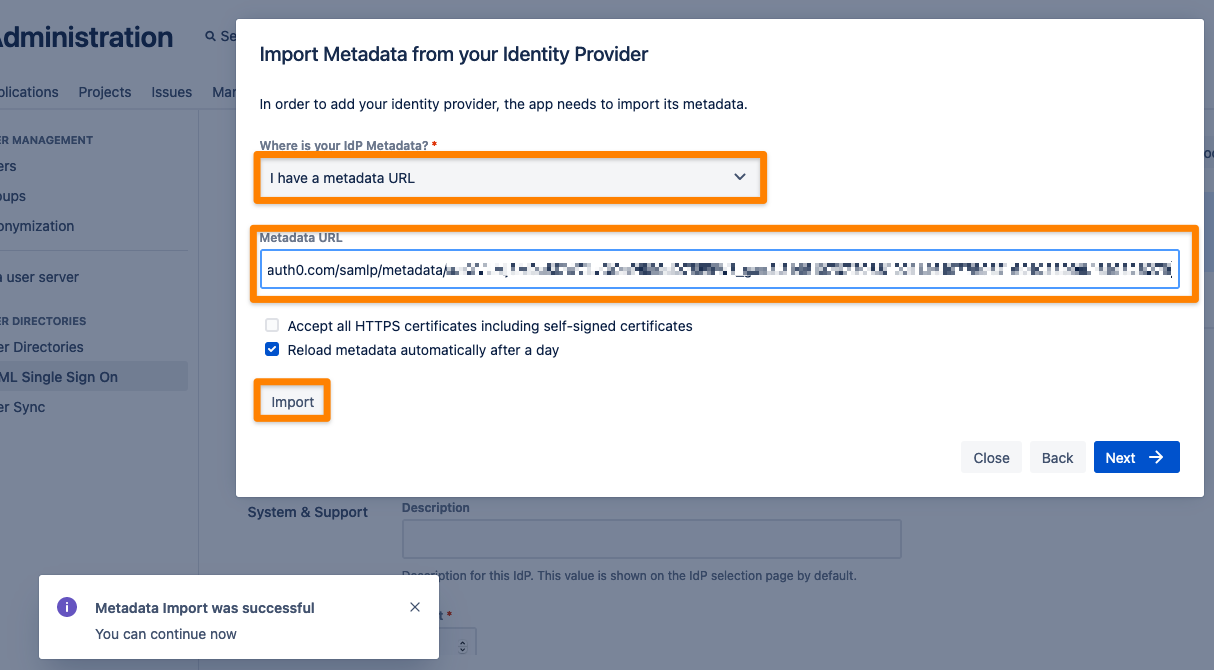
Once the metadata was imported successfully you can press Next.
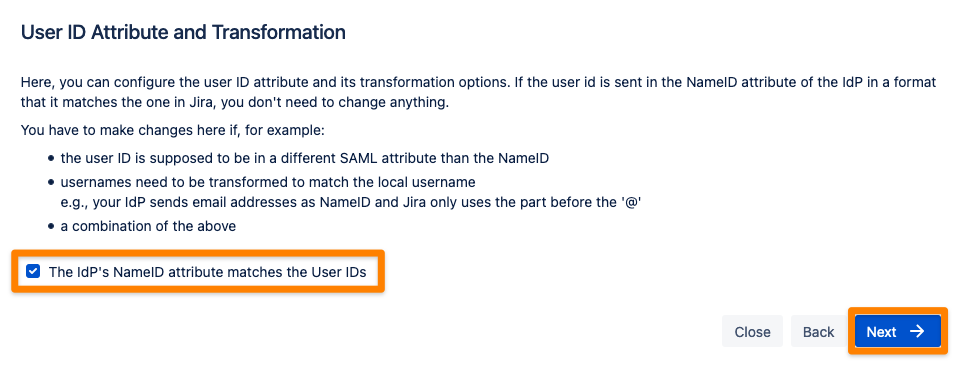
In this section of the wizard you define whether the NameID attribute from Auth0 is sent in a format that matches with the UserID in the application. When it matches you can leave the field ticked and click Next.
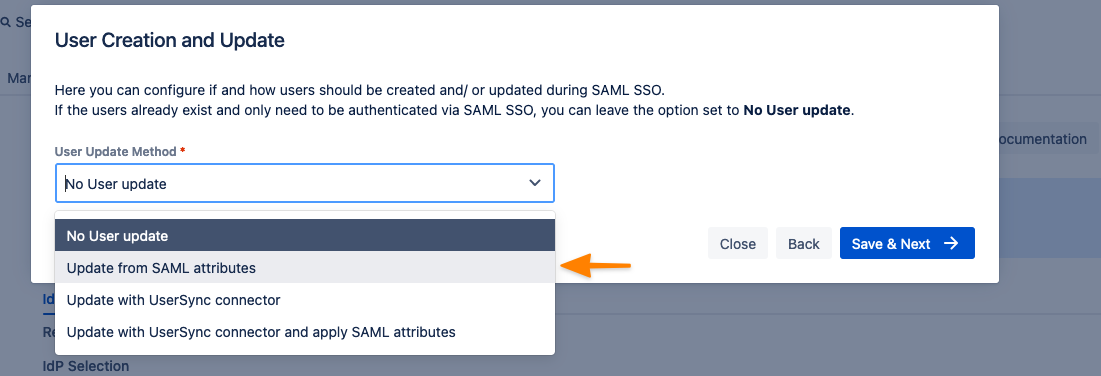
Choose Update from SAML attributes as the User Provisioning method.
The window now expands. There are various options you can set. For this tutorial, new users should be created automatically when first accessing your Atlassian product instance, thus tick "Create New Users".
You can also choose the directory for new users or to update non-SAML provisioned users, i.e. which are already present in your Atlassian product. By activating the option, they can also be updated via SAML attributes when they log in.
Further, the "Full Name Attribute" and "Email Attribute" must be set.
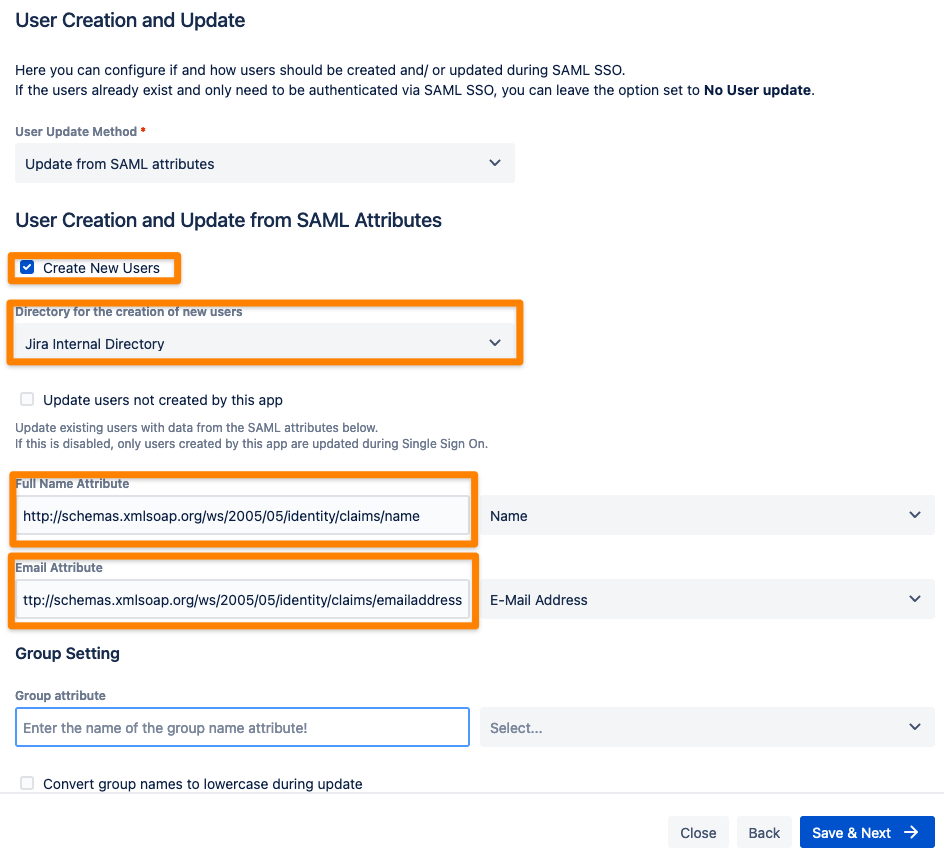
Full Name Attribute
- http://schemas.xmlsoap.org/ws/2005/05/identity/claims/name
Email Attribute
- http://schemas.xmlsoap.org/ws/2005/05/identity/claims/emailaddress
Scroll down to the group settings.
Depending on your Atlassian Data Center or Server product, it is a good idea to set (default) user group(s) for new users, such as jira-software-users for Jira, confluence-users for Confluence or stash-users for Bitbucket. Without assigning new users to the product specific group, they are not able to use your Atlassian product.
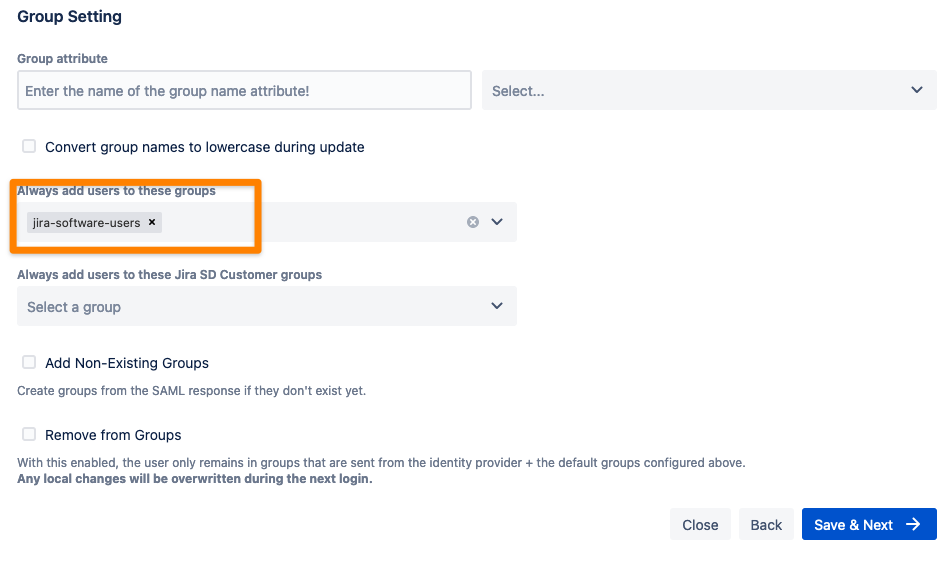
Retrieve Groups from Auth0
If you want to retrieve groups from Auth0, you additionally need to add the group attribute to your configuration. Also, feel free to activate any option which suits your needs.
It is not necessary for SSO to work. You can also add the group attribute after completing the wizard in the Identity Provider configuration section.
Group Attribute
- http://schemas.xmlsoap.org/claims/Group
Click Save & Next. Now it is time to test your SSO configuration.
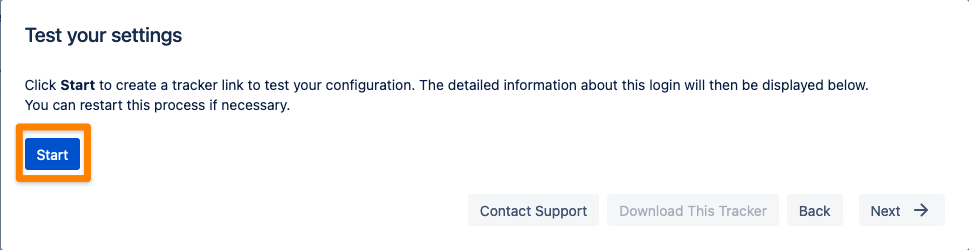
Testing SSO
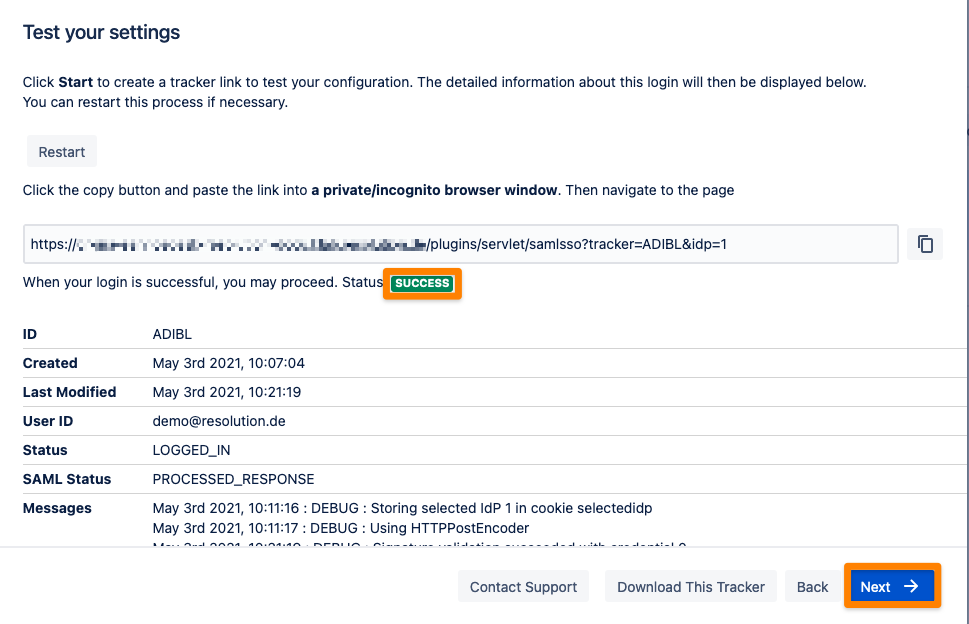
The wizard also allows to test the Single Sign On. Just follow the steps to test if the login works as expected.
Click on "Start" to proceed.
Copy the marked link and open a new incognito/private tab or a different web browser. Then paste the link and navigate to it.
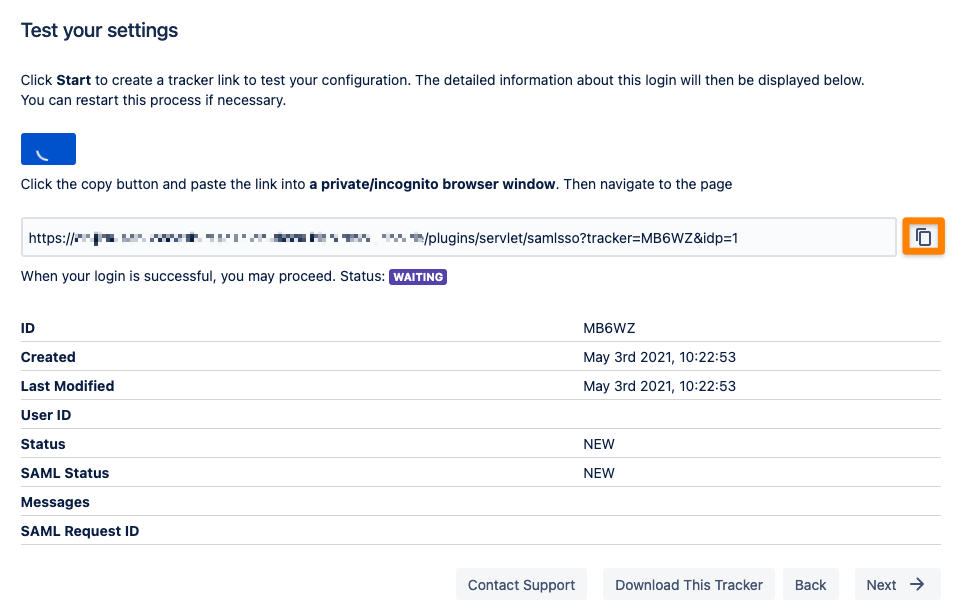
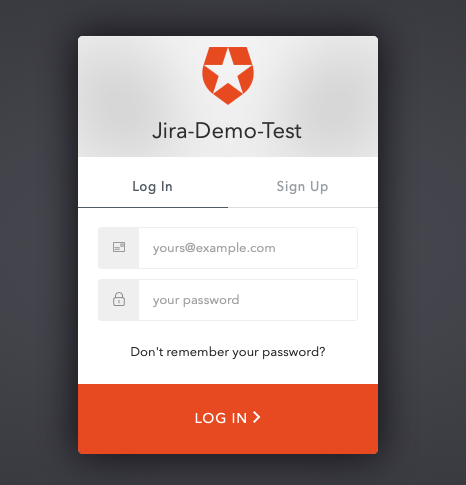
You will be now redirected to Auth0's login page. Please log-in with you username and password.
If everything worked fine, you will be logged into your Atlassian product. In the other tab/browser in which you were configuring the SAML SSO plugin, you can also see the "SUCCESS" status. Click Next to proceed.
SSO Redirection
As a last step, you can set the Enable SSO Redirect option. If set, all users will be redirected to Single Sign On, thus they will be logged in via the IdP. Click on Save & Close to finish the configuration.
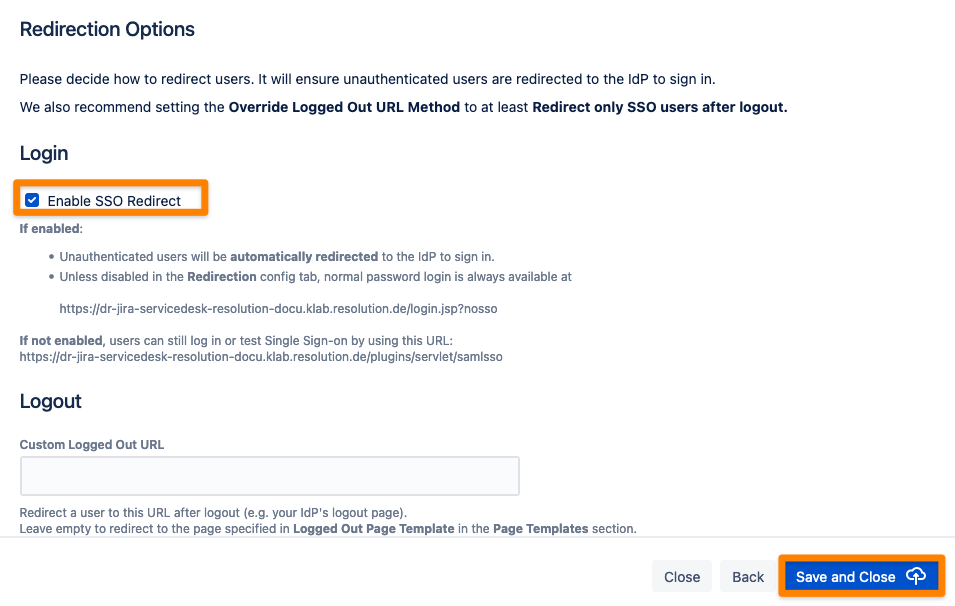
If you have not tested your SSO Setup successfully on the previous page we advise not to turn on “Enable SSO Redirect”.
Please, confirm it works first. Otherwise, you may lock yourself out of the instance.
You can enable the SSO redirection later in the app settings under the Redirection tab.
In case you locked yourself out please have a look into this article.