How can I use multiple Identity Providers?
How to add new Identity Providers?
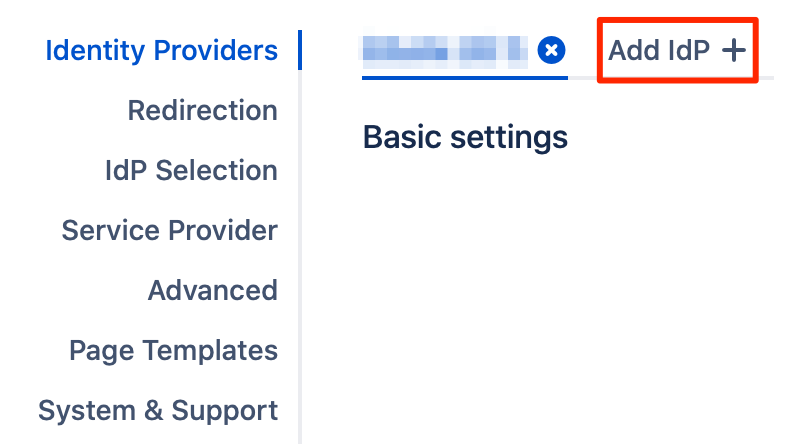
Navigate to the SAML SSO configuration page, in the Identity Providers tab, click on the "Add IdP +" button to start configuring a new identity provider.
How to use the different configured IdPs with SAML SSO?
There are multiple methods based on which users could be redirected to the desired IdP to log in through, or to log in using their local usernames/passwords.
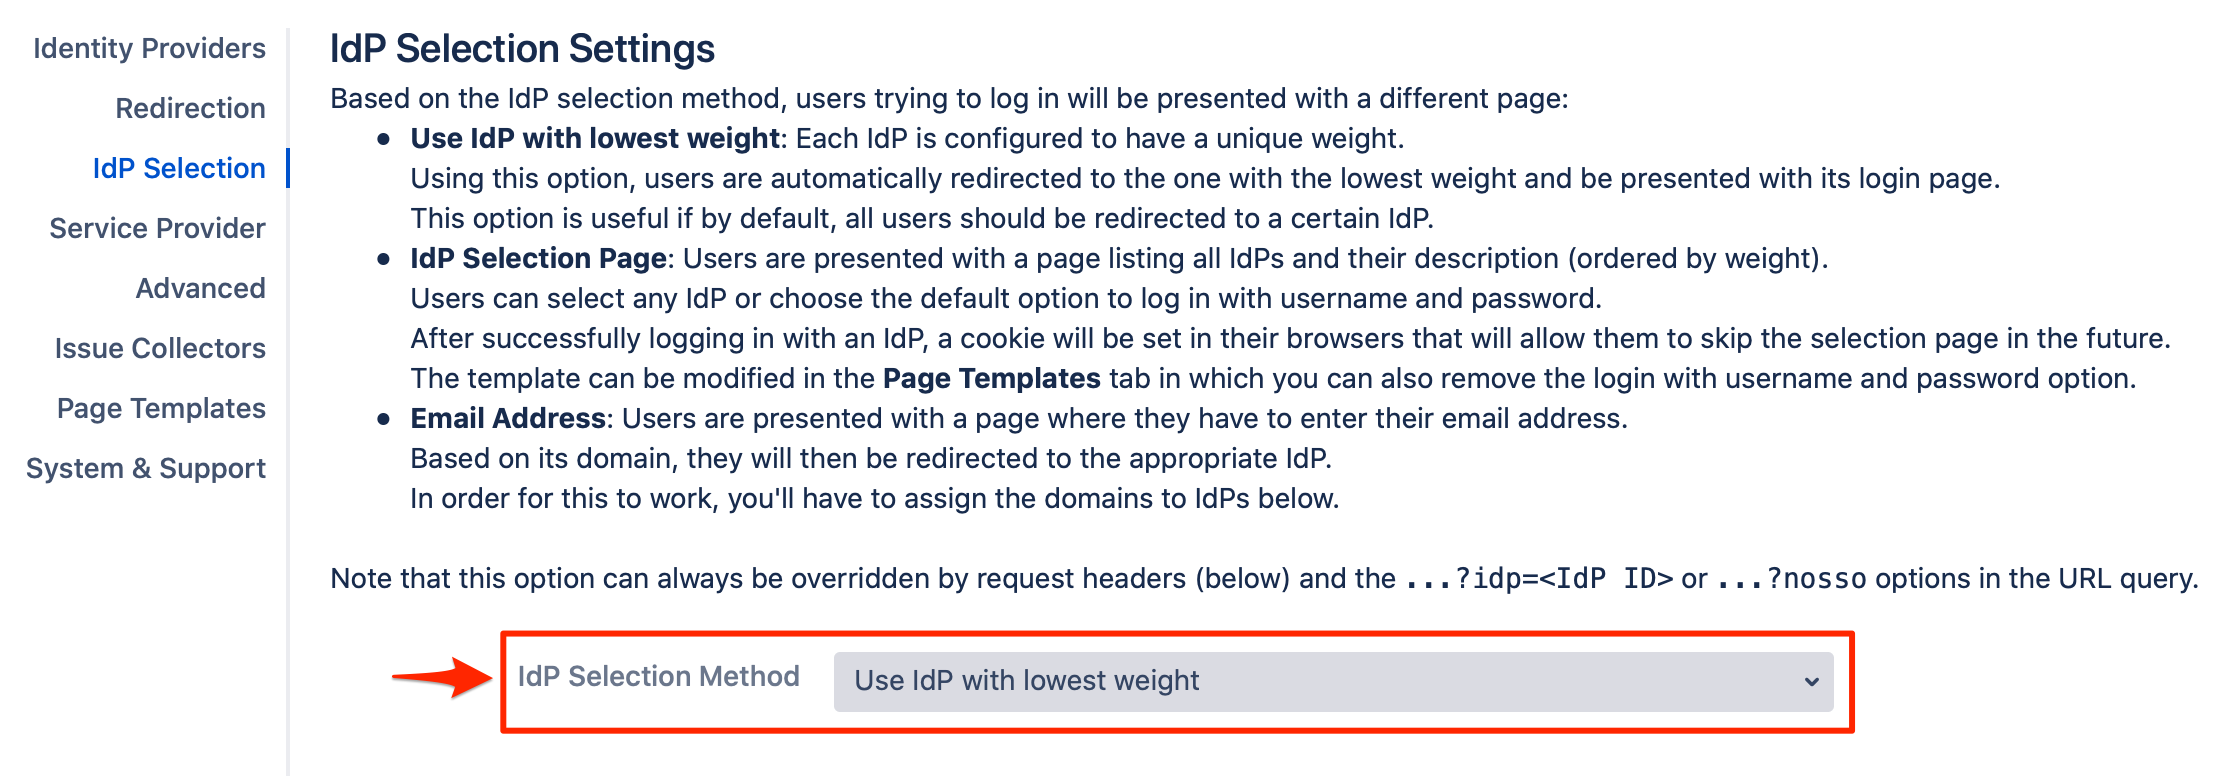
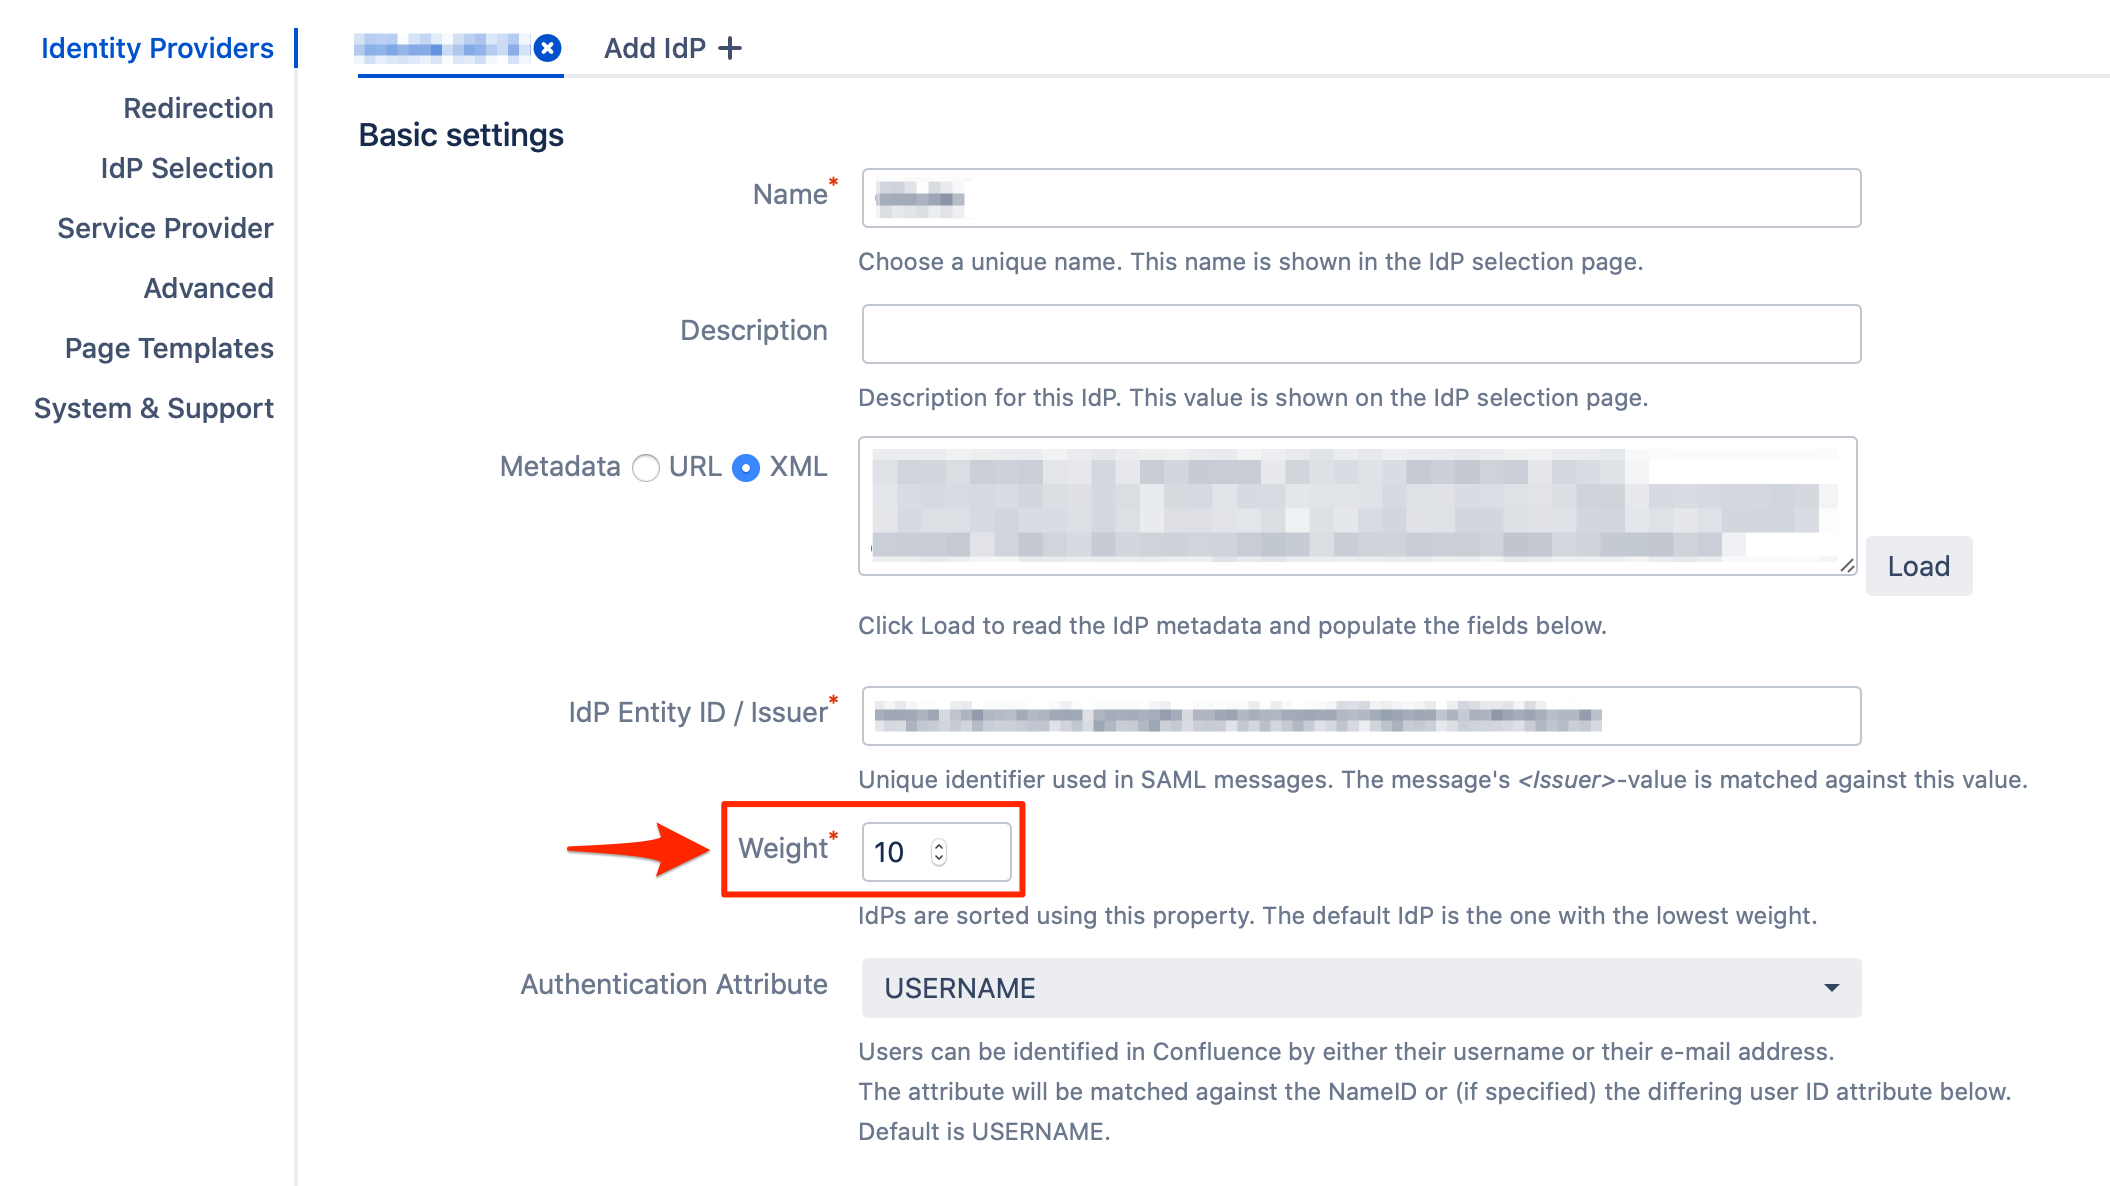
By default, the IdP Selection Method is set to "Use IdP with lowest weight". This redirects all the users to the IdP that has the lowest weight value in its configuration.
1. IdP Selection Page
If the "IdP Selection Page" is selected as the IdP Selection Method, this will present the users a page, where they can choose the desired IdP to log in with or to log in with no SSO using their local usernames/passwords.
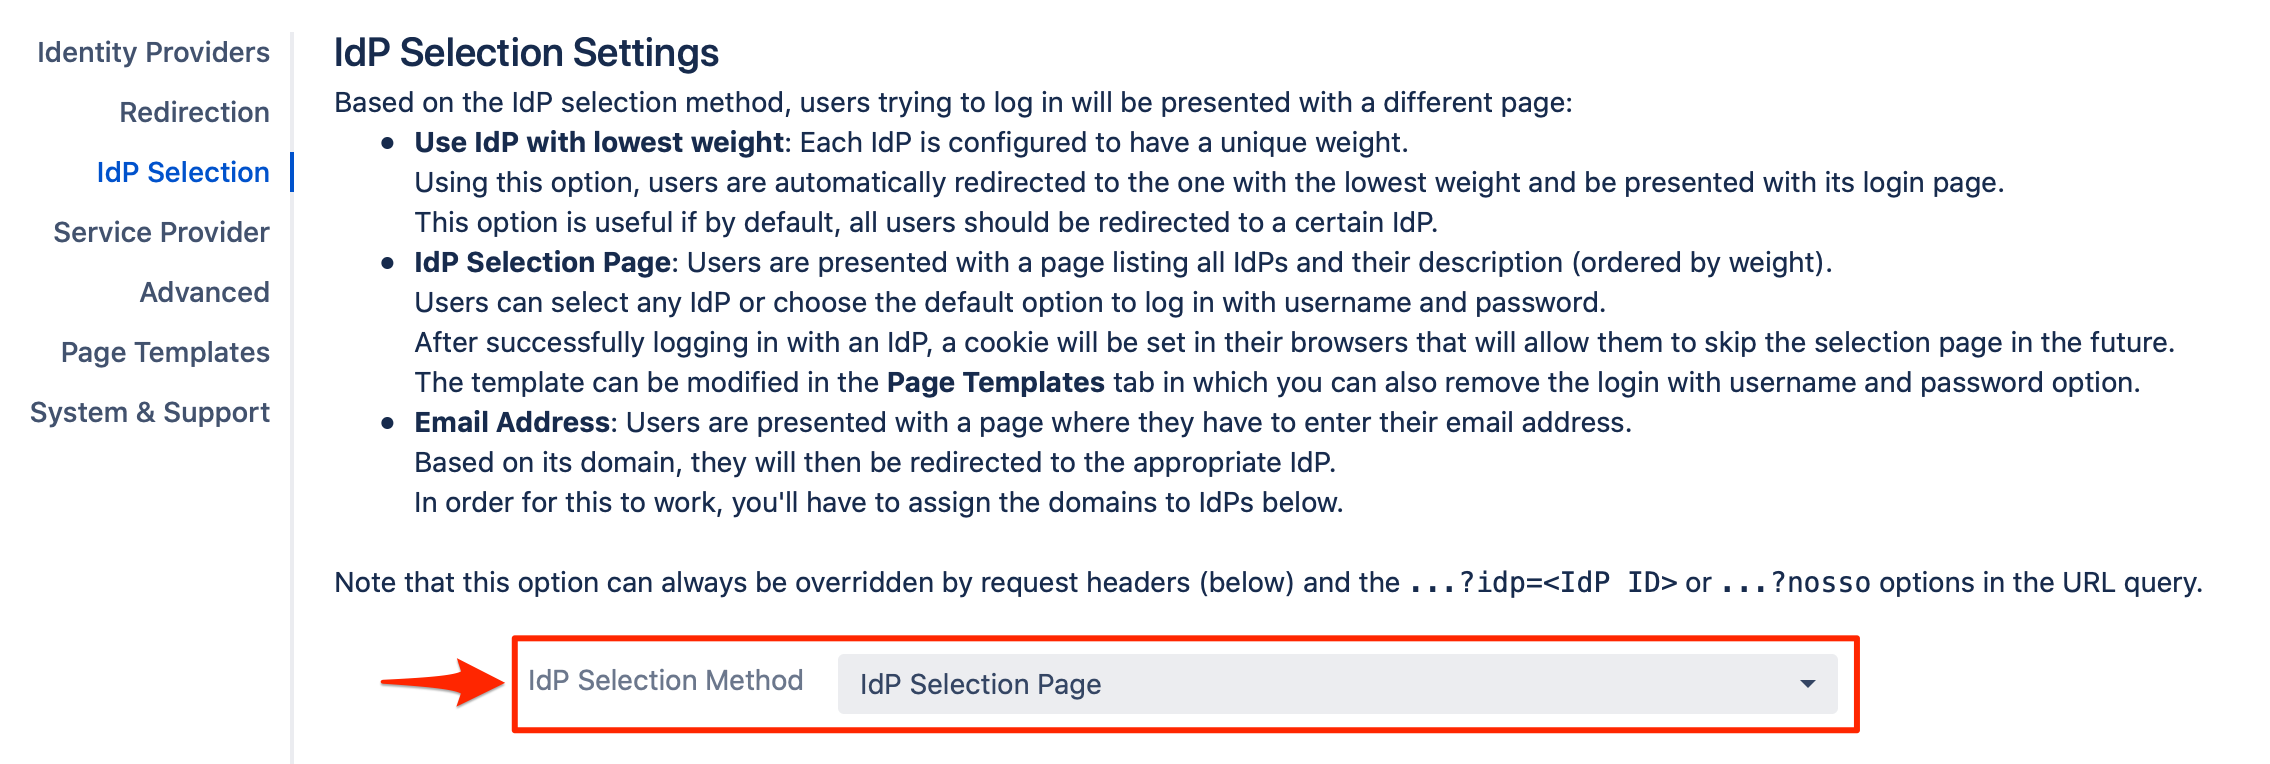
Users would see a page similar to the below when they access the Atlassian product.

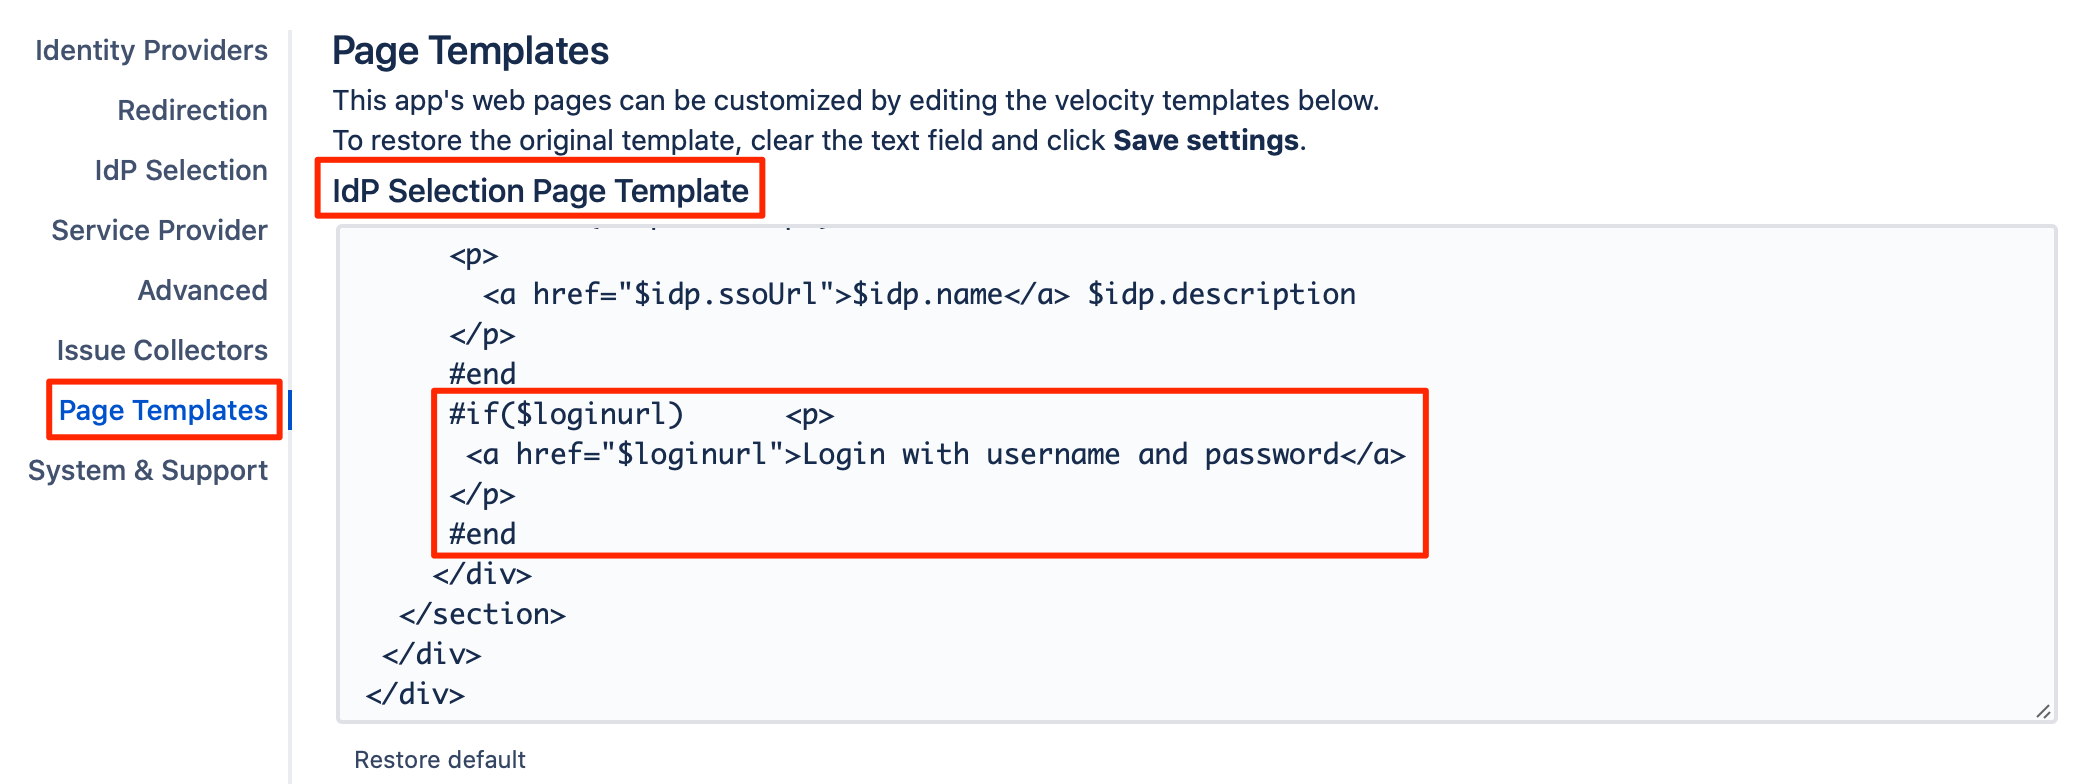
This IdP Selection Page's template could be modified as per your needs, from the Page Template tab, where you can also remove the part of having the option to log in with local username and password.
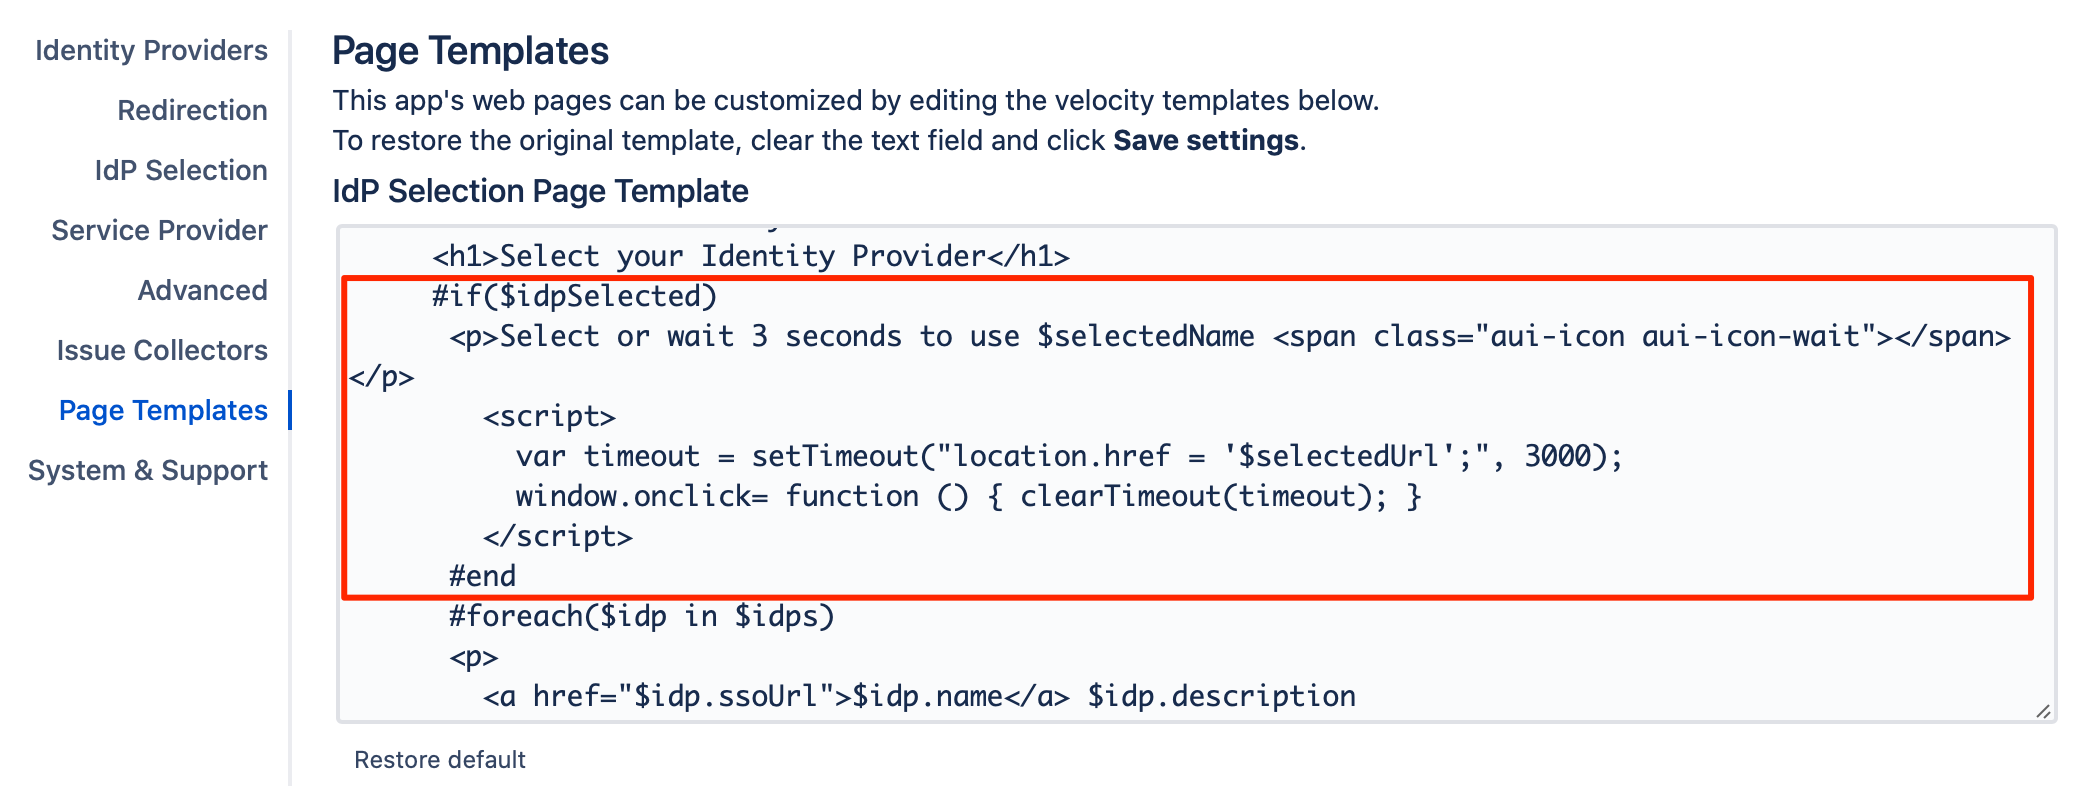
If the user has logged out and re-logged in, they will be presented again with the IdP Selection Page, but their last IdP option would be preserved, and by default, they would be logged in again using the same IdP after 3 seconds.
The "3 seconds" duration is adjustable through the IdP Selection Page template, and you could even remove it to disable the auto-forward to the same IdP.
You can also attach the "idp" parameter to your URL, which would redirect the user to the configured identity provider. The IdP Selection Page also works with this parameter.
As example, if you configured two Identity Providers, you can access them through:
https://<baseURL>/plugins/servlet/samlsso?idp=1
https://<baseURL>/plugins/servlet/samlsso?idp=2
2. Email Address
If the "Email Address" is selected as the IdP Selection Method, this would redirect the users to IdP based on their email address/ domain.
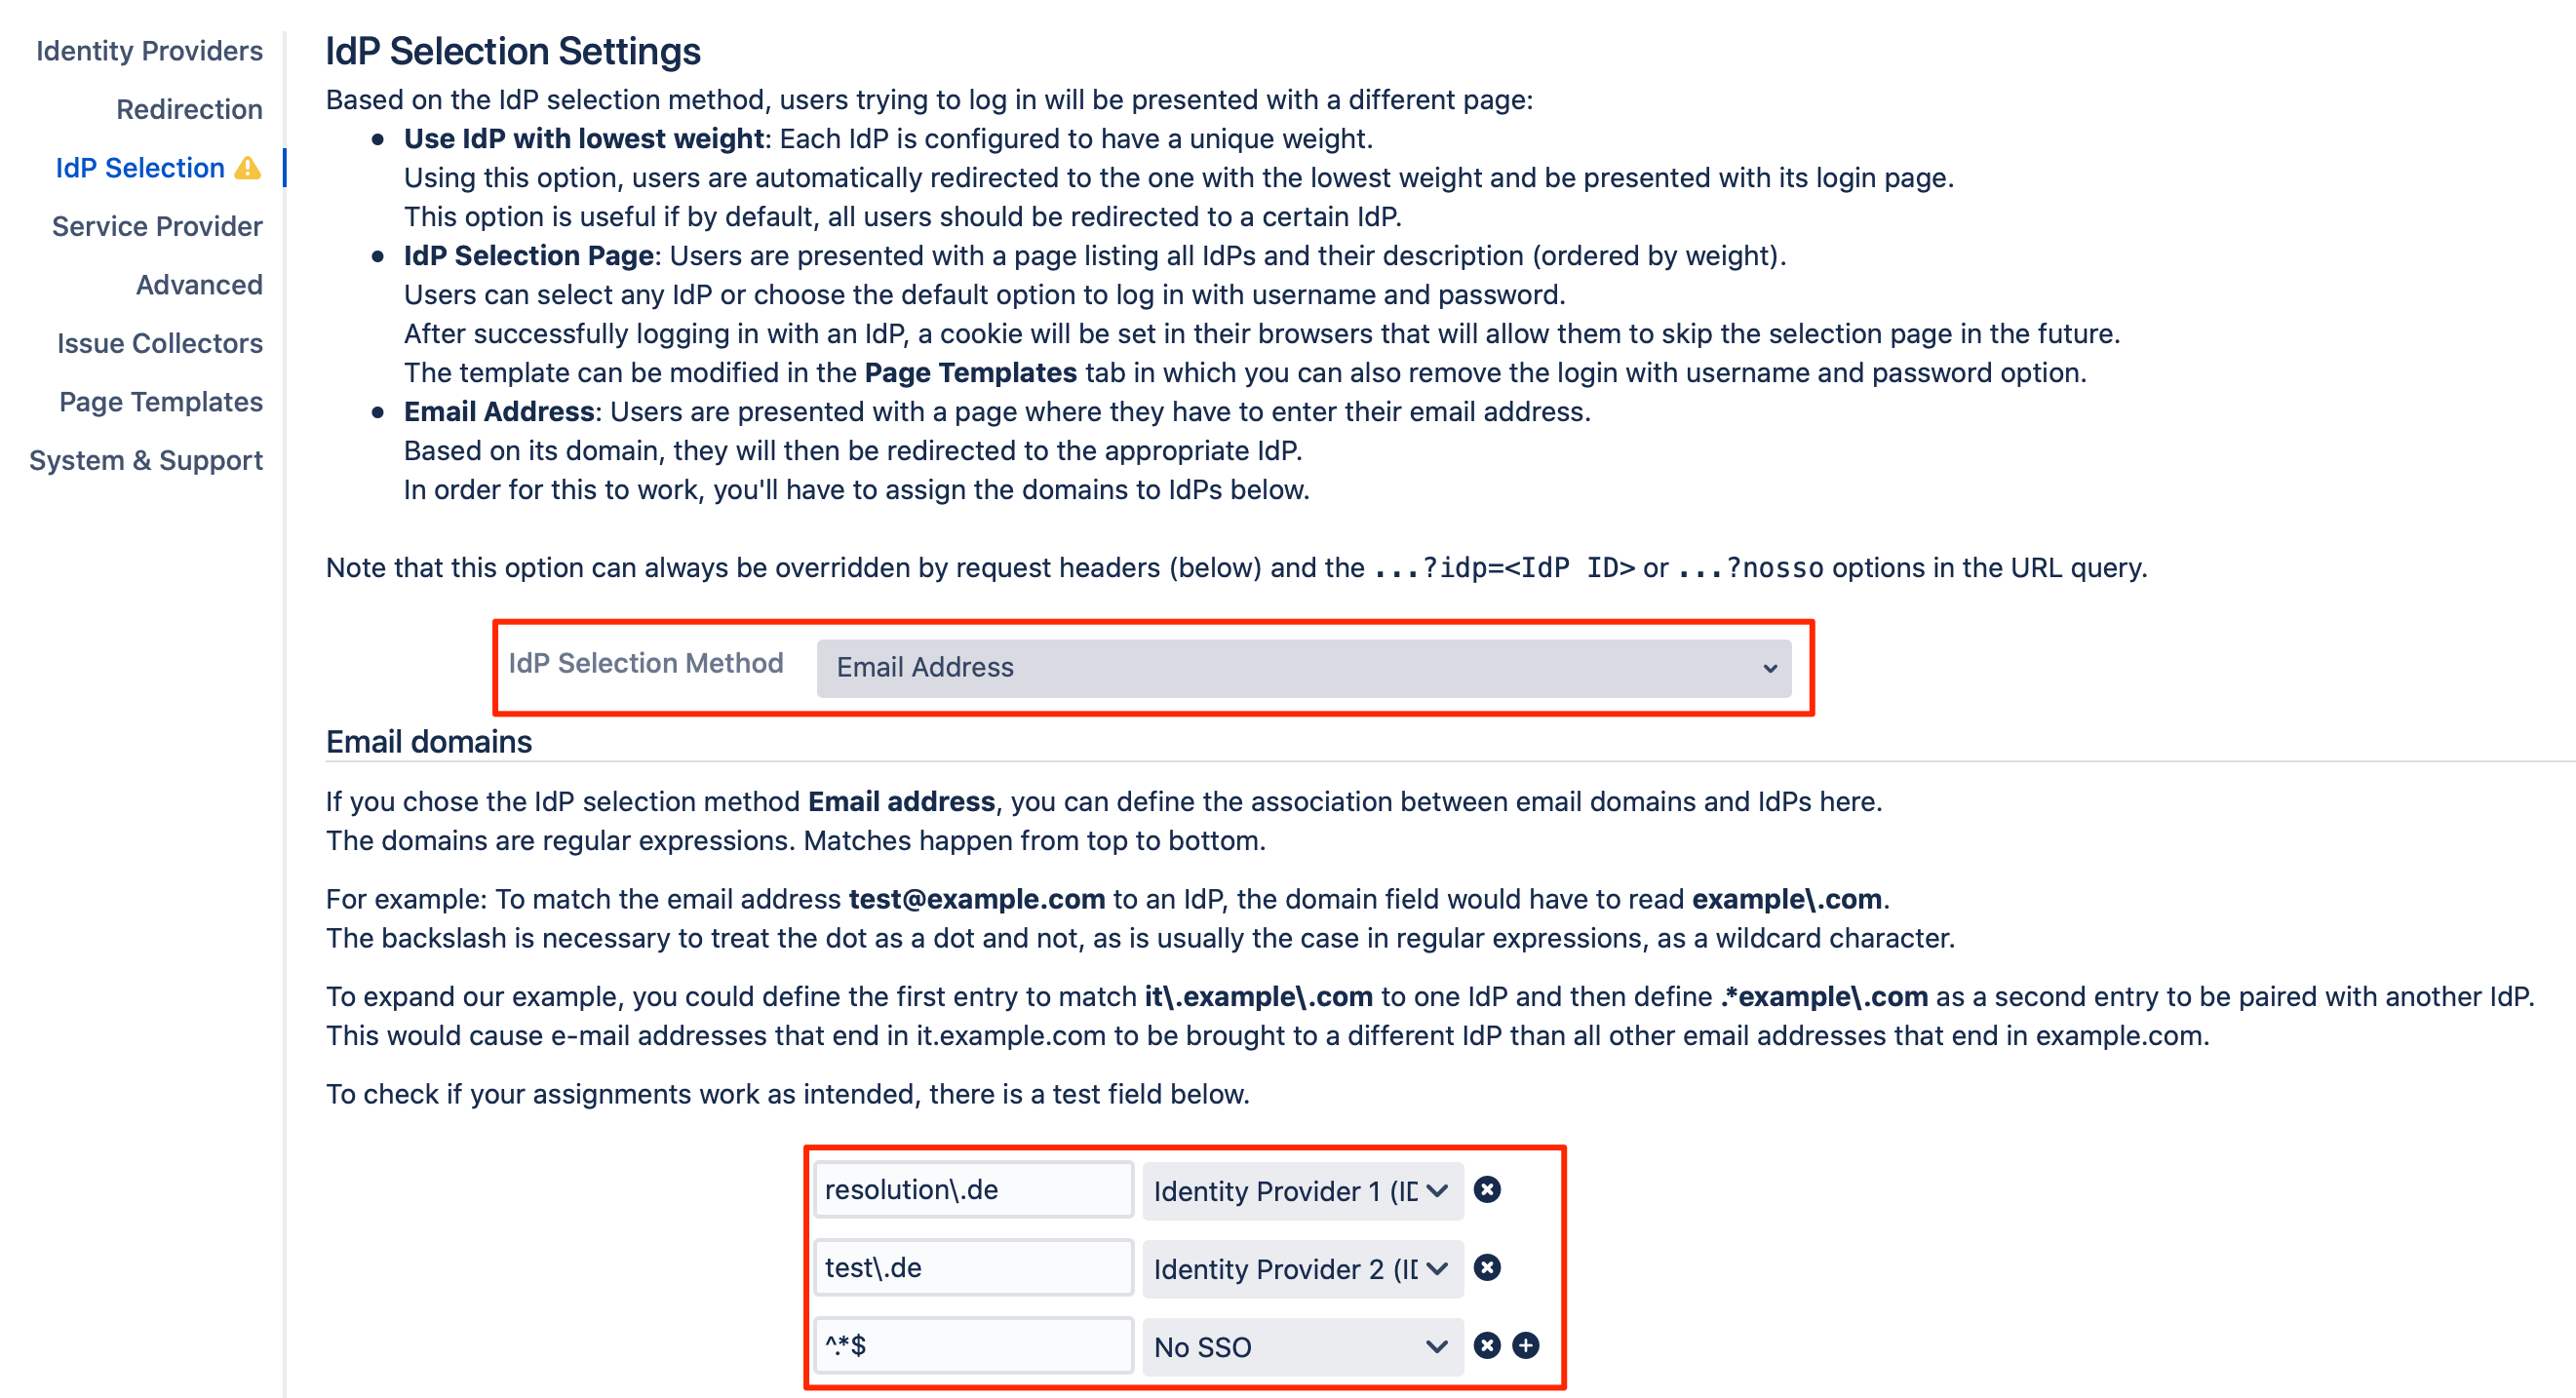
As illustrated in the above screenshot, you would need to add entries for the domains and their corresponding identity providers.
Please note that these fields support regular expressions. So, for example, the backslash is necessary before the dot, to treat it as a dot and not as a wildcard character.
The regular expression ^.*$ in the example above means that any other domain than the configured ones will redirect to "No SSO" (the default login page of the Atlassian product).
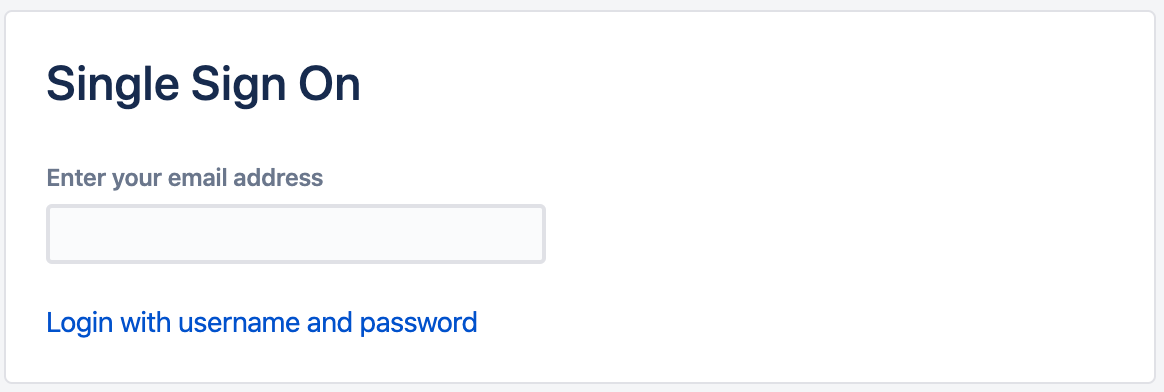
Users would see a page similar to the below when they access the Atlassian product. You can modify it from the Page Template tab.
3. Request Headers
Via request headers, the SAML SSO plugin, can redirect the user to the desired identity provider based on HTTP request header key-value pairs.
You could also use the X-Forwarded-For header, which is supported by many reverse proxies out of the box if the clients used different IP subnets. The values here also support regular expressions.

Please note that this option always overwrites the IdP Selection Page, and would be applied first.
Video Tutorial
Learn more about the IdP selection methods in this video: https://www.youtube.com/watch?v=DoNir7eN87o
