OpenID Connect for Azure AD B2C with Manual Provisioning
Goal
After completing this setup guide, you will have a setup for Azure AD B2C and your Atlassian product for the SAML SSO app with manual provisioning using the OpenID Connect protocol, for Atlassian Server or Data Center products. Additionally, you will enable the SSO redirection and test SSO.
Prerequisites
To use the SAML SSO app with Azure AD B2C, you need the following:
An Azure AD subscription
An Azure AD B2C Tenant (please check this Microsoft article for more information)
A User Flow on Azure AD B2C (check this Microsoft article)
A (trial) subscription for the SAML SSO app for Atlassian Data Center or Server applications
Admin access to your Atlassian Data Center or Server product
Step-By-Step Setup Guide
Install the SAML SSO app for Atlassian Data Center / Server
In your Atlassian product, open the in-product marketplace as described in the Atlassian documentation.
Search for "resolution saml" and click "Install" for SAML Single Sign On (SSO) by resolution Reichert Network Solutions GmbH.
After the installation is complete, click Manage Apps/Addons.

Configure SAML SSO
For the next steps, please go to Manage apps (or addons) in your Atlassian product, choose SAML SSO and click Configure.
First Steps - Wizard
After you click "Configure", the Wizard will be triggered. If not, or if you want to add another Identity Prover (IdP) to your existing configuration, click on "+ Add IdP". This guide assumes, that there is no IdP configured.
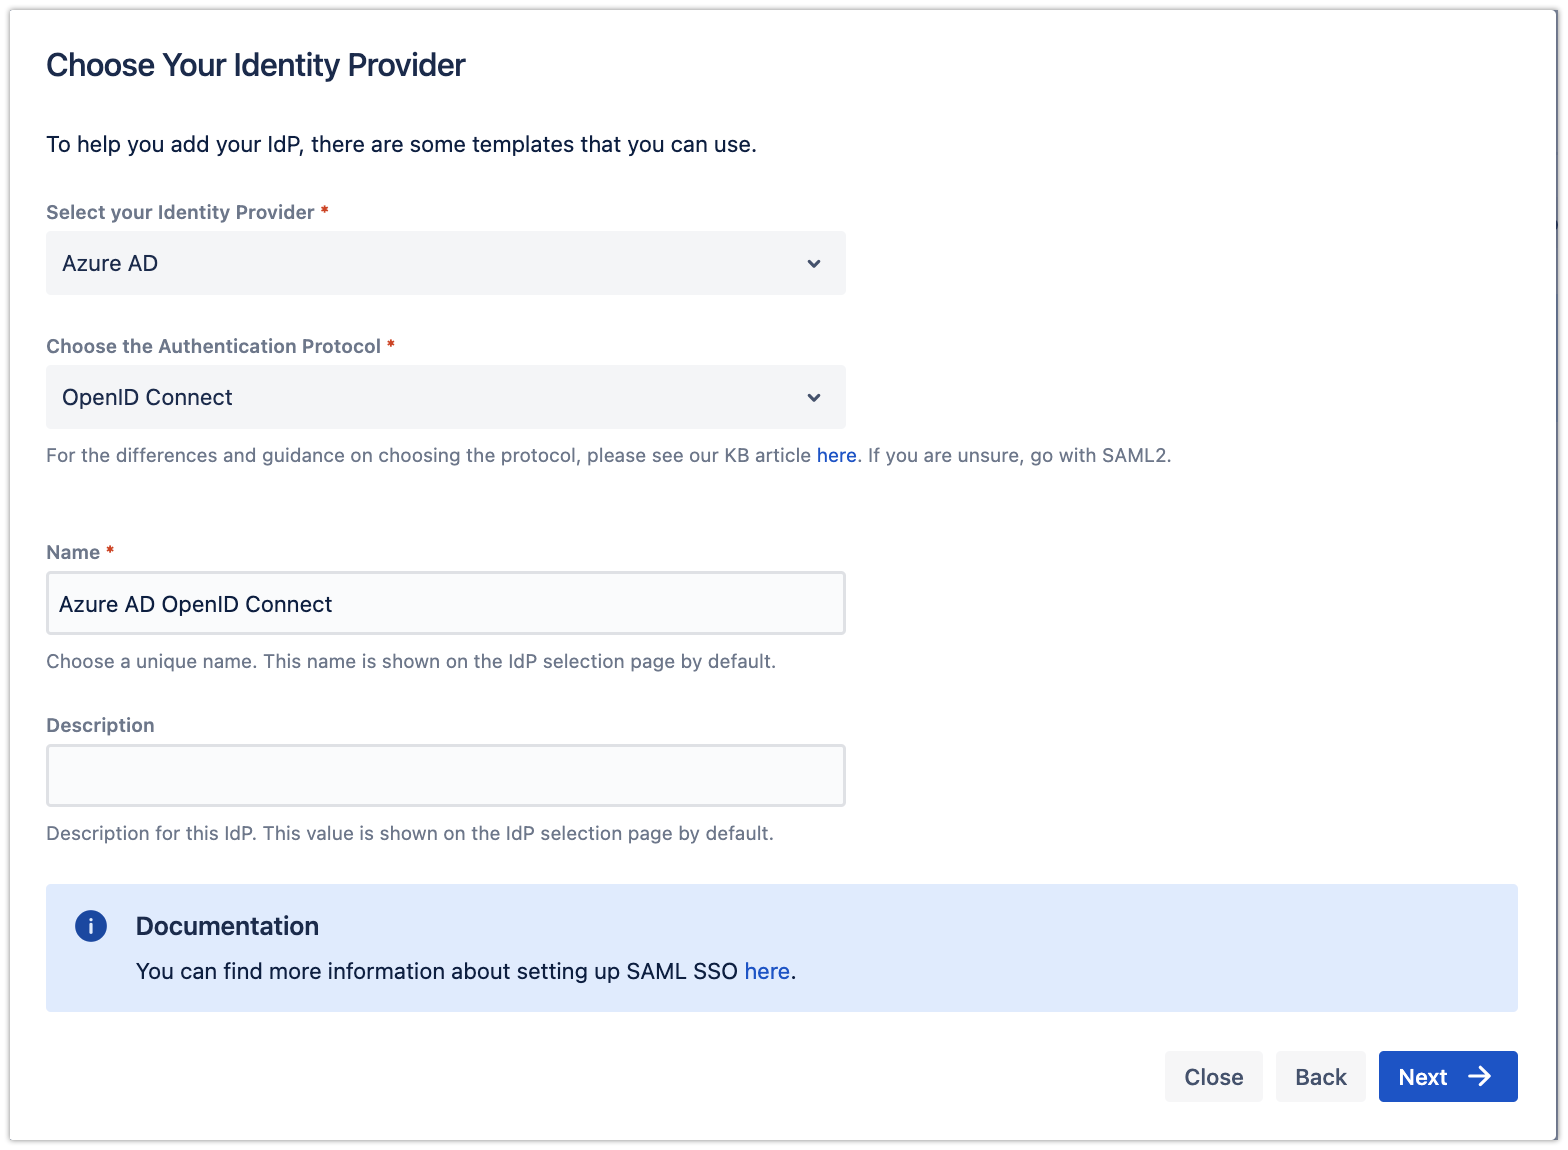
The wizard greets you with information, click on "Add new IdP" to proceedFor the IdP Type, choose "Azure AD", and choose "OpenID Connect" for the Authentication Protocol. Give it a name. Click on "Next" to continue

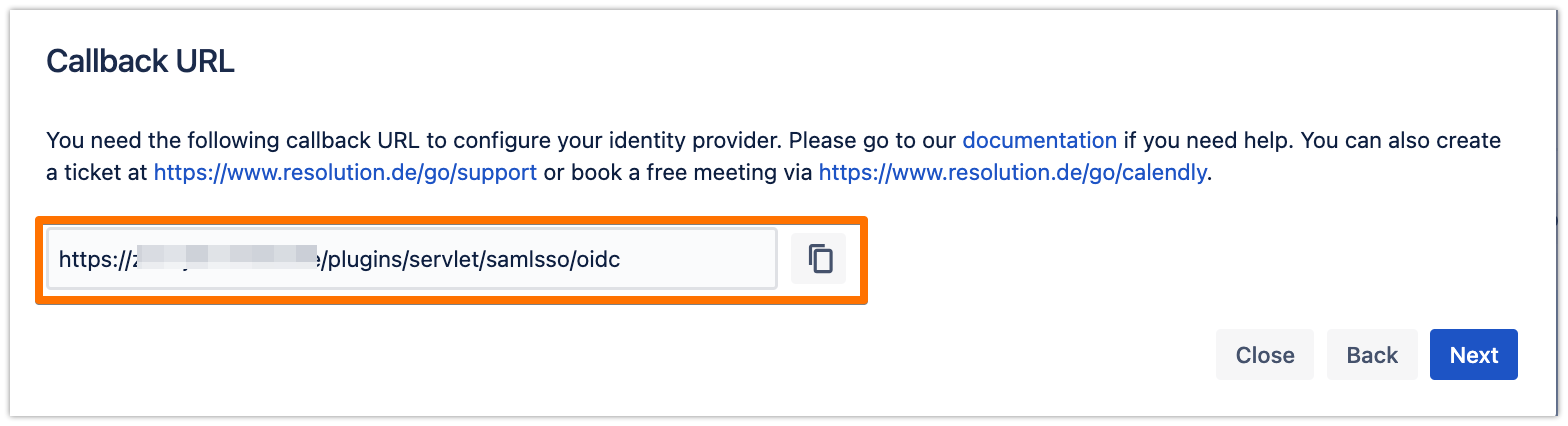
Copy the callback URL to your favourite text editor

In the next steps, you will configure Azure AD B2C. Please keep this tab open to continue later.
Configure the App Registration for the SSO process
Navigate to http://portal.azure.com
Select the Directory + Subscription icon in the portal toolbar, and make sure you have selected the directory that contains your Azure AD B2C tenant

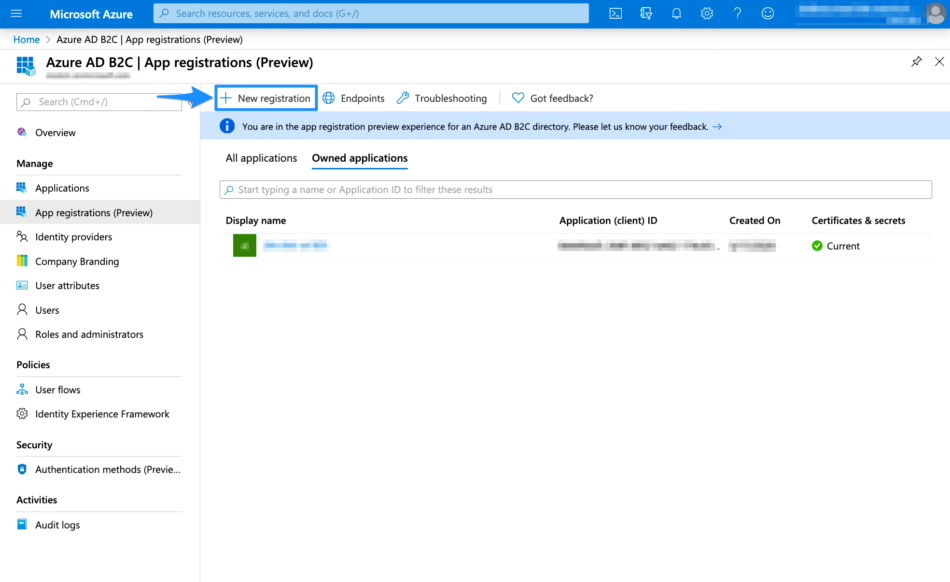
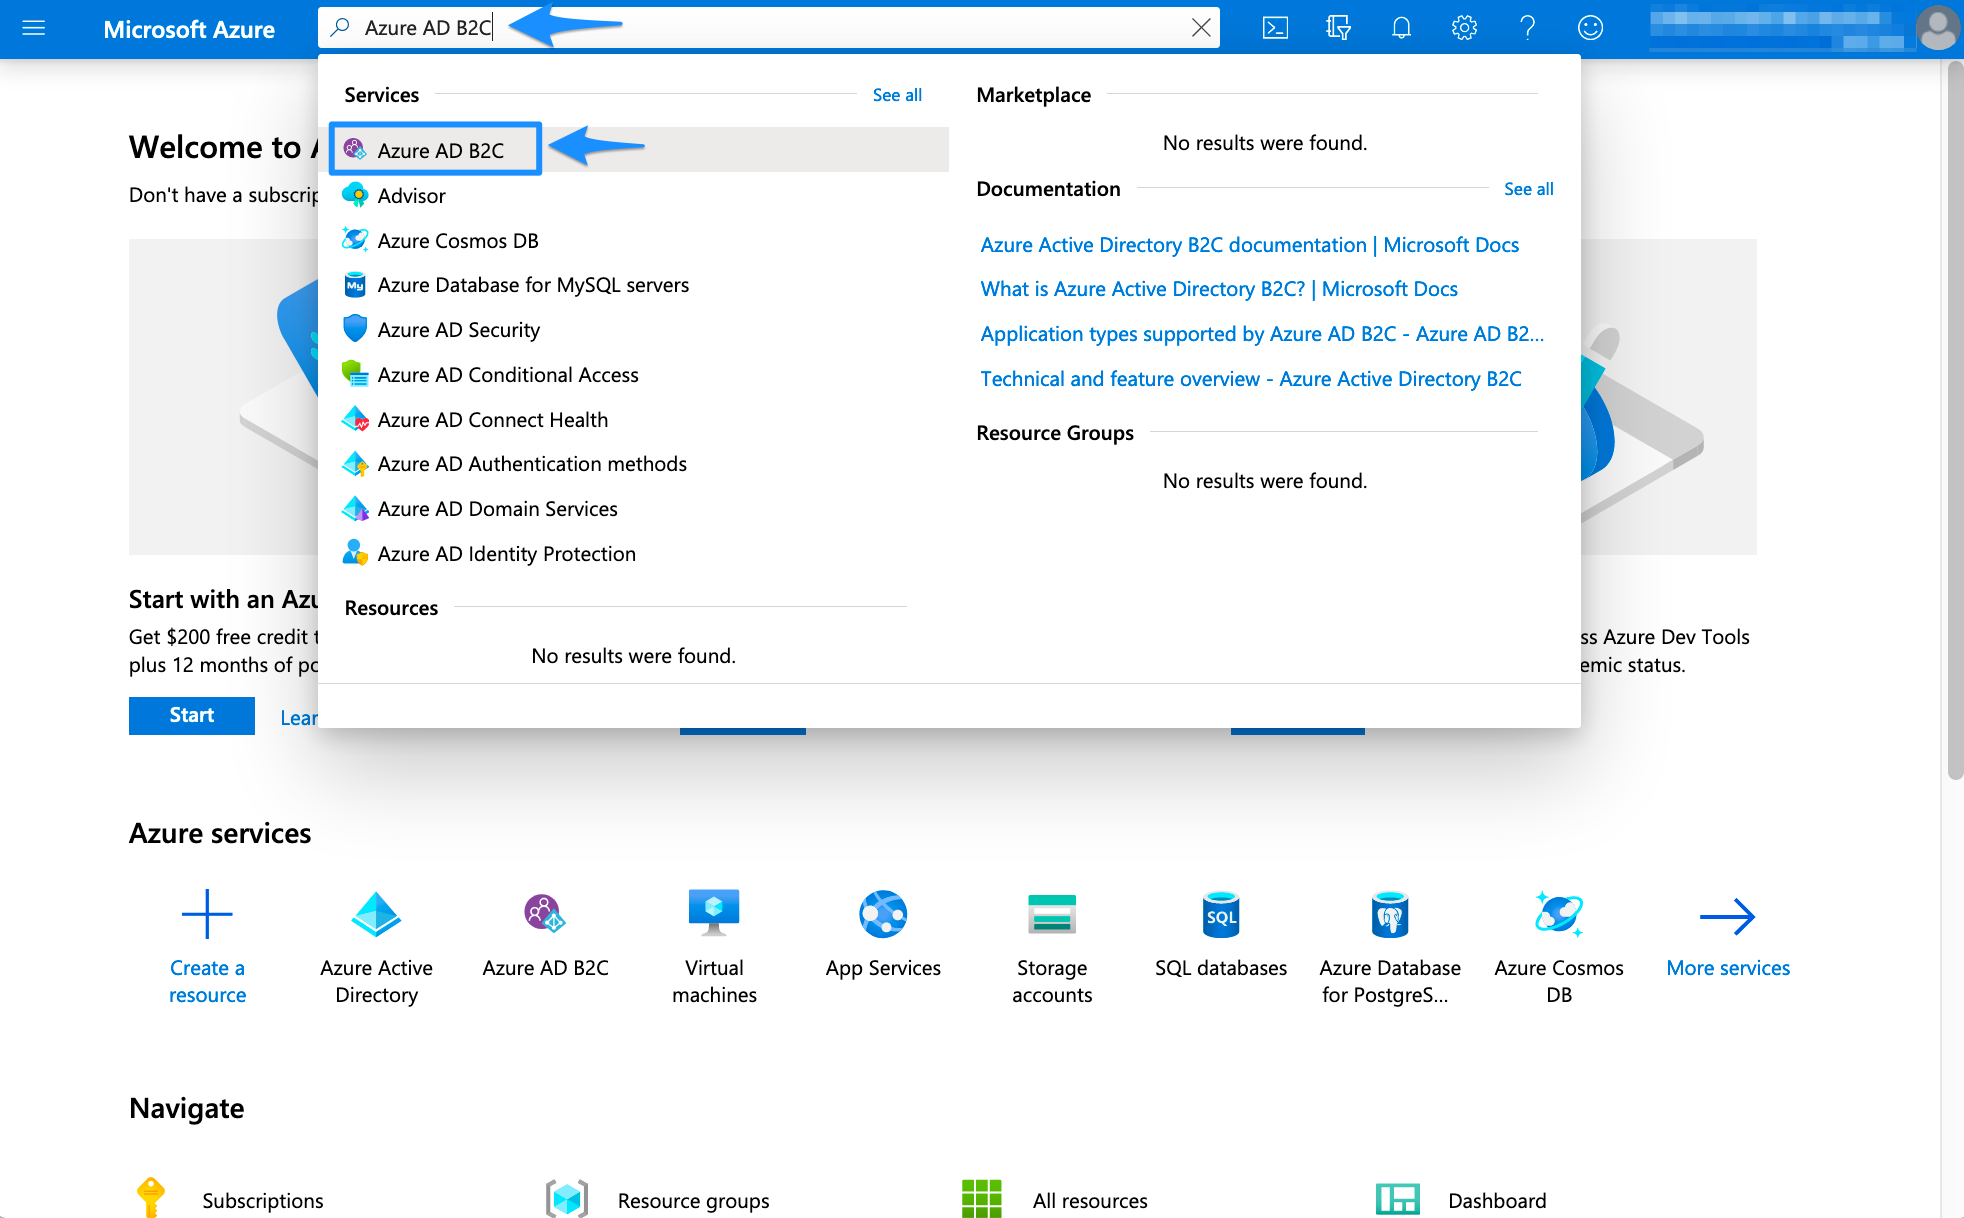
In the Azure portal, search for and select Azure AD B2C

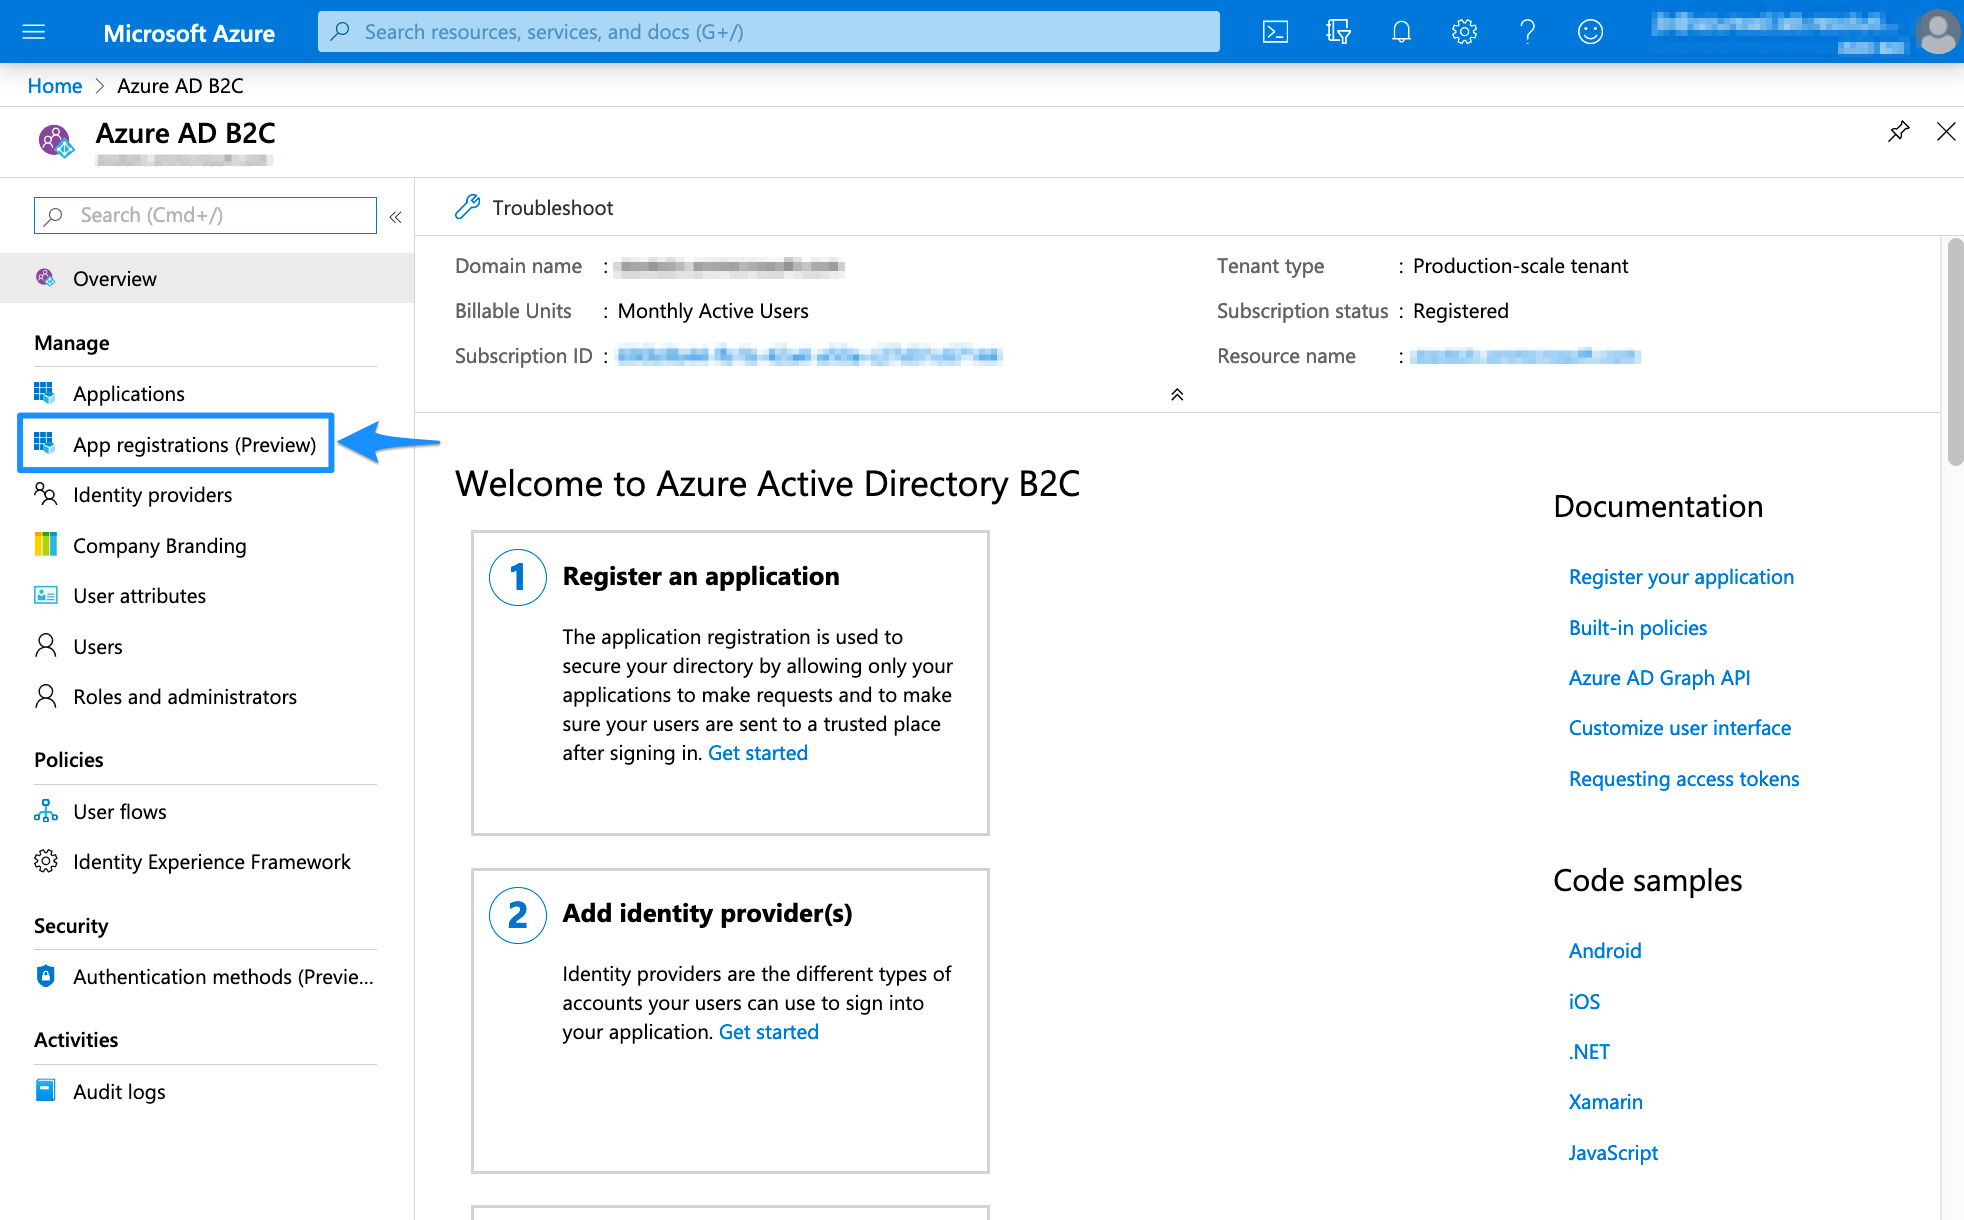
Select App registrations

Select New registration
Enter a Name for the application
Select Accounts in any organizational directory or any identity provider
For the Redirect URIs, select "Web" and enter the Callback URL that you've copied from the wizard earlier
Under Permissions, select the Grant admin consent to openid and offline_access permissions checkbox
Click on Register to proceed

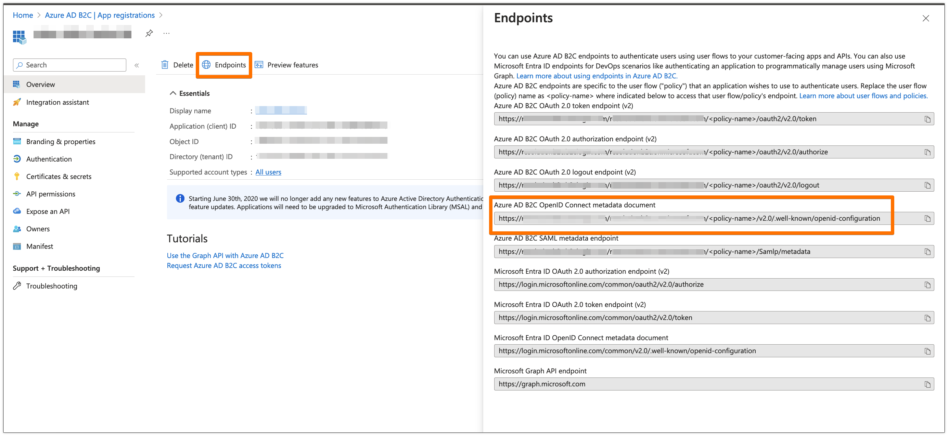
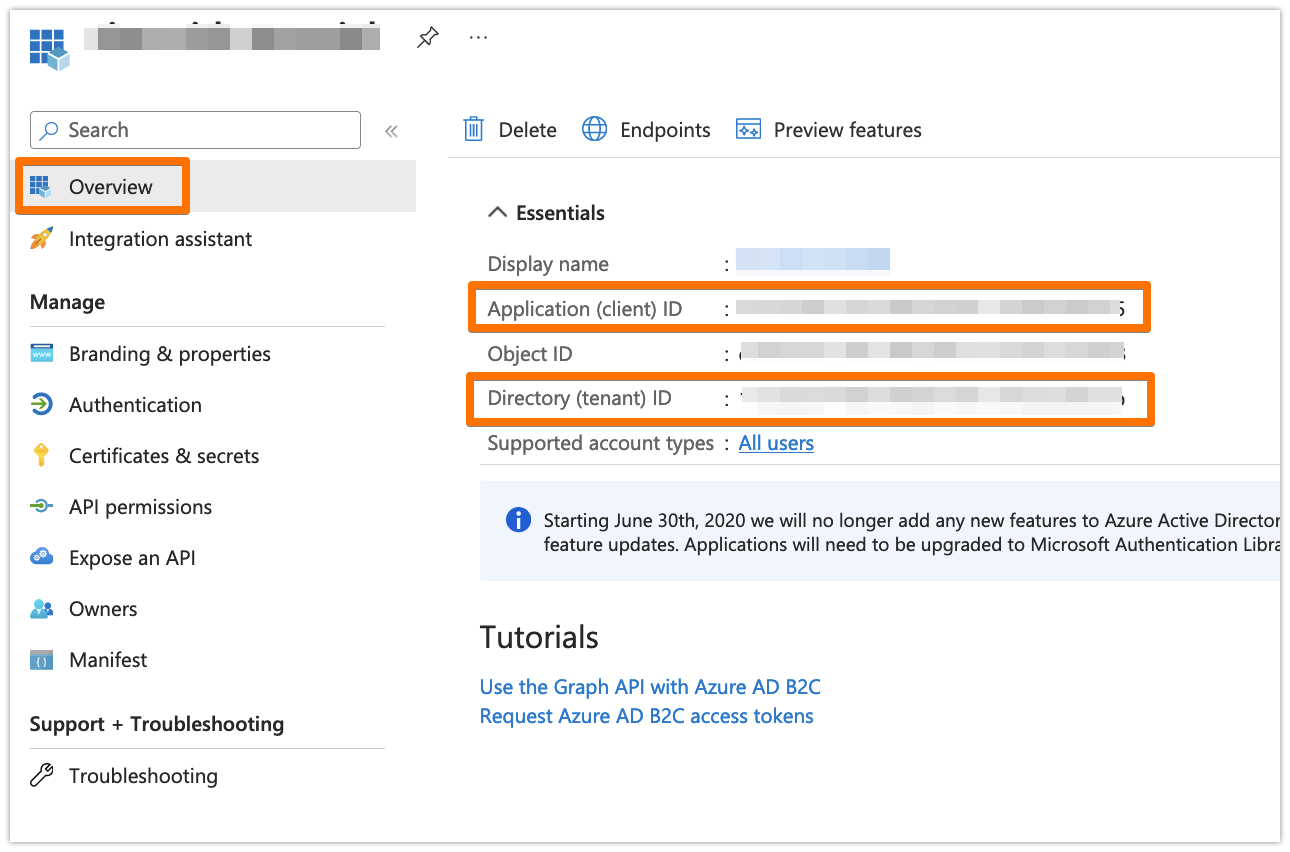
From Overview, copy the Application (client) ID and the Directory (tenant) ID to your favourite text editor

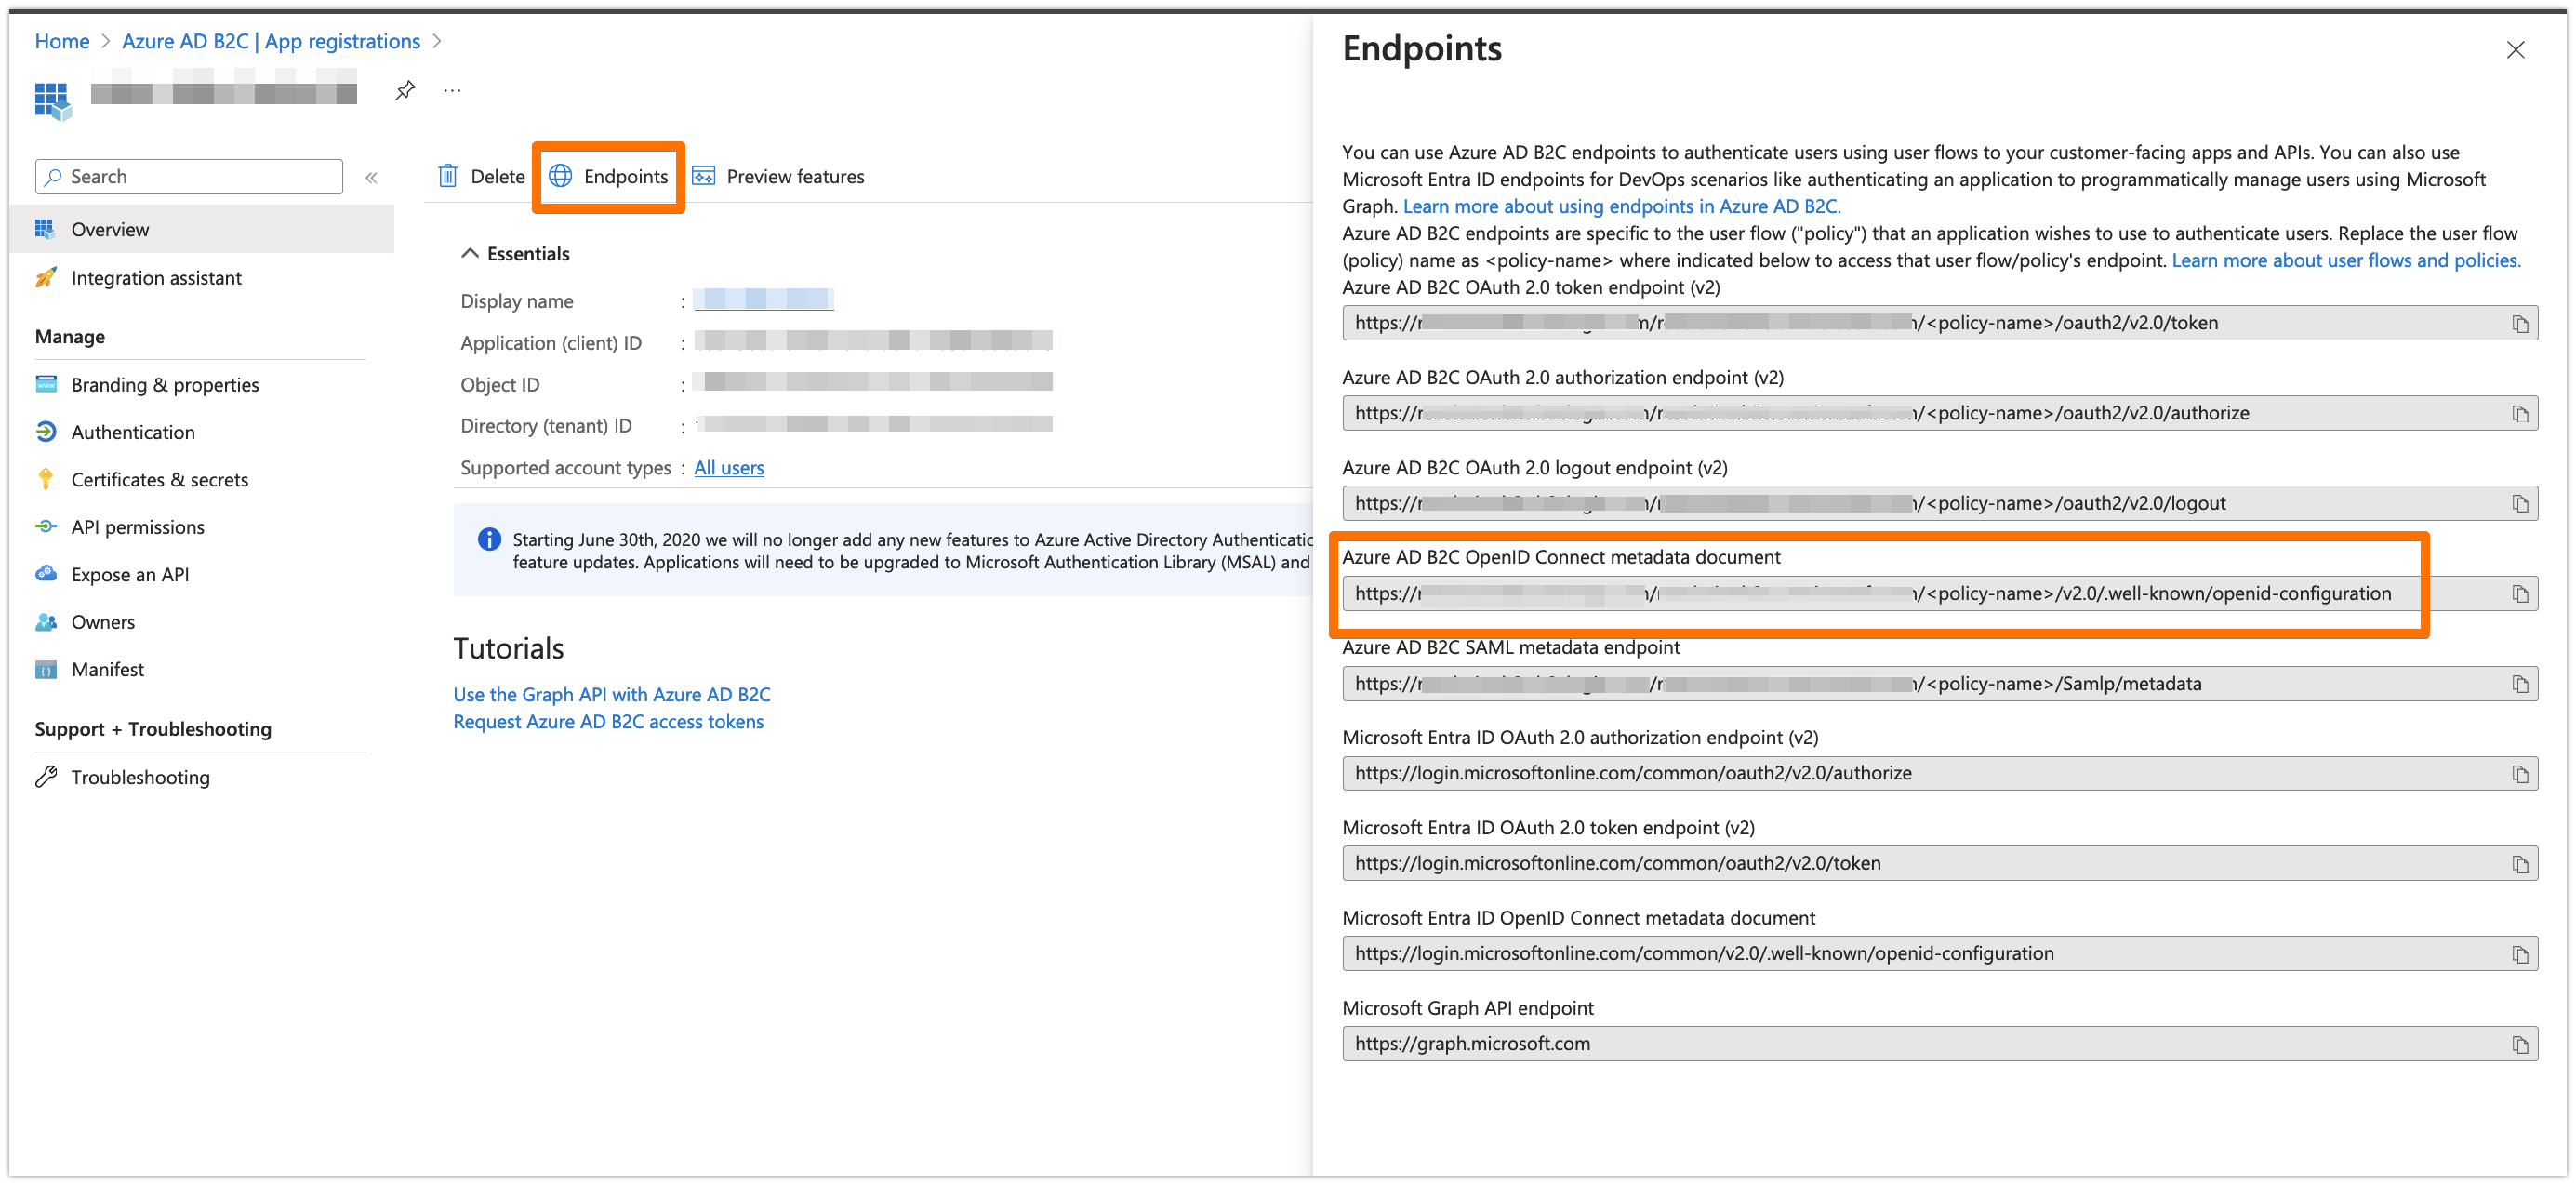
Click on Endpoints, and copy the URL of Azure AD B2C OpenID Connect metadata document to your favourite text editor. Make sure to replace <policy-name> in that URL with your User Flow name (you must have a User Flow created - check this)
Create a User Flow, if you don't have one already created (check this Microsoft article)
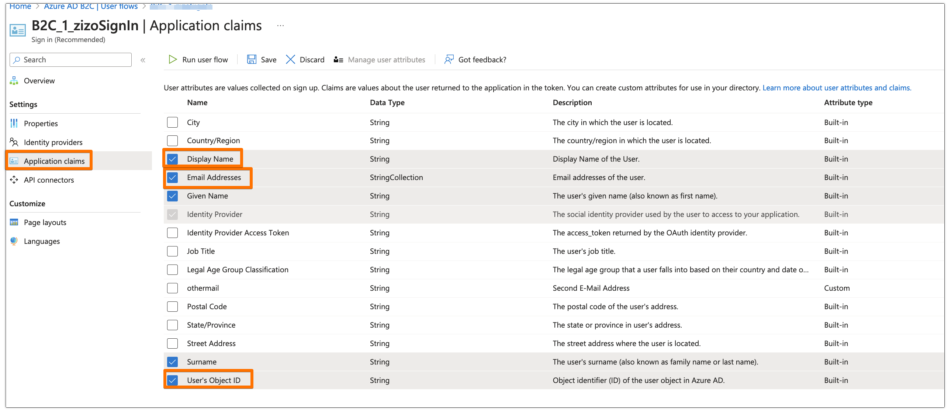
In your User Flow, under the Application claims tab, make sure the attribute that has the value with which you want the plugin to find the users in your Atlassian product is selected, e.g. the Display Name, the Email Addresses or the User's Object ID. You can select other claims as well if you want.
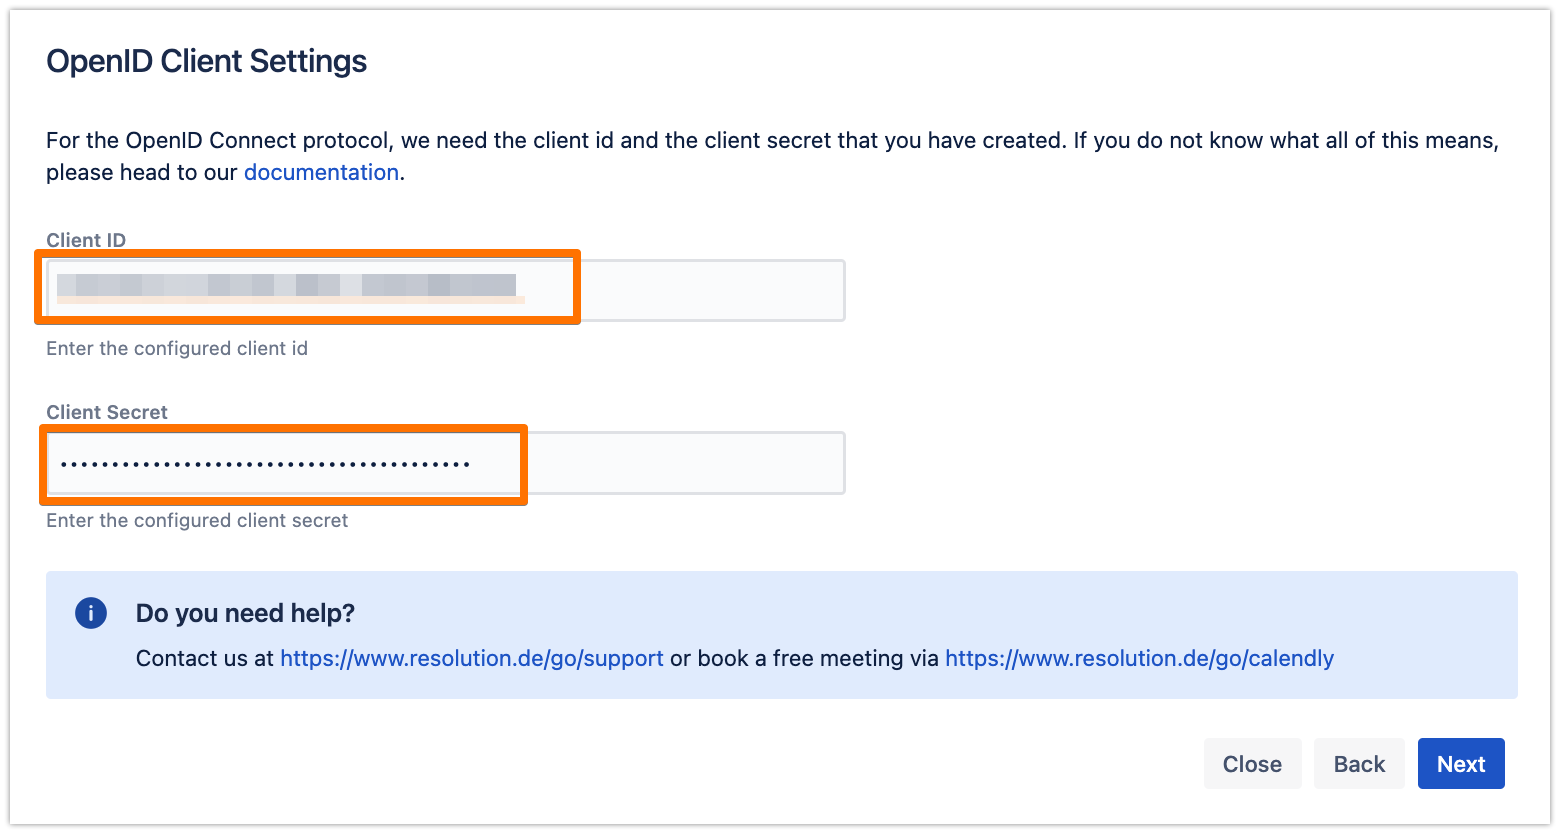
Now, back to the wizard in your Atlassian product. Enter the Client ID and the Client Secret that you have copied from before
For now, just enter the Tenant ID, but we will change that later, since the current wizard doesn't support the User Flow of Azure AD B2C, then click on Import Metadata

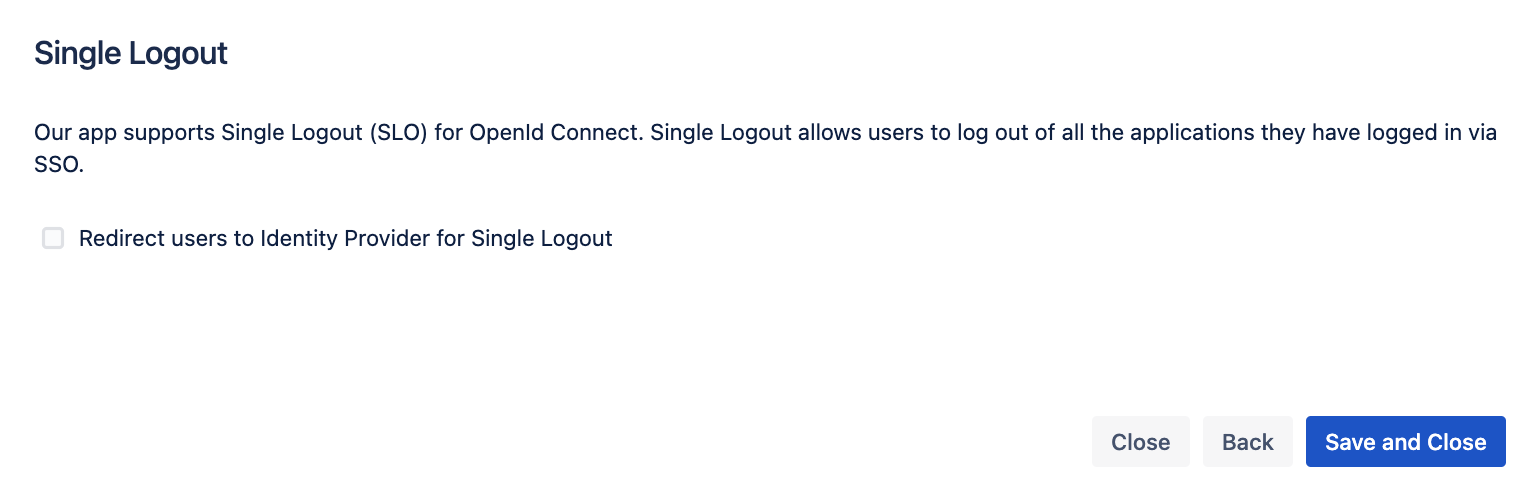
You can enable the Single Logout if you want to, then click on Save and Close

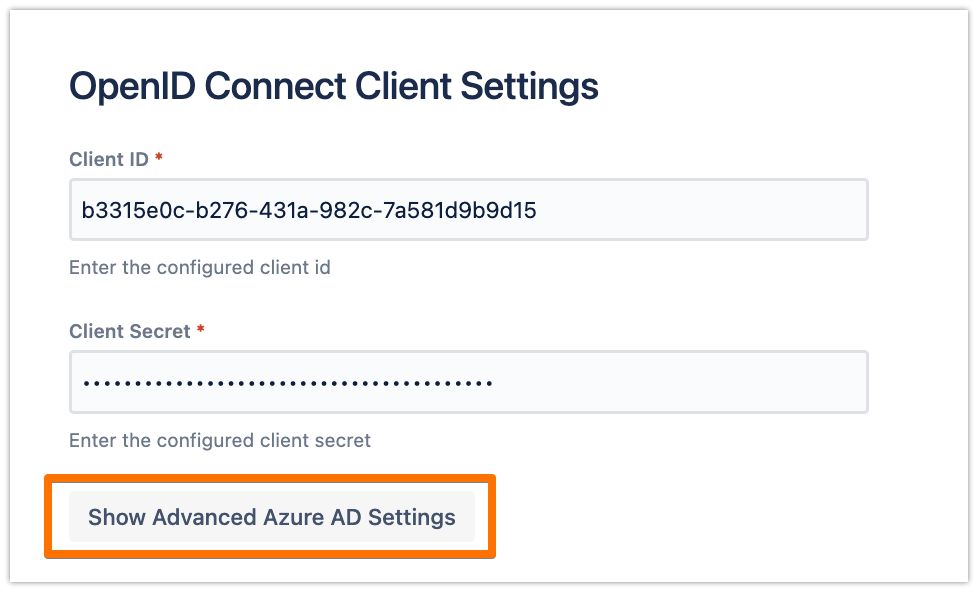
In the configuration, scroll down to the OpenID Connect Client Settings section, and click on Show Advanced Azure AD Settings

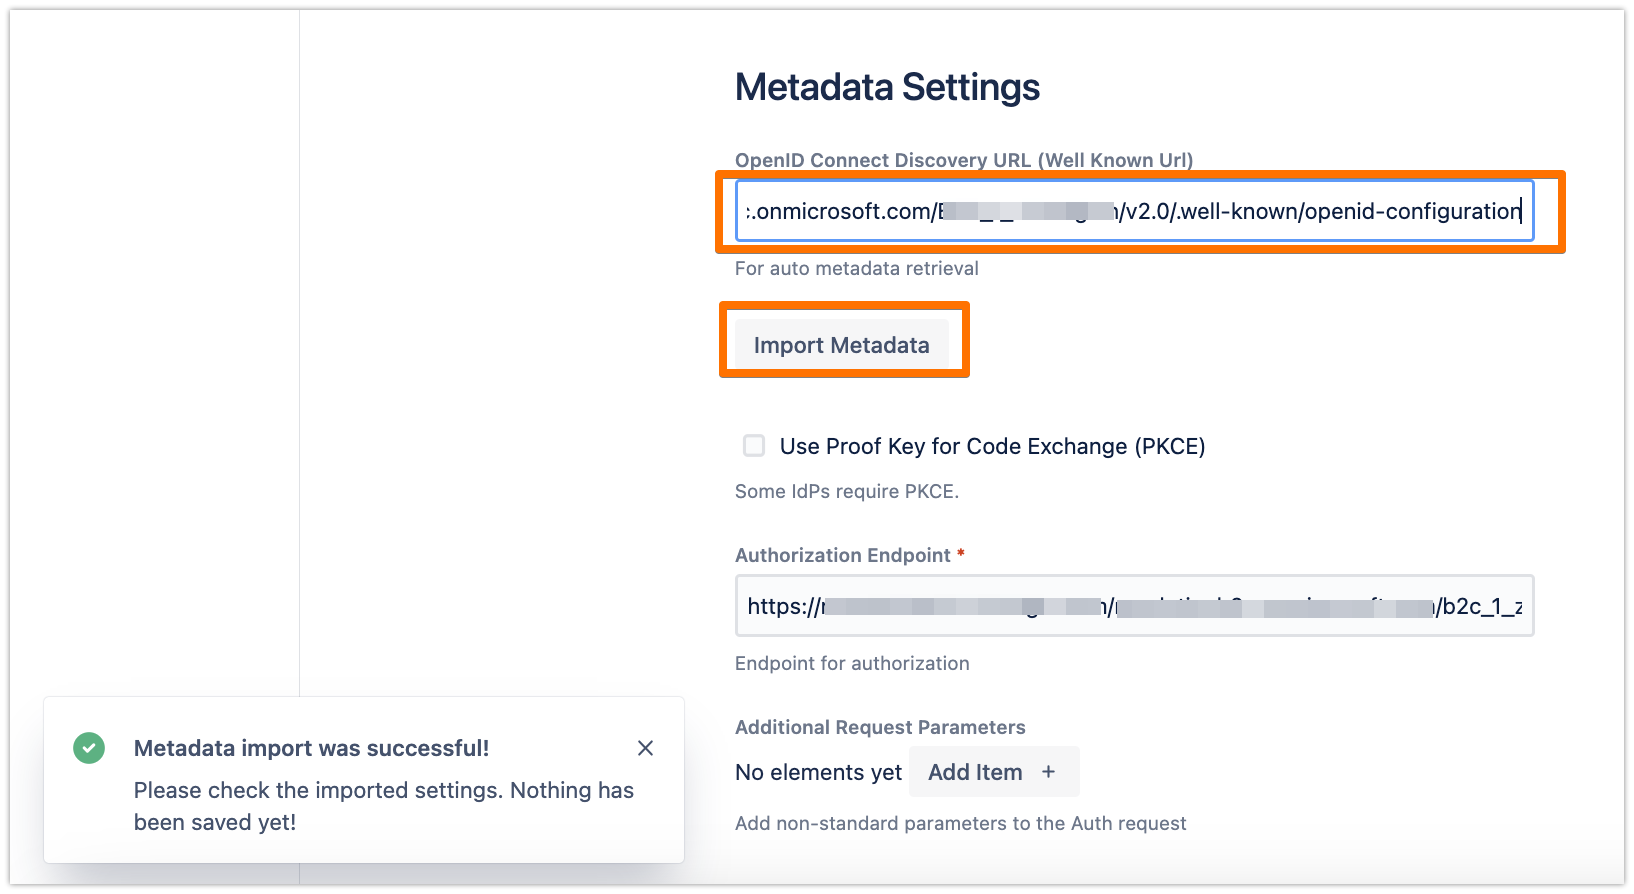
Change the OpenID Connect Directory URL with the URL that you have copied earlier of Azure AD B2C OpenID Connect metadata document, then click on Import Metadata

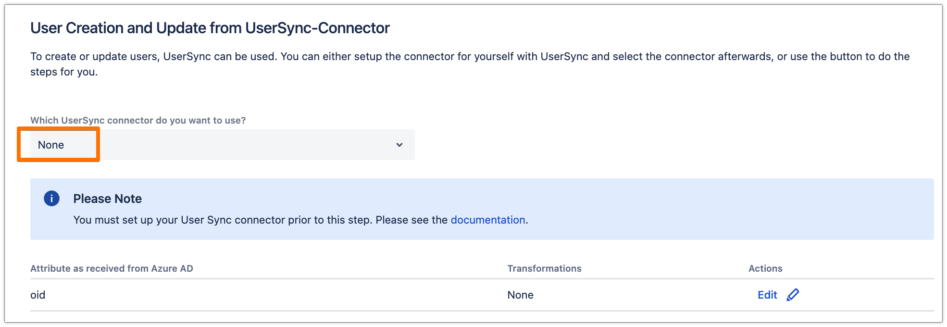
Scroll down to the User Creation and Update from UserSync-Connector section, and make sure "None" is selected
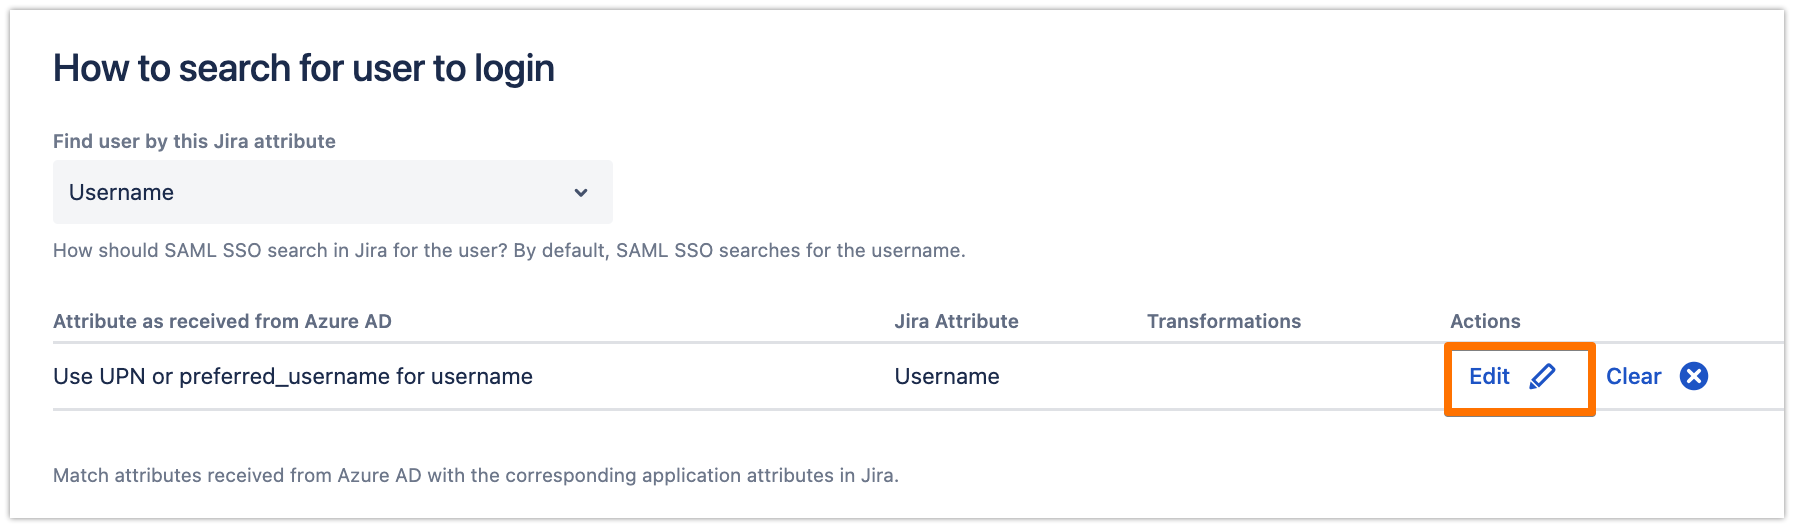
Scroll down to the How to search for user to login section, and click on Edit it according to the attribute that you want the plugin to find the user with.

Click on Apply, then make sure to Save the SAML SSO configuration.


Testing SSO
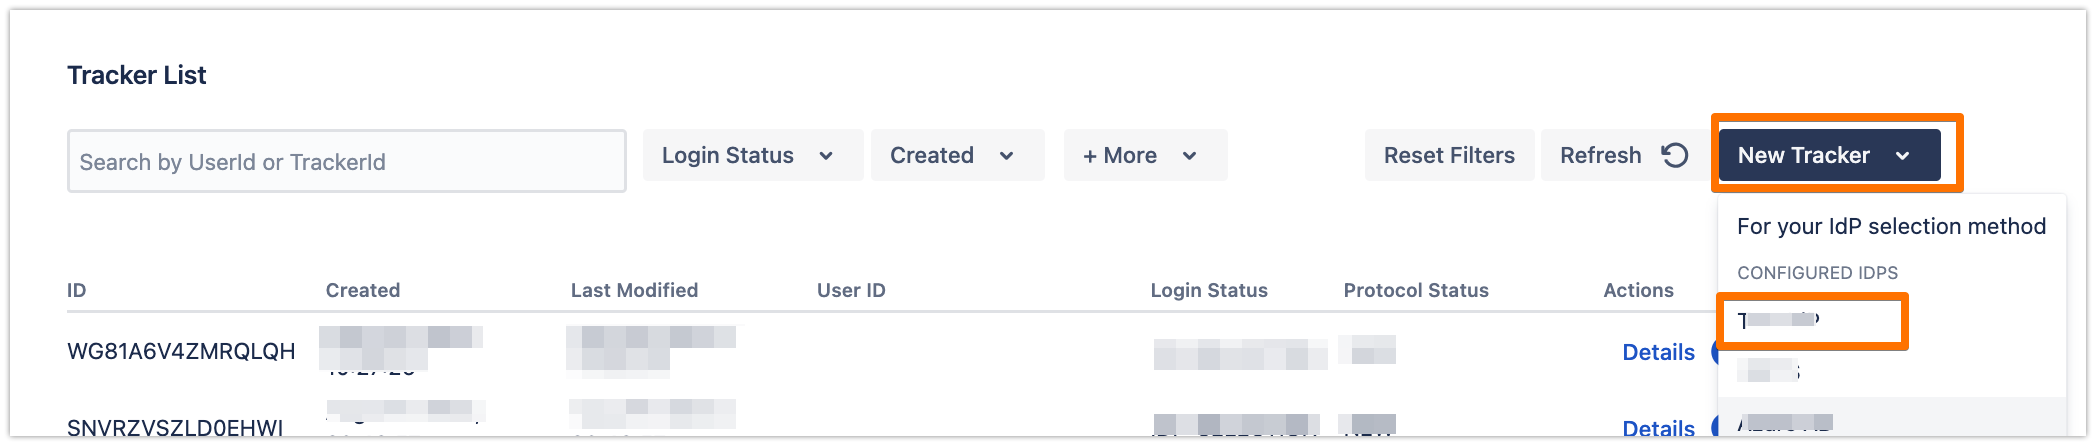
In the System & Support tab, scroll down to the Tracker List section, click on New Tracker and choose the IdP name that you have just configured

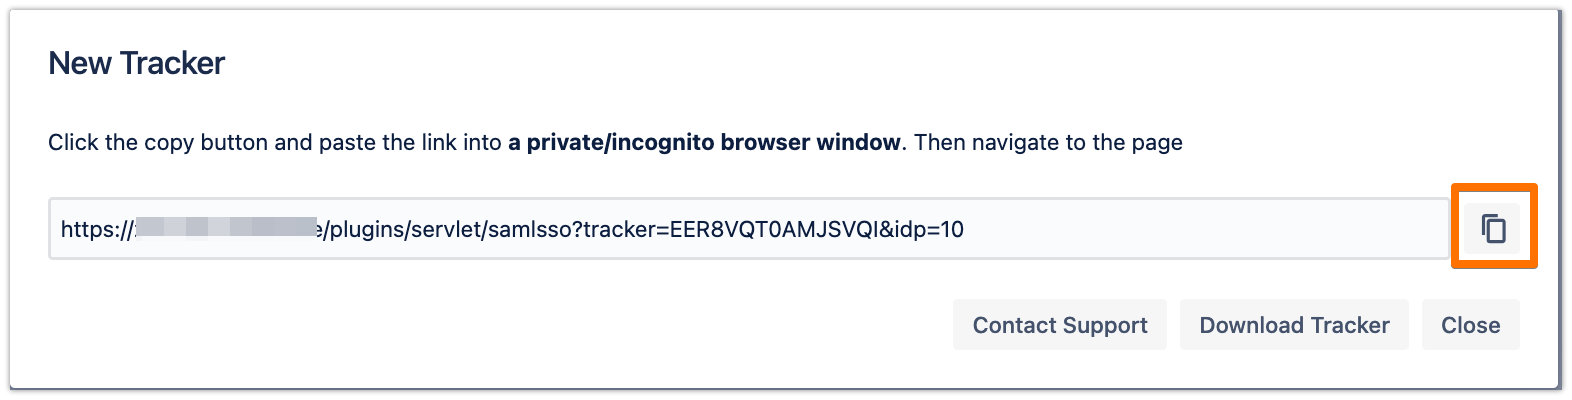
Copy the tracker URL and open a new incognito/private window or a different web browser, then paste the link and navigate to it

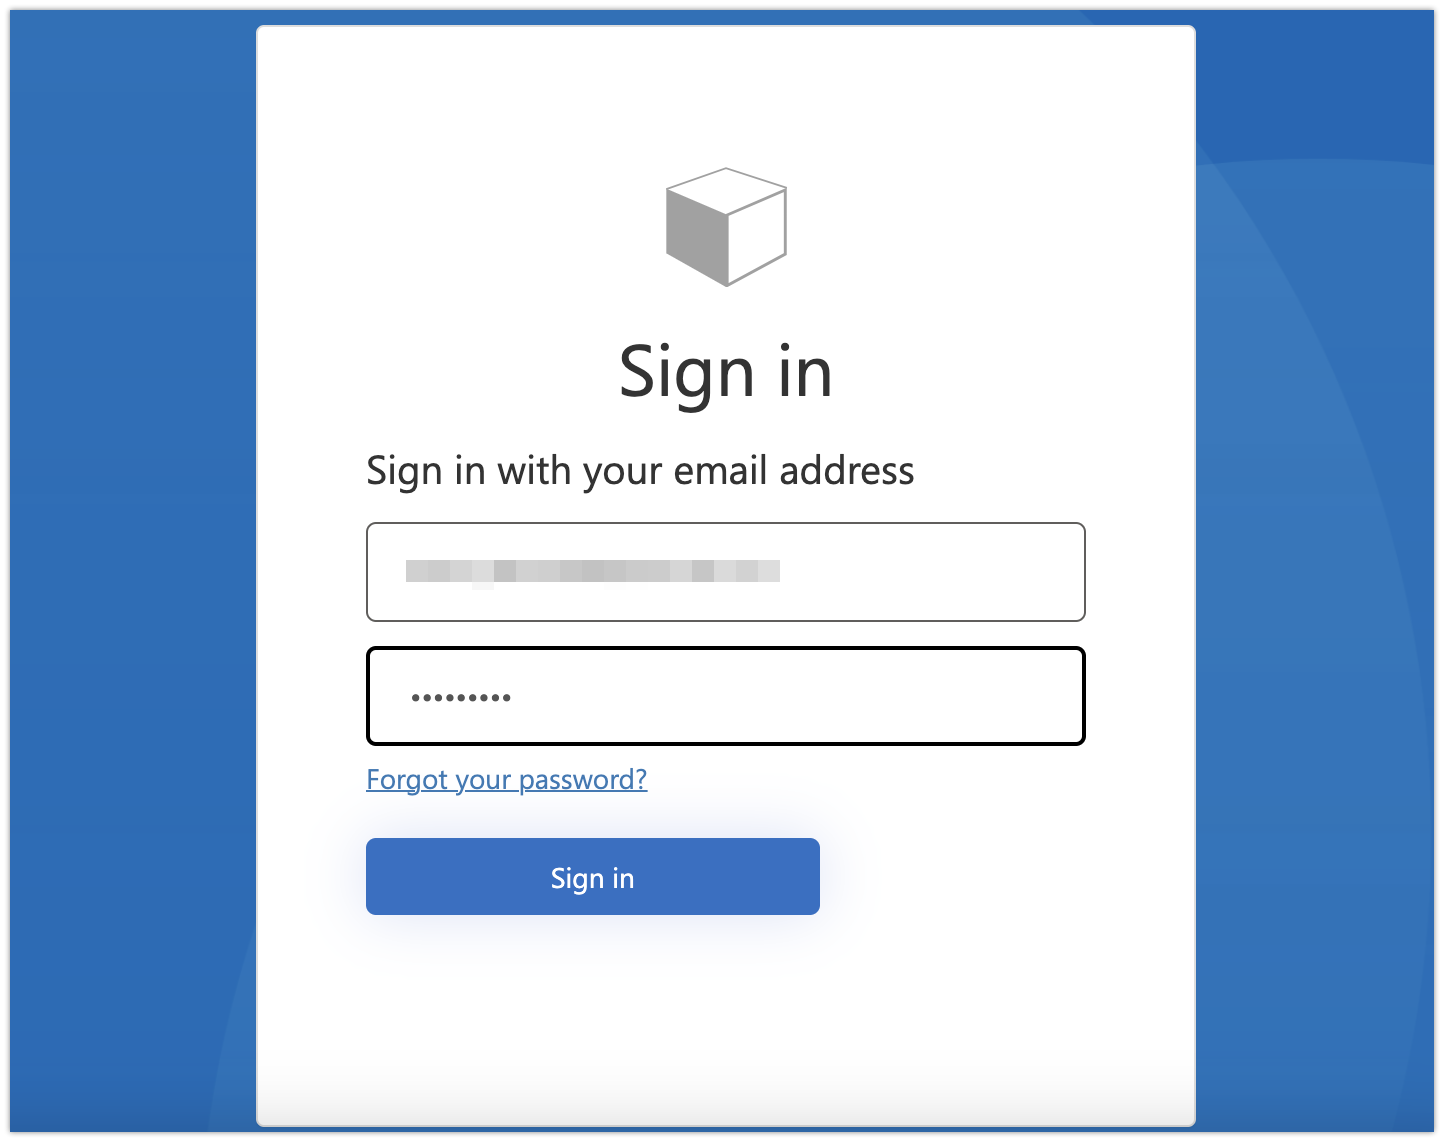
You will be now redirected to Azure AD B2C's login page. Please log-in with your username and password

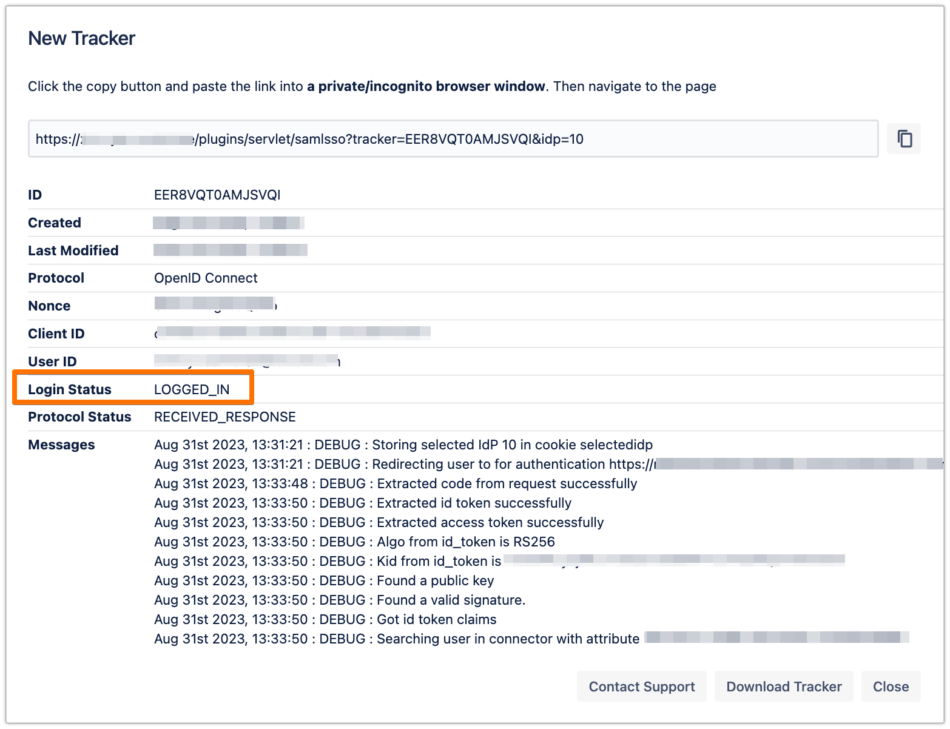
If everything worked fine, you will be logged in to your Atlassian product. In the other tab/browser in which you were configuring the SAML SSO plugin, you can see also the "LOGGED_IN" status, if everything worked as expected.

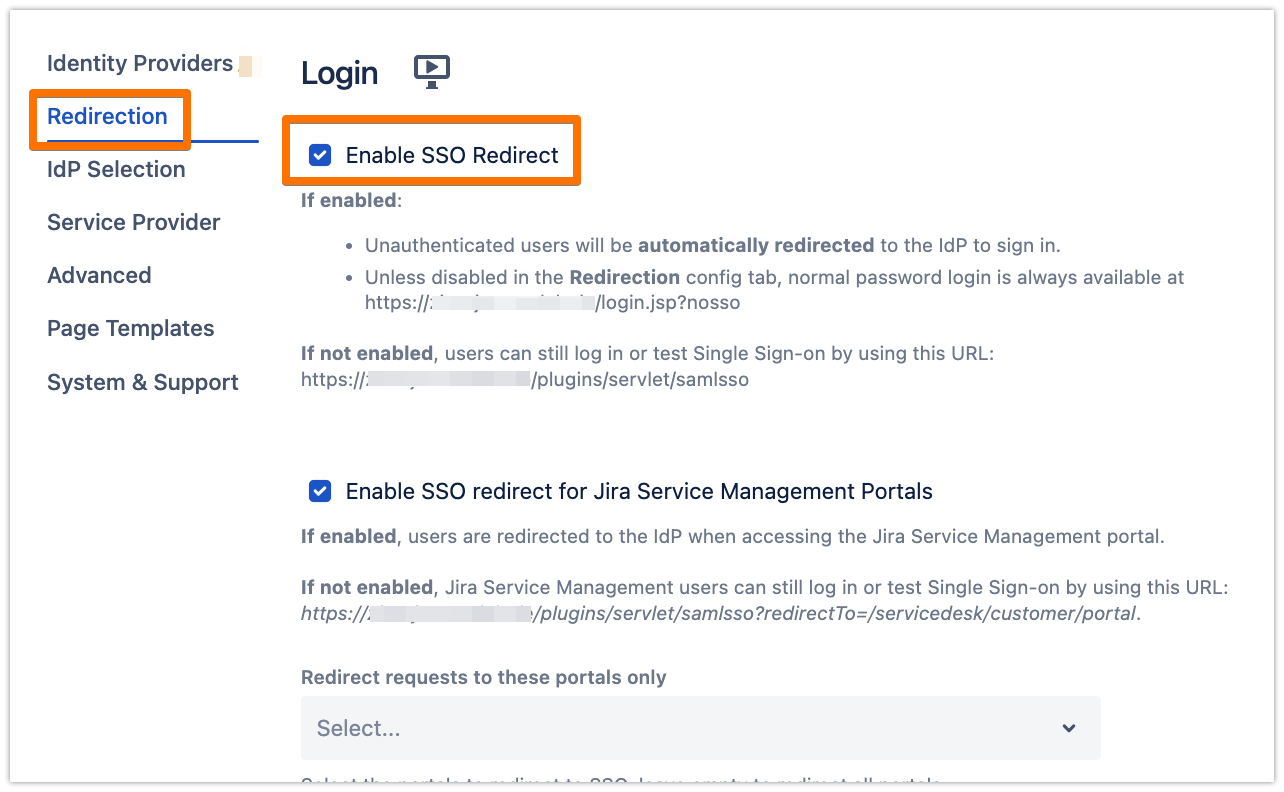
SSO Redirection
As a last step, you can enable the Enable SSO Redirect option. If set, all users will be redirected to Single Sign On, thus they will be logged in via the IdP.
Click on Save & Close to finish the configuration.