
Filters
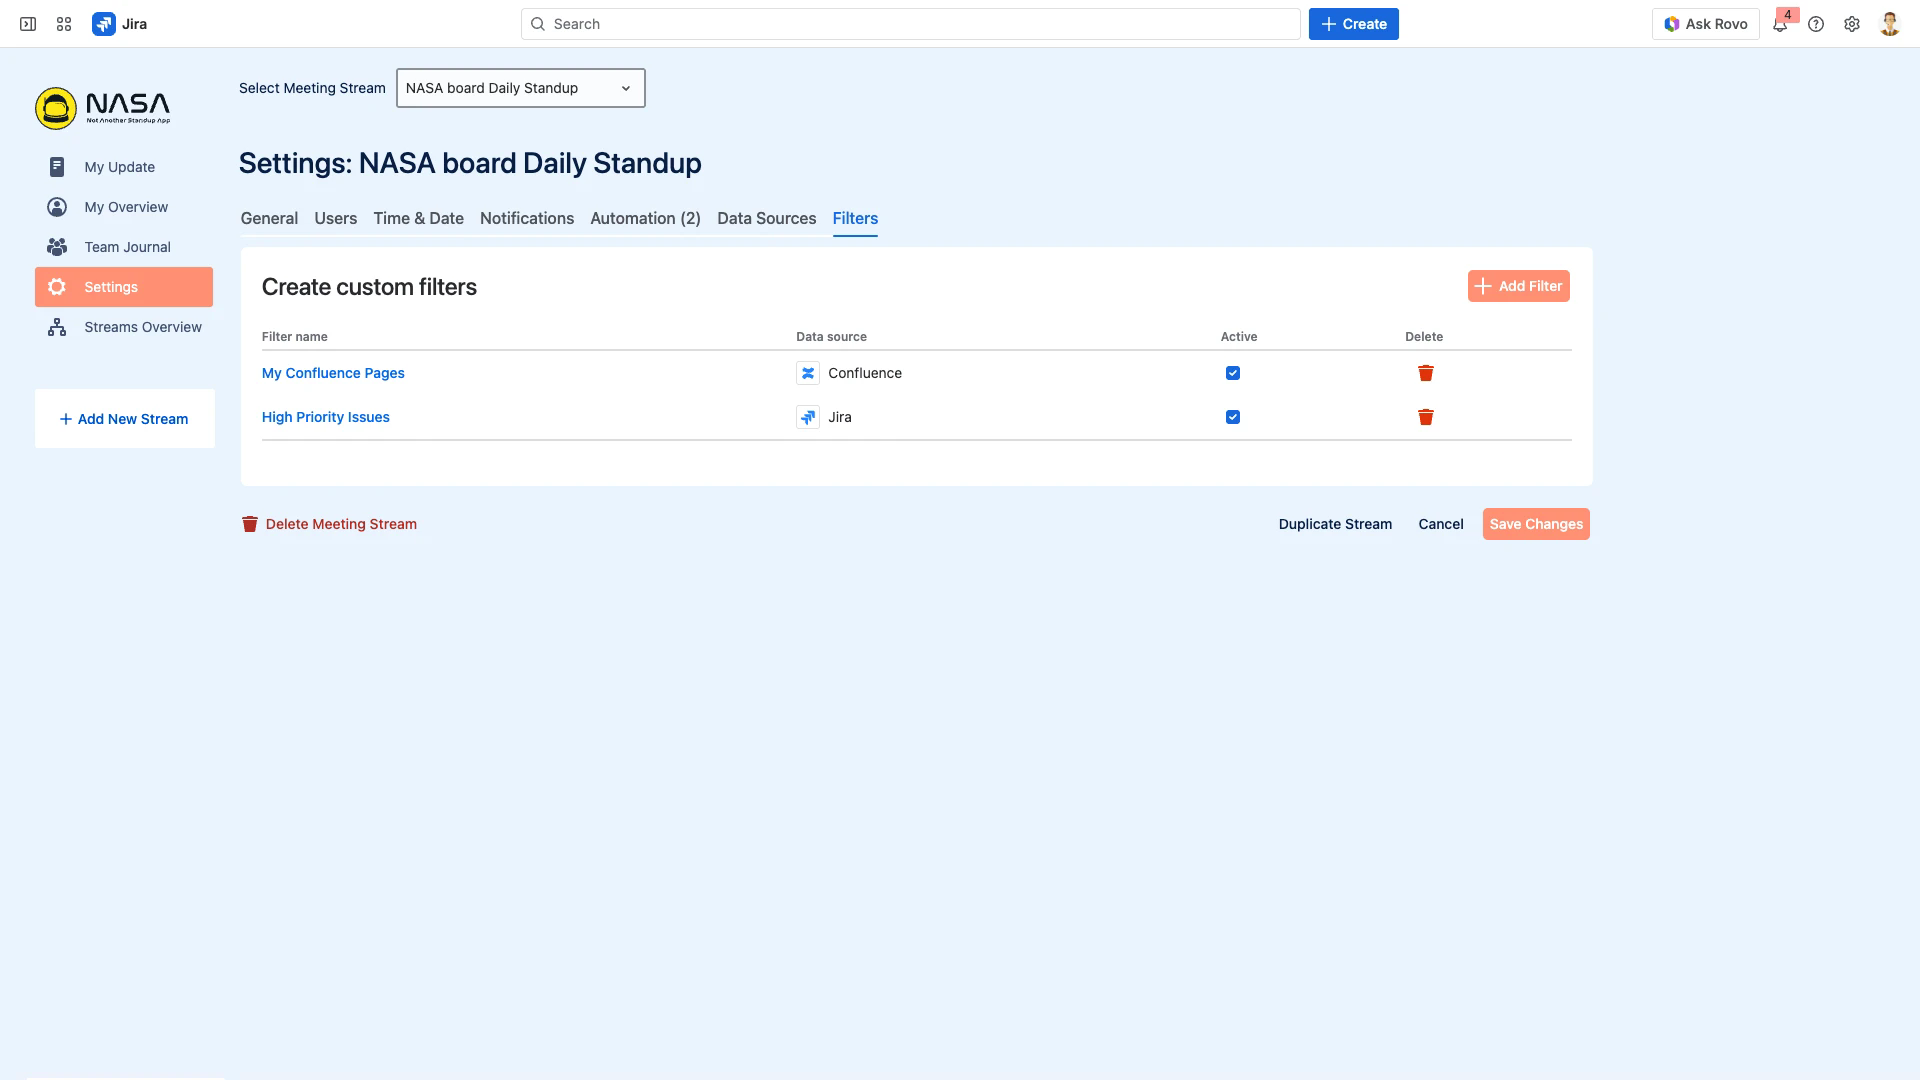
The Filters tab in Settings defines custom filter lists for Jira issues and Confluence pages. These filters appear in the Suggested Items panel during My Update preparation, letting participants quickly find relevant items to add to their meeting agenda.
Filter Views
Filters are organized into two views:
Scrum Master View – filters created by the Scrum Master or Coverer. Visible to all stream participants.
Personal View – filters created by individual participants. Only visible to the creator.
Both views appear as tabs in the Suggested Items panel during My Update.
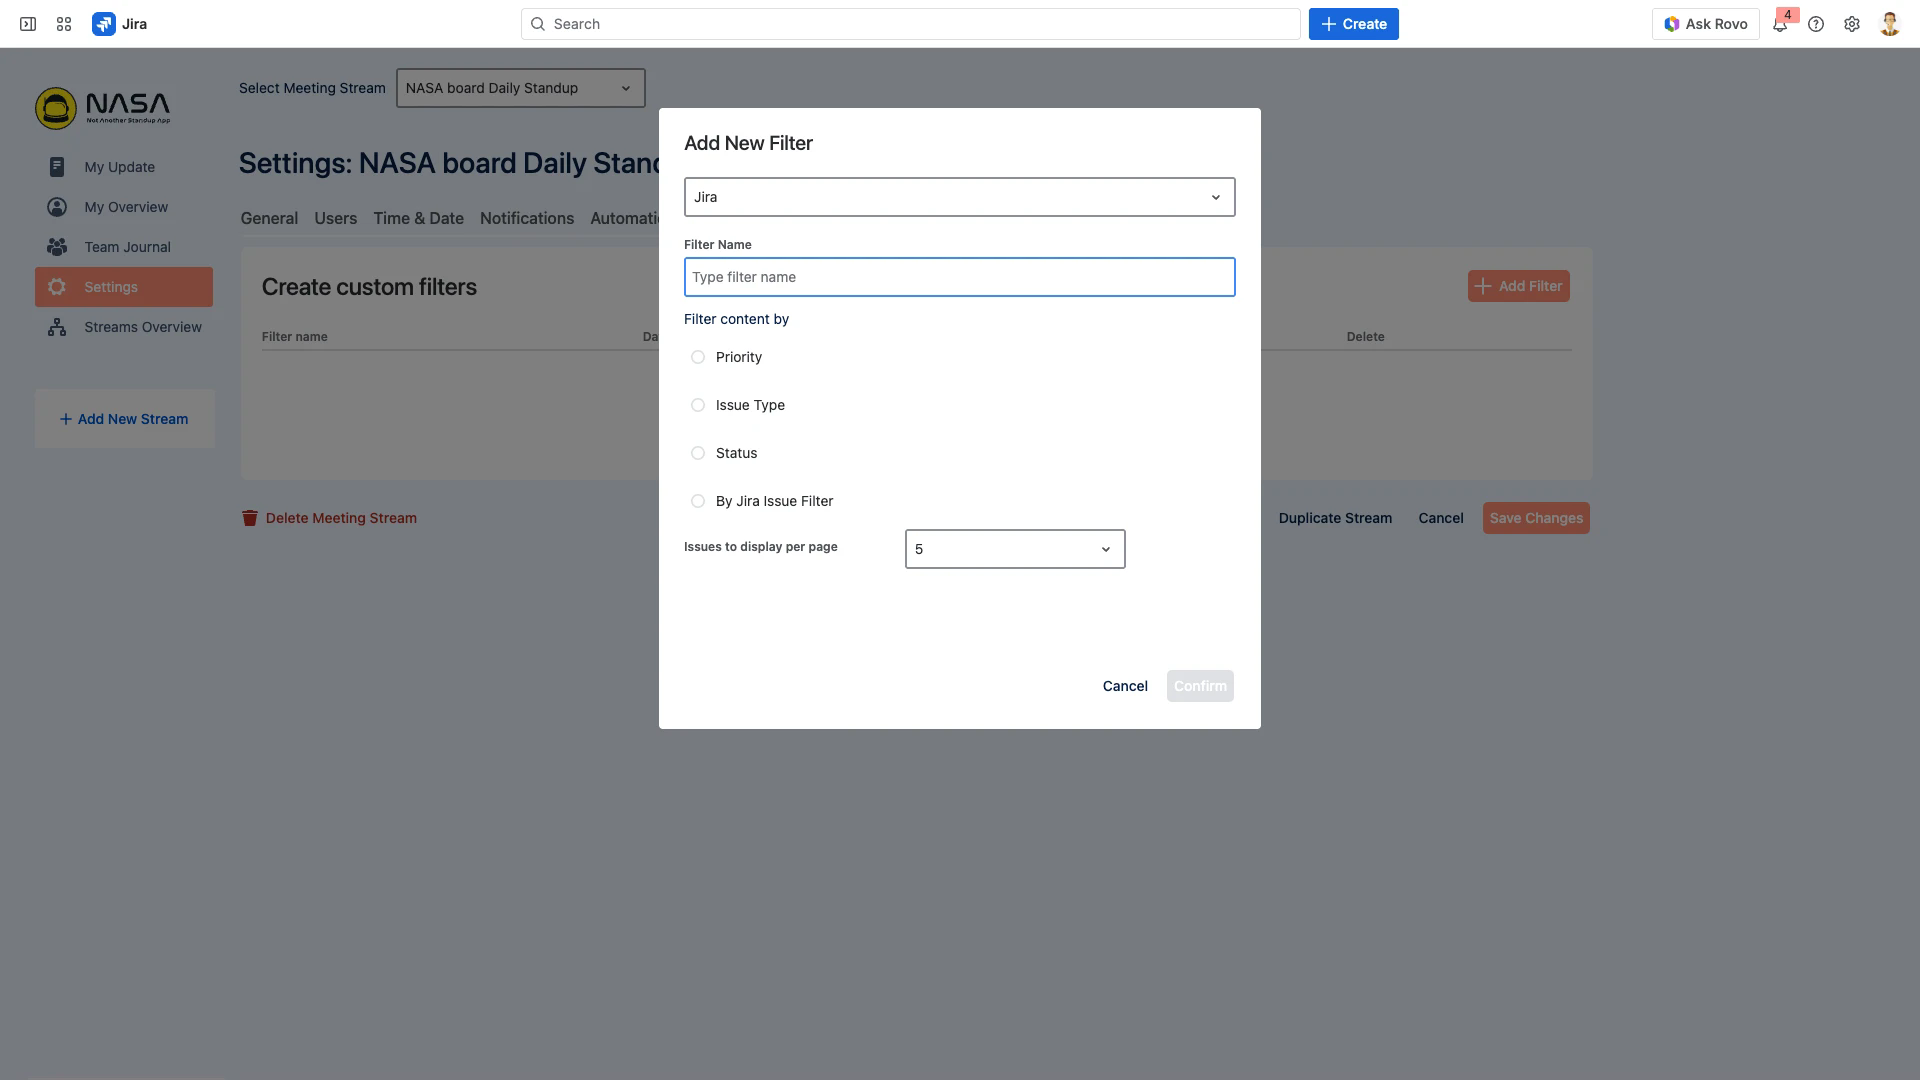
Add a Jira Filter
Open Settings > Filters and click Add Filter.
Select Jira as the data source.
Enter a filter name (e.g., “High Priority Issues”).
Choose a filter method:
Priority – filter by issue priority (e.g., Highest, High).
Issue Type – filter by type (e.g., Bug, Task, Story).
Status – filter by workflow status (e.g., In Progress, To Do).
By Jira Issue Filter – use a saved Jira filter with a custom JQL query.
Set the number of issues to display per page.
Click Confirm.
JQL Filters
For JQL-based filters, create a saved filter in Jira first (Filters > Create filter), then select it in NASA. To share the filter with your team, see Suggested Jira Issue Selection for filter sharing instructions.
Add a Confluence Filter
Confluence filters require an active Confluence connection in Data Sources.
Click Add Filter and select Confluence as the data source.
Enter a filter name.
Select one or more content types:
Watched – pages you are watching.
Worked On – pages you have recently edited.
Starred – pages you have starred.
Optionally enable Only show pages updated within the last 30 days to exclude stale content.
Set the number of pages to display per page.
Click Confirm.
Managing Filters
The filter list table shows all configured filters with their data source and active status. Use the Active checkbox to enable or disable a filter without deleting it. Click the delete icon to permanently remove a filter.
Troubleshooting
Filter not appearing in My Update – verify the filter’s Active checkbox is enabled.
Confluence filter returns no results – check that a Confluence connection is active in Data Sources.
JQL filter returns unexpected results – test the JQL query in Jira’s issue search first to confirm it returns the expected issues.
Remember to save
Click Save Changes at the bottom of the page after modifying any settings. Unsaved changes are lost when navigating away.
Related Pages
Suggested Jira Issue Selection – configure which issues appear as suggestions and how to share Jira filters
Data Sources – manage the Confluence connection required for Confluence filters
Meeting Settings – overview of all settings tabs