
.How User Sync works
In this article, we will give a brief overview about how User Sync from Resolution GmbH works. The page will describe the (full) sync. You could also run a Sync Single User, but this sync has some differences and will be explained in the following article LINK
Our User Sync connector gives you the ability to sync users from your IdP (currently we support Azure AD, Google G-Suite, OneLogin, Keycloack and Okta) into a new created Atlassian user directory. This will keep your Atlassian application (only Jira, Confluence, Bitbucket, and Bamboo are supported) automatically in sync whenever a new user is created, updated, disabled or deleted in the IdP repository. For the synchronization itself, we will use the (proprietary) user management API's from the Identity provider. There are two possible flows which we will describe. The first one will speed up your sync when you have tens of thousands of IdP users.
Users can not log in with their local password. No passwords will be synced and there is no mechanism for User Sync to ask the IdP to validate the user.
User Sync will create the following tables:
AO_F58FCA_SYNC_STATUS_DATA
It contains data that can help to debug a User Sync process
AO_F58FCA_SYNC_USER_RESULT
The table was introduced in User Sync version 2.x. The database will contain a column RESULT_JSON, which contain the data from / for the Download Results.
The following tables could also exist, but contain no data anymore.
AO_F58FCA_SYNC_STATUS
Was used in older version, could be empty.
AO_F58FCA_SYNC_STATUS_MSG
Was used in older version, could be empty.
AO_F58FCA_SYNC_STATUS_MSG_DATA
This table is present for legacy reasons. It may contain data depending on when you used User Sync for the first time.
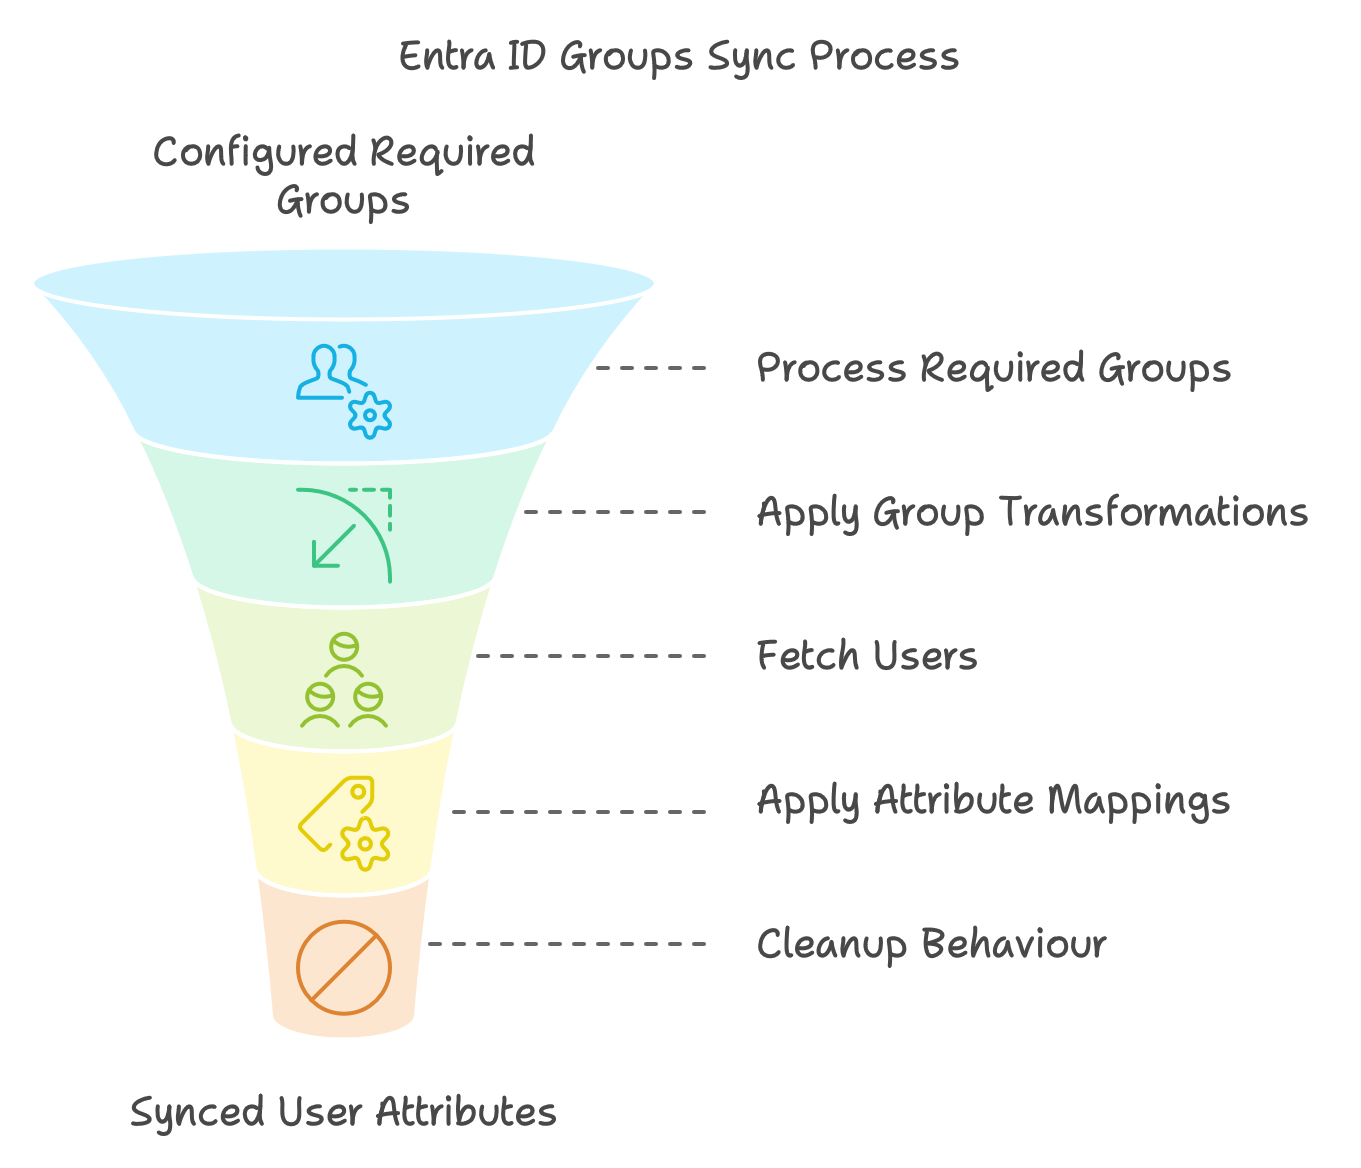
With Required Groups ...
Add Logs for every step
Step x: Building index
- 2022-06-13 09:07:35,239 DEBUG [Caesium-1-2] [atlasuser.impl.user.CrowdApiAtlasUserAdapter] buildIndex Building index for attribute name azure_ID
- 2022-06-13 09:07:35,248 DEBUG [Caesium-1-2] [atlasuser.impl.user.CrowdApiAtlasUserAdapter] buildIndex Executed batch 1 starting at 0 returning 9 users
- 2022-06-13 09:07:35,256 DEBUG [Caesium-1-2] [atlasuser.impl.user.CrowdApiAtlasUserAdapter] buildIndex Executed batch 2 starting at 500 returning 0 users
- 2022-06-13 09:07:35,260 DEBUG [Caesium-1-2] [resolution.usersync.impl.SyncStatusAoProxy] lambda$addMessage$4 Added message Building index took 16 milliseconds. to 45
Step 1: Load only the required groups from the IdP
Start with processing all configured required groups.
- 2022-06-13 09:07:35,272 DEBUG [Caesium-1-2] [resolution.usersync.impl.SyncStatusAoProxy] lambda$addMessage$4 Added message Start processing required groups. to 45
- 2022-06-13 09:07:35,274 DEBUG [Caesium-1-2] [usersync.builtin.azure.AzureConnector] printToLogger Start processing required groups.
- 2022-06-13 09:07:35,758 DEBUG [Caesium-1-2] [usersync.builtin.azure.AzureConnector] fetchRequiredAzureGroups Processed 174 groups so far. Found 1 required group(s).
Step x: Processing all groups (Finished processing ... groups)
- 2022-06-13 09:07:35,761 DEBUG [Caesium-1-2] [resolution.usersync.impl.SyncStatusAoProxy] lambda$addMessage$4 Added message finished processing 174 groups. to 45
- 2022-06-13 09:07:35,763 DEBUG [Caesium-1-2] [usersync.builtin.azure.AzureConnector] printToLogger Finished processing 174 groups.
Step 2: Apply the configured group transformations
Step 3: Filter out groups that are not in required groups
Step 4: Fetch users by group, one by one
Step 5: Apply the configured Attribute Mappings
Step 6: Cleanup Behaviour
If you take a closer look at the Sync Status, you will see the row Messages, which contain some described steps.

Without Required Groups ...
Step 1: Load all groups from the IdP
Groups are fetched paginated, so around 200 groups per request are possible
Step 2: Apply the configured group transformations
Step 3: Filter out groups that are not in required groups
Step 4: Fetch users by group, one by one
Step 5: Apply the configured Attribute Mappings
Step 6: Cleanup Behaviour