User Guide
User Token Management for Server and Data Center
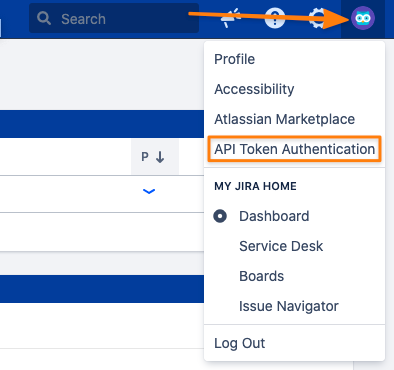
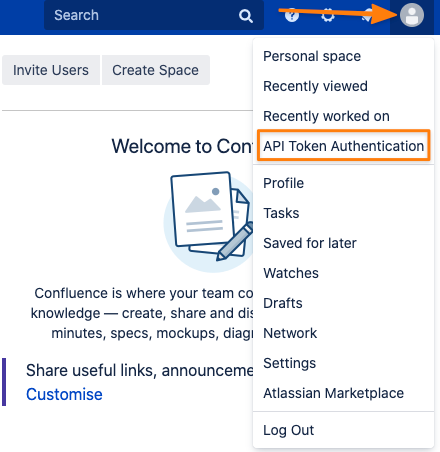
Users can manage their tokens by clicking on the profile icon and selecting the API Token Authentication Link
Jira Server or Data Center
Confluence Server or Data Center
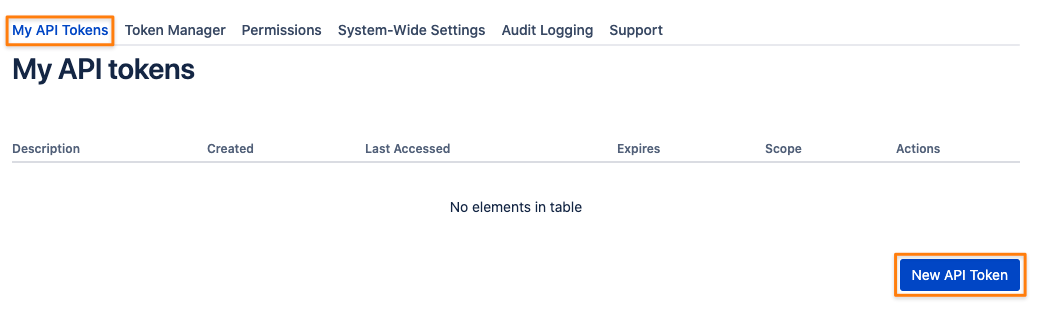
Creating a new token
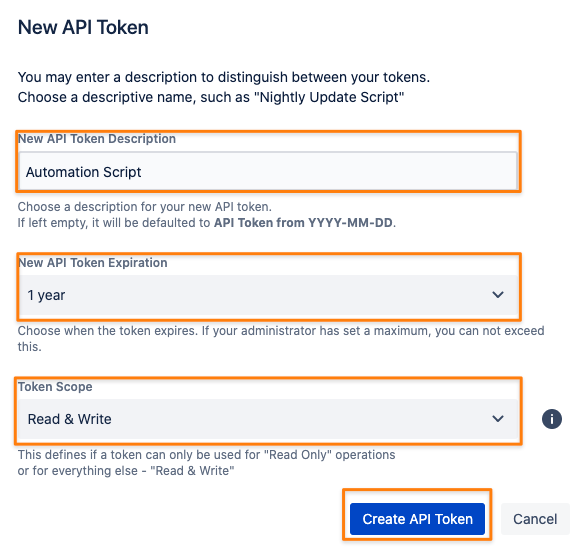
Creating a new token with the corresponding button in the "My API Tokens" tab
Enter a description for the token
Select the expiration time within the boundaries defined by your administrator
Choose whether the token should have Read Only or Read & Write scope *
* Read more about scopes in the info box at the end of this section
If your administrator has not enabled the Users may only create "Read Only tokens" setting,
you will see an additional info stating that the token will only have read only scope,
so that you may only use it for REST requests of type GET: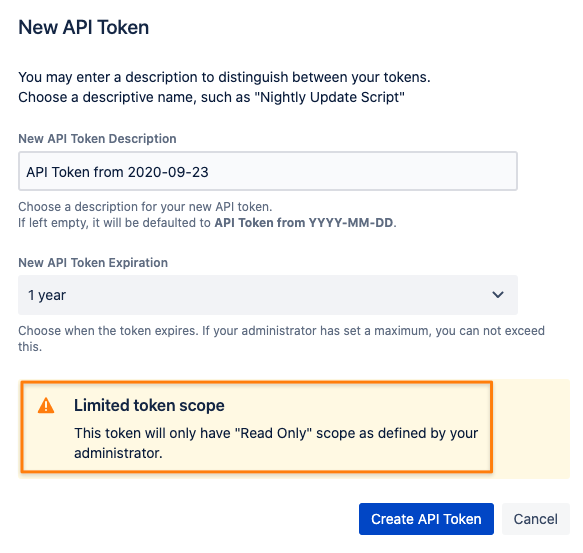
Click on the Create API Token button to retrieve your token along with a summary of preferences:

You may now access the REST API via Basic Authorization, using your username and the token, instead of your user password (if you have any).
Please be aware of possible token scope restrictions as defined by your administrator (see the next paragraph for details).
Token Scopes
There are currently two token scopes available.
Read Only
Only the GET, HEAD and OPTIONS HTTP request types are allowed, using a token on endpoints requiring any other type will result in a 403 Forbidden error.
There are two exceptions/ endpoints not affected by that:
the Jira Session endpoint to which you can POST your username and token to retrieve a session cookie
the API Token Authentication endpoint to which a user can POST details to create a token, if permitted to
Read & Write
All HTTP request types are allowed to be used.
Every type other than GET, HEAD and OPTIONS suggests that it is a write operation somehow, manipulating existing data in some form.
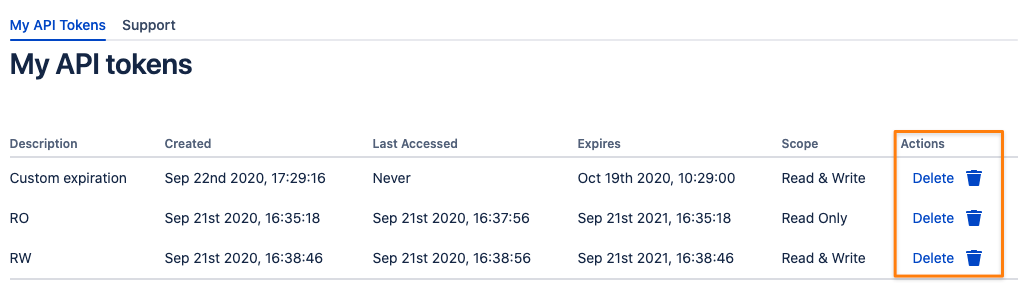
Revoking tokens
To revoke any token, simply use the Delete operation in the Actions column.
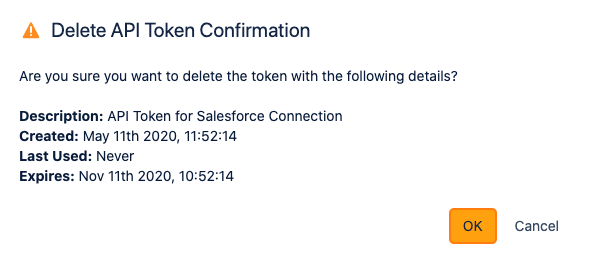
A confirmation modal window will ask for confirmation again, displaying all the token details for your convenience.
Token Manager
Creating a token for other users
If your administrator has granted permissions to create tokens for other users, you'll see another tab called "Token Manager".
It also allows you to filter tokens of all users and create tokens for any of them
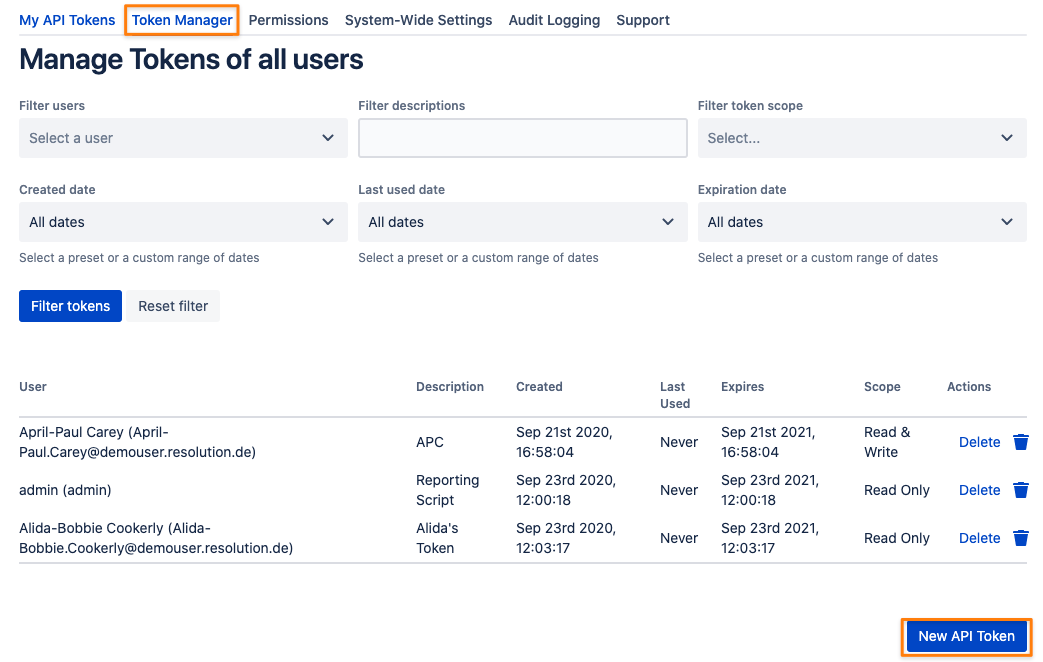
To create a token for somebody else, press the New API Token button again and select a user to create a token for.
Provide a description and select an expiration time. Minimum value here is what your administrator has defined.
You might choose a lower value, but you can't select anything above, if applicable at all.
You may also provide a token scope (Read Only or Read & Write) as described earlier.
Not selecting any scope will create a Read & Write token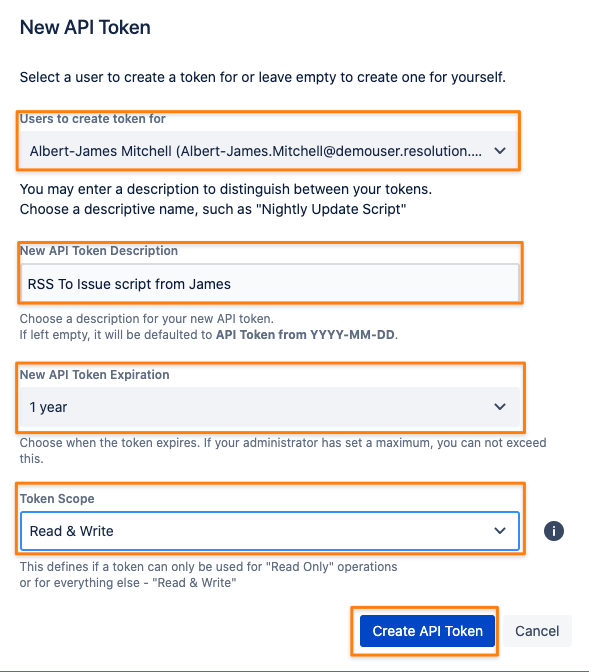
Revoking tokens of other users
If you have permissions to access the Token Manage tab, you can revoke/ delete tokens in the same way you would your own tokens.
Just use the delete icon/ link in the Action column.
Filter Tokens
The token manager tab also provides filter capabilities.
Select one or more users for whom you want to see their tokens, enter a string from the token description to search for (search is case insensitive)
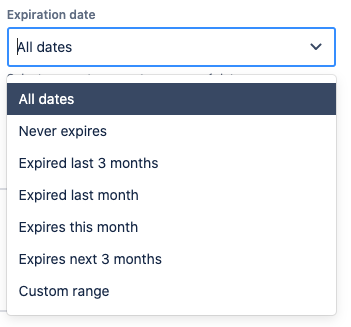
or filter for created-, last used- or expiration date.
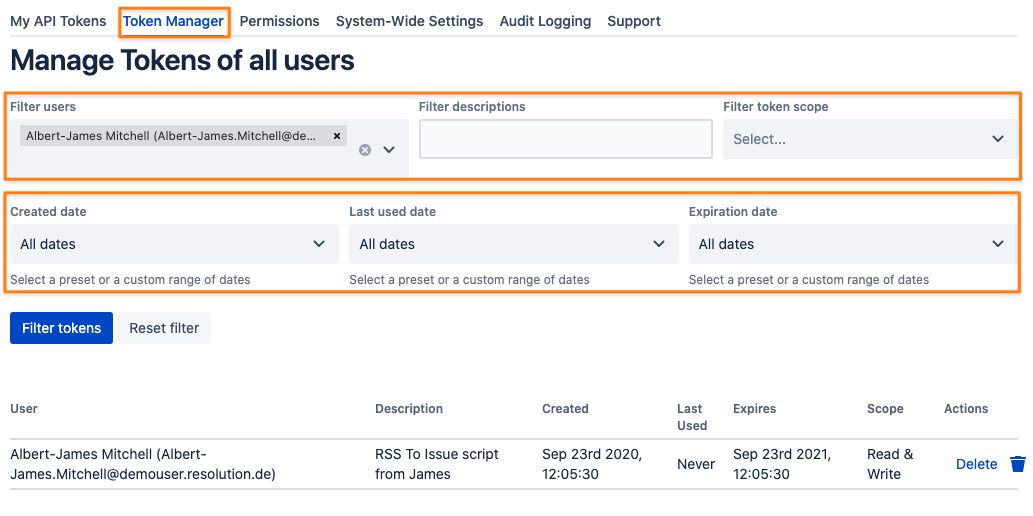
The date filters provide presets to choose from but you can also define a custom range for each