AWS Cognito
Goal
After completing this guide, your Amazon load balancer will work with the AWS ALB & Amazon Cognito Authentication app.
If you want to create users during login based on the JWT sent by your load balancer or setup UserSync to connector via your identity provider, please see (3.3.x) User Provisioning.
Prerequisites
This guide assumes the following:
You have set up a Jira or Confluence instance on AWS with an ALB or ELB load balancer
You have set up Amazon Cognito with your identity provider
A (trial) subscription for the AWS ALB Auth app
Admin access to your Atlassian product and AWS
Guide
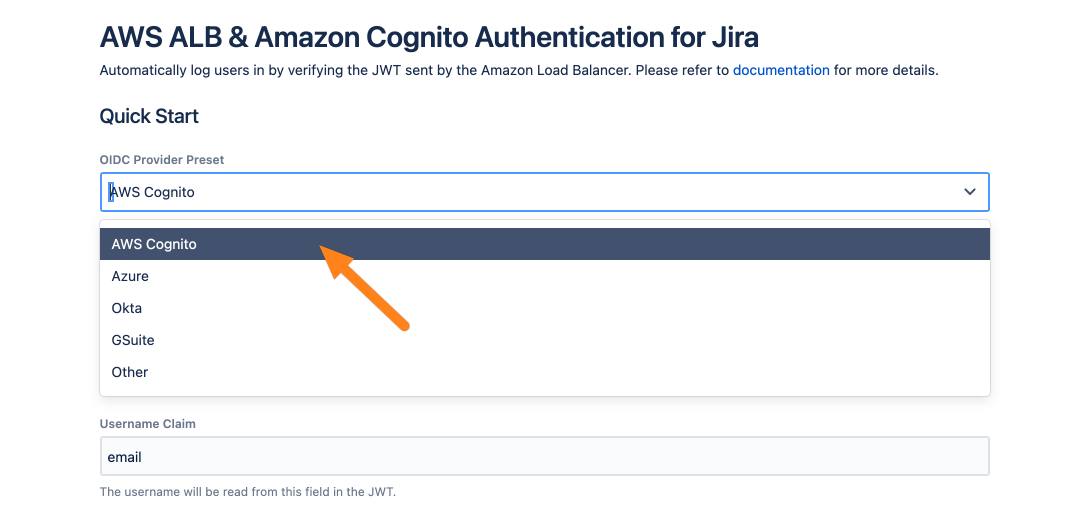
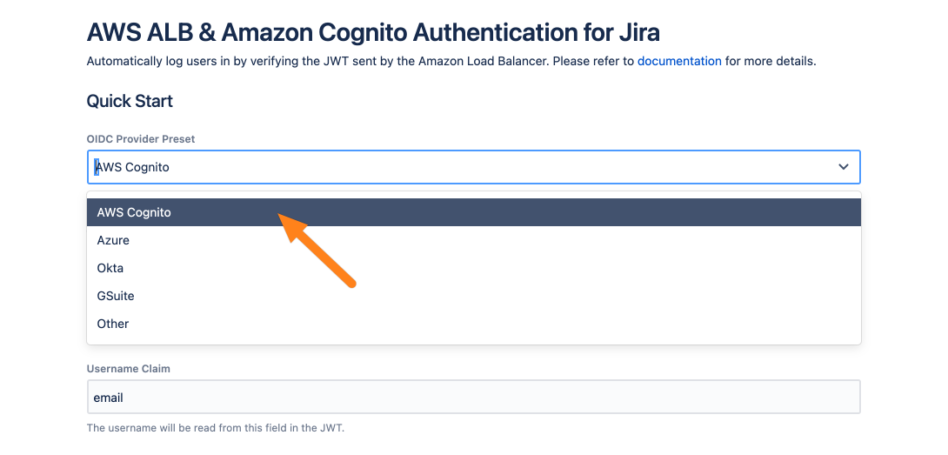
Go to the AWS ALB & Amazon Cognito Authentication configuration and click AWS Cognito.
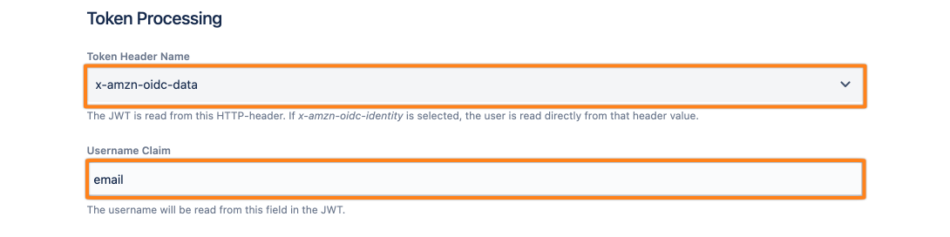
This tutorial assumes that the username is sent in the x-amzn-oidc-data header via a claim called email. If that does not matches your setup, you can change the used header token via the Token Header Name option and the Username Claim.
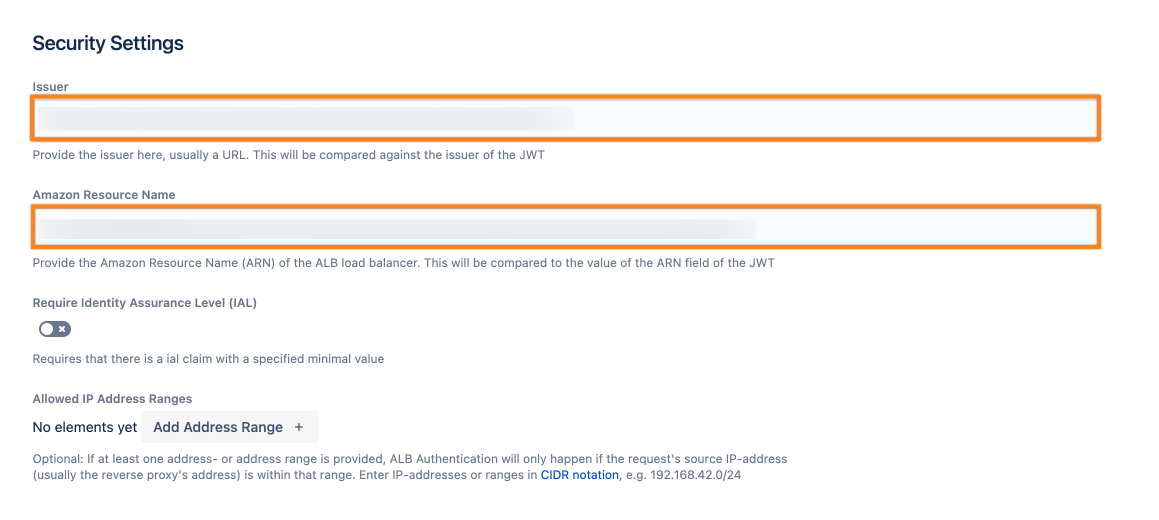
This app automatically checks the signature of the x-amzn-oidc-data. Additionally, you must also provide the issuer, as well as the Amazon Resource Name of the load balancer that sends the header. Please see below for more info about these values.
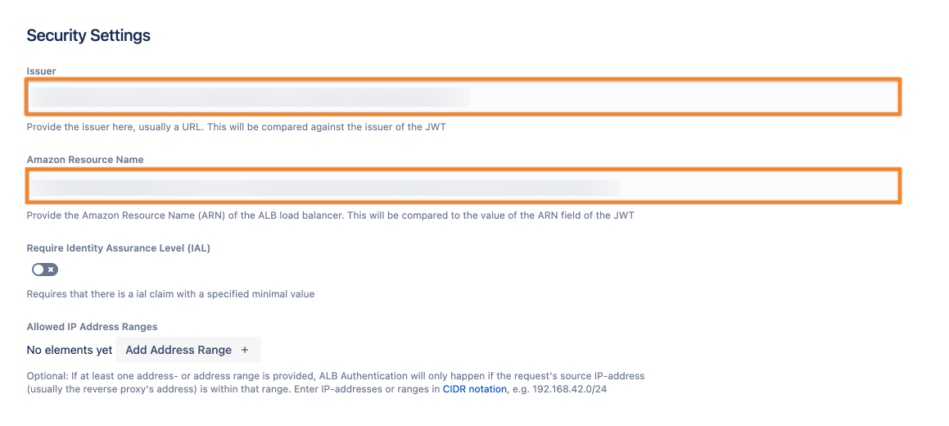
The Issuer is https://cognito-idp.<REGION>.amazonaws.com/<POOL Id> . You must replace <REGION> and <POOL Id> with the corresponding value for your Cognito configuration.
The ARN can be found in the Description tab of your Load Balancer in AWS.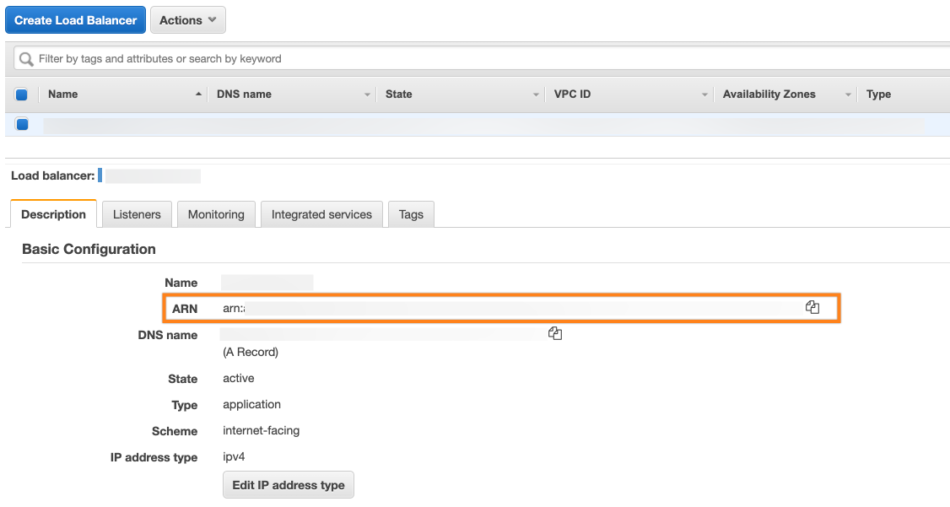
Finally, click Save to save the configuration.