Getting Started
Welcome
With Confluence Plugin For Zoom Recordings you will have native Zoom cloud recordings without moving away from Confluence! Follow this quick guide to get started.
Step 1: Embedding Zoom cloud recordings in Confluence
Method 1: Embedding with a recording link
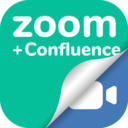
Log into your Zoom account, go to the Recordings section
ZoomcloudClick on "Copy sharable link"
Then paste it anywhere into a Confluence page.
If you like to add chapters to it, click on the Edit icon below the video.
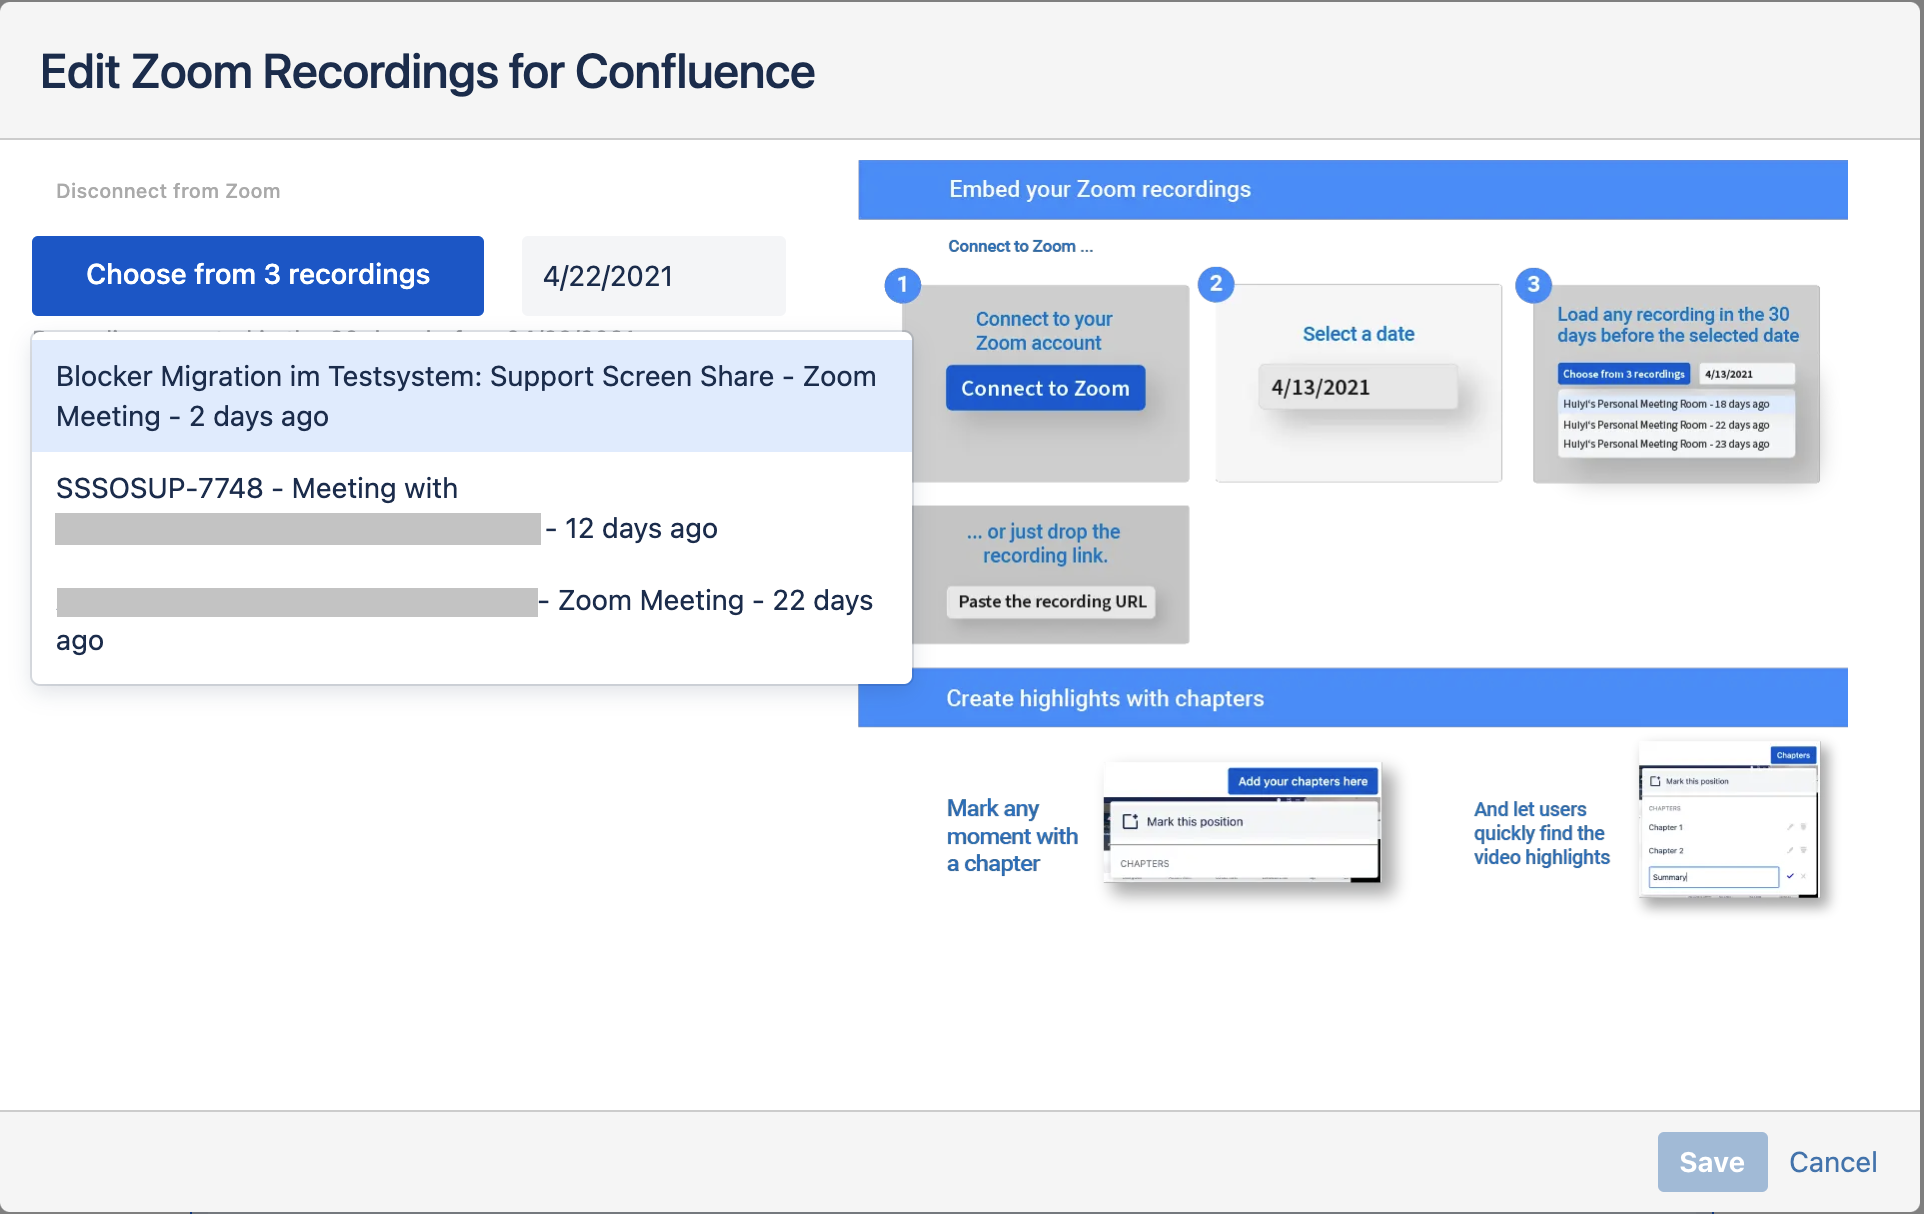
Method 2: Connect to your Zoom account
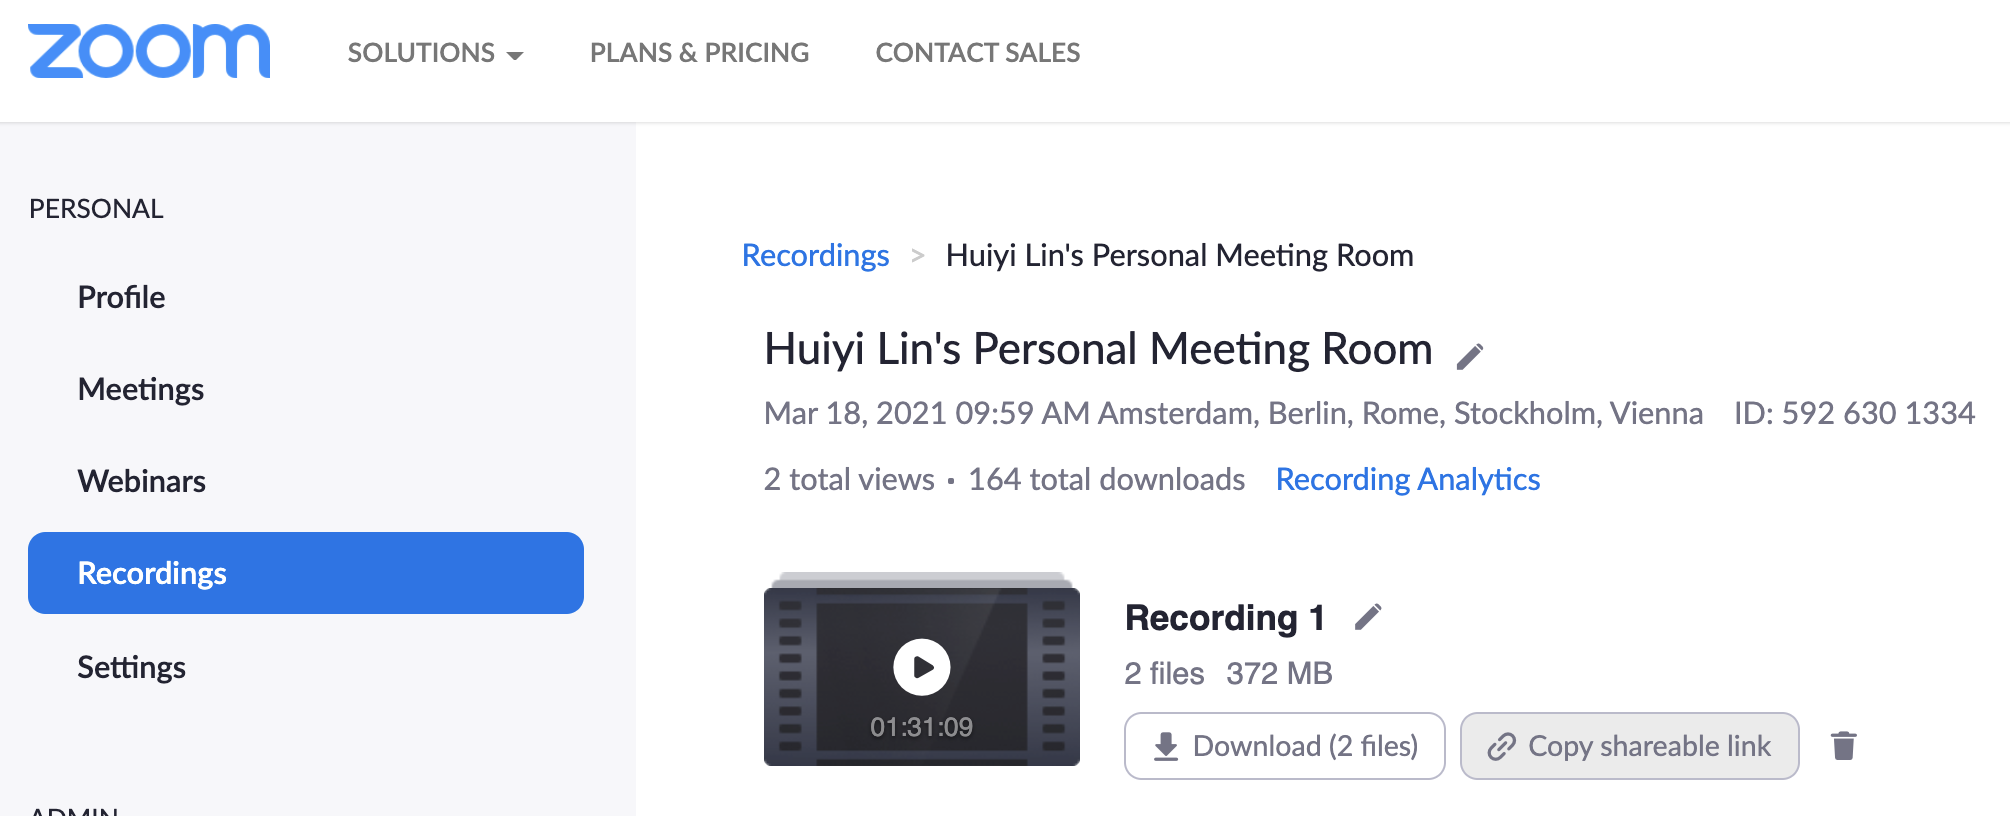
Type /zoom into a Confluence page and select "Embed a Zoom Recording".
Hit the "Edit" icon below.
Click on "Connect to Zoom"
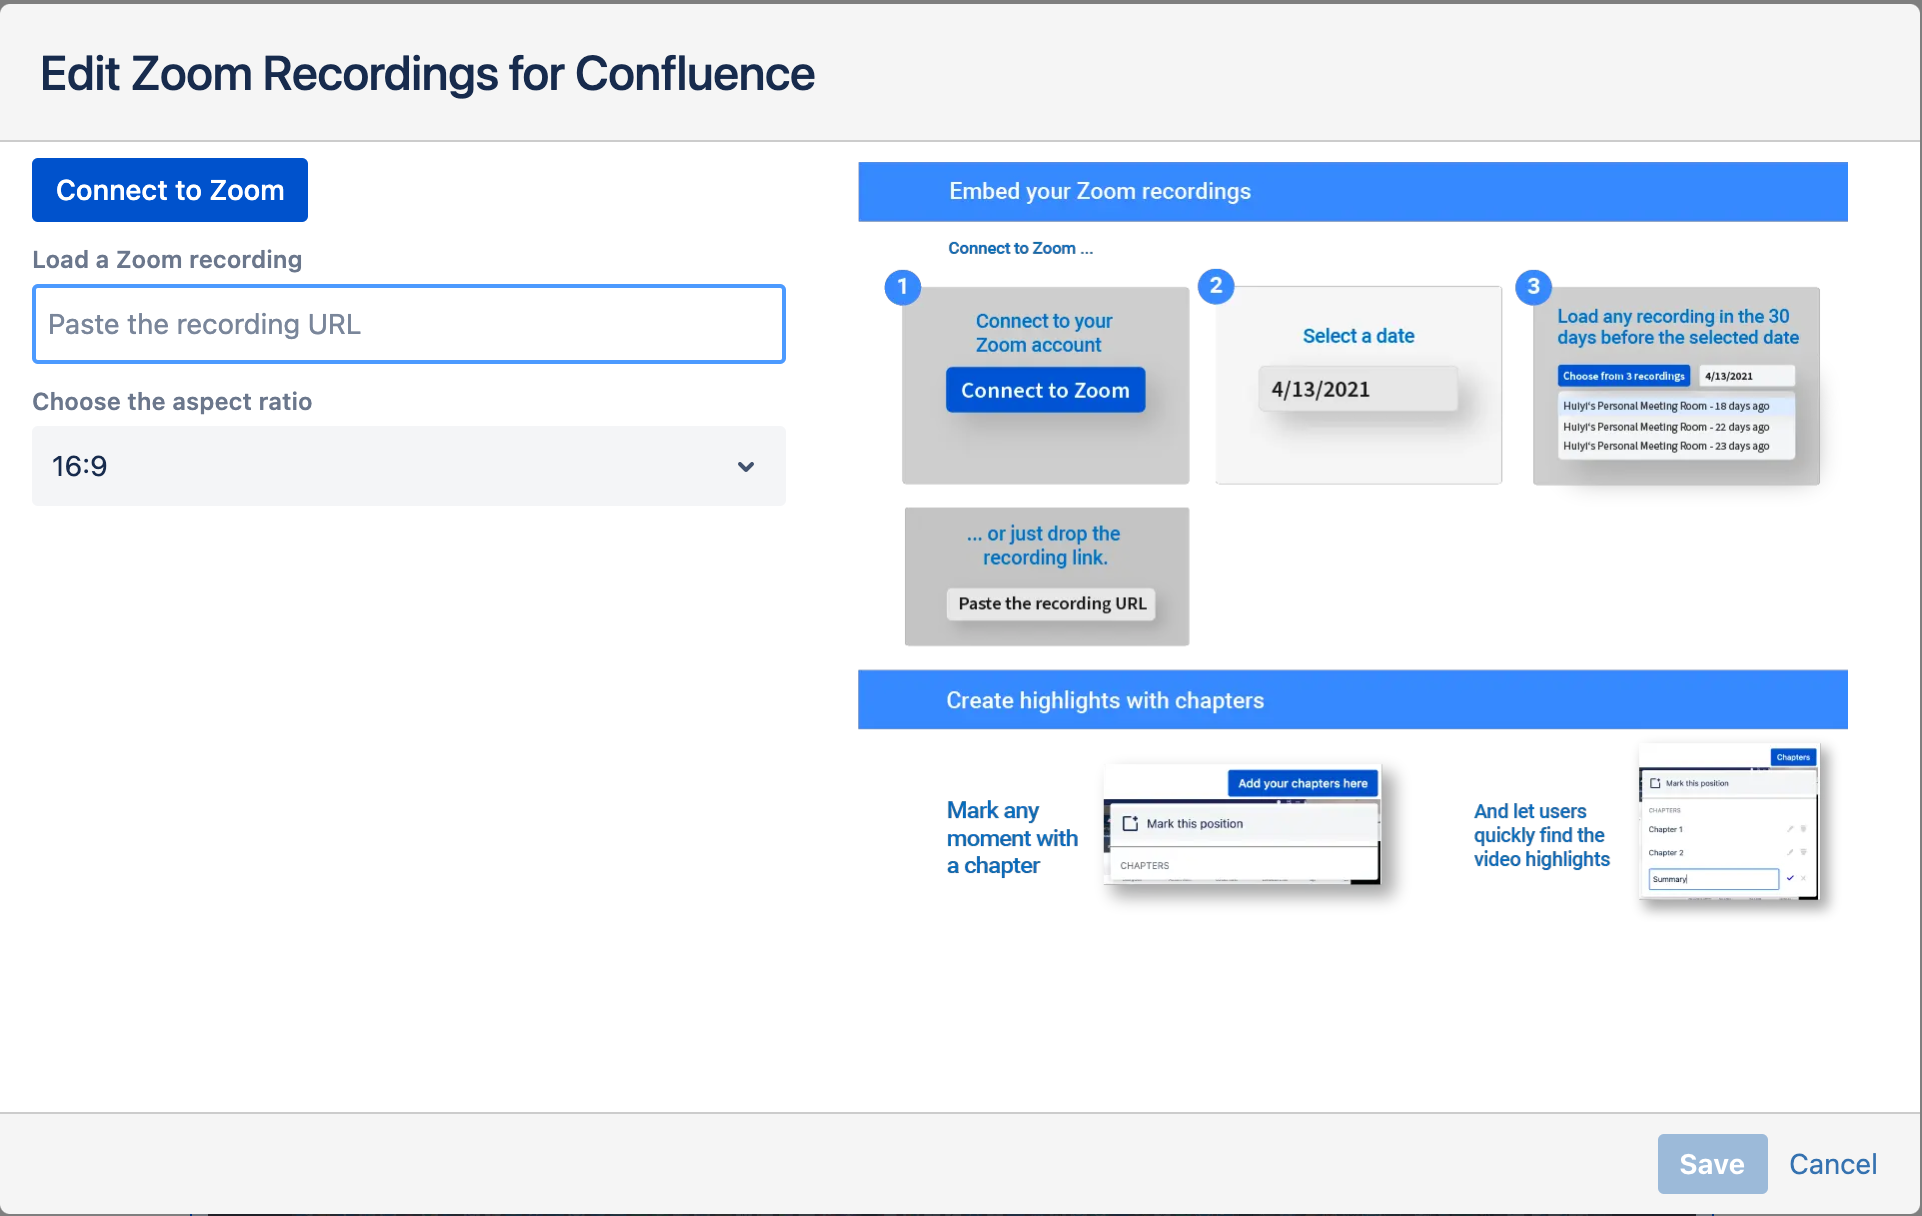
and sign in with Zoom
Then choose a recording (or first a date, when the recording is more than 30 days old)
Method 3: Auto attach a password-protected recording
When you select a recording that is password-protected, this dialog will appear:
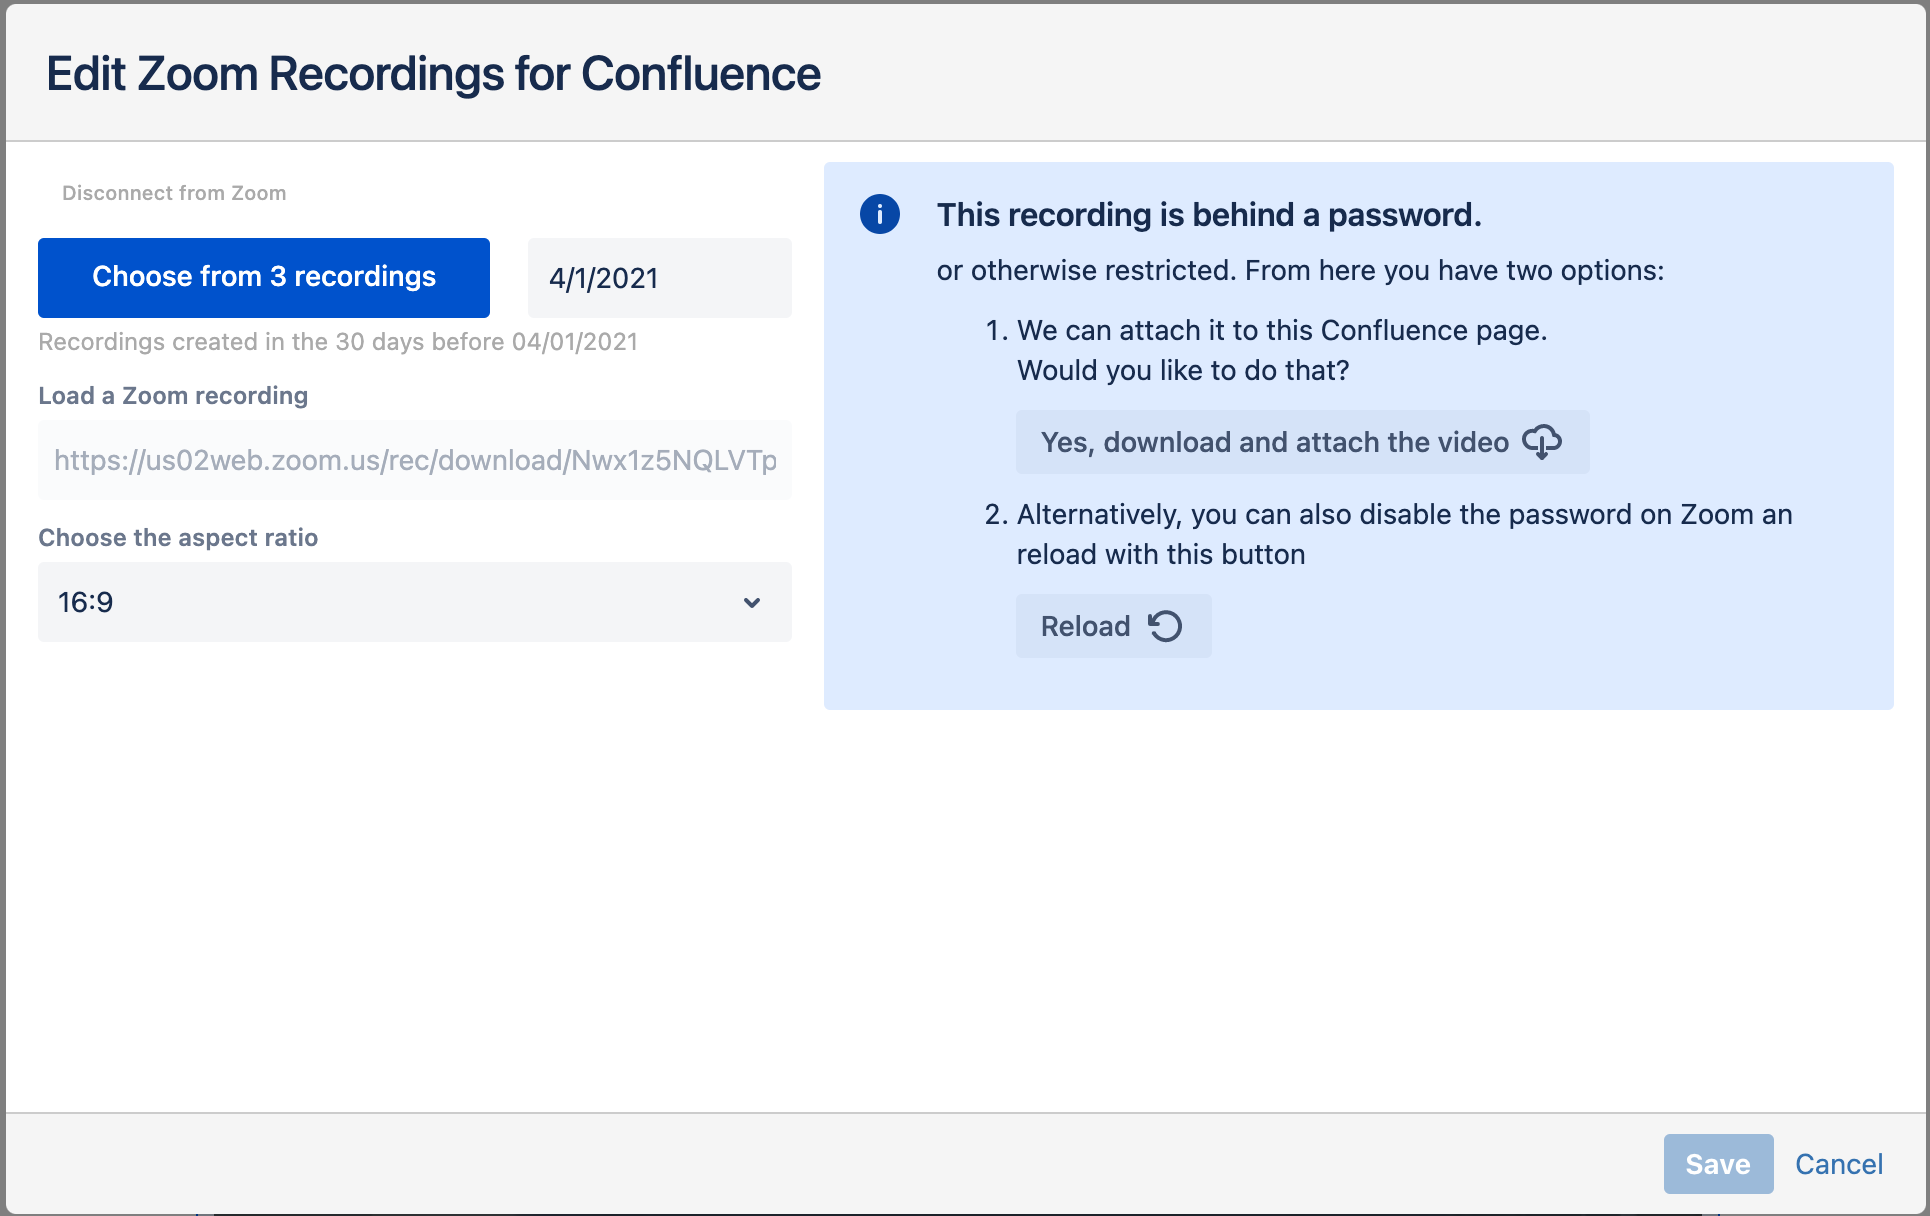
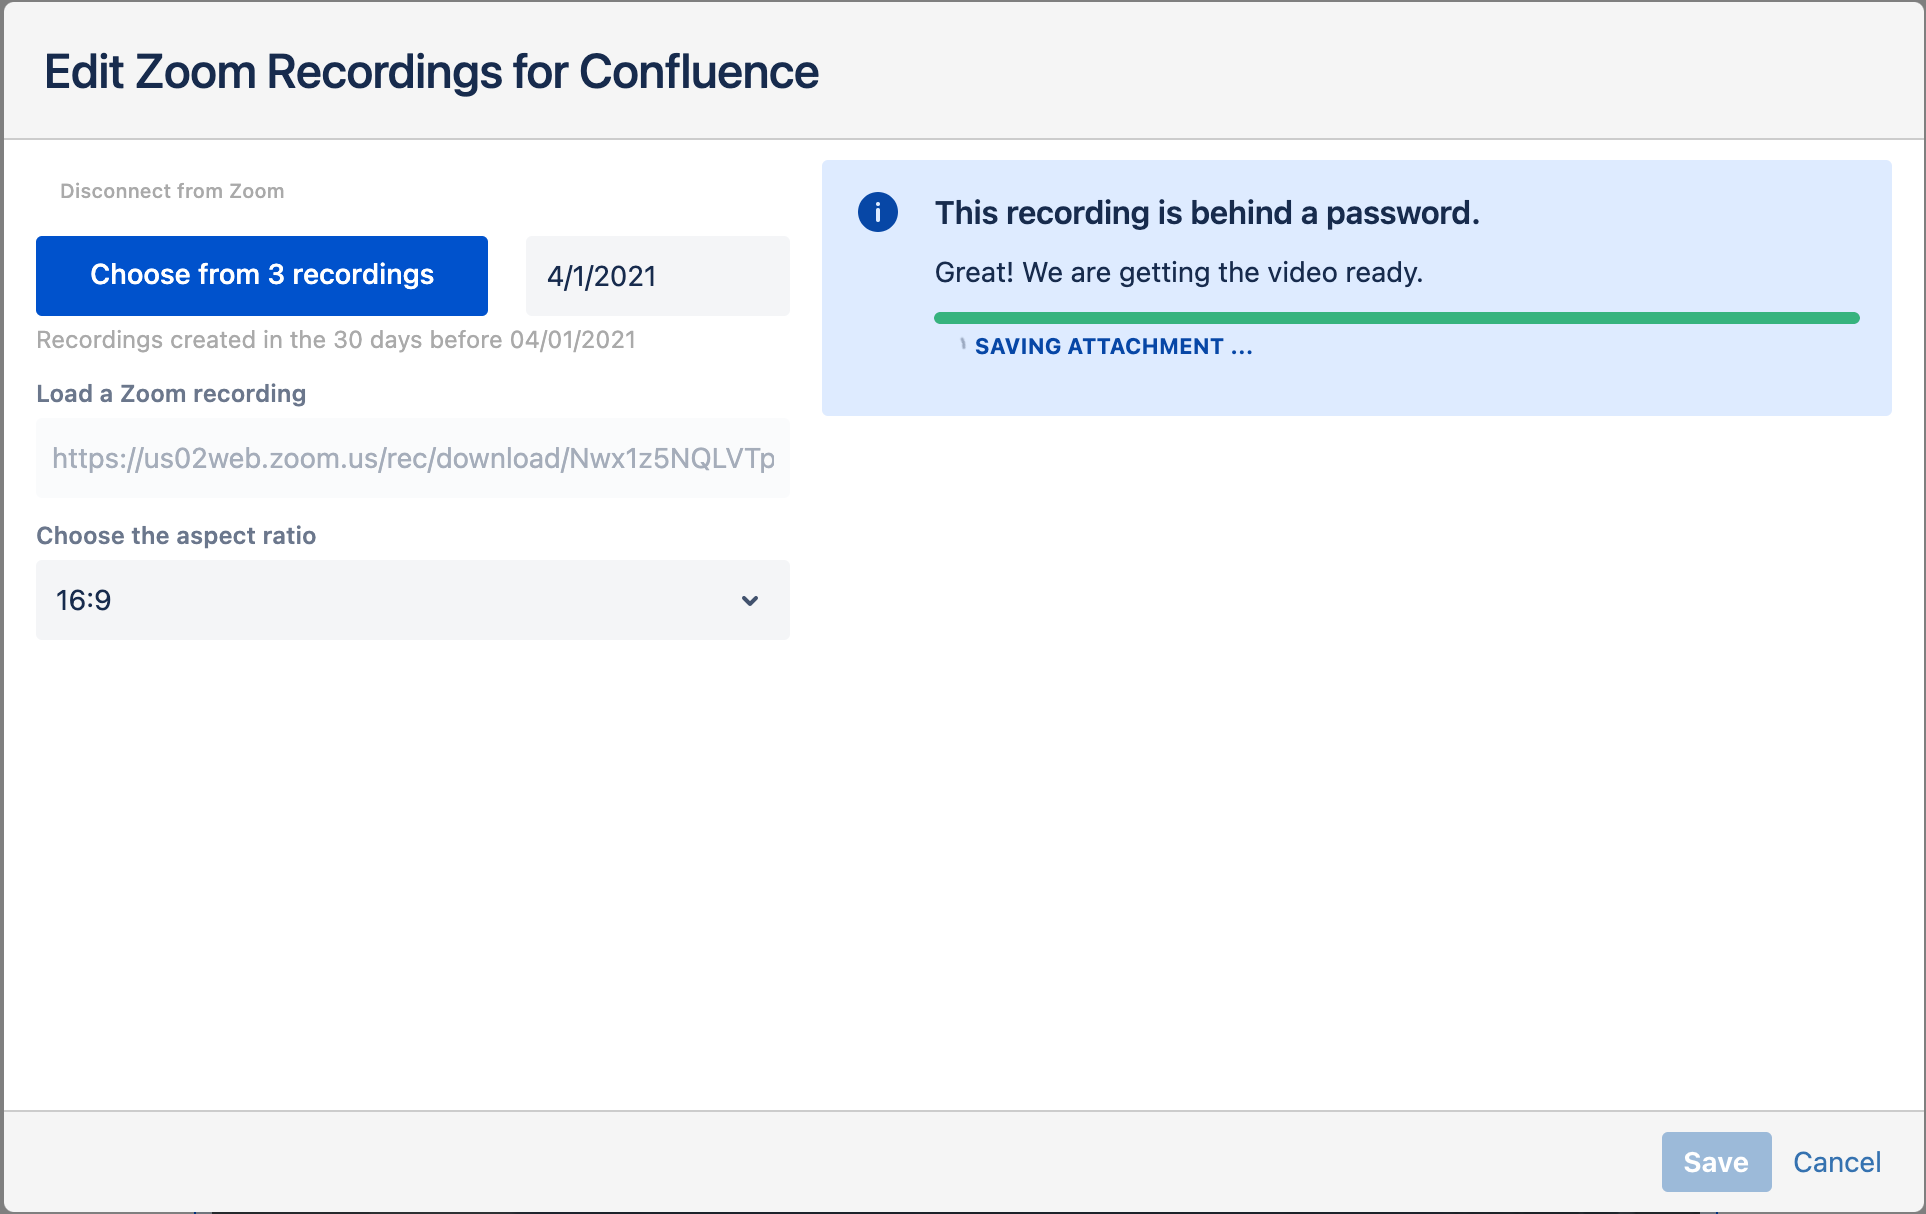
If you choose to attach the recording, than the app will download it and attach it to the Confluence page.
Remember that only published Confluence pages can receive attachments!
Attaching a password-protected video changes the authentication necessary to view the video from users that have the Zoom password, to users that are allowed to access the Confluence page.
After this, you can handle the recording like not password protected recordings within the app (e.g. add chapters).
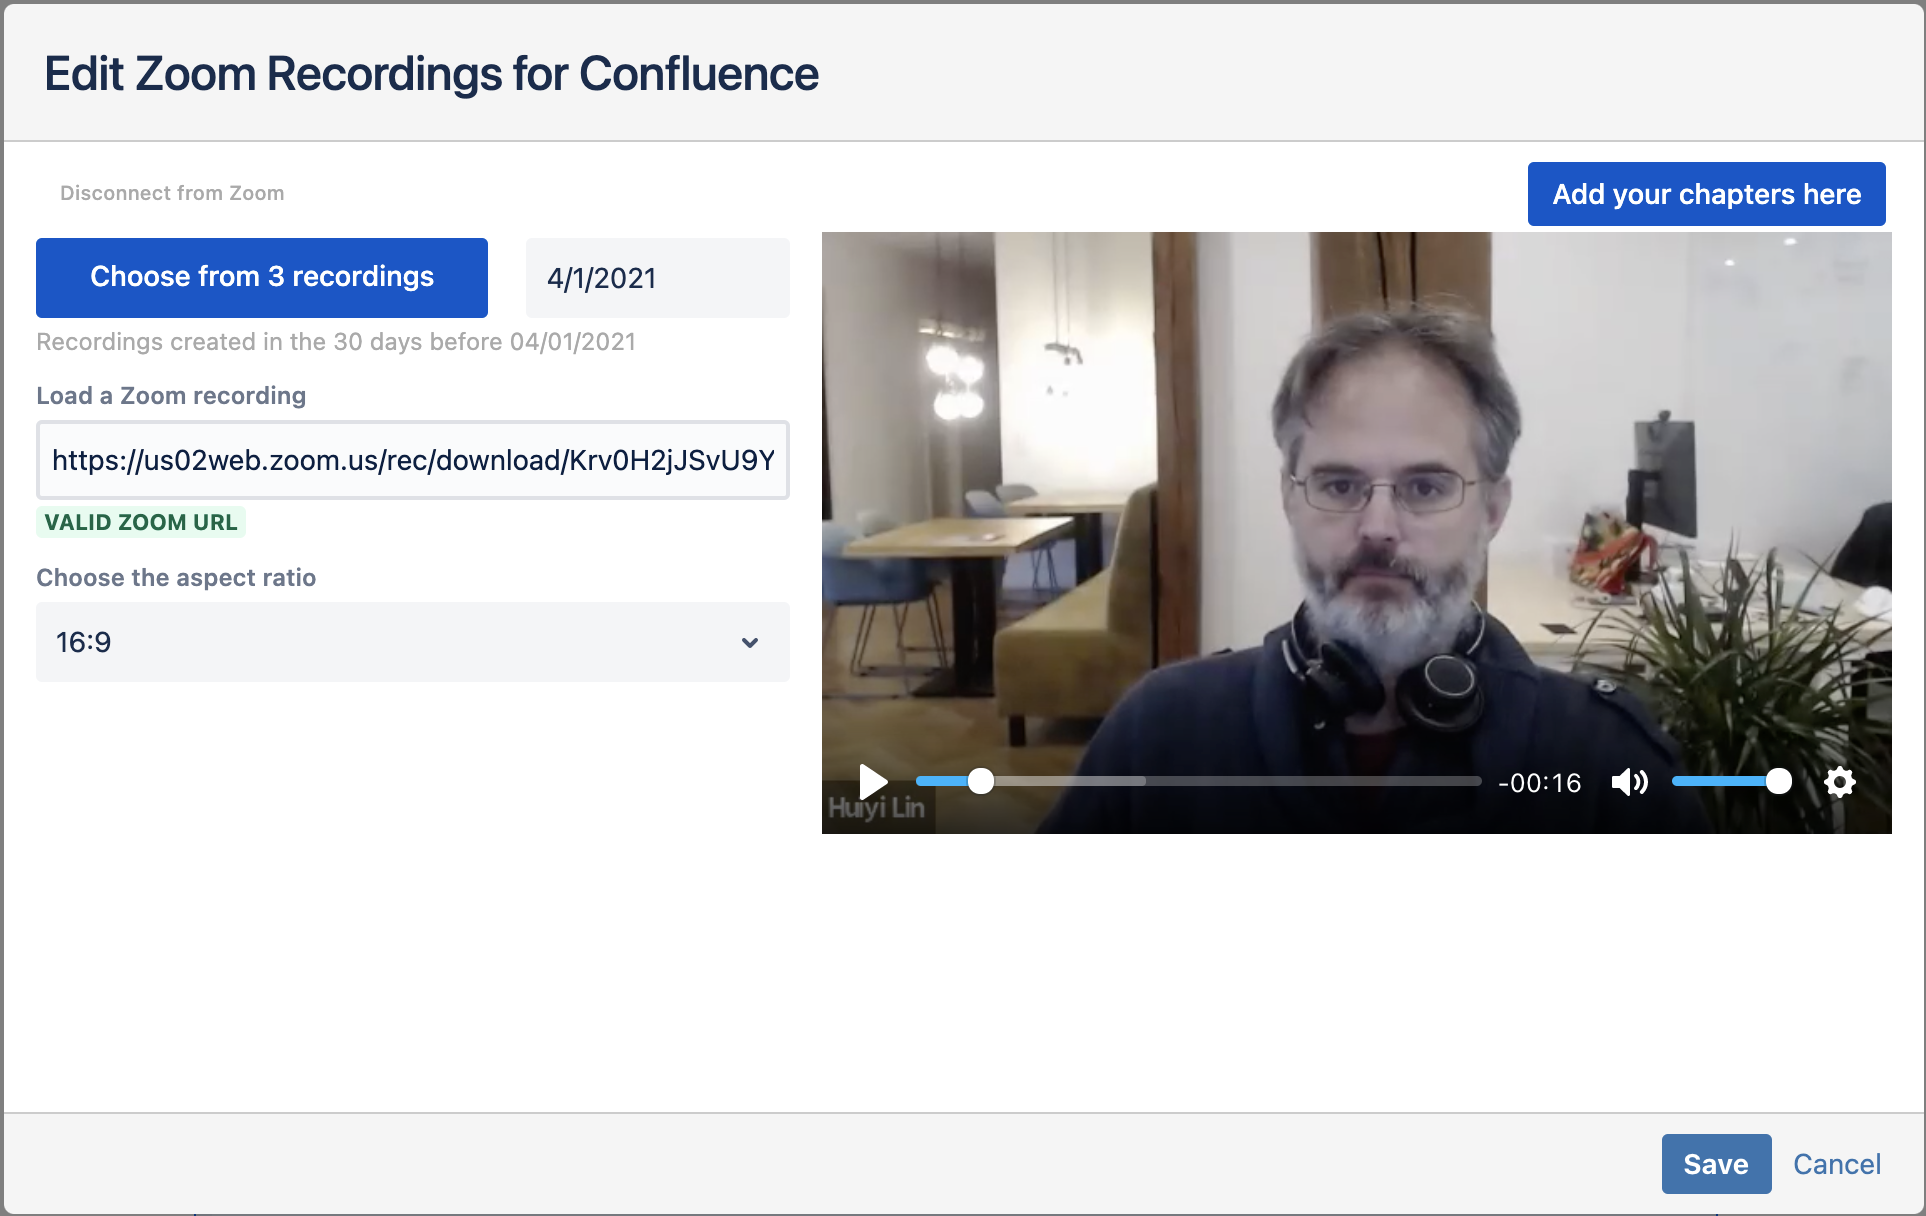
Step 2: Adding chapters to your recording
To add chapters to your video, move the video slider to the beginning of the chapter and click on "Add your chapters here":
Then mark all your chapters, just by clicking on "Mark this position", then move the video to the next and "Mark this position again."
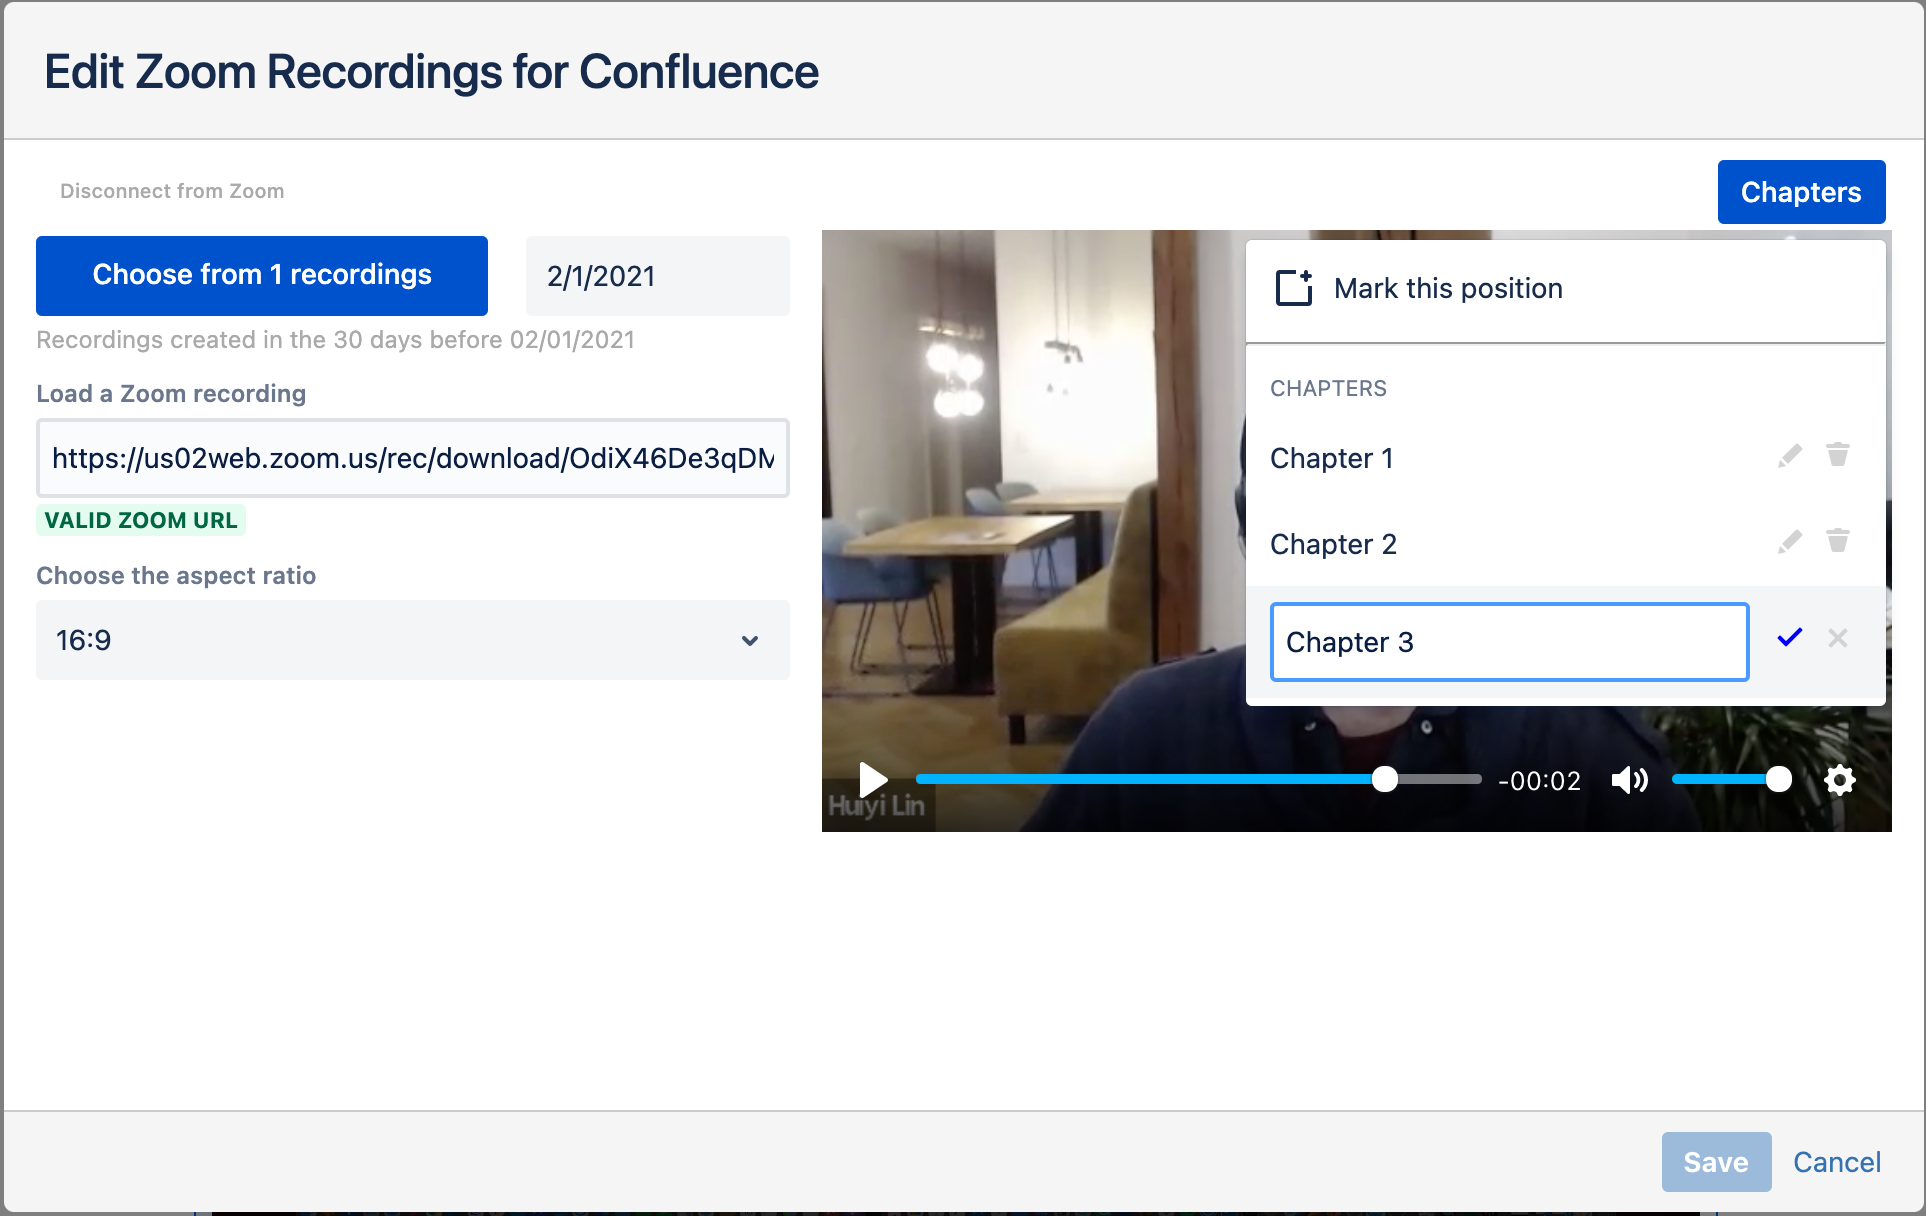
The video will initially always jump to the first chapter on the Confluence page.
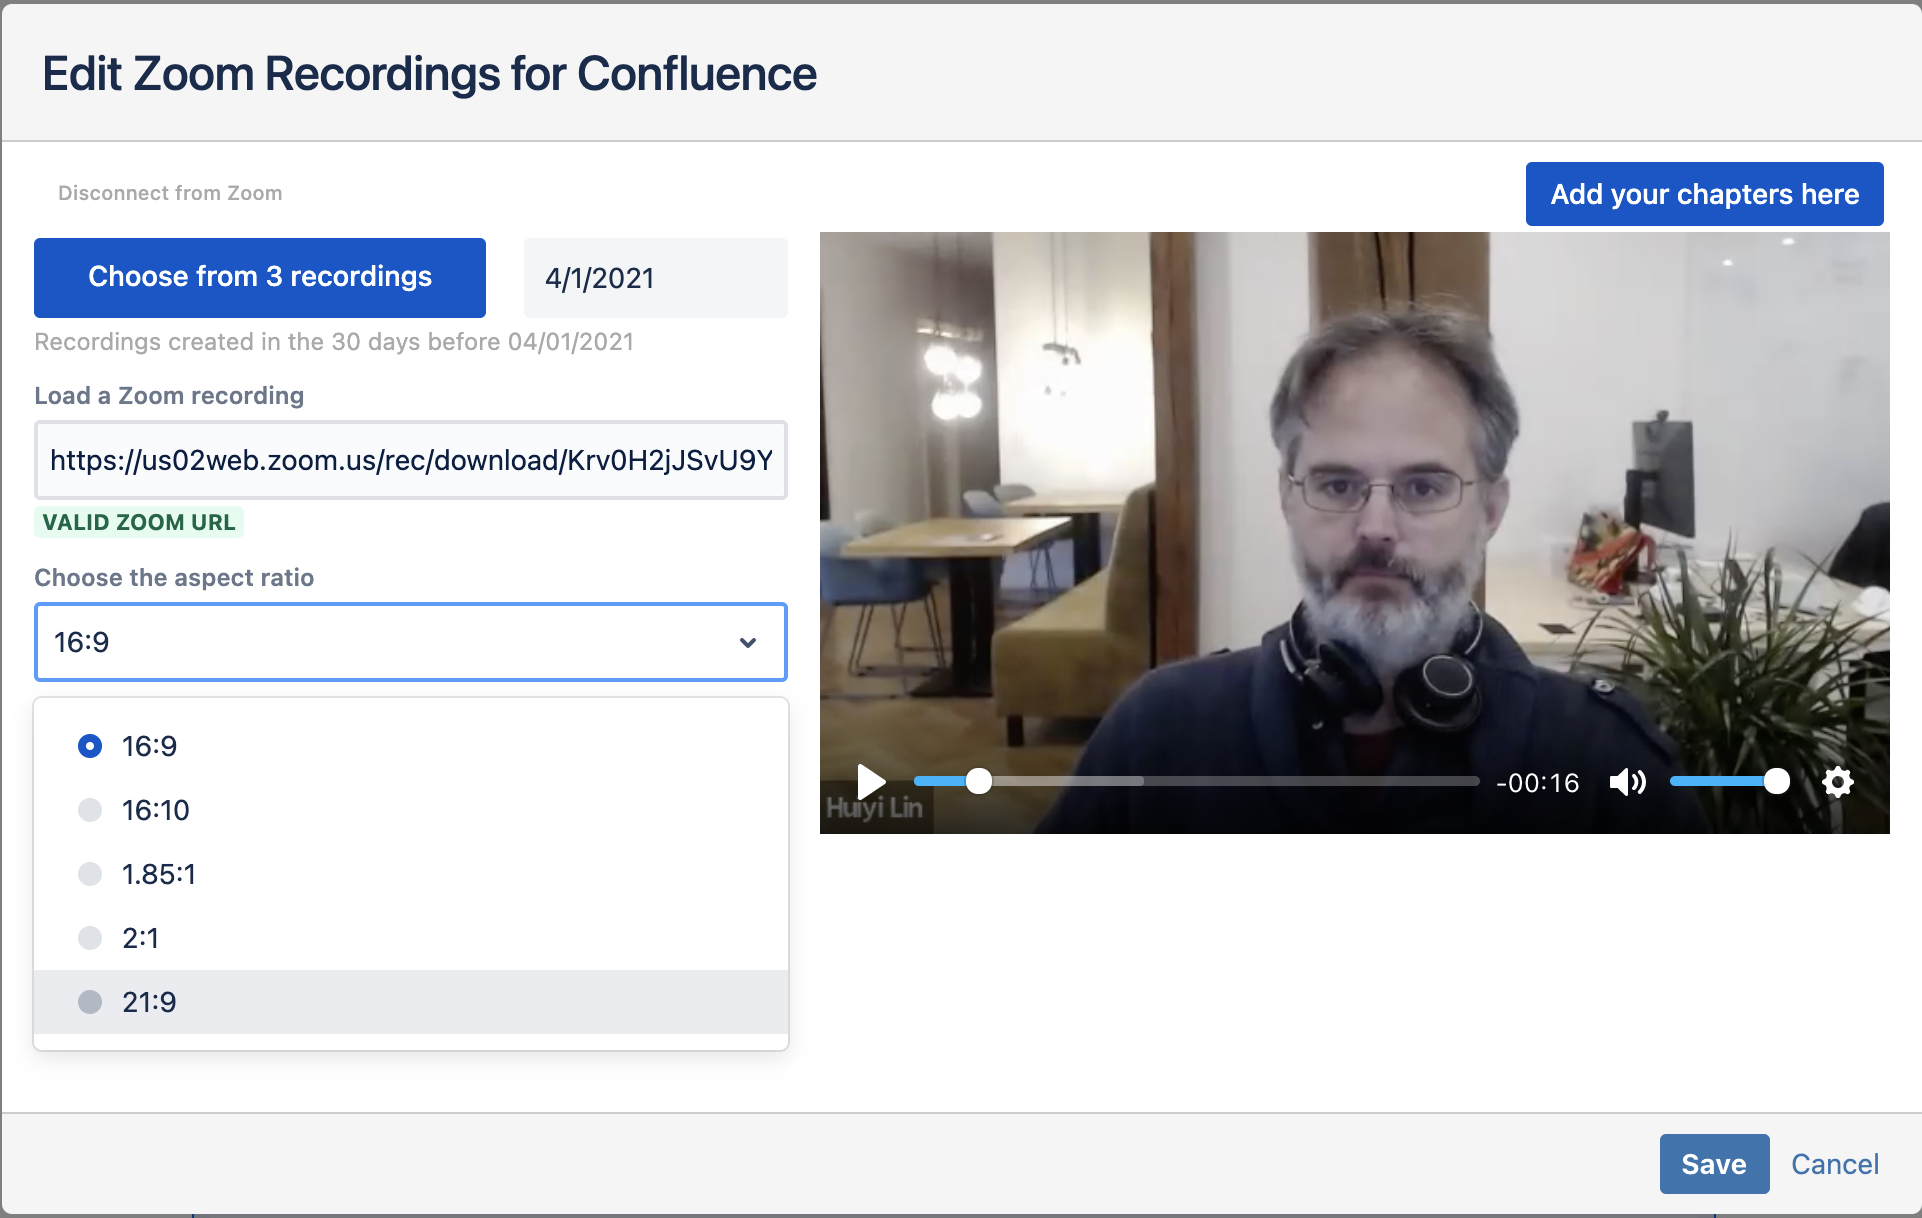
Step 3: Choosing the aspect ratio
By default, Zoom recordings have a 16/9 aspect ratio. But this can vary. If your recording has another ratio, the video might be cut.
Then you can choose a different aspect ratio from a list.
Save, publish and have fun ...