1 Getting Started
Go to the Settings page
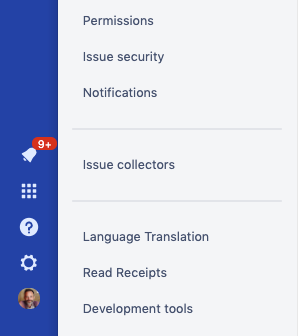
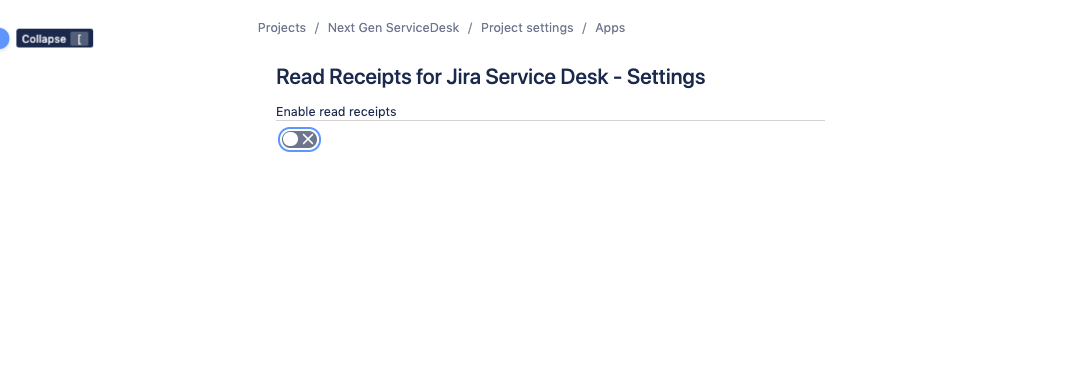
Choose any service desk project, go to "Project Settings" and find "Read Receipts". On the new issue view you find it by clicking on "Apps".
The "Get Started" button that appears after you installed the app the first time, lead you also exactly there.Copy the receipt image

Enable Read Receipts for this project.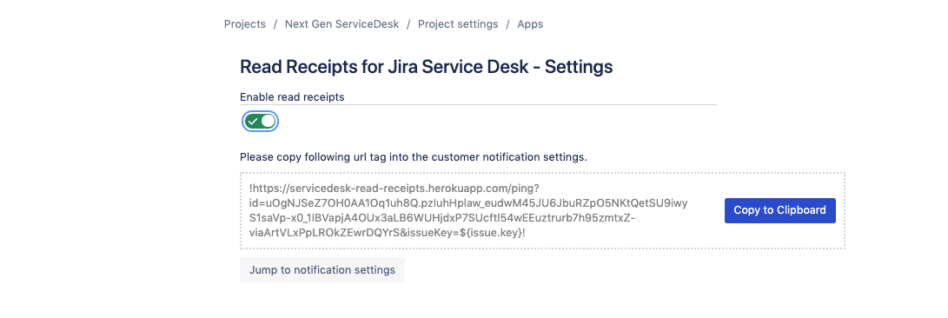
Click on "Copy to Clipboard" and then "Jump to notification settings".Insert the receipt image

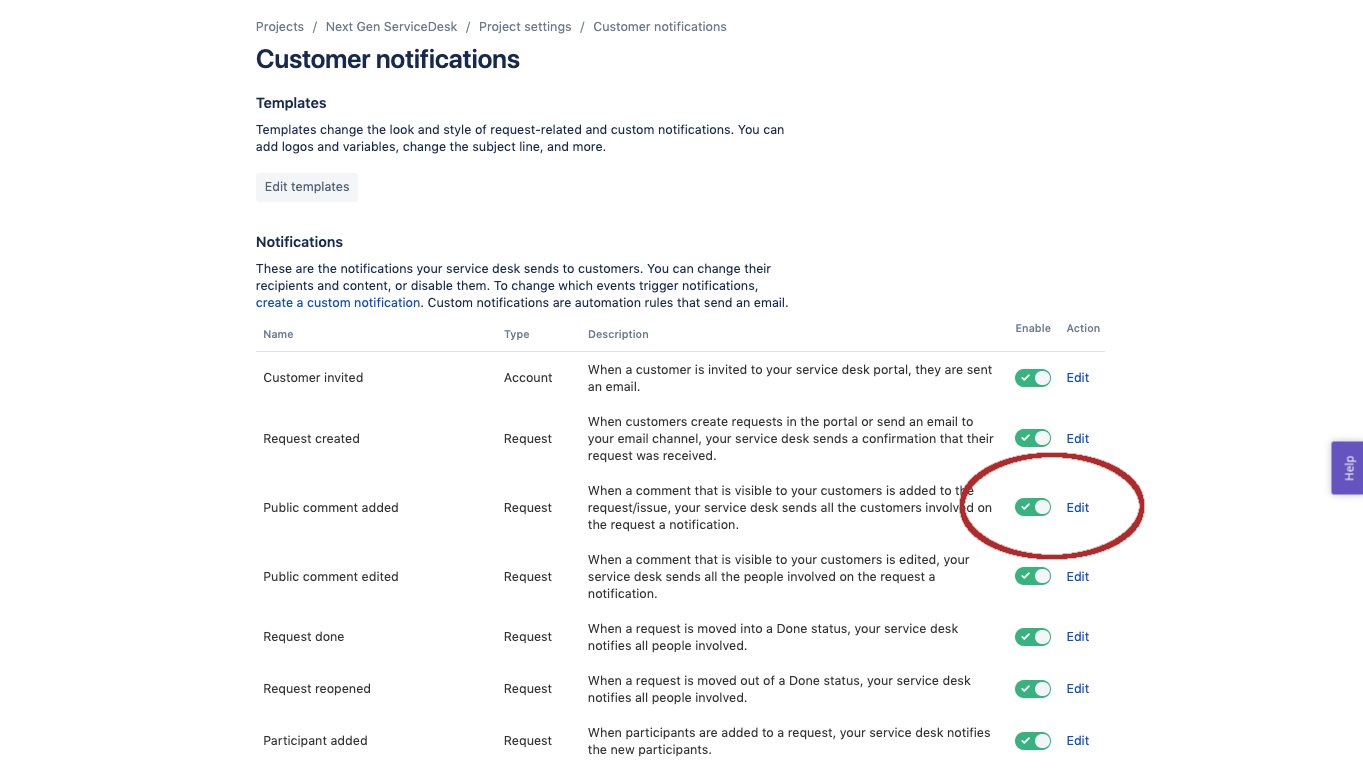
Click on edit in the "Public comment added" line.

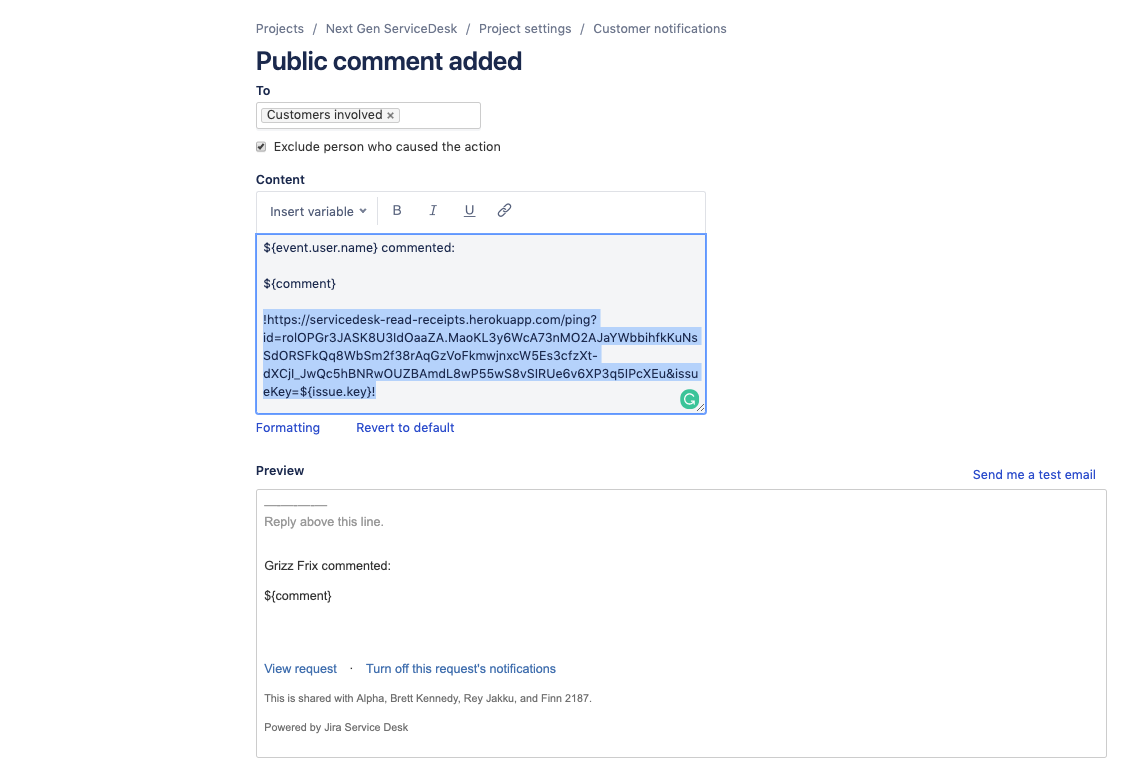
Paste the content of the clip board into the content field, below all other entries.
Click "Save". Done.Test it!
>> Create a test customer request with a customer you have email access to.
>> Open the request and send a reply to the customer.
>> Reload the page
In the right column you will see this: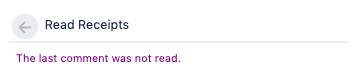
In the new issue view you will first see this glance, and if you click will see the details.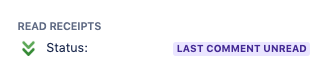
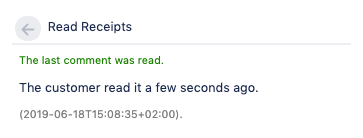
>> Open the mail client of the customer, open the email, check if your answer is there.
The the information changes to:
Use two new JQL search terms
There are two new JQL search terms:
readreceipt, holds the last time a customer read a comment of the issue
JQL: readreceipt < startOfWeek() finds all issues that were read since the beginning of the weeklastCommentRead, is 1 if the last comment of an issue was read by a customer and 0 if not.
JQL: lastCommentRead = 1