
Create HAR dump of the login process
We may ask you during your support process, to create an HAR dump of your login process. An HAR dump contains the network traffic your browser generates during one or more page calls. It helps us see, which pages were loaded in your browser, which is something we cannot do outside of it.
We have documented the process for Google Chrome, because some other browsers also support this, but not to the full feature set we require for our SSO use case. Especially, the "Preserve Log" function is very important here.
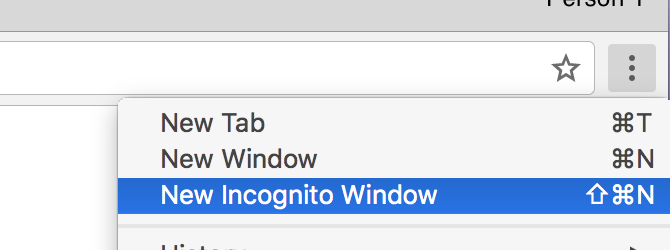
Step 1: Open a new incognito browser window
Make sure there are no incognito windows open. Click the overflow menu in the top right, then select New Incognito Window.
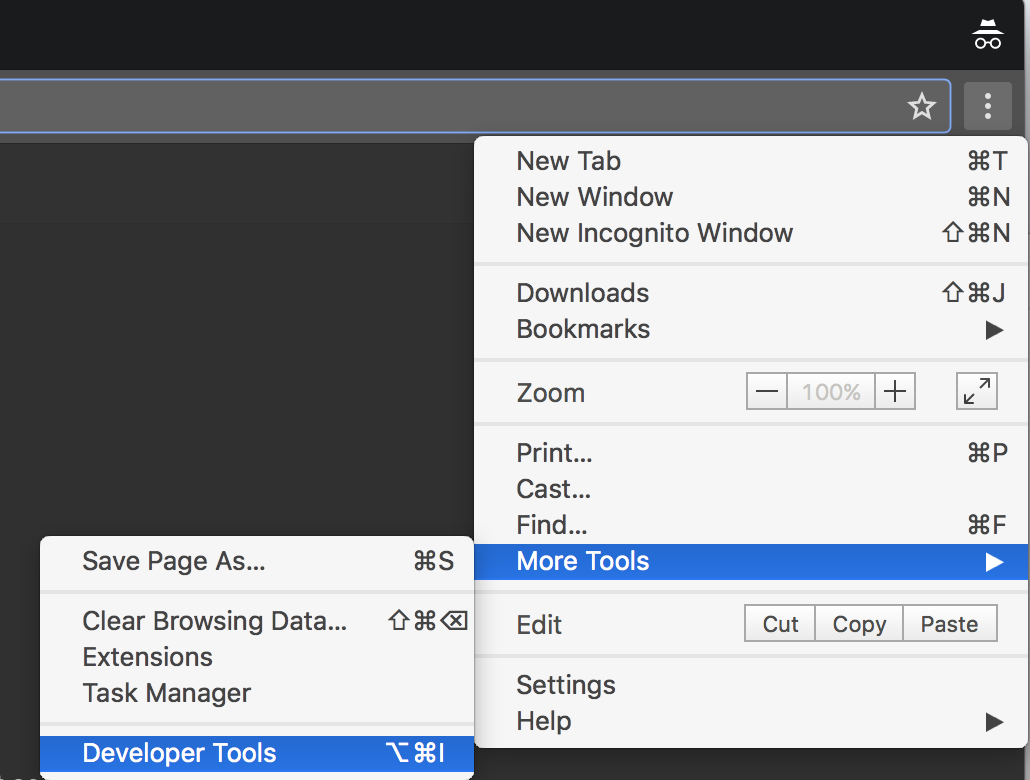
Step 2: Open the Network tab of the Developer Tools
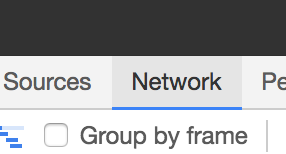
In the incognito window, open the overflow menu in the top right, then point to More tools, then click the Developer tools.
Then click Network.
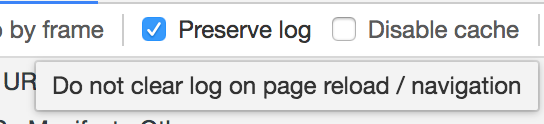
Step 3: Activate Preserve Log
This step is crucial. At the top of the Network tab, there is a checkbox labelled Preserve log. Please activate it.
Step 4: Log in using your IdP
Visit your product's single sign on page in that incognito window with the developer tools still open. It is usually your product's base URL followed by /plugins/servlet/samlsso, e.g. https://atlassianproduct.example.com/plugins/servlet/samlsso. If the IdP selection page is active, choose the IdP you want to troubleshoot, if the email selection page is enter an email address such that you will be redirected to the IdP you want to troubleshoot according to your configuration. If you have none of those active, you should be redirected to your IdP.
Now log in at the IdP.
Afterwards, you should be redirected to your Atlassian product.
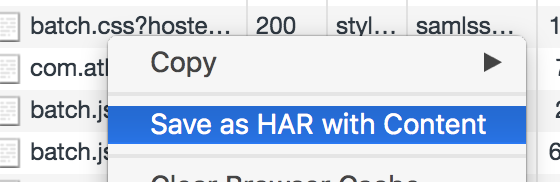
Step 5: Save HAR file
Your network log should now be filled with a bunch of network events and look something like this:
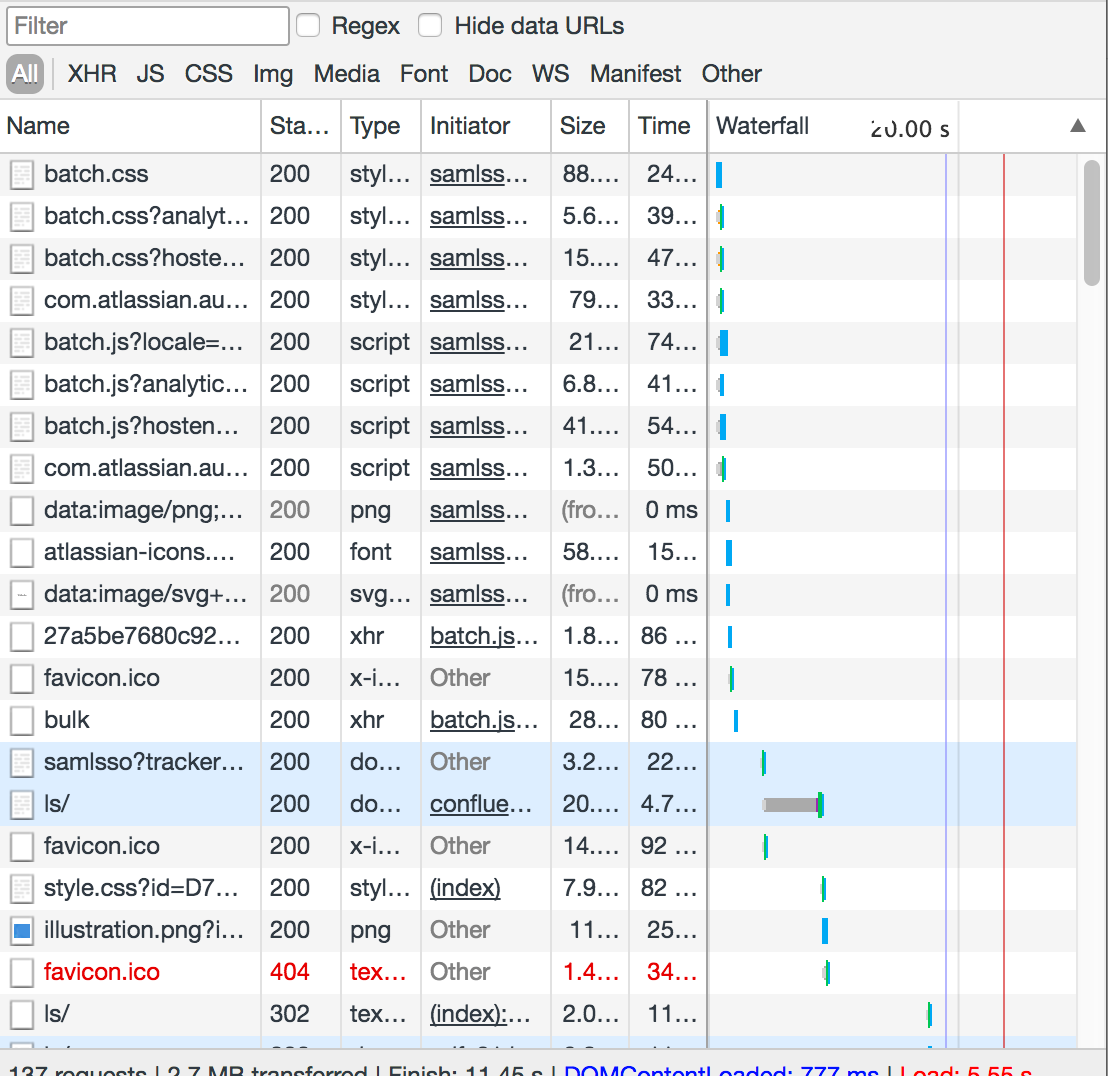
Now right-click one of the elements and select Save as HAR with content and save the file to your hard drive in the resulting save window.
Done.
You are now done and can send us that file. If you want to see what is in it for yourself, you can use Google's HAR Analyzer.