Keycloak configuration
Configuration in the Keycloak Web Console
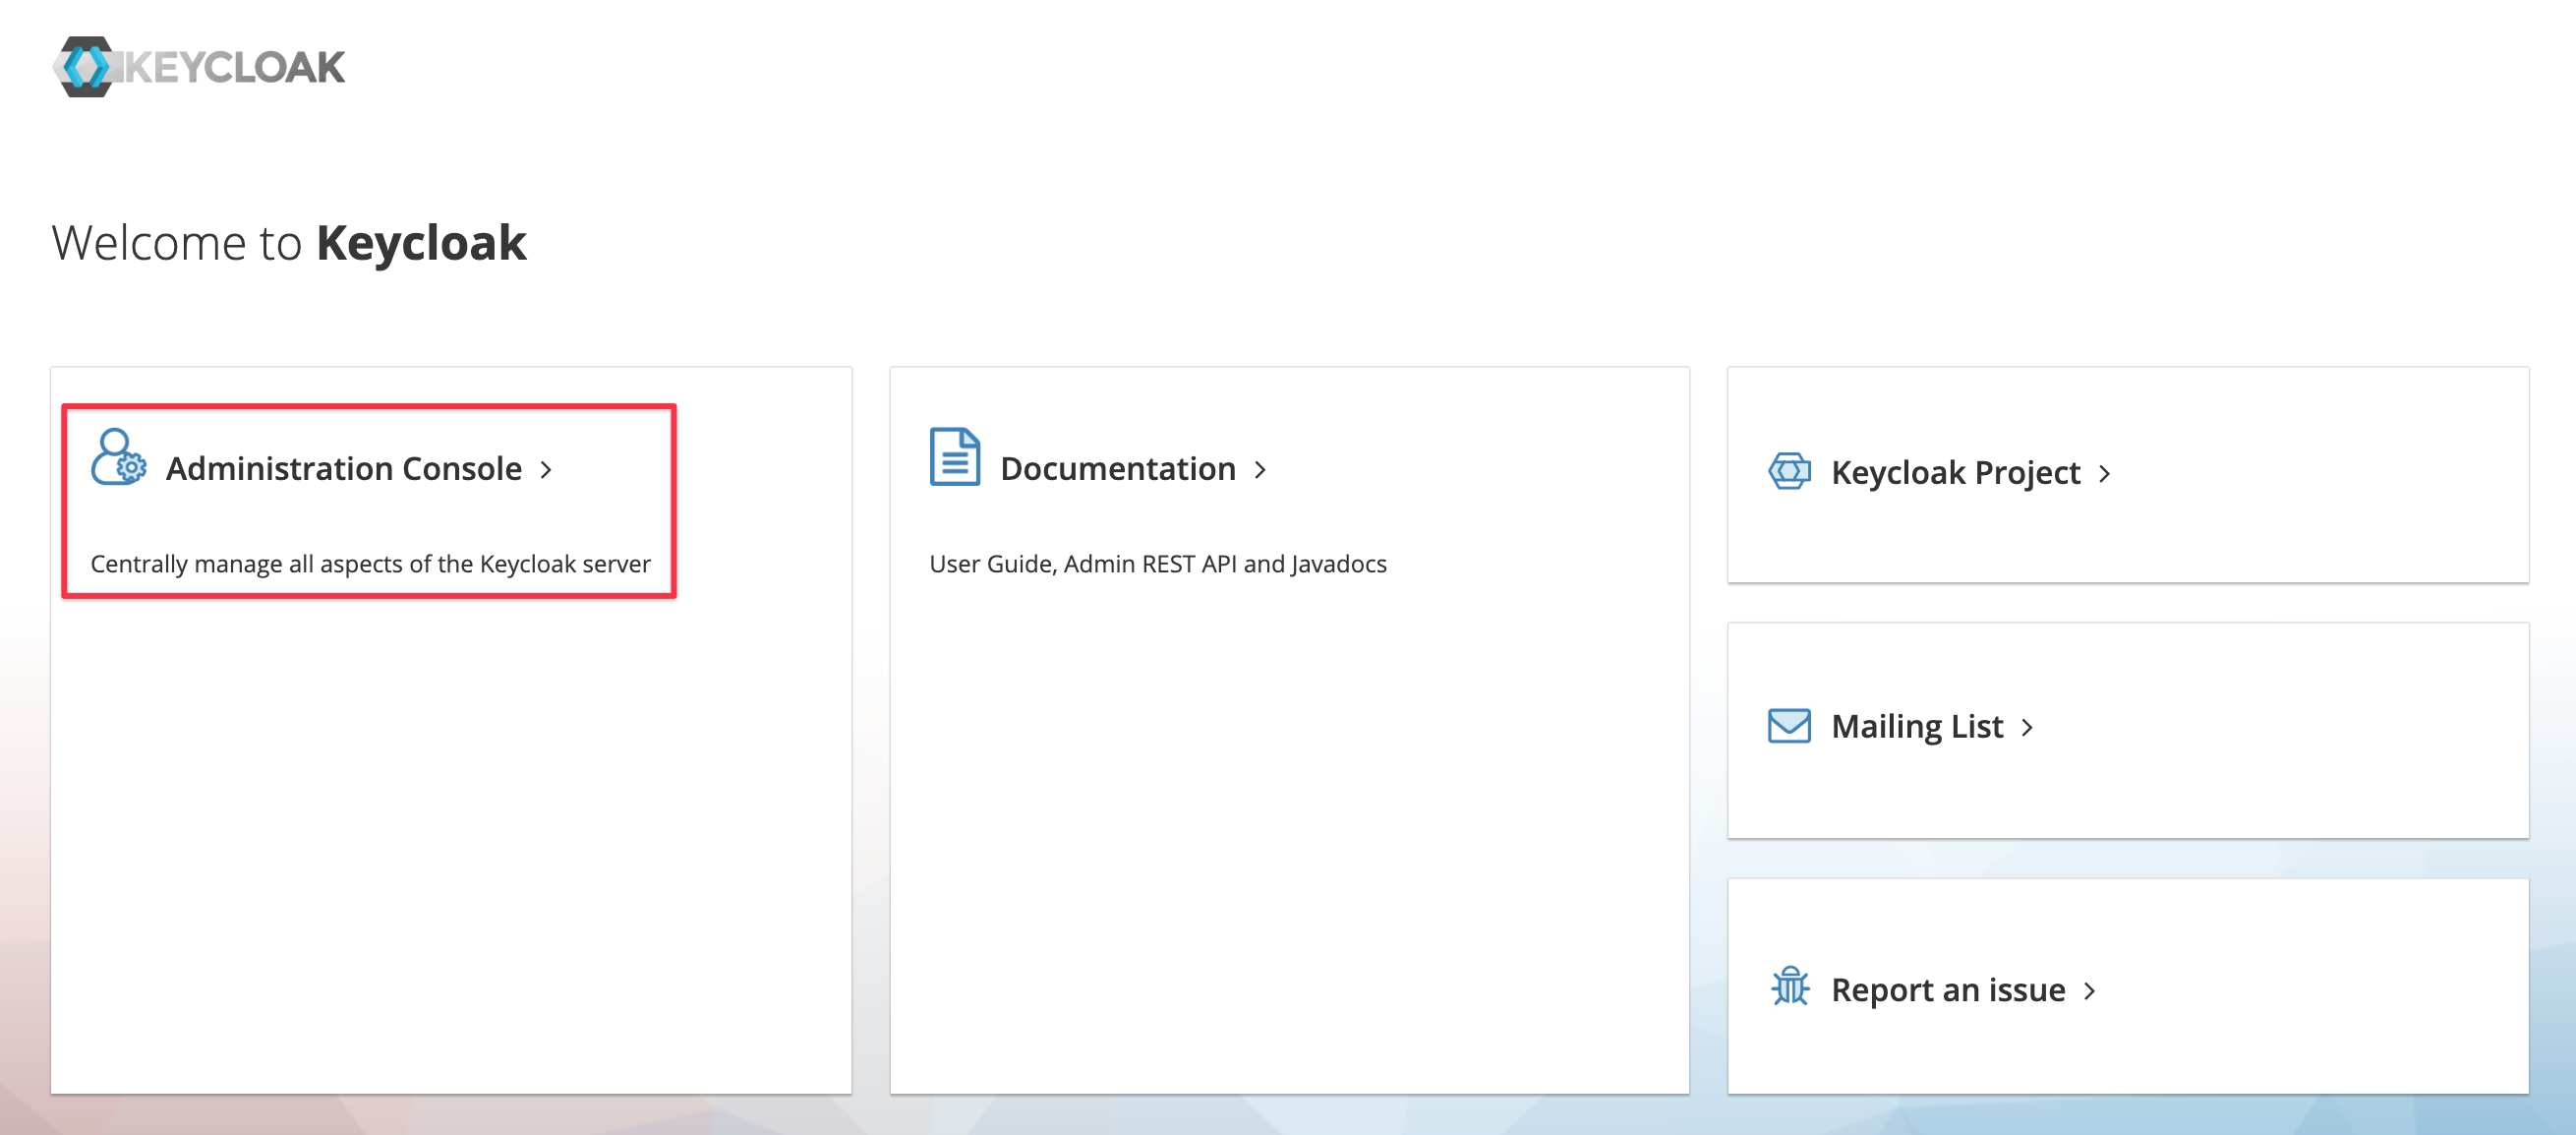
Login to your Keycloak instance with administrator privileges and enter the Administration Console
Select the realm of the users who should be synchronized and click on Clients in the left-hand navigation bar.
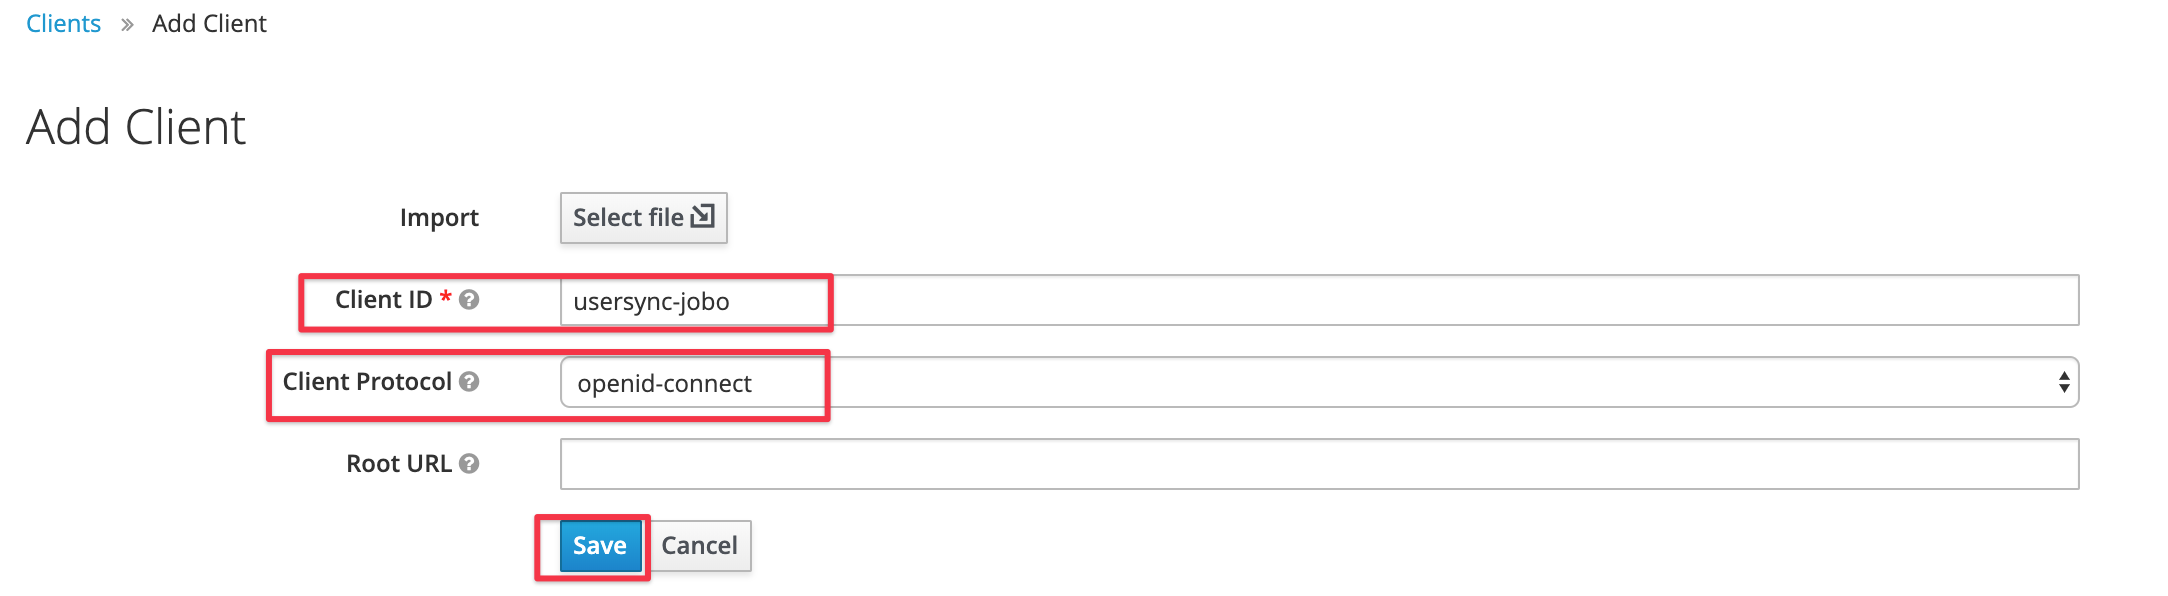
Click on the Create button of the client view to register a new client for the User & Group Sync connector

Provide a name for the client and select openid-connect as Client Protocol and save the client.
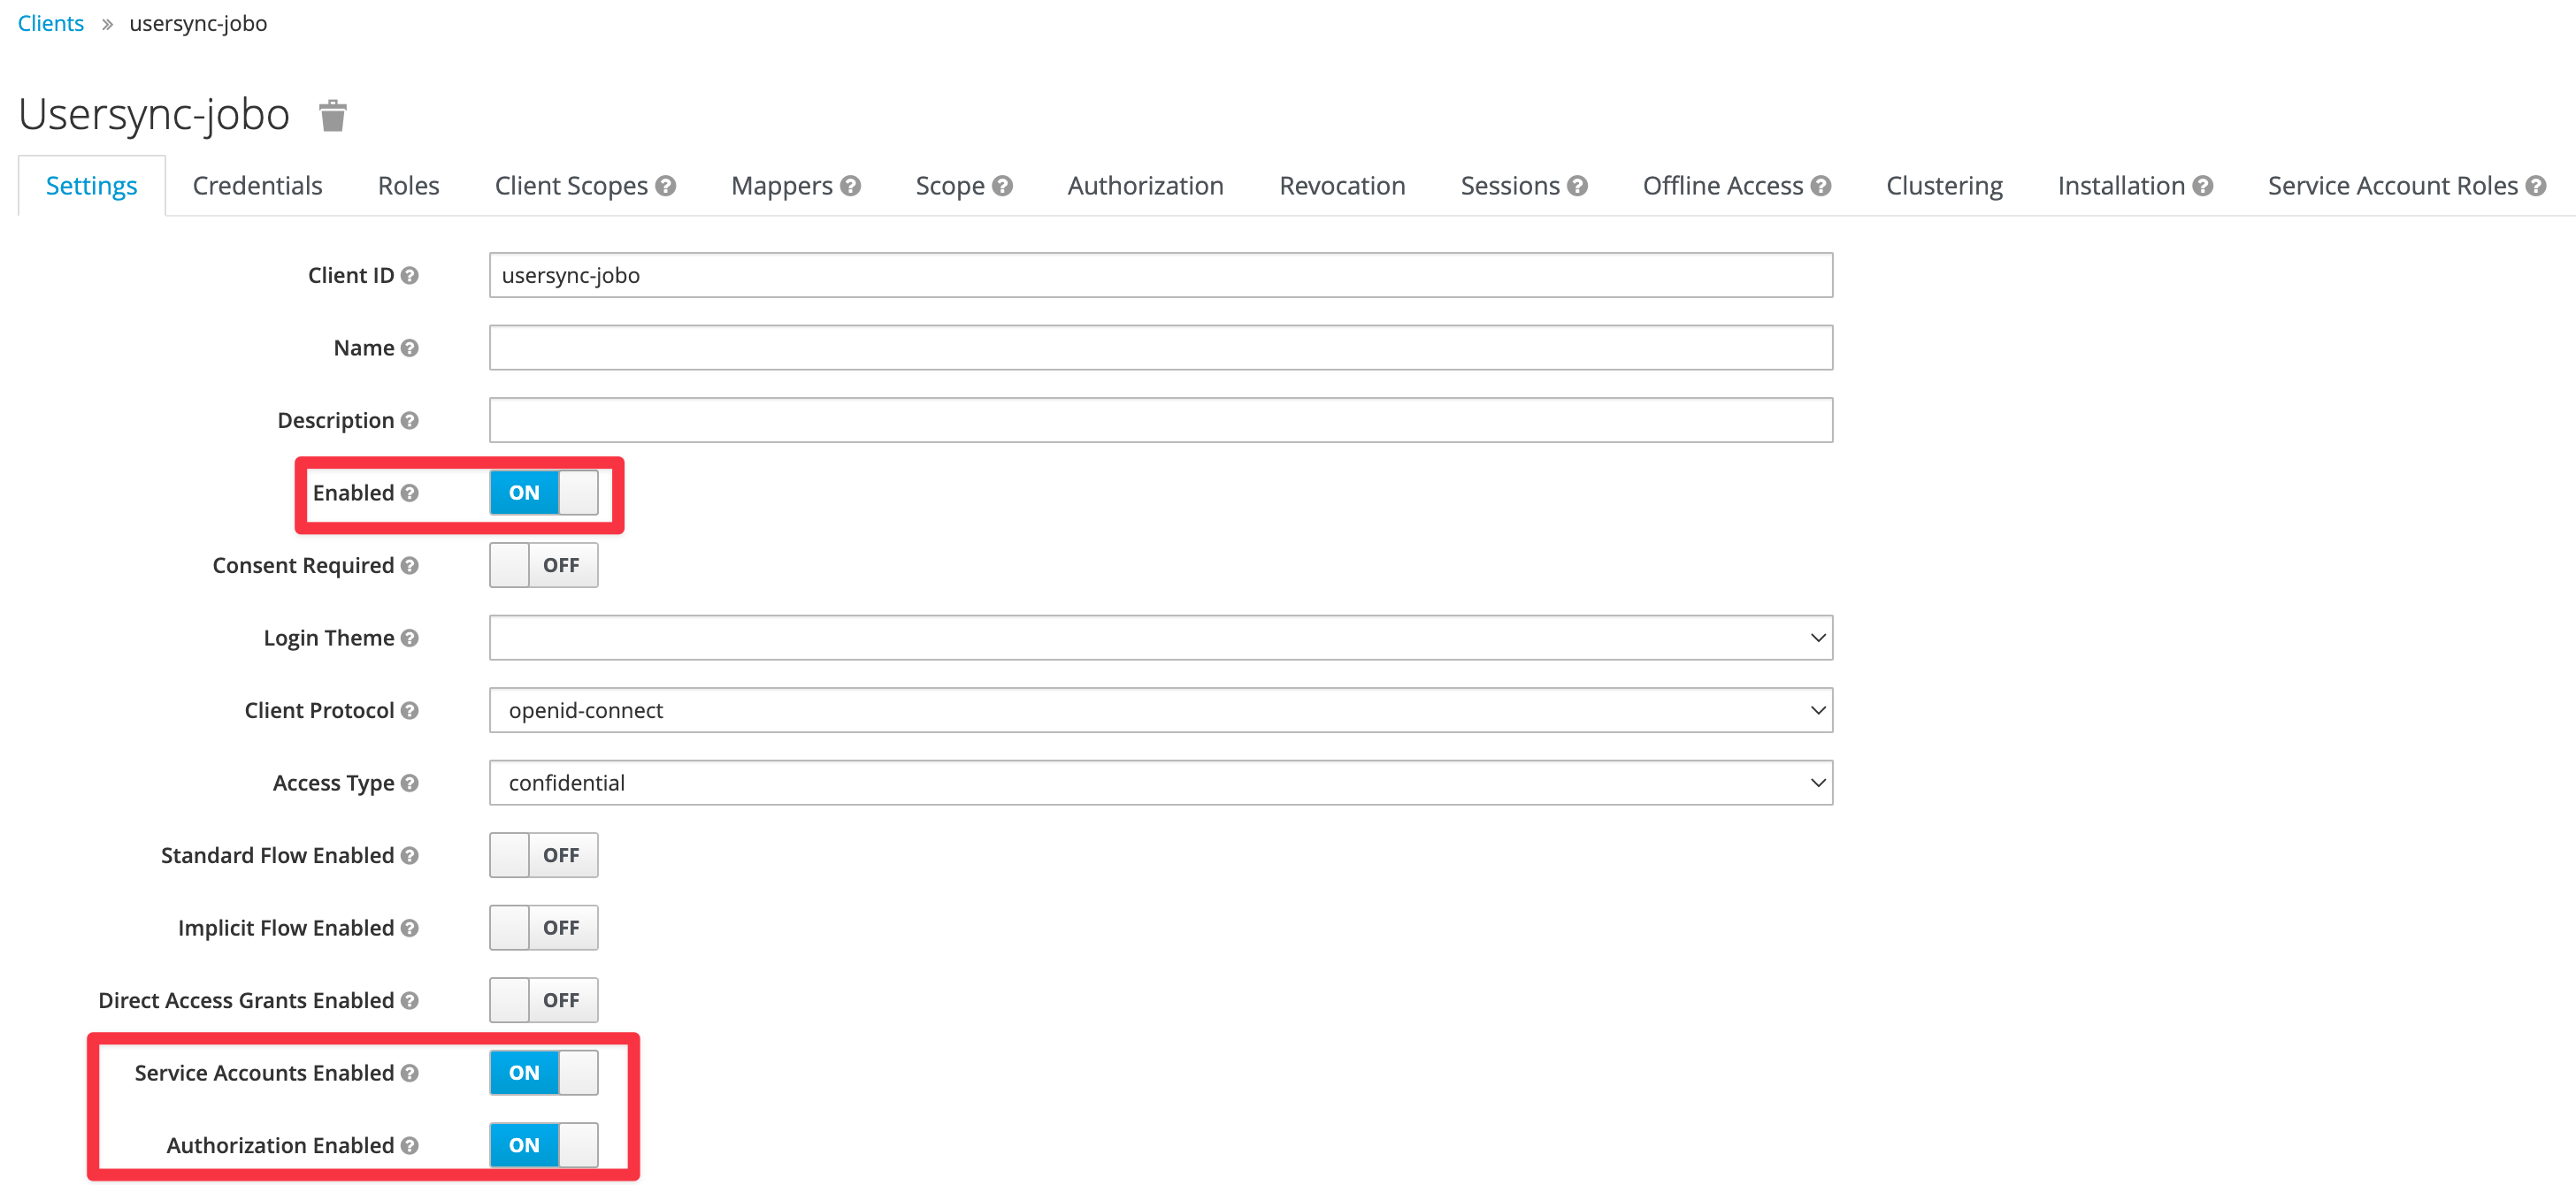
Switch to the Settings tab and change the configuration as depicted below and Save the changes:
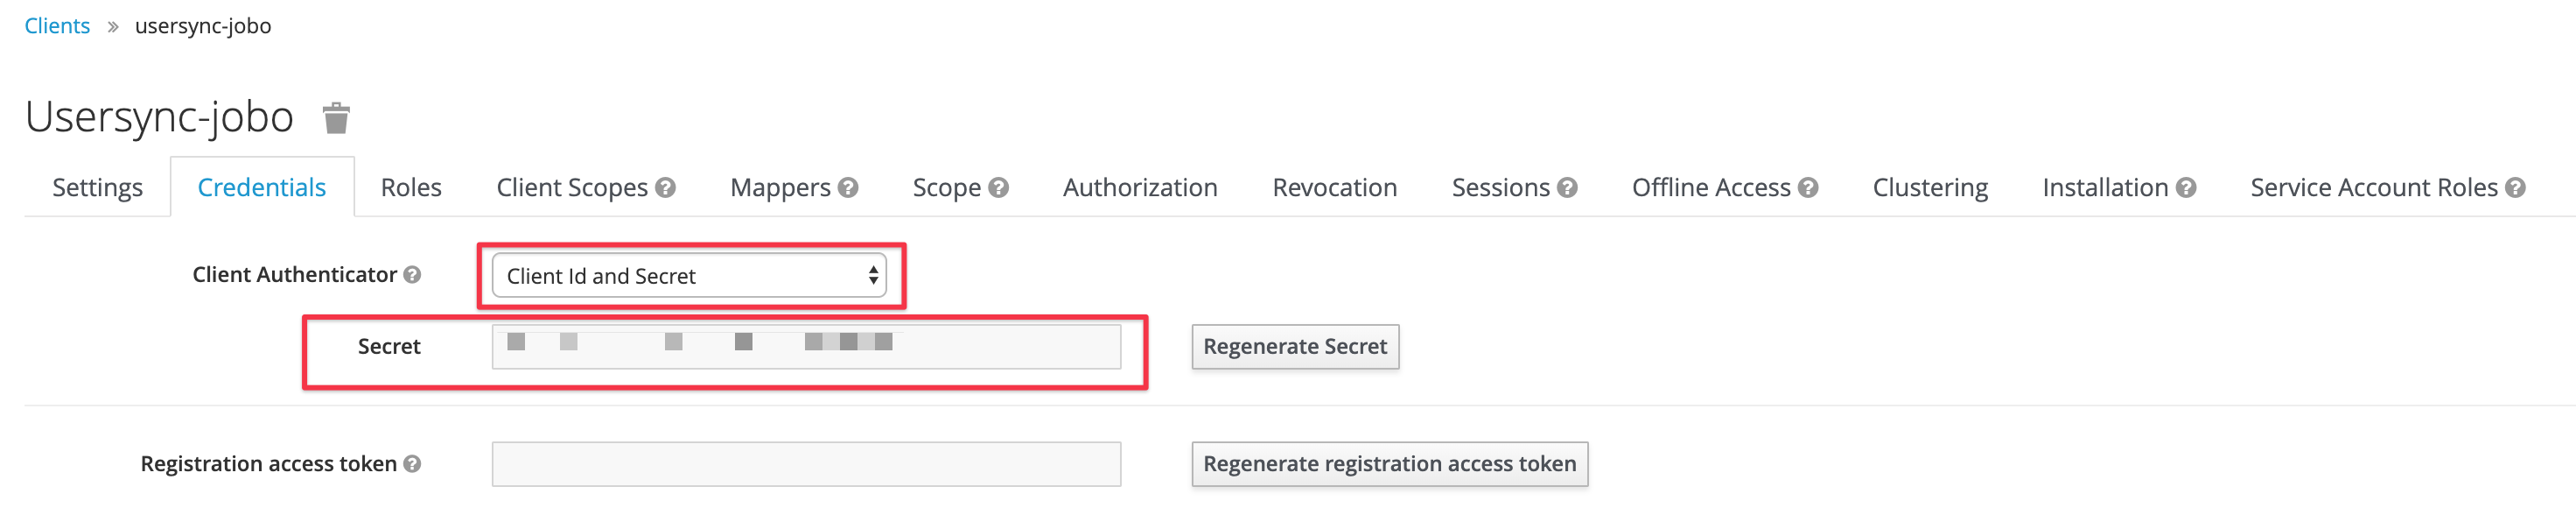
Only if you've saved the setting above you'll be able to see and switch to the Credentials tab.
Select Client Id and Secret as Client Authenticator and copy the Secret displayed. You may regenerate it any time.
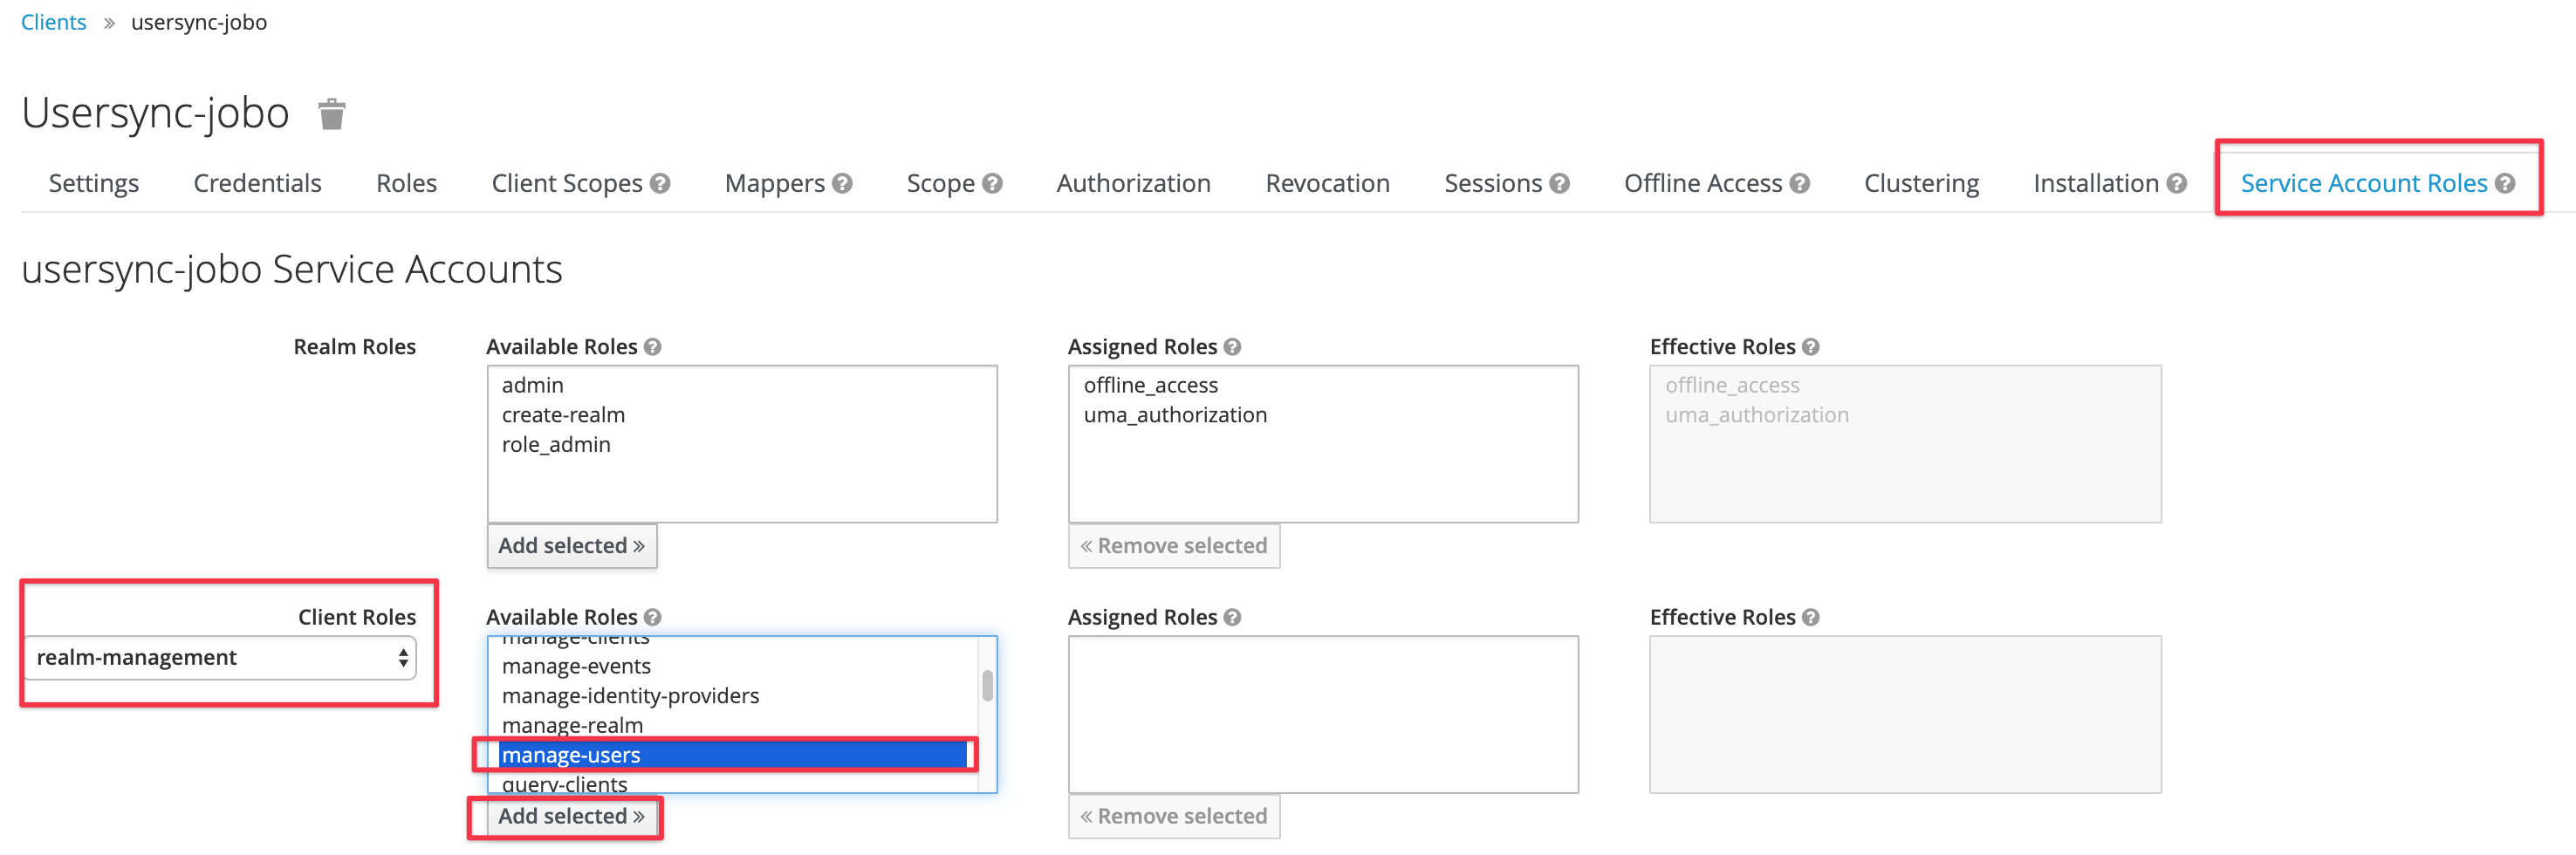
The following assignment might not be required, when registering a client in the master realm.
Switch to the Service Account Roles tab and select realm-management in the Client Roles select box.
Select manage-users and use the Add selected button to assign this role to the client:
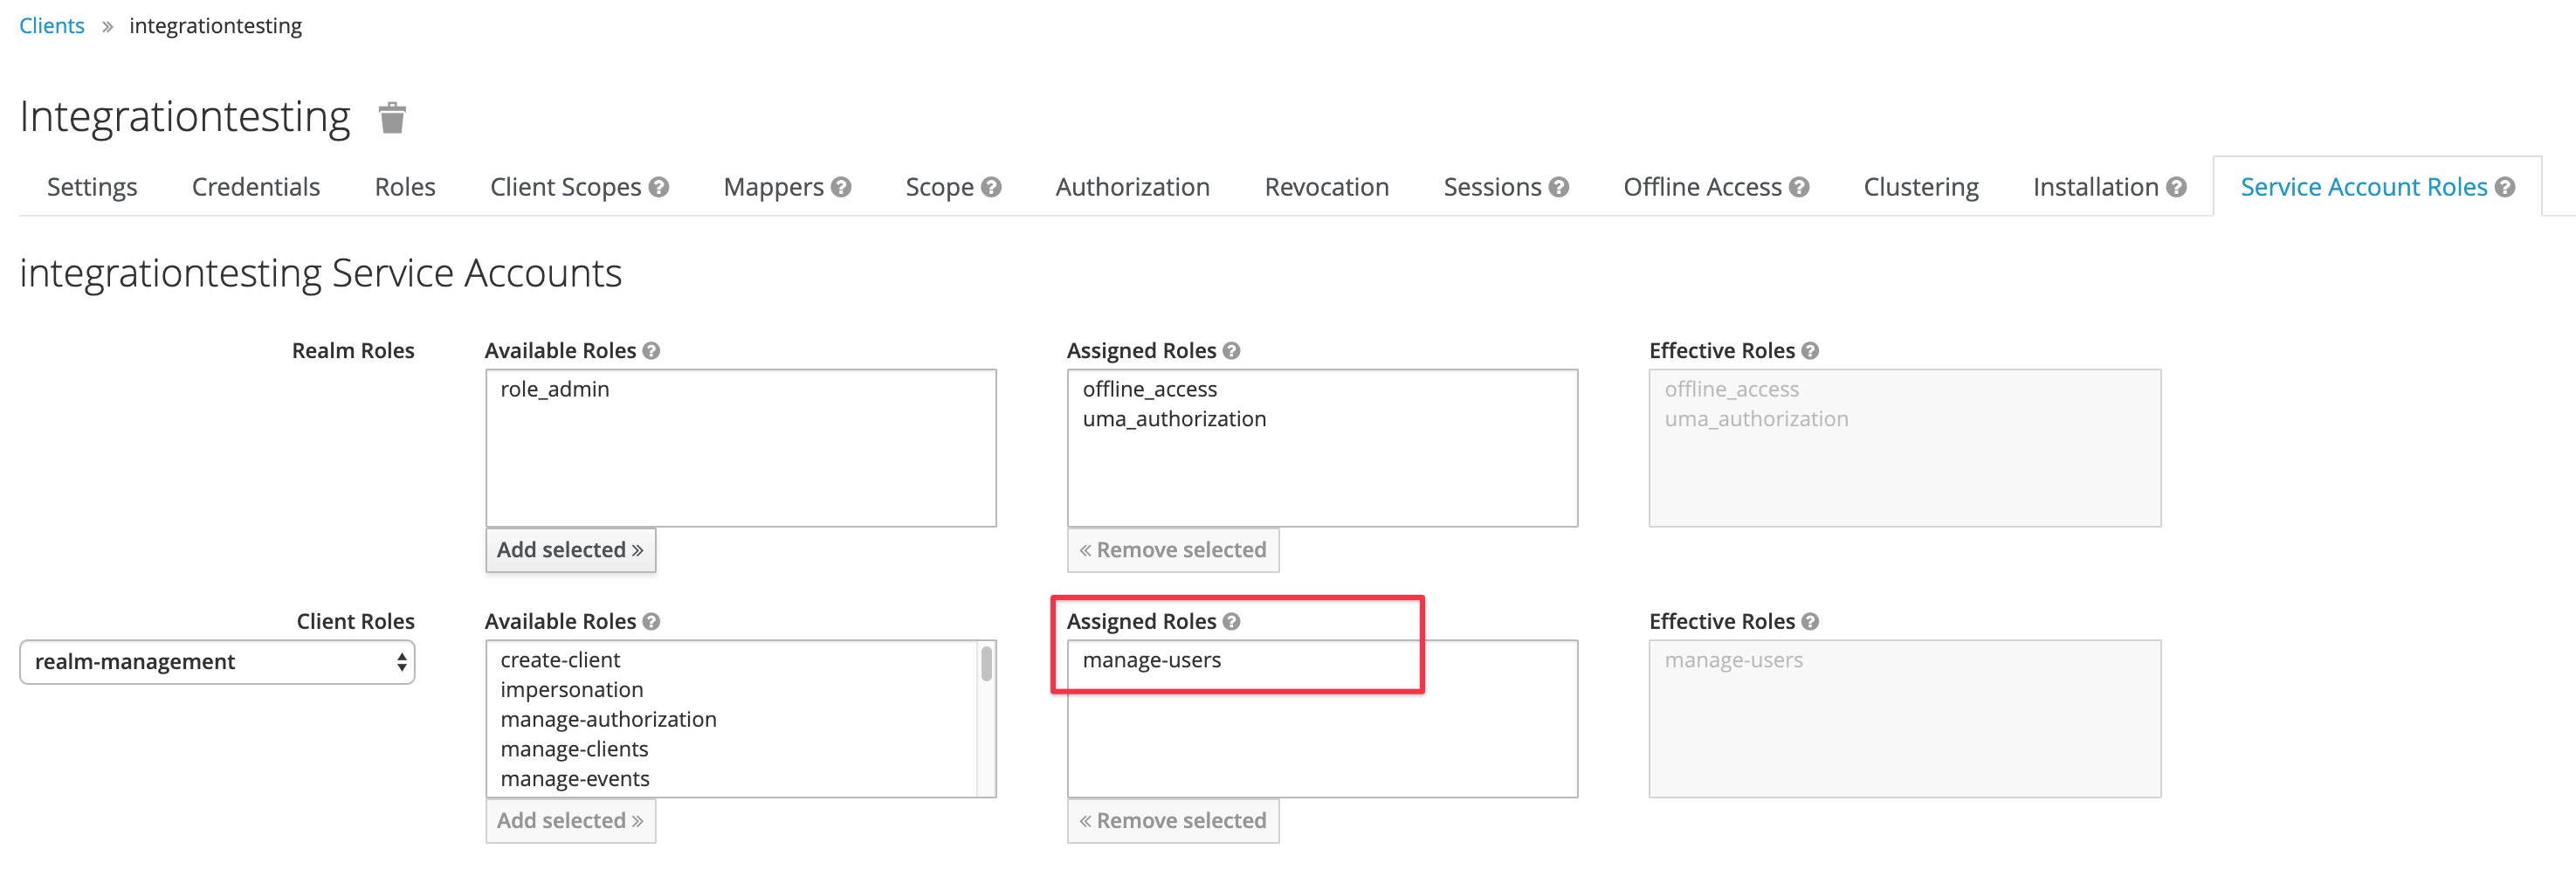
The settings should look like the below now:
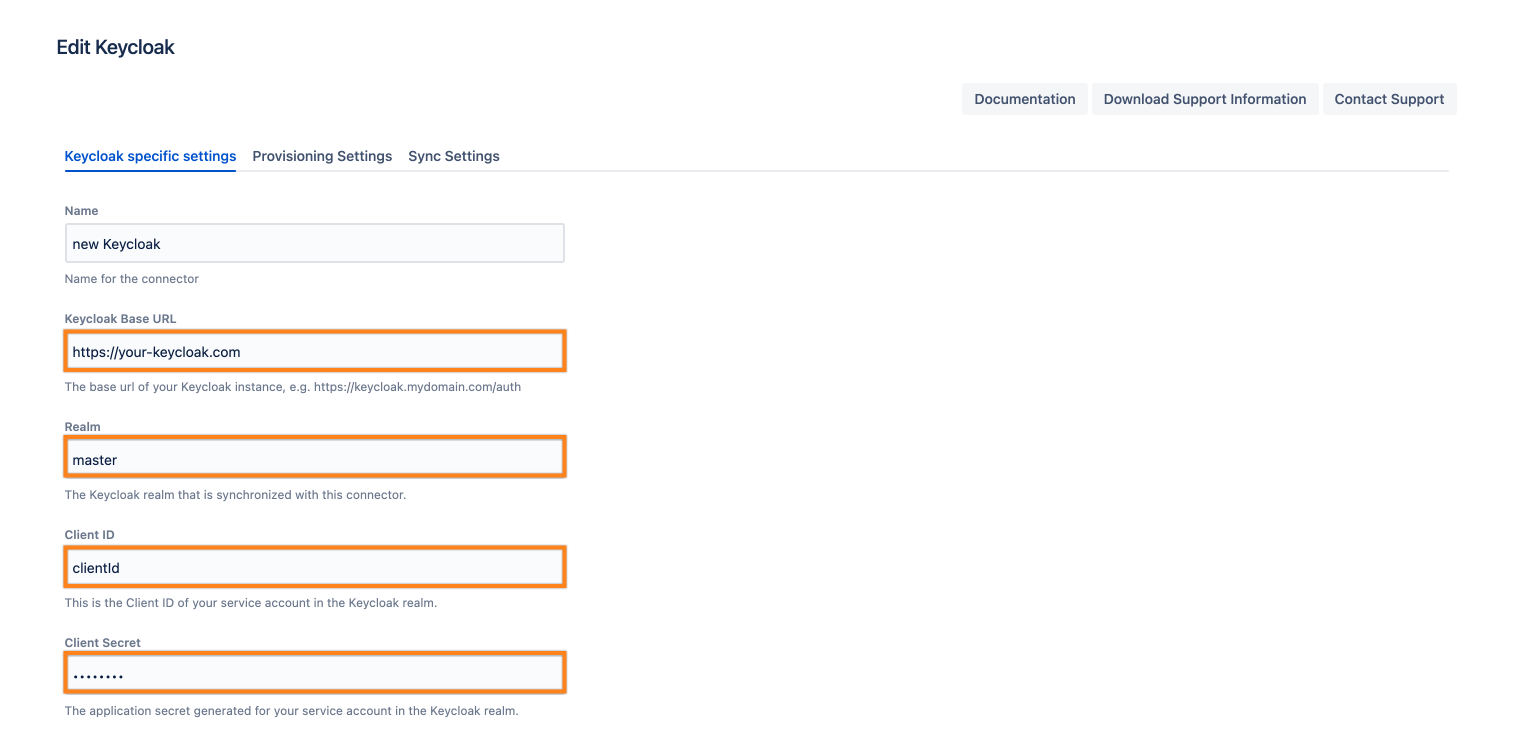
Configuration in User & Group Sync Configuration page
Navigate to the administration console for Jira, Confluence, or Bitbucket
Confluence: search for USERS & SECURITY under which you'll find User & Group Sync
Jira: navigate to the User management tab in which you'll find User & Group Sync
Bitbucket: navigate to Administration/ Accounts you'll find User & Group Sync listed here
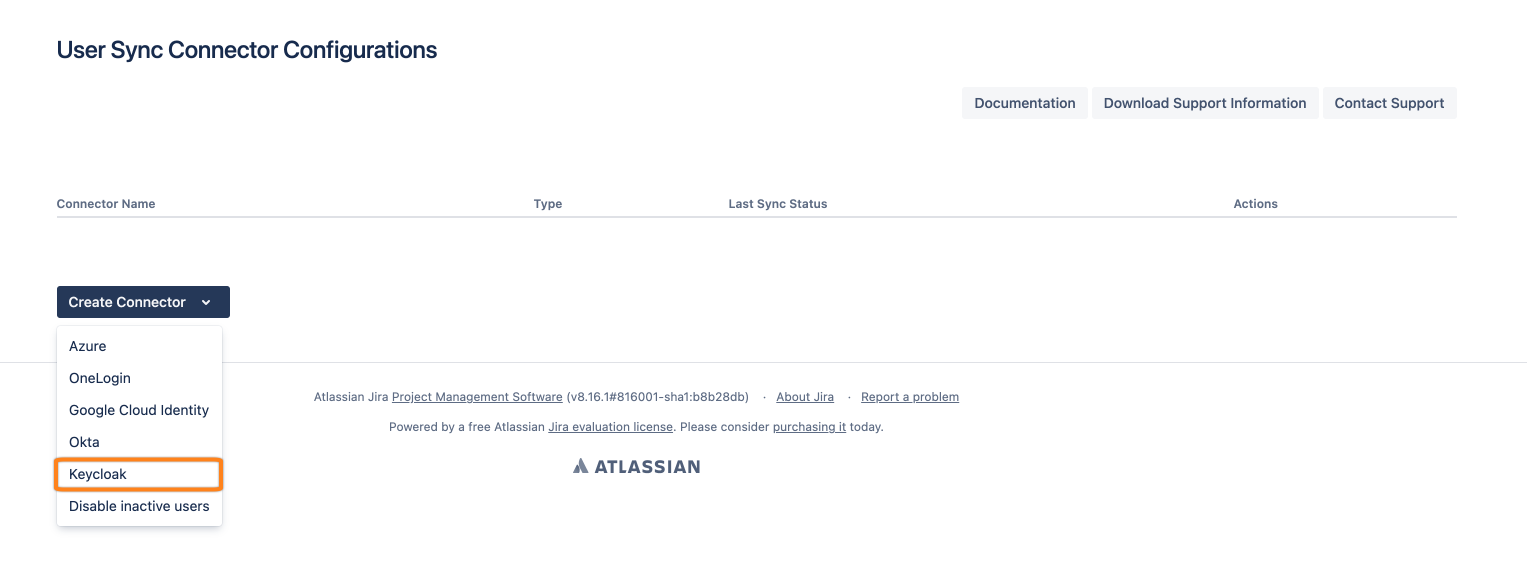
Click on Add Connector and choose Keyloak Connector.
Set a name, insert your Keycloak URL appending /auth at the end, and provide
realm name
client-id
secret
as per your Keycloak setup earlier
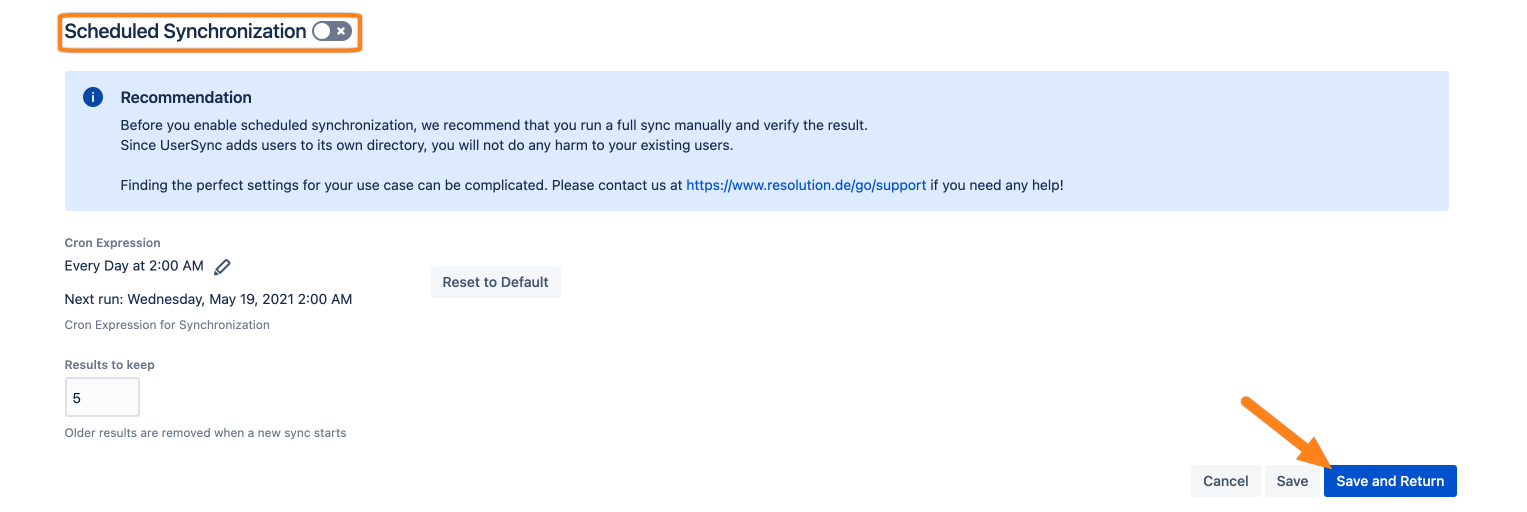
To schedule a periodic synchronization of your Keycloak directory with User & Group Sync, click on Show Advanced Settings at the very bottom of the page.
Enable Scheduled Synchronization needs to be checked, the default cron expression would then cause a sync every day at 2 am.
Click Save and Return to finish the configuration.