Getting started
Welcome
With Miro Embed for Confluence you will have native Miro boards without moving away from Confluence! Follow this quick guide to get started.
Step 1: Embedding Miro boards in Confluence
There are three different ways to open Miro Embed for Confluence.
Method 1: Slash miro
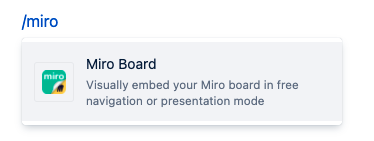
Type /miro to launch the app and select Miro Embed for Confluence
Method 2: Smart Link
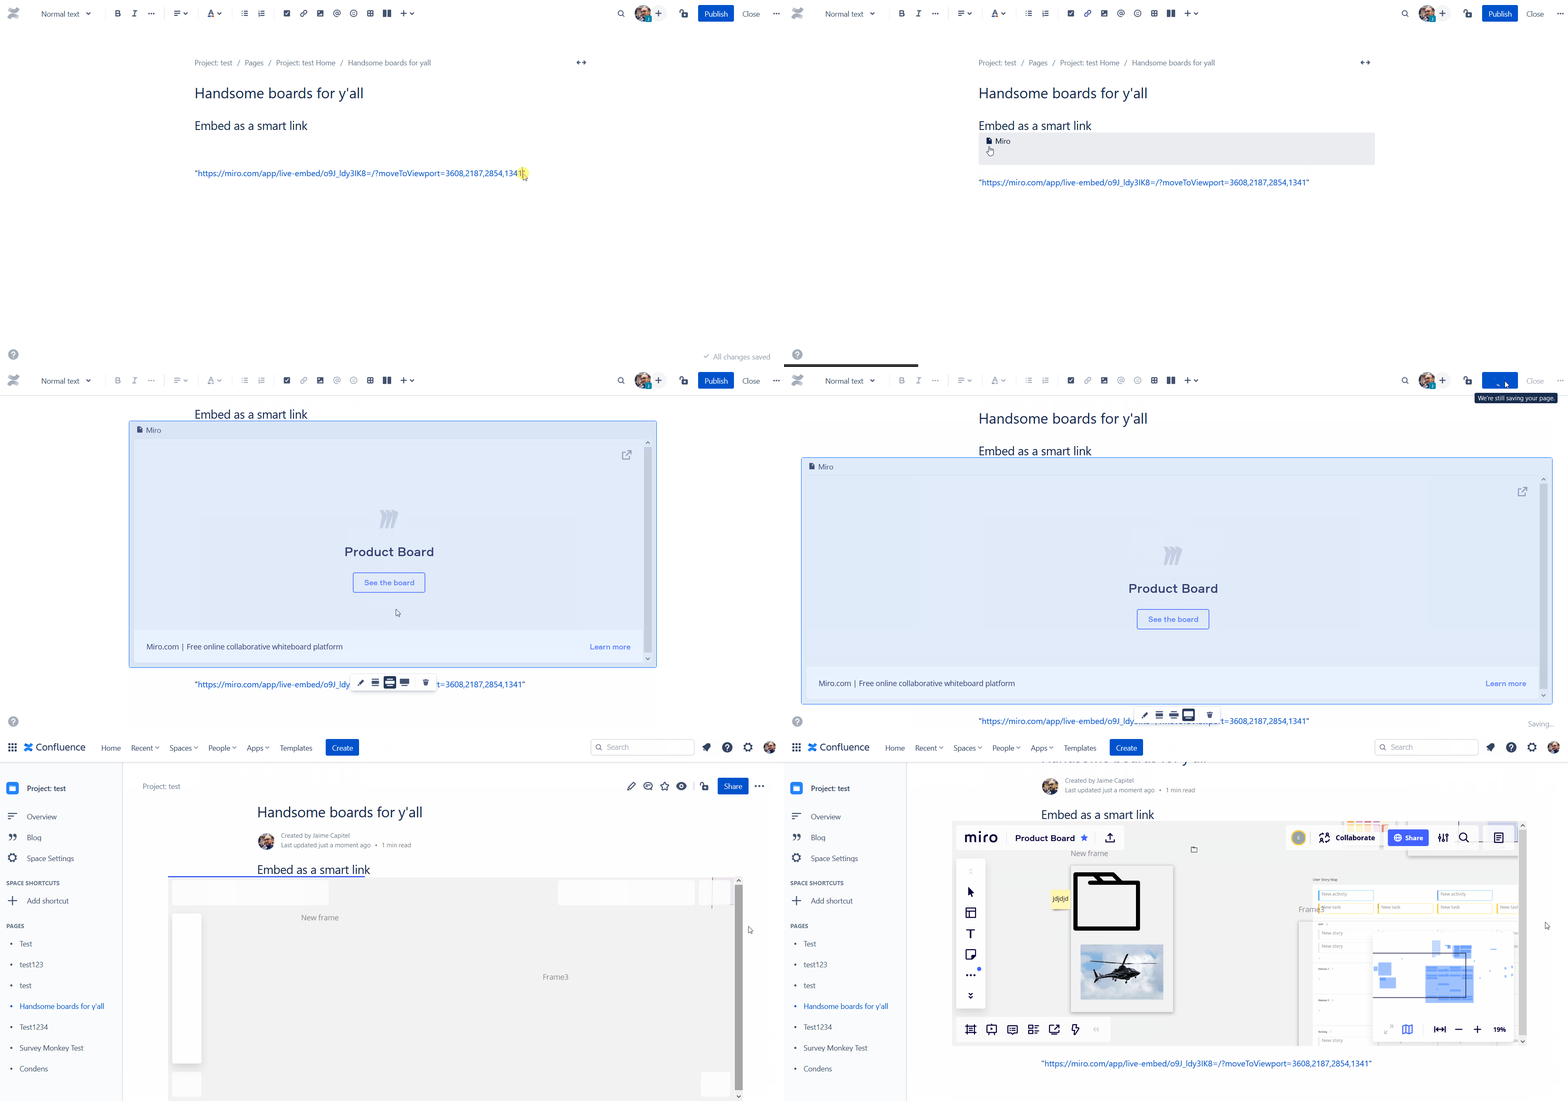
You can also, quite simply, paste the link and it will load automatically.
Method 3: Macro menu
Click on the macro dropdown, then on View more

Search for the miro embed for Confluence macro and select it
Step 2: Selecting the Miro board that you want to embed
There are two ways to embed a Miro board into Confluence with Miro Embed for Confluence:
Connecting to a Miro account
Pasting a url link or embed code.
Let's review both approaches.
Connecting to a Miro account
After triggering Miro Embed for Confluence, you will land on this macro window.
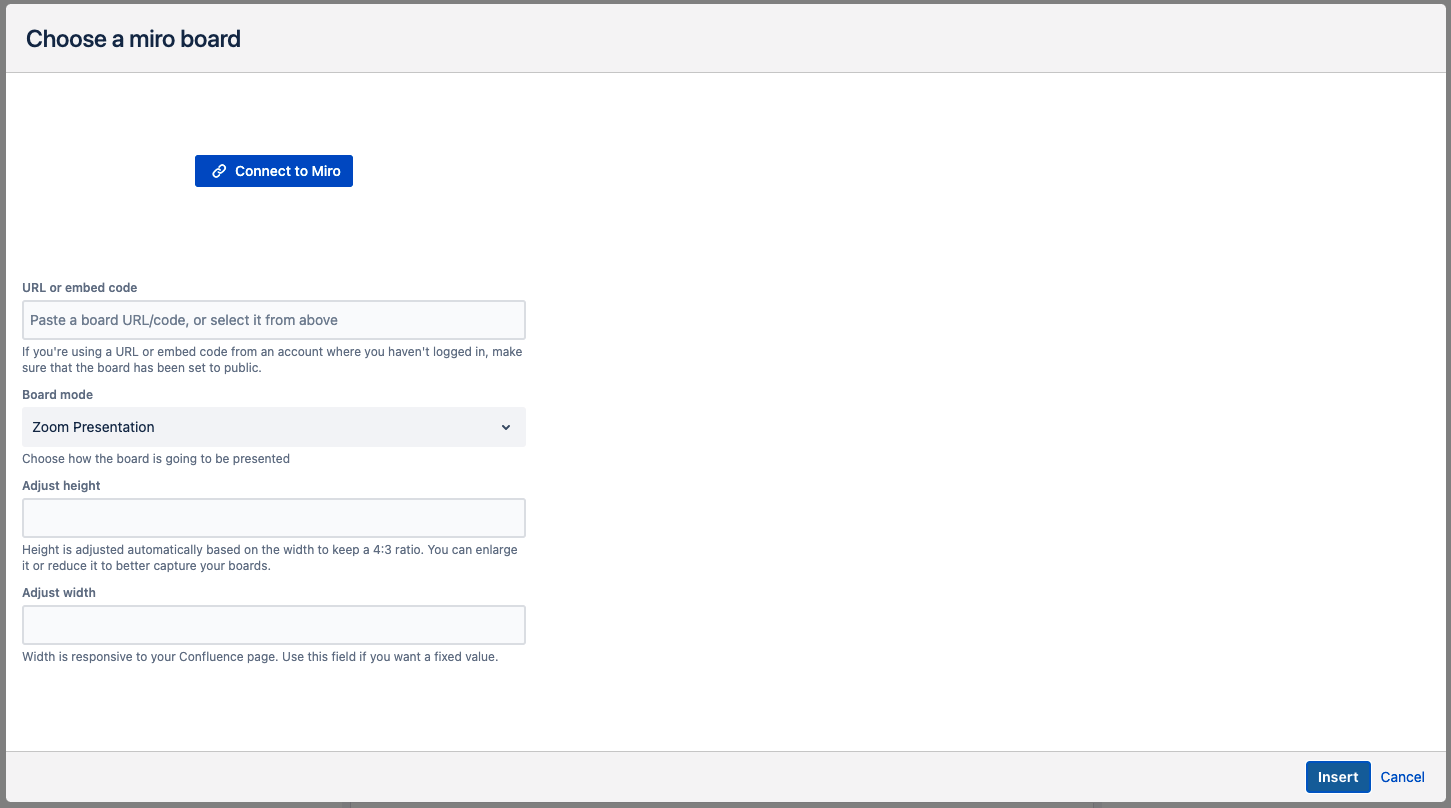
To connect to your Miro account:
Click on the Connect to Miro button
Authenticate with your email and password
Select the corresponding team
Once you have selected the right team, you will be able to select which board you want to embed directly from the macro and without opening Miro in a new tab.
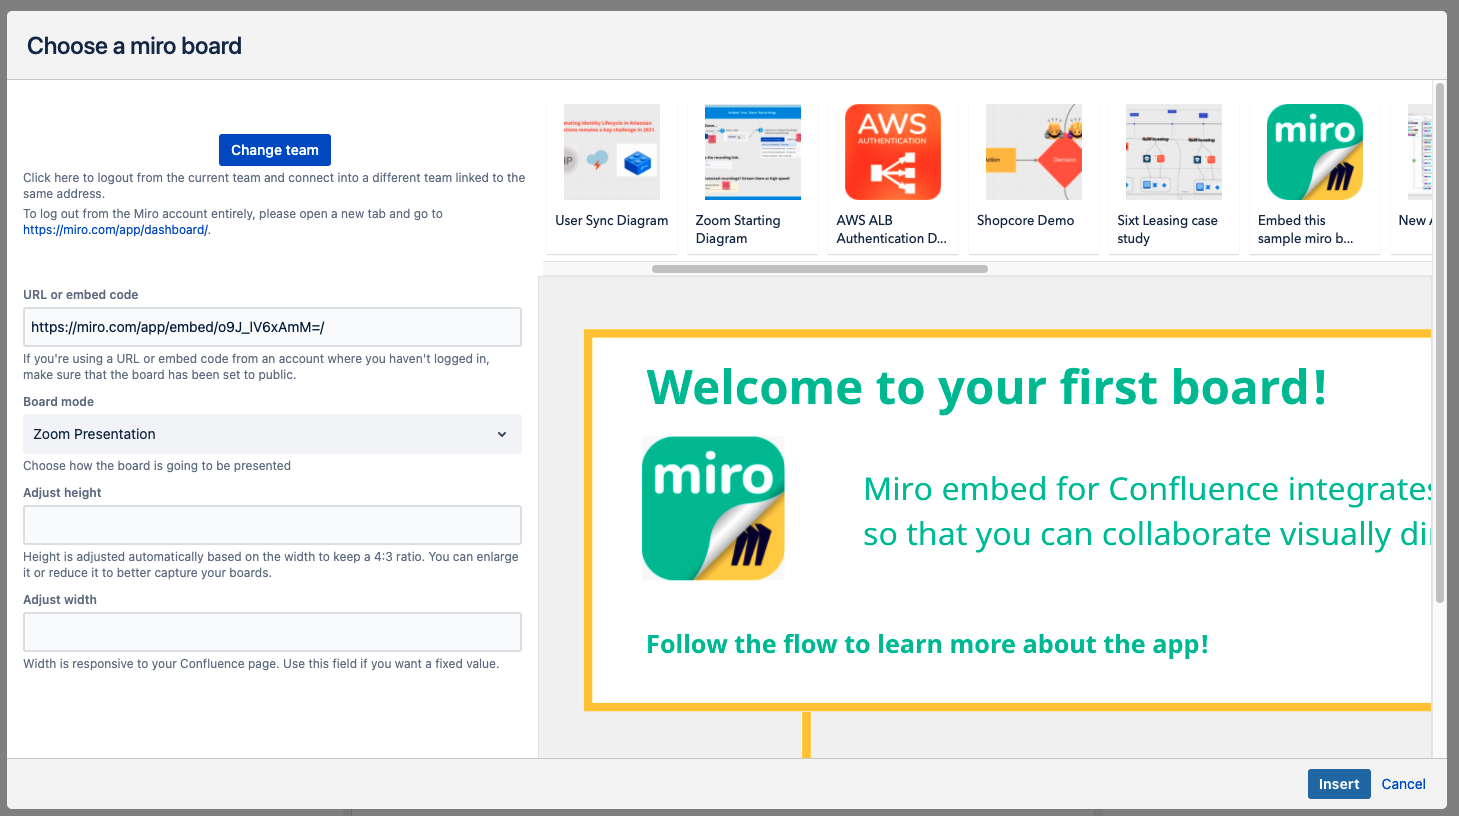
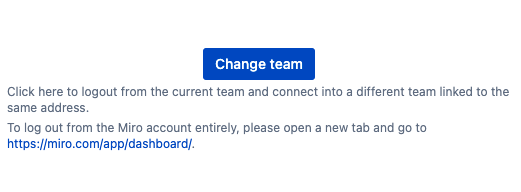
Note: you can also access a different team with the change team button. This action will take you through the same steps as above, without the initial authentication.
Pasting a URL link or embed code.
Simply grab the embed link for the board you want to embed in Confluence.
You don’t need a premium account to share boards with Embed Miro for Confluence.
Any embed code or board URL will work!
You can try Miro embed for Confluence with a sample board. However, the free navigation mode has been disabled to protect the sample content.
Board url:
https://miro.com/app/board/o9J_lV6xAmM=/
Embed link in presentation mode:
<iframe width="768" height="432" src="https://miro.com/app/embed/o9J_lV6xAmM=/?pres=1&frameId=3074457354140961281" frameBorder="0" scrolling="no" allowFullScreen></iframe>
There are two ways to share a board. Let’s see each of them separately.
Option 1. Using the board URL
Once in your desired board, copy the entire url

Using this link will embed boards in presentation mode with zoom
Option 2. Using the embed code
From the board you want to embed, click on the share icon to the right of your board name and select the “embed” option
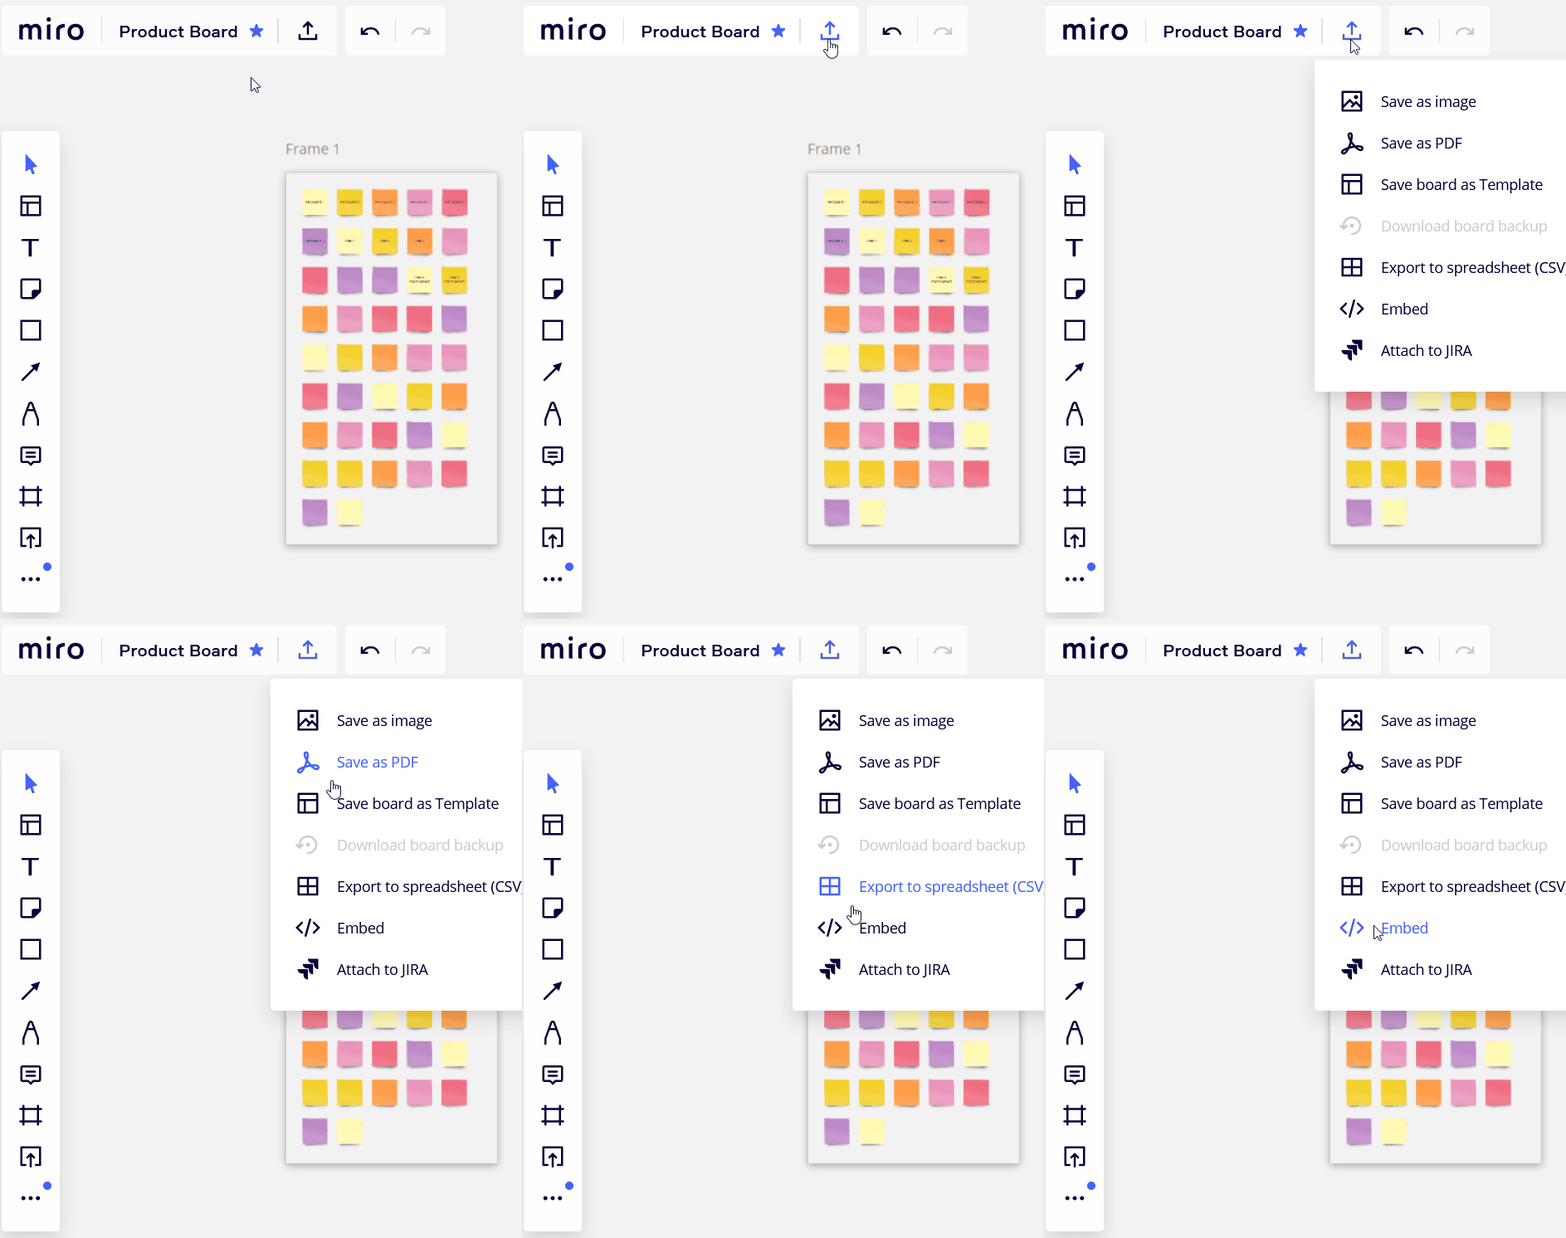
Copy the code in the Embed board window
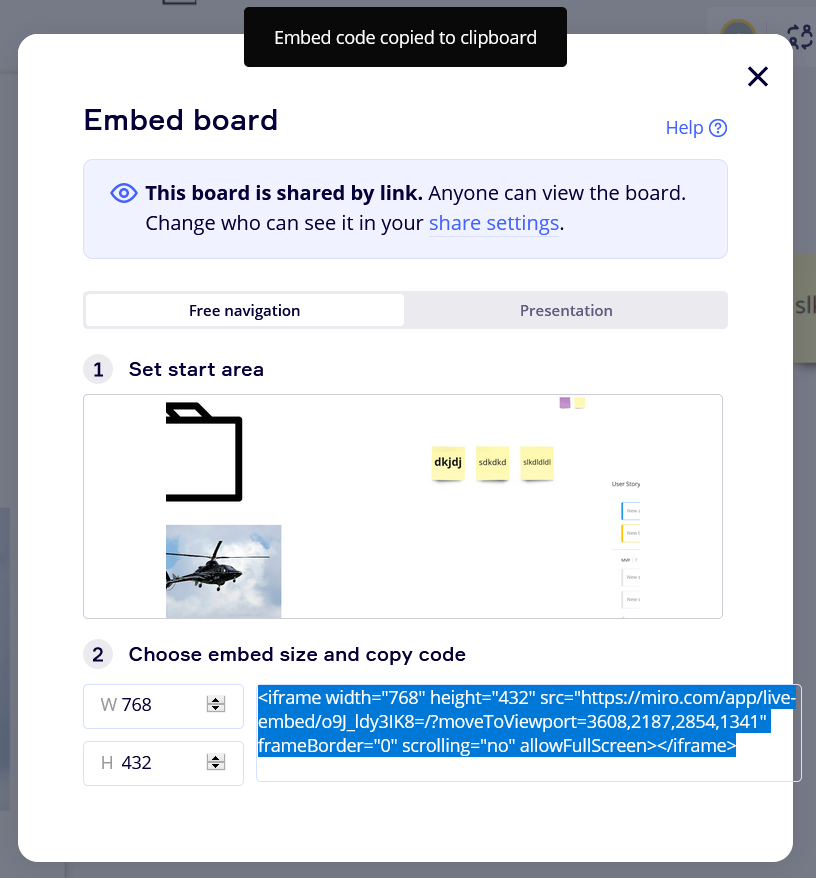
Here, you can also decide whether your board will be editable by others (Free navigation) or view-only (presentation)
Making your boards look great
Miro embed for Confluence takes care of board proportions for you.
Adjusting the width
To change the width natively, simply click in the embedded board in the Confluence page, then choose between centered, wide, and full width in the visual menu.
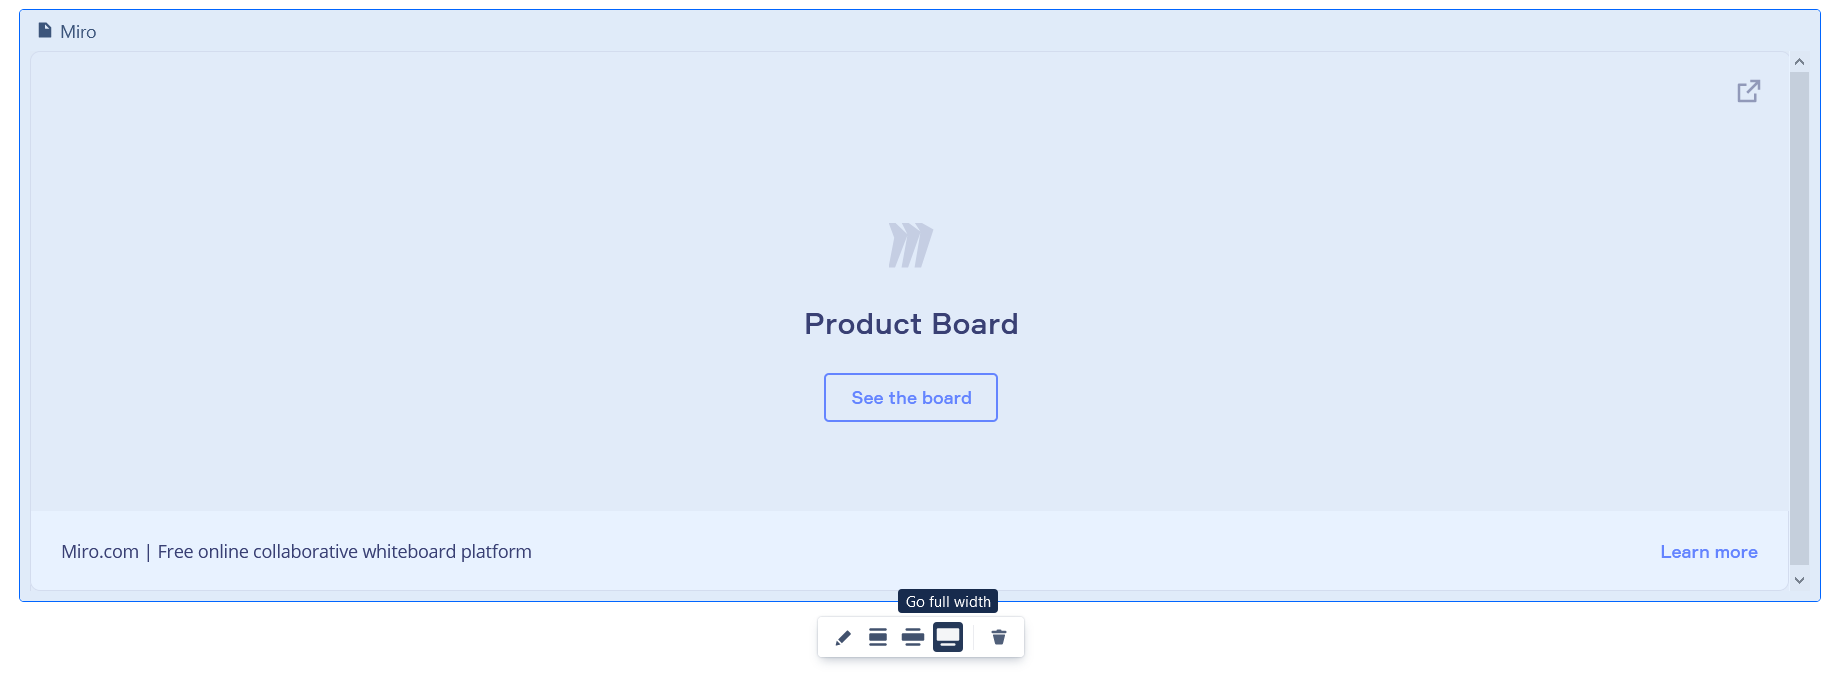
Adjusting the height
The height is set by default to 600 pixels – a comfortable numbere for most screen resolutions. However, you can adjust it manually anytime clicking on the edit button below the board.
These actions are only possible while editing the Confluence page.
You don’t need to be the board creator.
