User Guide
Embedding modes
There are two ways of selecting the mode in which your board will be embedded
From the dropdown in the macro menu
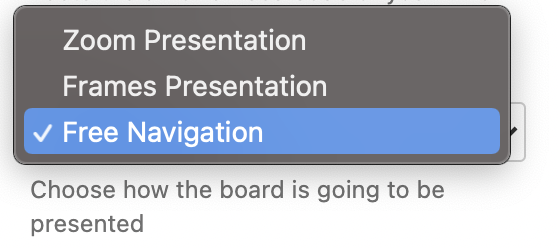
Choosing the appropriate link in Miro, then using that link as a smart link.
In order to use the embed links for the free navigation mode and presentation mode as smart links, you must strip the iframe code and paste only the https URL.
Free Navigation Mode
The Free Navigation mode is selected by default when you generate your embed link in Miro:
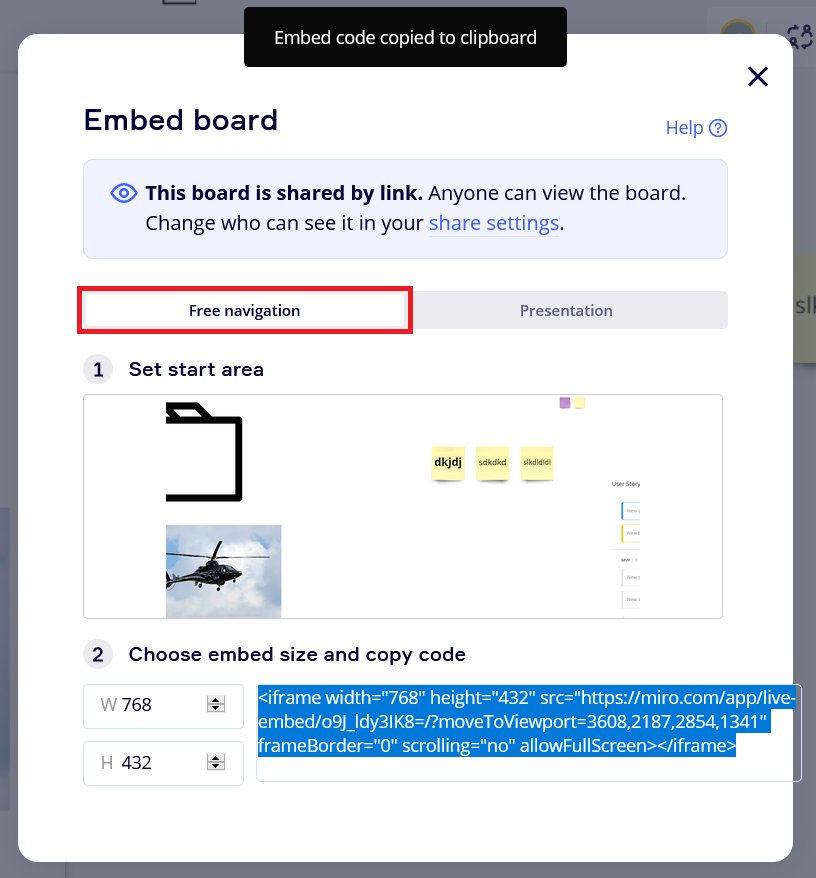
1. Set Start Area
You can click on the preview window in Miro to select the start area that will be displayed in Confluence.
You can create different embeds for the same board with different starting points. This can be useful for large boards with different diagrams where you want to guide your team more closely to where their input is desired.
2. Choose embed size and copy code
You can ignore the size settings. Miro Embed for Confluence will adjust the board to behave responsively when you adjust the width of your Confluence page. The height will be kept proportional.
However,you can edit the macro to have fixed height and width settings.
Presentation Mode with Frames
To embed a board in Presentation Mode, select the right tab in Miro’s embed board window
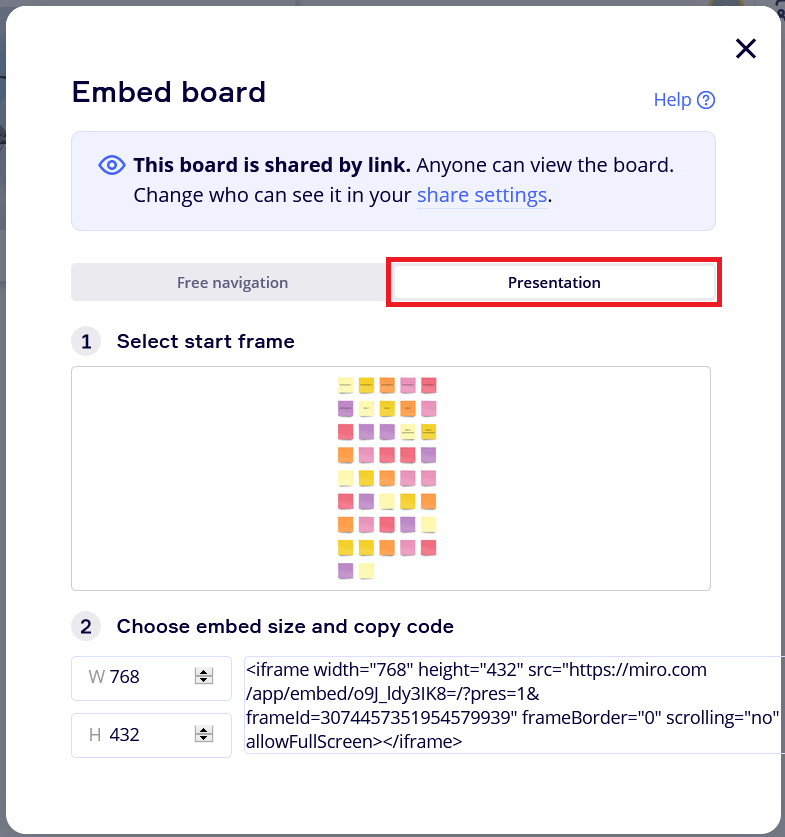
1. Set Start Frame
The presentation mode consists of one or more static frames shown sequentially. If you don’t have frames in your board, you can create your starting frame from the preview window.
2. Choose embed size and copy code
You can ignore the size settings. The https url in the embed code is all you need.
Presentation Mode with Zoom controls
You can also embed boards in view-only mode with the ability to zoom.
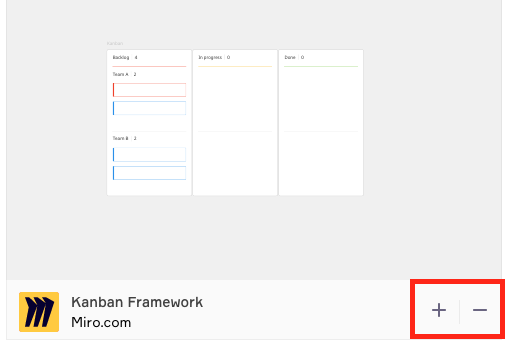
To do this, simply use the board url for the embed.
Confluence Window Modes
Besides the different embedding options, users can also trigger two different window modes in the published Confluence page:
Full screen window
Pop-up window
Both windows can be triggered for every embedding mode (free navigation, presentation, and zoom controls)

These two options are always visible when hovering over the embedded Miro macro on a Confluence page
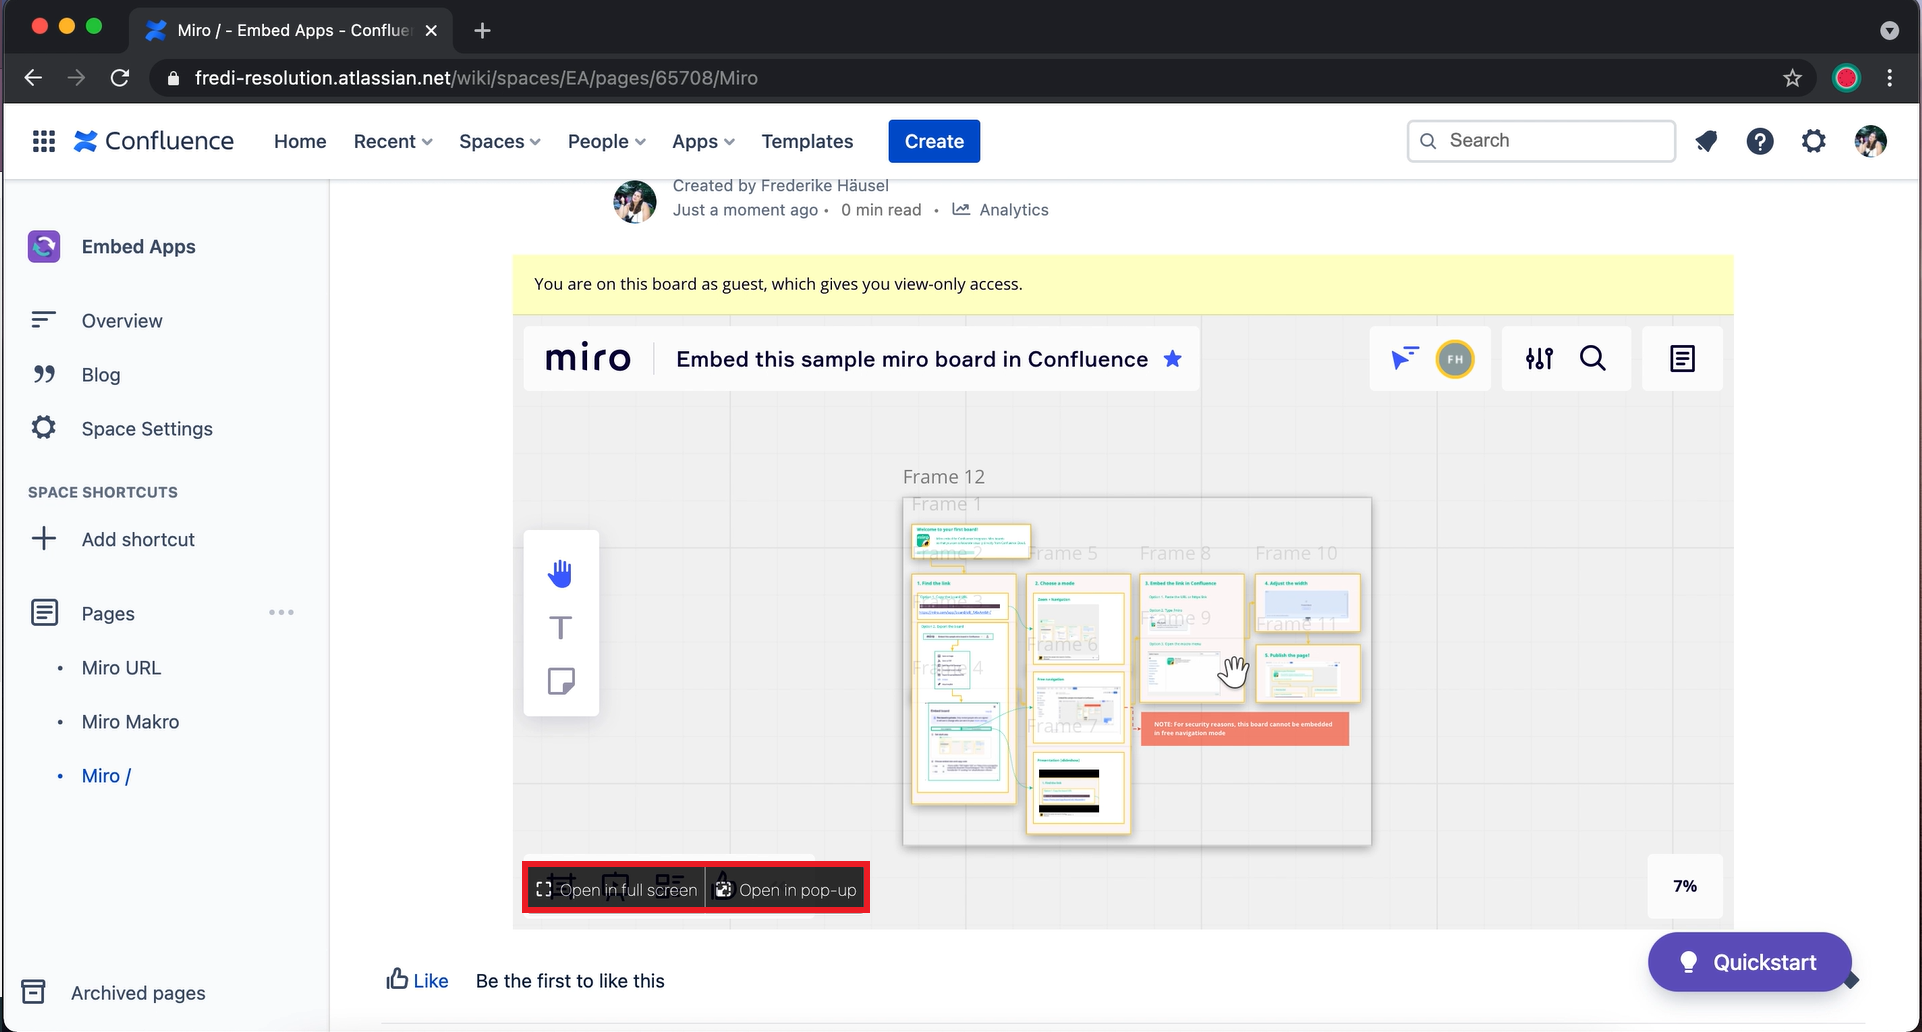
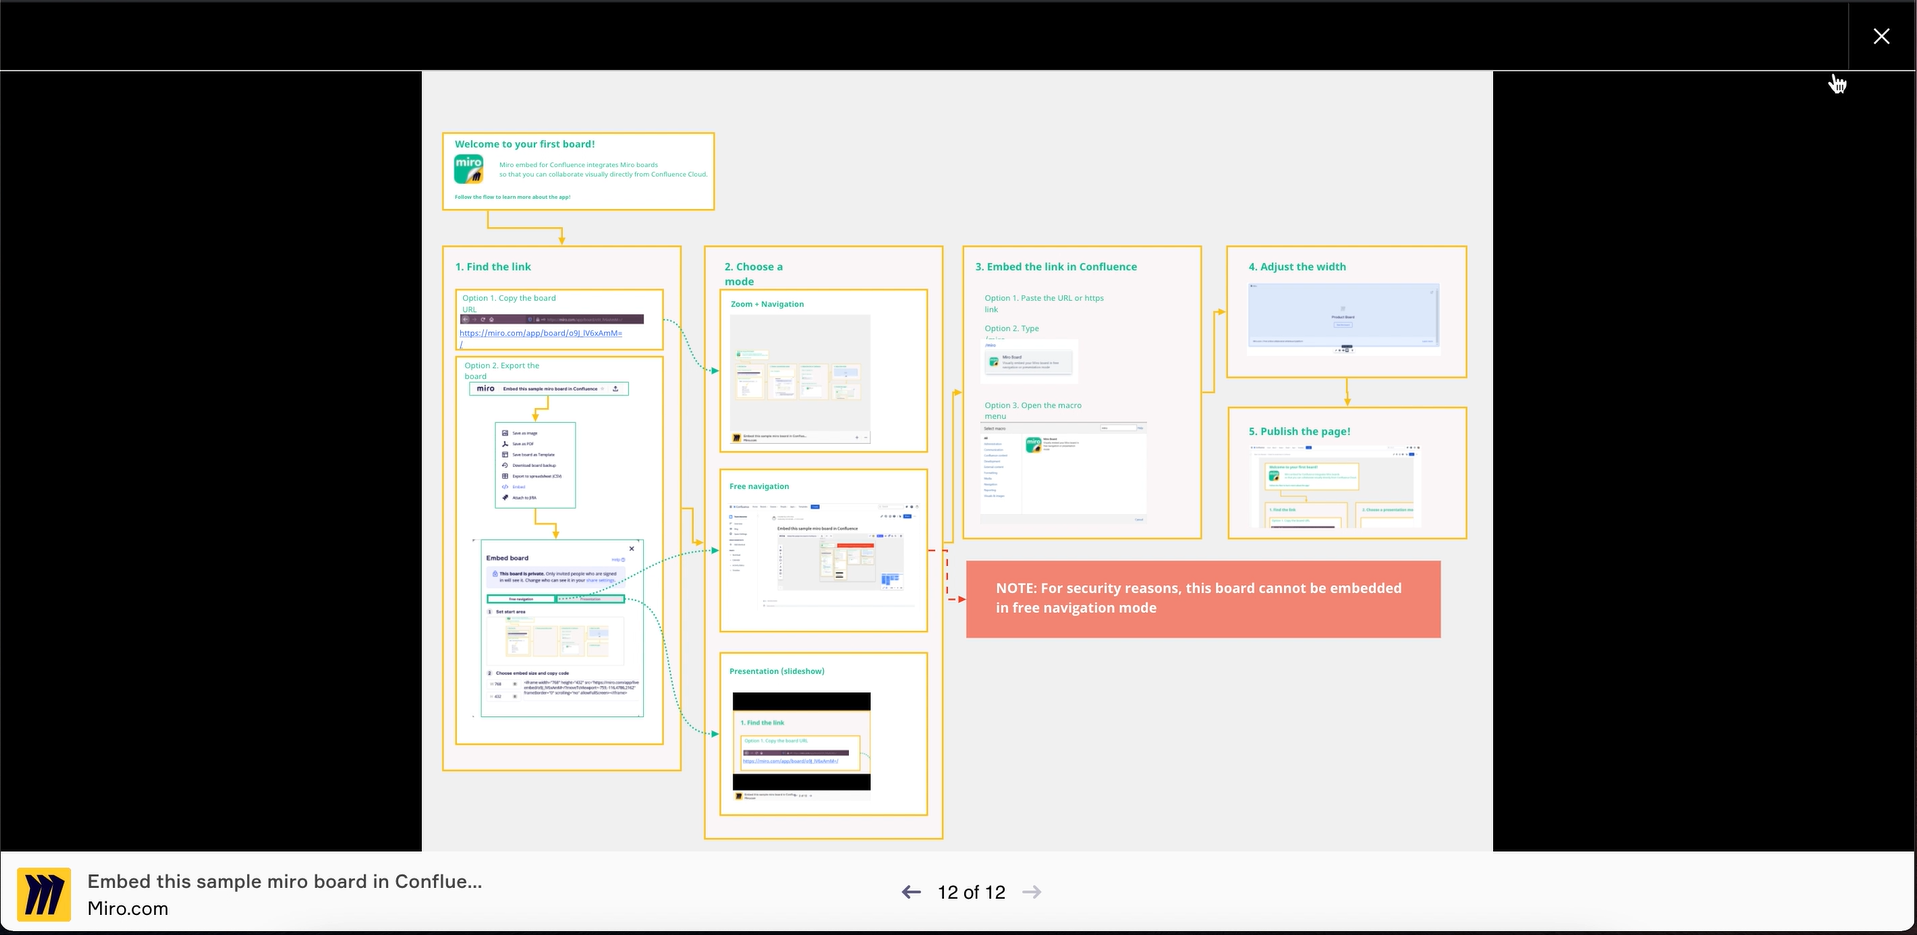
The full-screen window will take over the entire browser, and guarantees the best experience. Here is an example with a frame presentation.
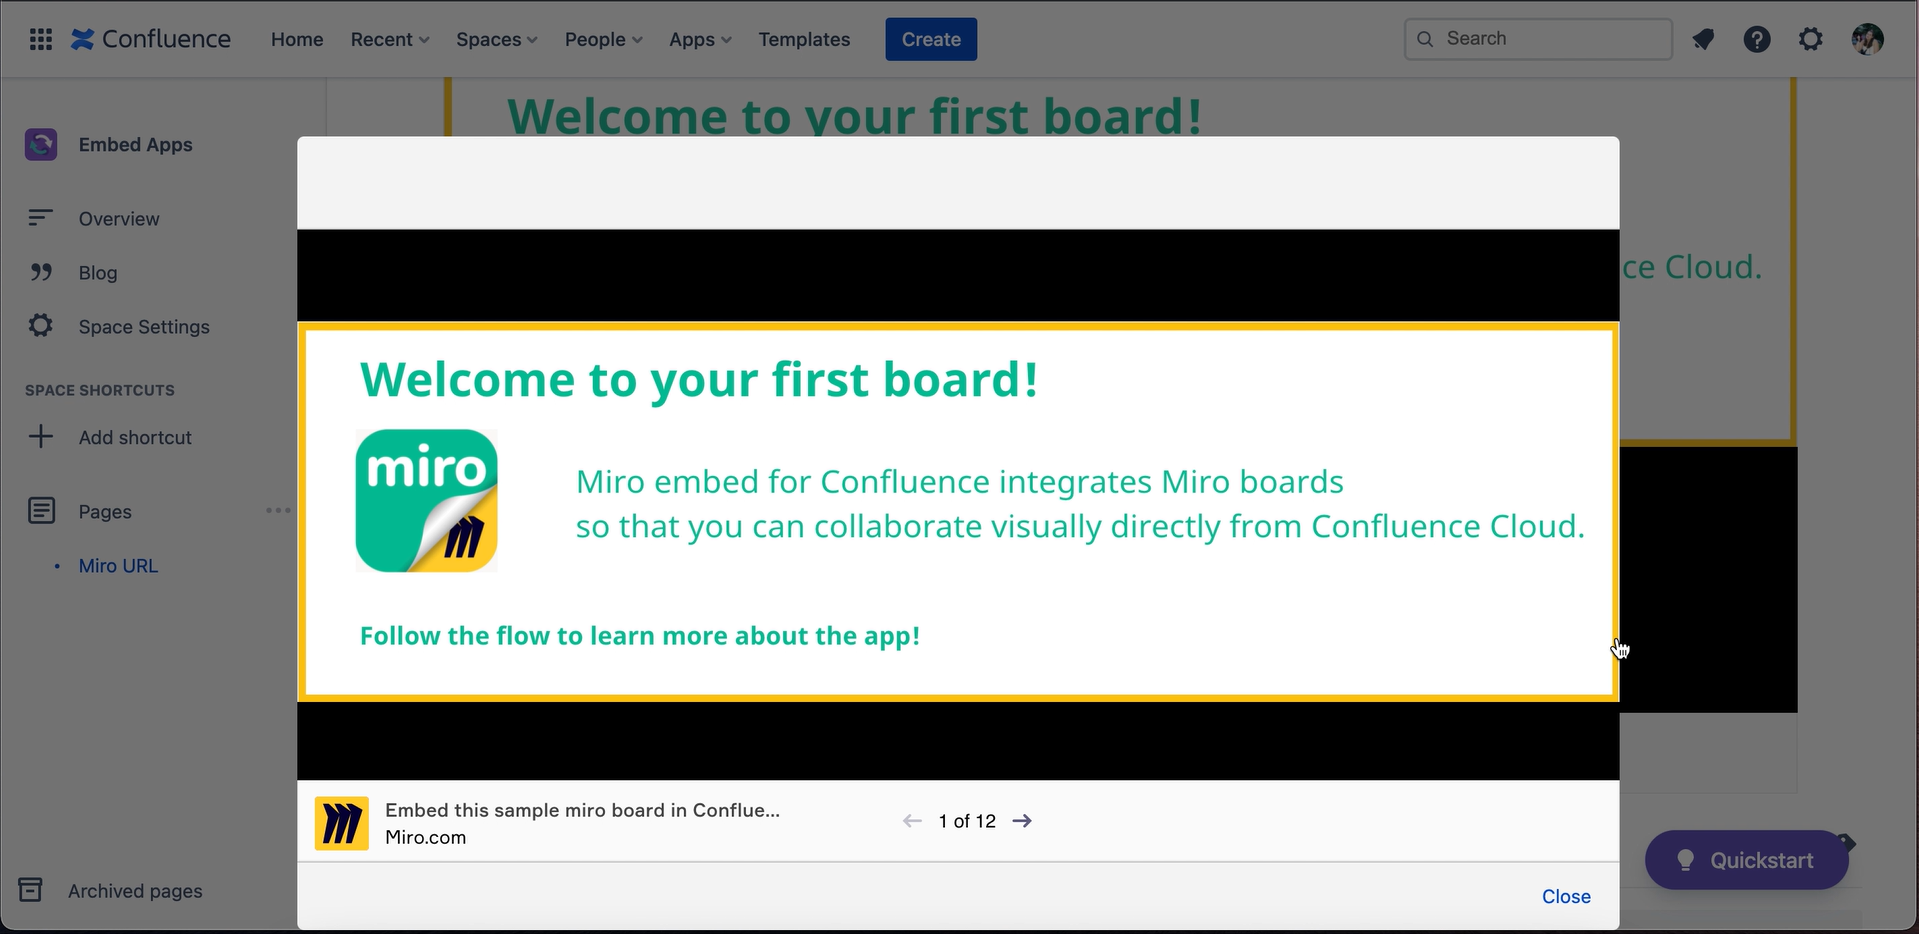
And here is the same presentation in a pop-up window:
Known issue embedding consecutive links
When several links are embedded in edit mode before publishing, only the first embed link will display a preview. However, the published page should properly embed all links.
Miro Permissions
Boards can be embedded with specific permissions (viewing, commenting, editing). However, these settings need to be adjusted on Miro and cannot be controlled from Confluence or the Miro Embed for Confluence app.
For more information, you can read Miro’s documentation:
