
Getting Started
4. Connecting to HubSpot
To enable the embedding of HubSpot objects, you first need to connect Confluence to your HubSpot account.
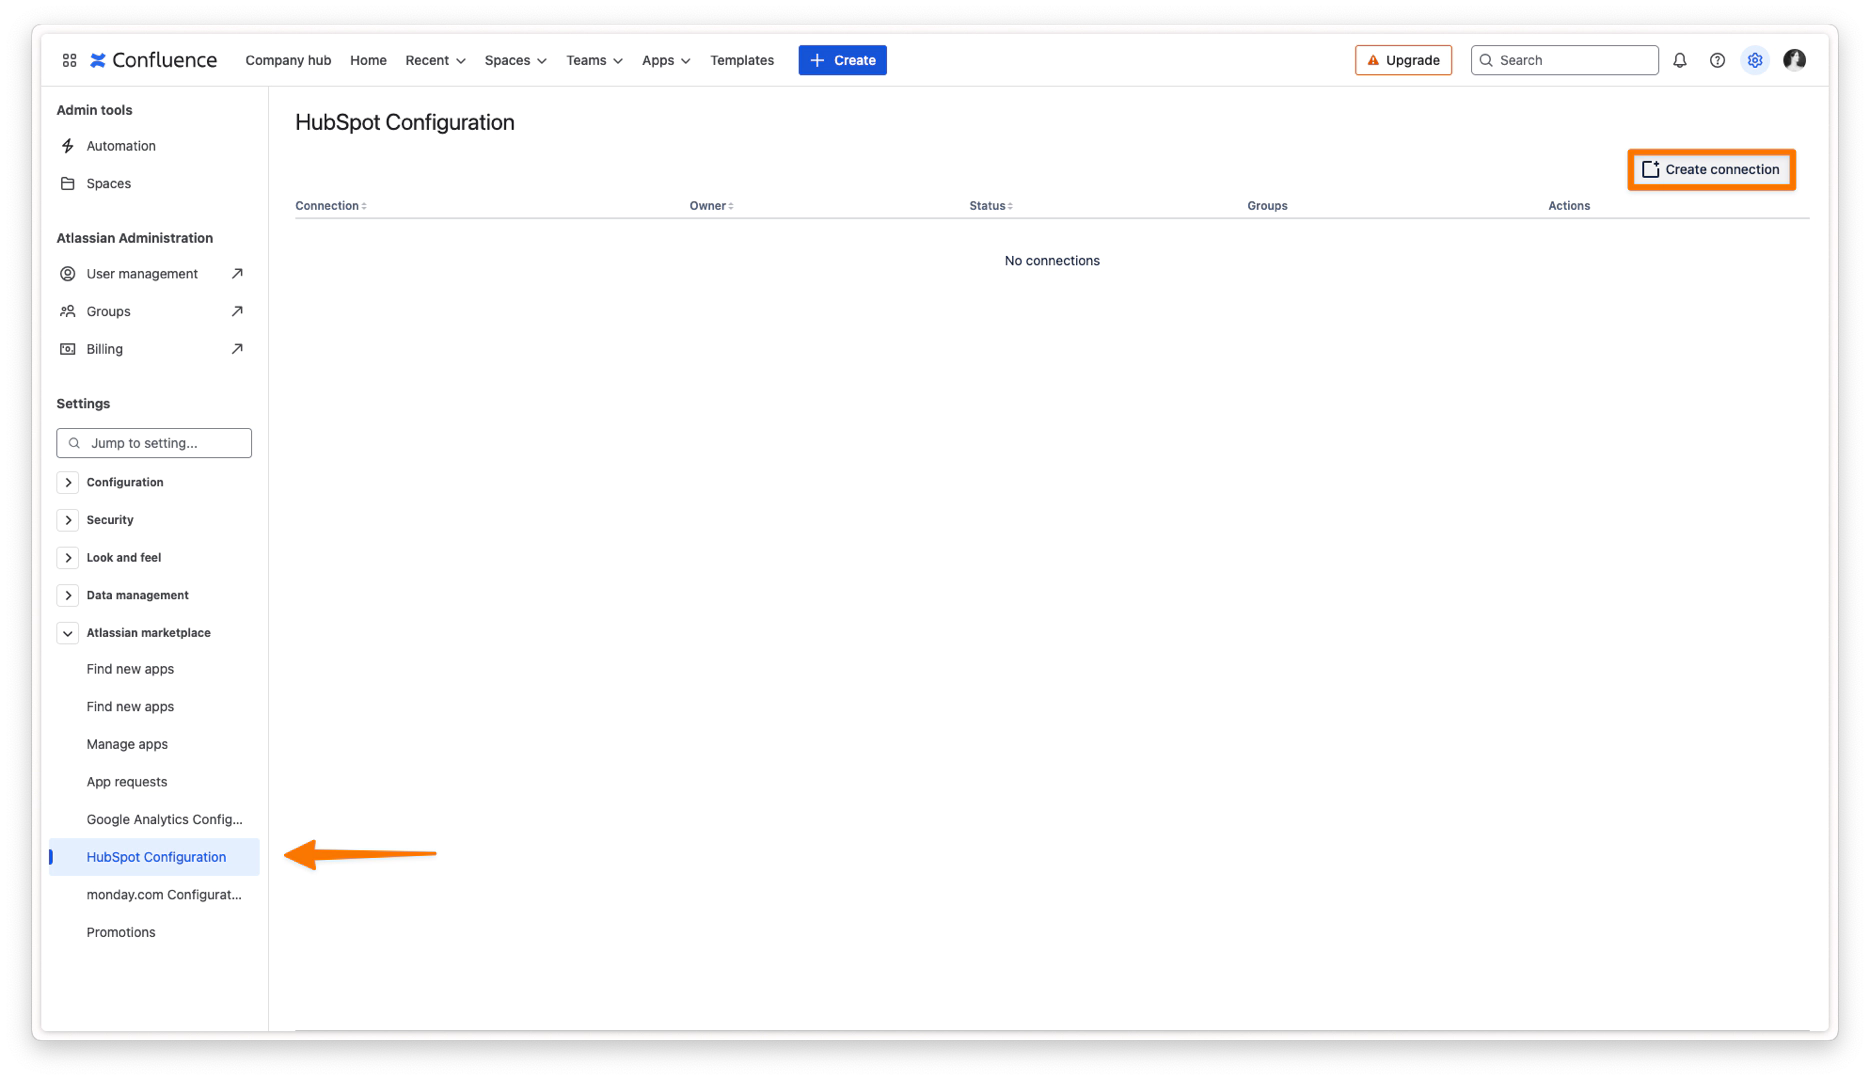
Open the HubSpot Connection Page
Navigate to Settings → Atlassian marketplace → HubSpot Configuration.
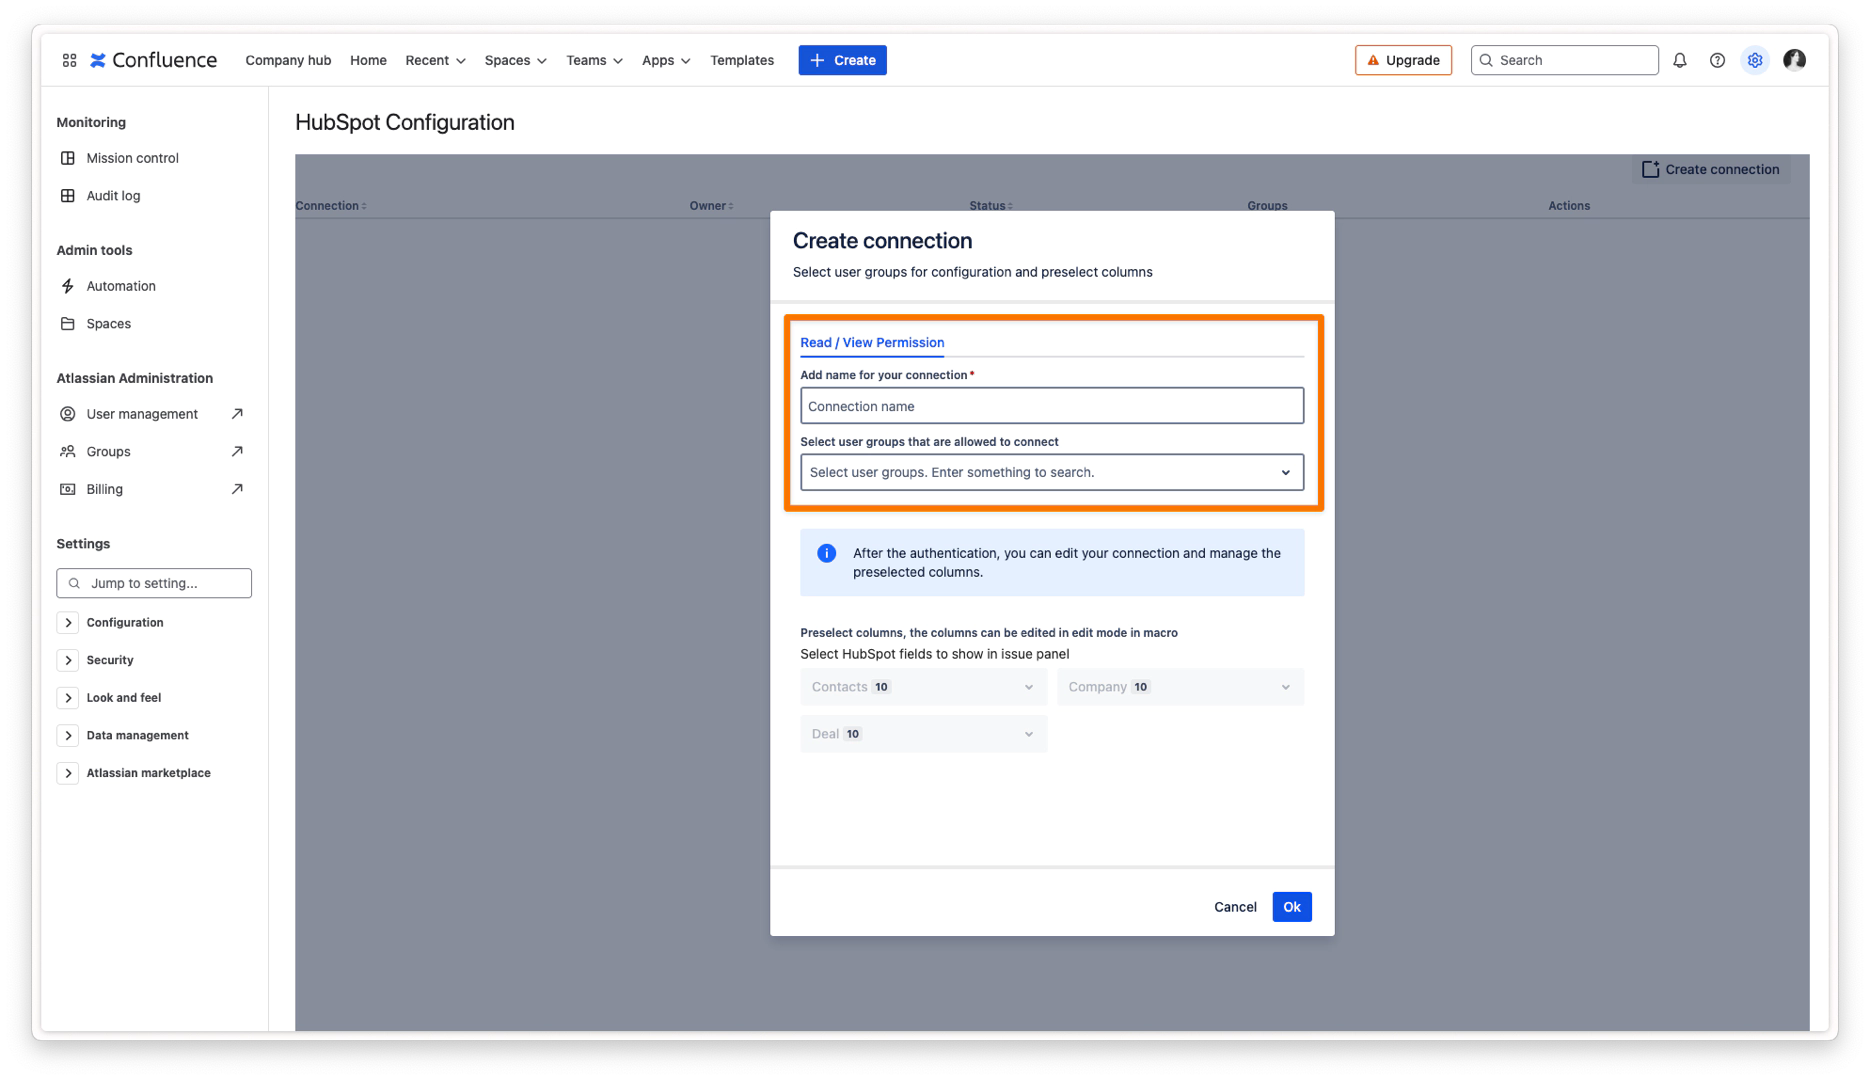
Create a Connection
Click Create Connection to configure the connection, and click Ok.
Click Connect to be redirected to HubSpot’s authentication page.
Log in with your HubSpot credentials and grant the necessary permissions.
Verification
Once authenticated, you’ll be redirected back to Confluence.
A success message will confirm that Confluence is now connected to your HubSpot portal.
If you have multiple HubSpot accounts, ensure you select the correct portal before finalizing the connection.
Tip: If you need to switch to a different HubSpot account in the future, simply disconnect and reconnect using the same steps, or add another connection.
5. Permissions Management
5.1 Confluence Permissions
View Permissions
By default, any Confluence user who can view a page with an embedded HubSpot asset will see that asset, unless your Confluence space/page has specific view restrictions.
Create (Edit) Permissions
Only users with the permission to edit Confluence pages can insert or modify embedded HubSpot object data.
If you want to restrict who can insert HubSpot data, configure page or space-level permissions accordingly.
5.2 HubSpot Permissions
Objects: The user who connects Confluence to HubSpot must have adequate HubSpot admin permissions.
Re-enabling macro data after the connection was deleted
If your HubSpot data is no longer showing within the macro as a result of the connection being deleted you simply have to follow these steps in order for it to work again:
Create a new connection.
Go to your Confluence page with the macro and edit it.
When the edit modal of the macro opens, the valid connection is automatically selected.
Save the macro with the new connection again.
Proceed with all of your macros.