Getting Started
Once monday.com for Jira has been successfully installed, a connection between the Jira and monday.com instances will need to be created to use the application successfully.
Complete the following steps to create a connection:
Connect monday.com and Jira
Step 1: Open the configuration panel
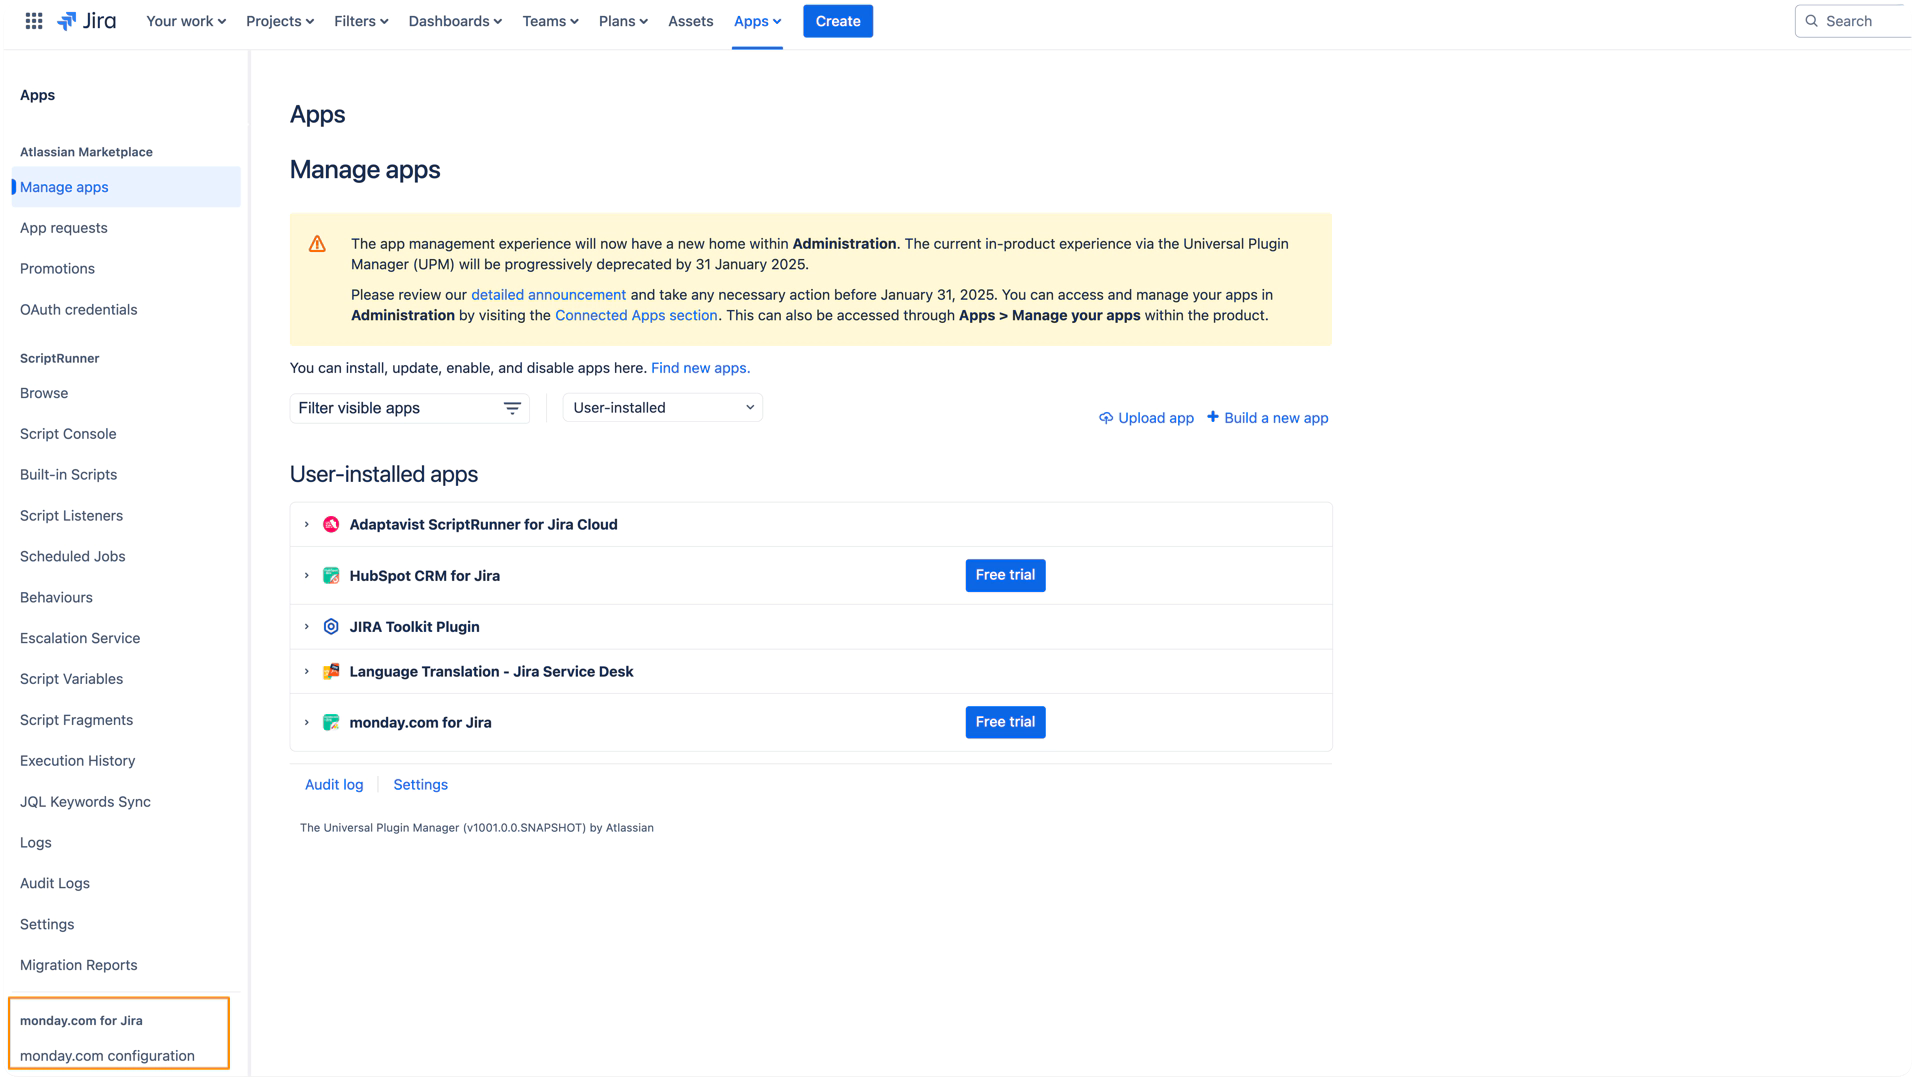
From your Jira instance, head over to the Manage your apps section.
Within the “Manage your apps“ section, find and click the moday.com configuration button in the lefthand panel under monday.com for Jira menu.
Step 2: Download app on the monday.com marketplace
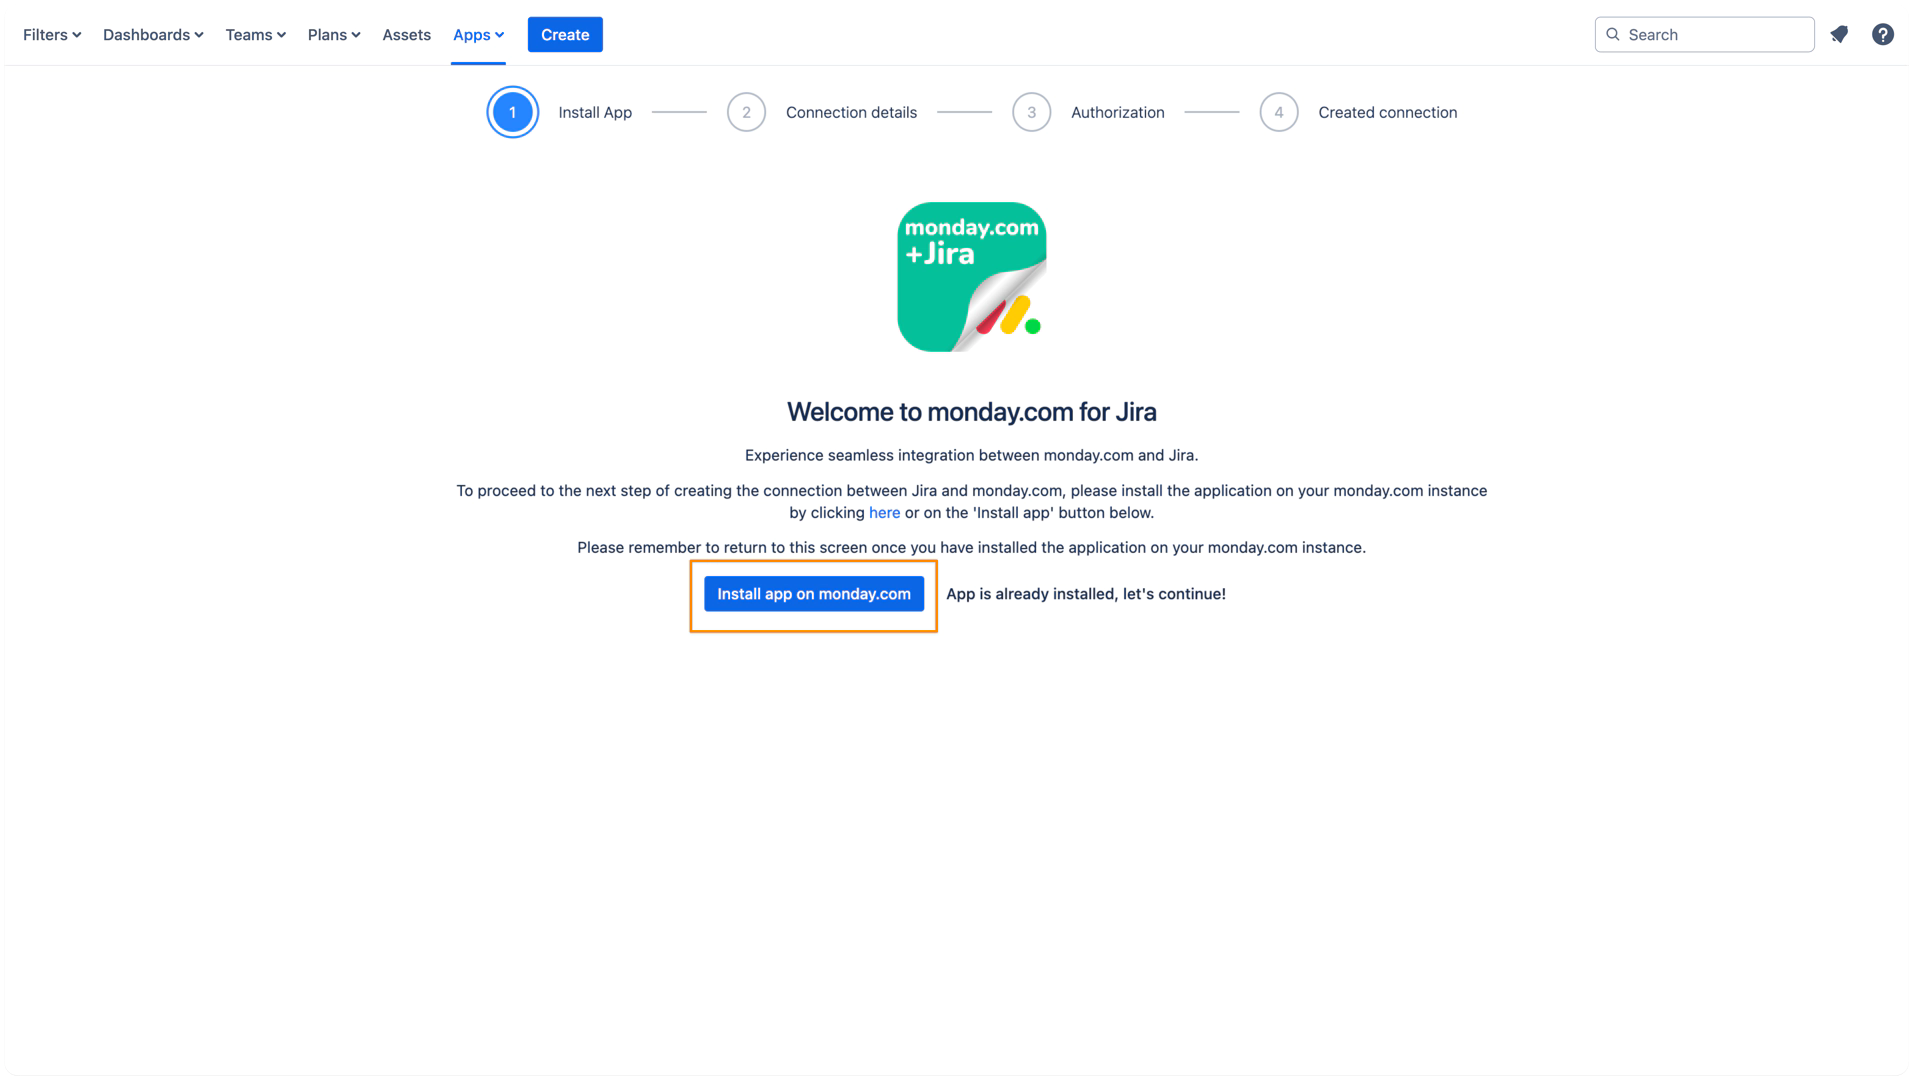
Start the process by following the step-by-step flow.
Click on the Install app on monday.com button. If you previously downloaded the app from the monday.com marketplace, click on the App is already installed button and jump to Step 3.
Another window will open, heading to monday.com. Check that you are connected to the monday.com account you want to connect to Jira.
Select whether you want to give access to the app to all your monday workspaces or only specific ones.
Proceed by clicking on the Install button. The app will now appear in the monday.com Manage apps section.
Head back to the Jira window.
Step 3: Create a connection
Within the Connection details section, go ahead and complete the following:
Add a name for your connection - create a name for your connection.
Select Jira user groups - select which user group you want to allow access to link and view monday.com data in Jira.
Select Jira projects - select which Jira projects you want to connect to your monday.com and make them accessible to monday.com users.
Once these fields have been completely filled out, click the Continue button to proceed to the next step.

Step 4: Authorization
In the next window, you will see your connection details.
Review the details and click on the Continue button if everything is correct.
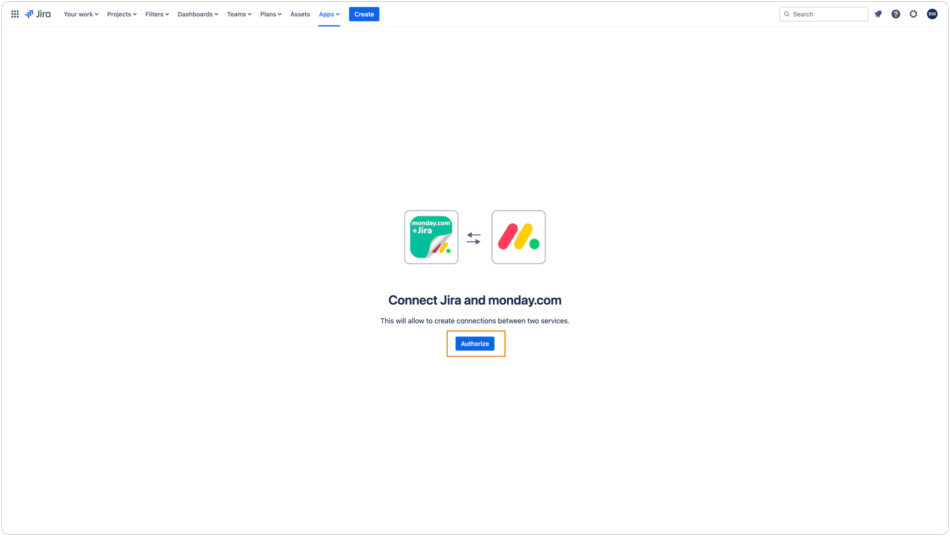
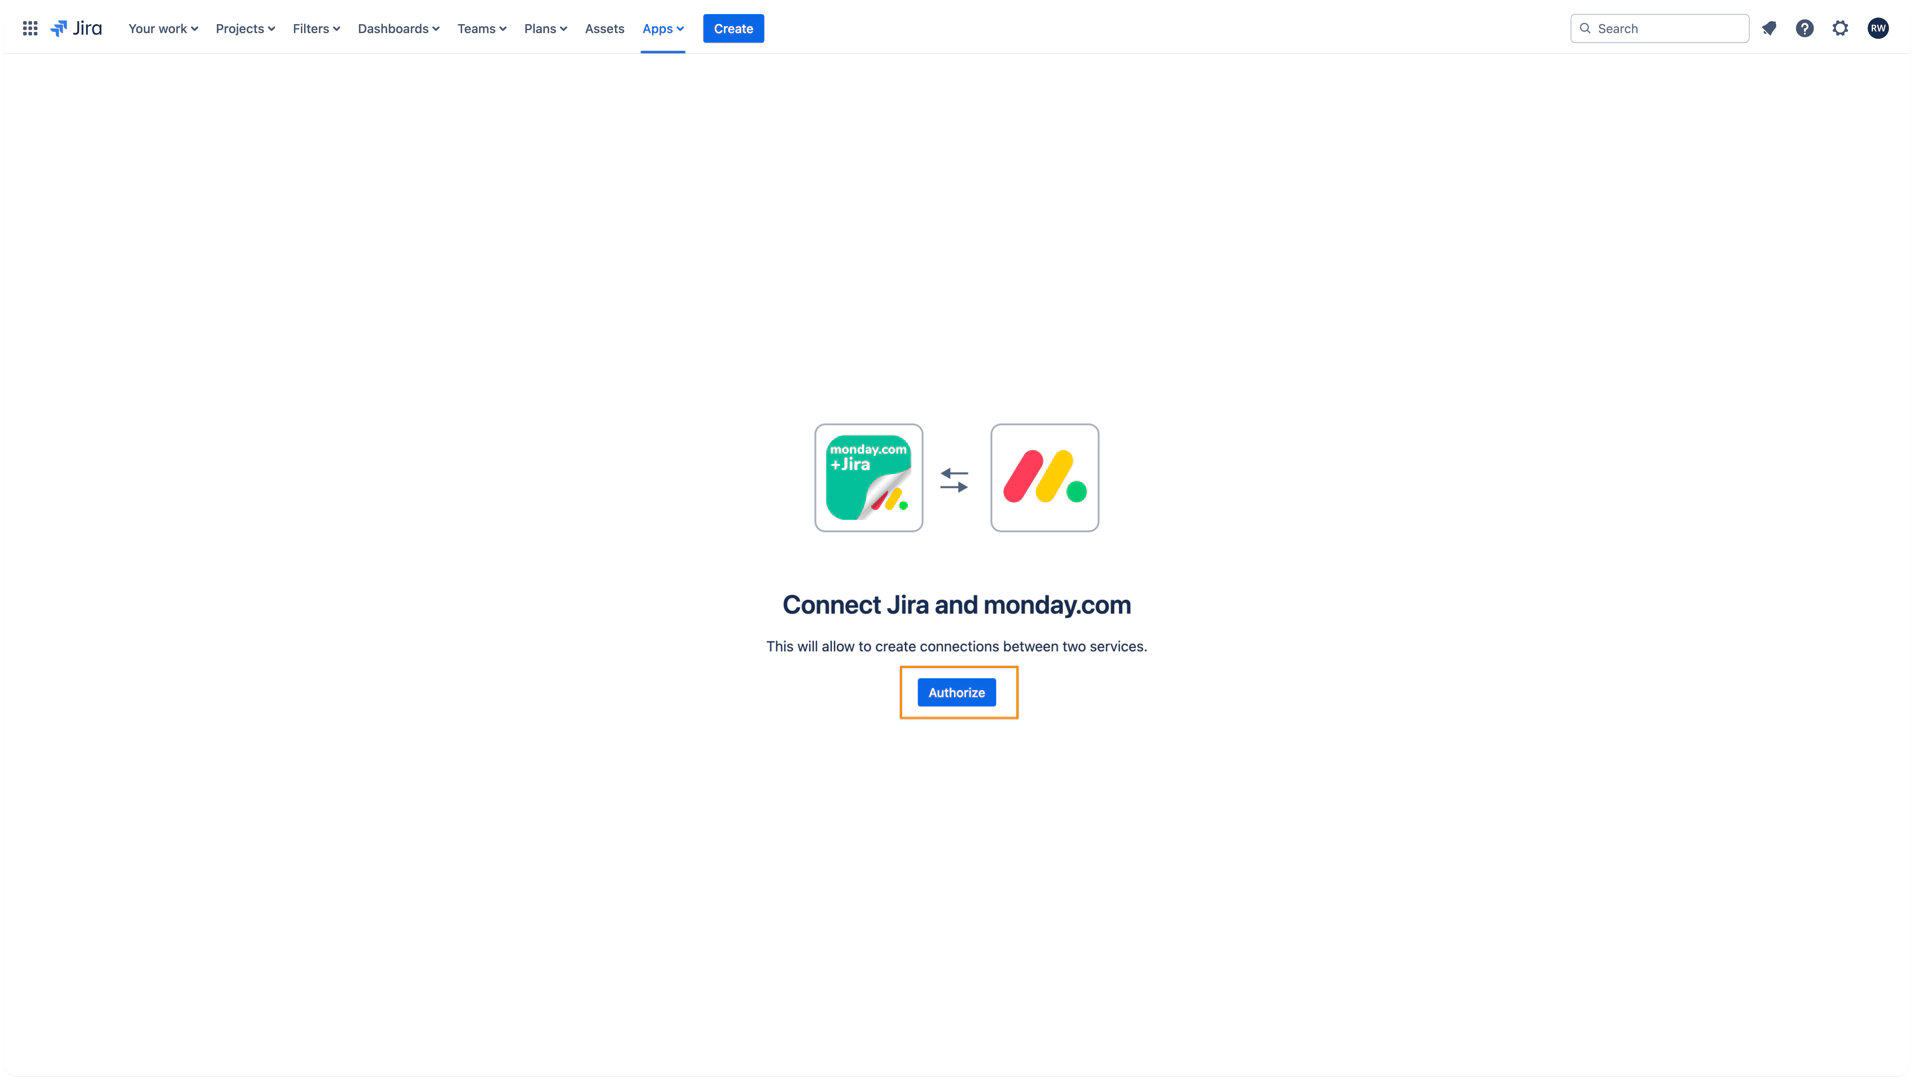
A new window will open. Click on the Authorize button and accept the scopes on the following screen.
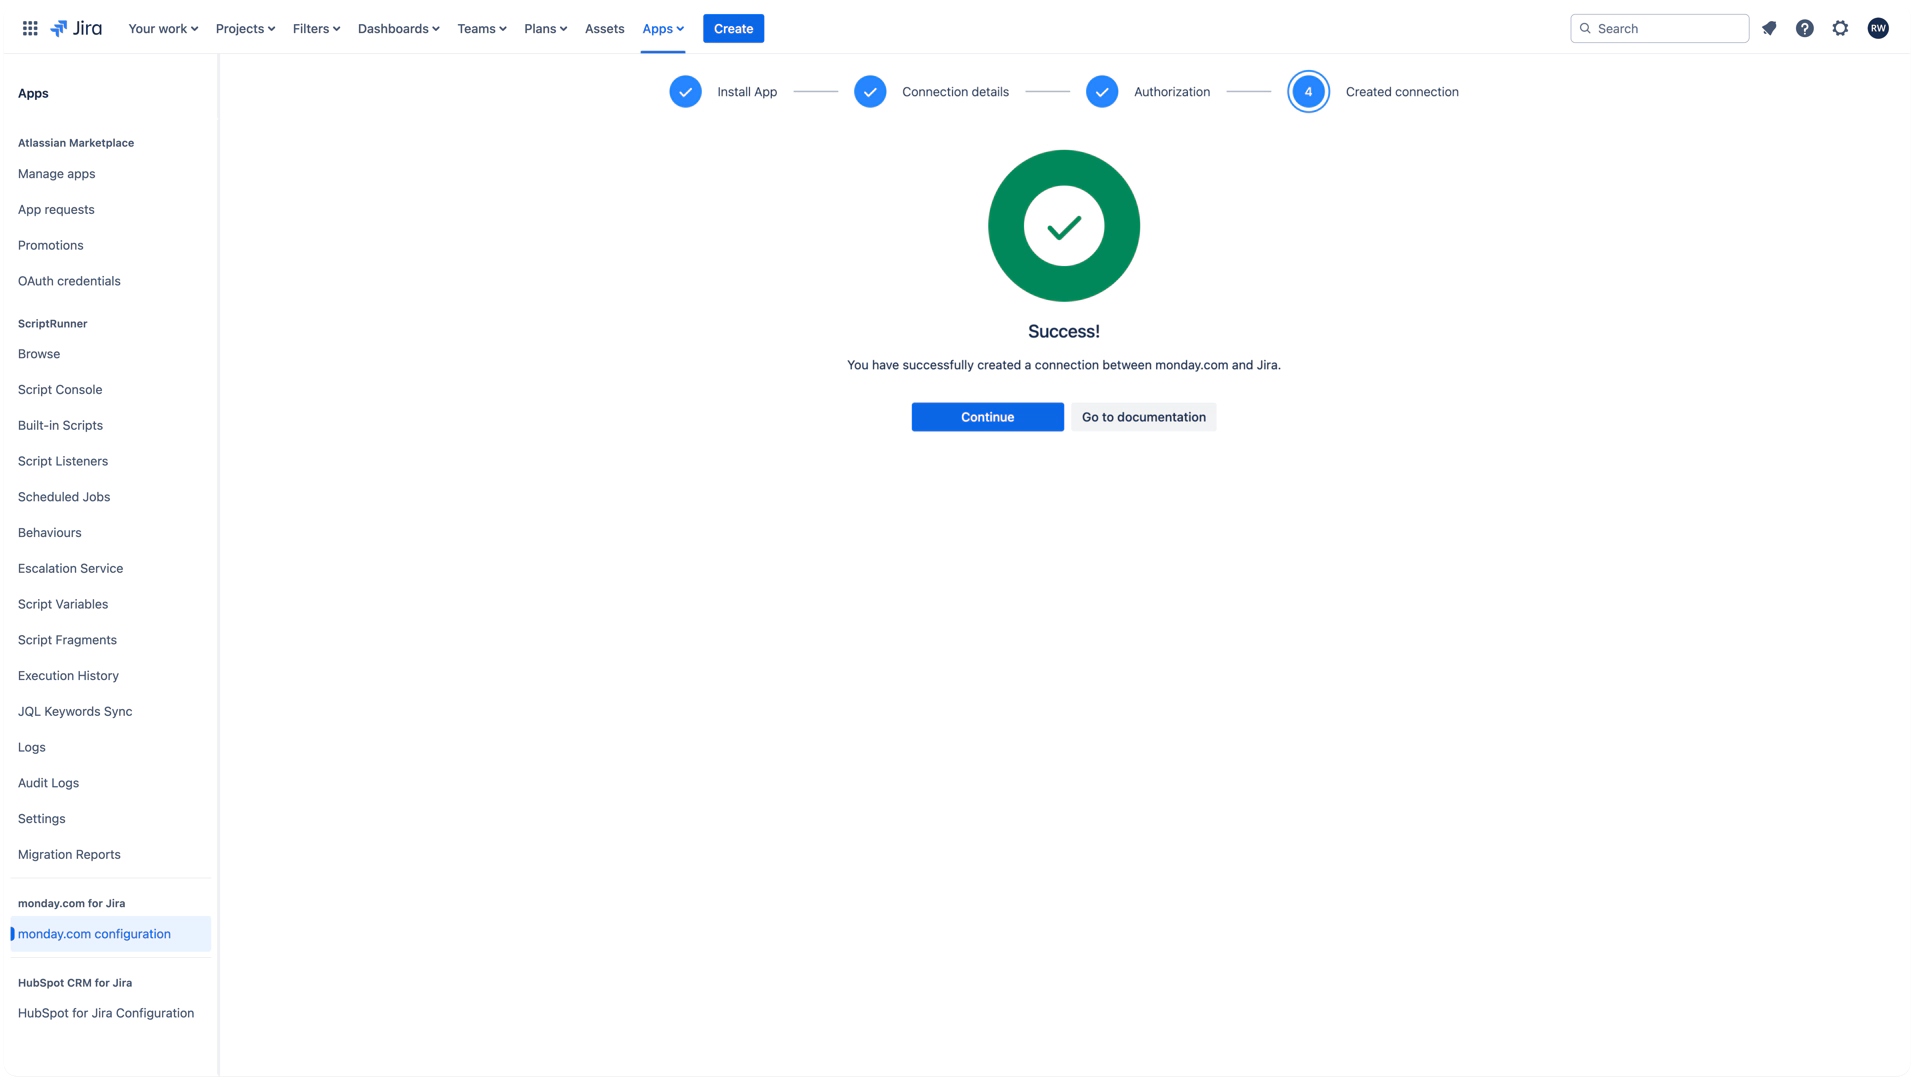
Step 5: Successful Connection
After authorizing the connection, you will be directed to the connection status page.
You should see a success message if all the steps were correctly followed. Now click the Continue button to close the connection configuration.
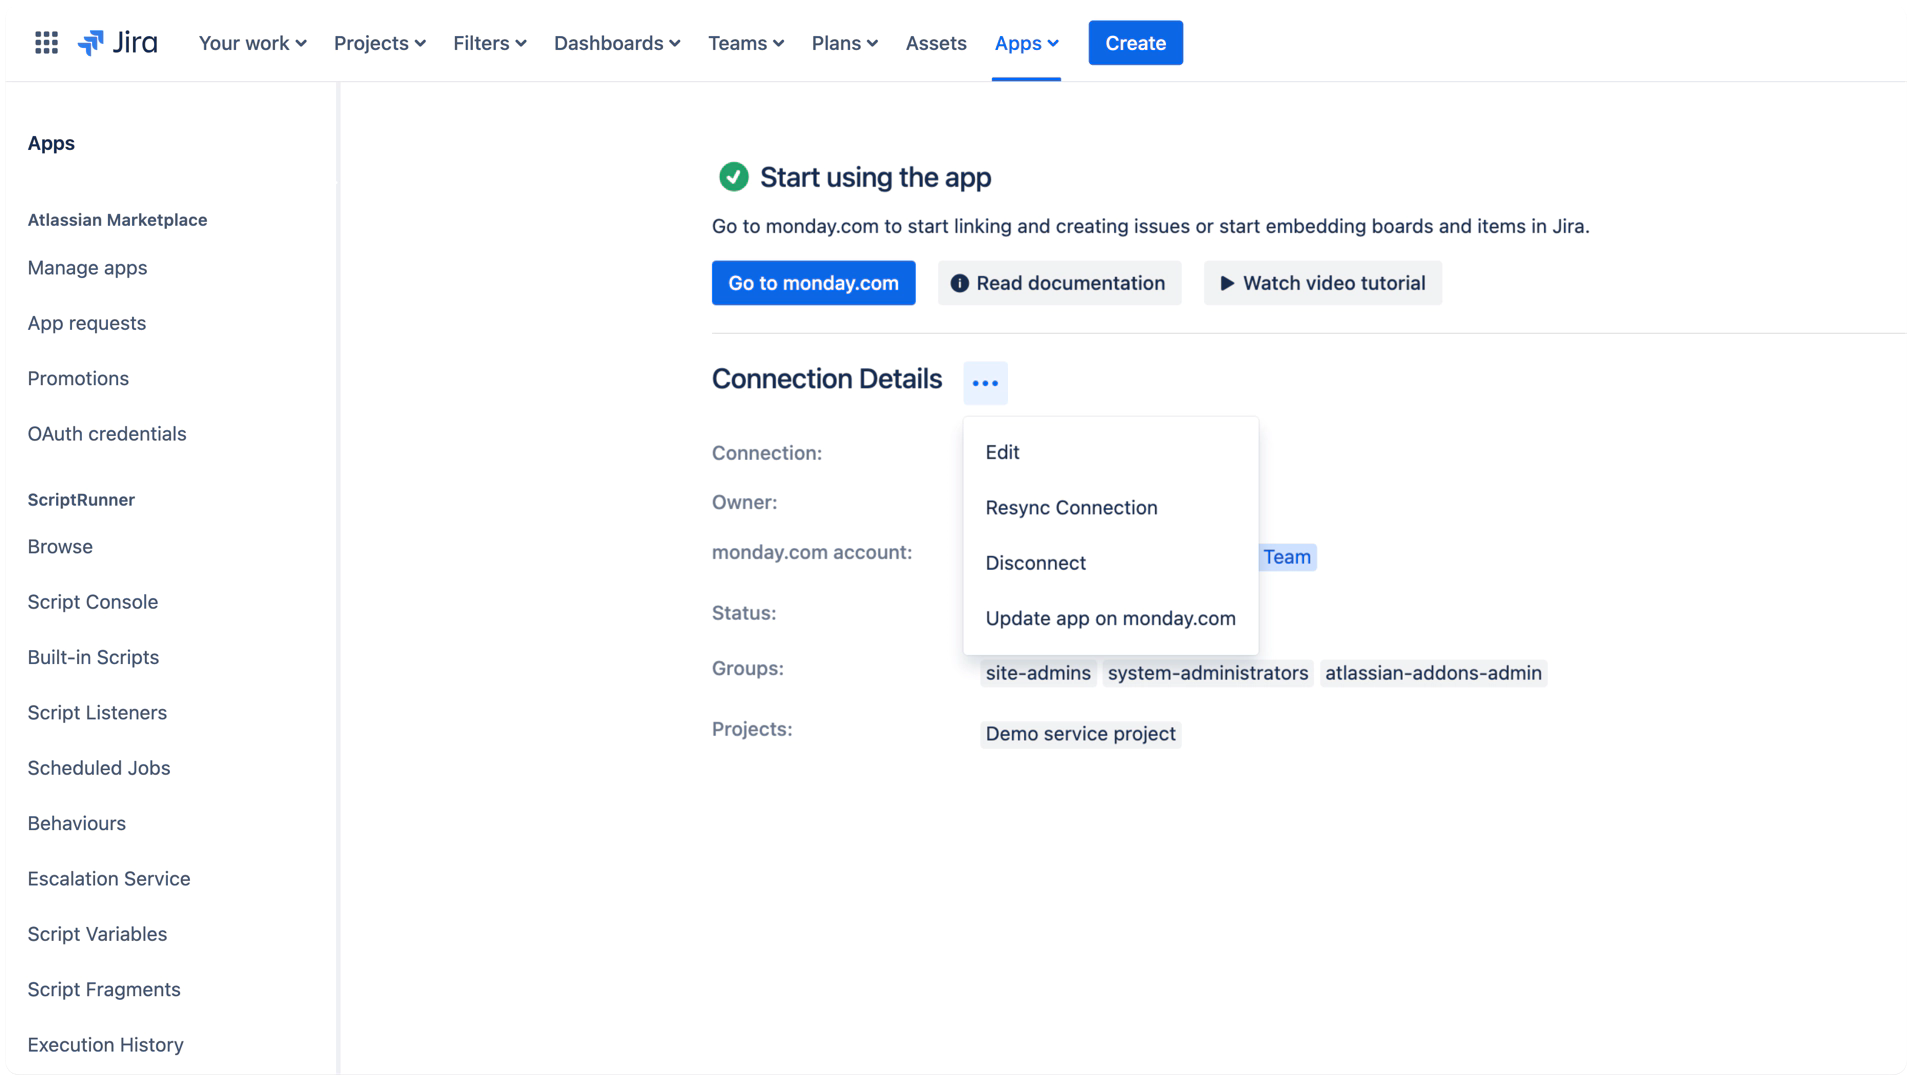
Edit or Delete Existing Connection
After creating a connection, the monday.com configuration page on Jira will display the status and details of the connection.
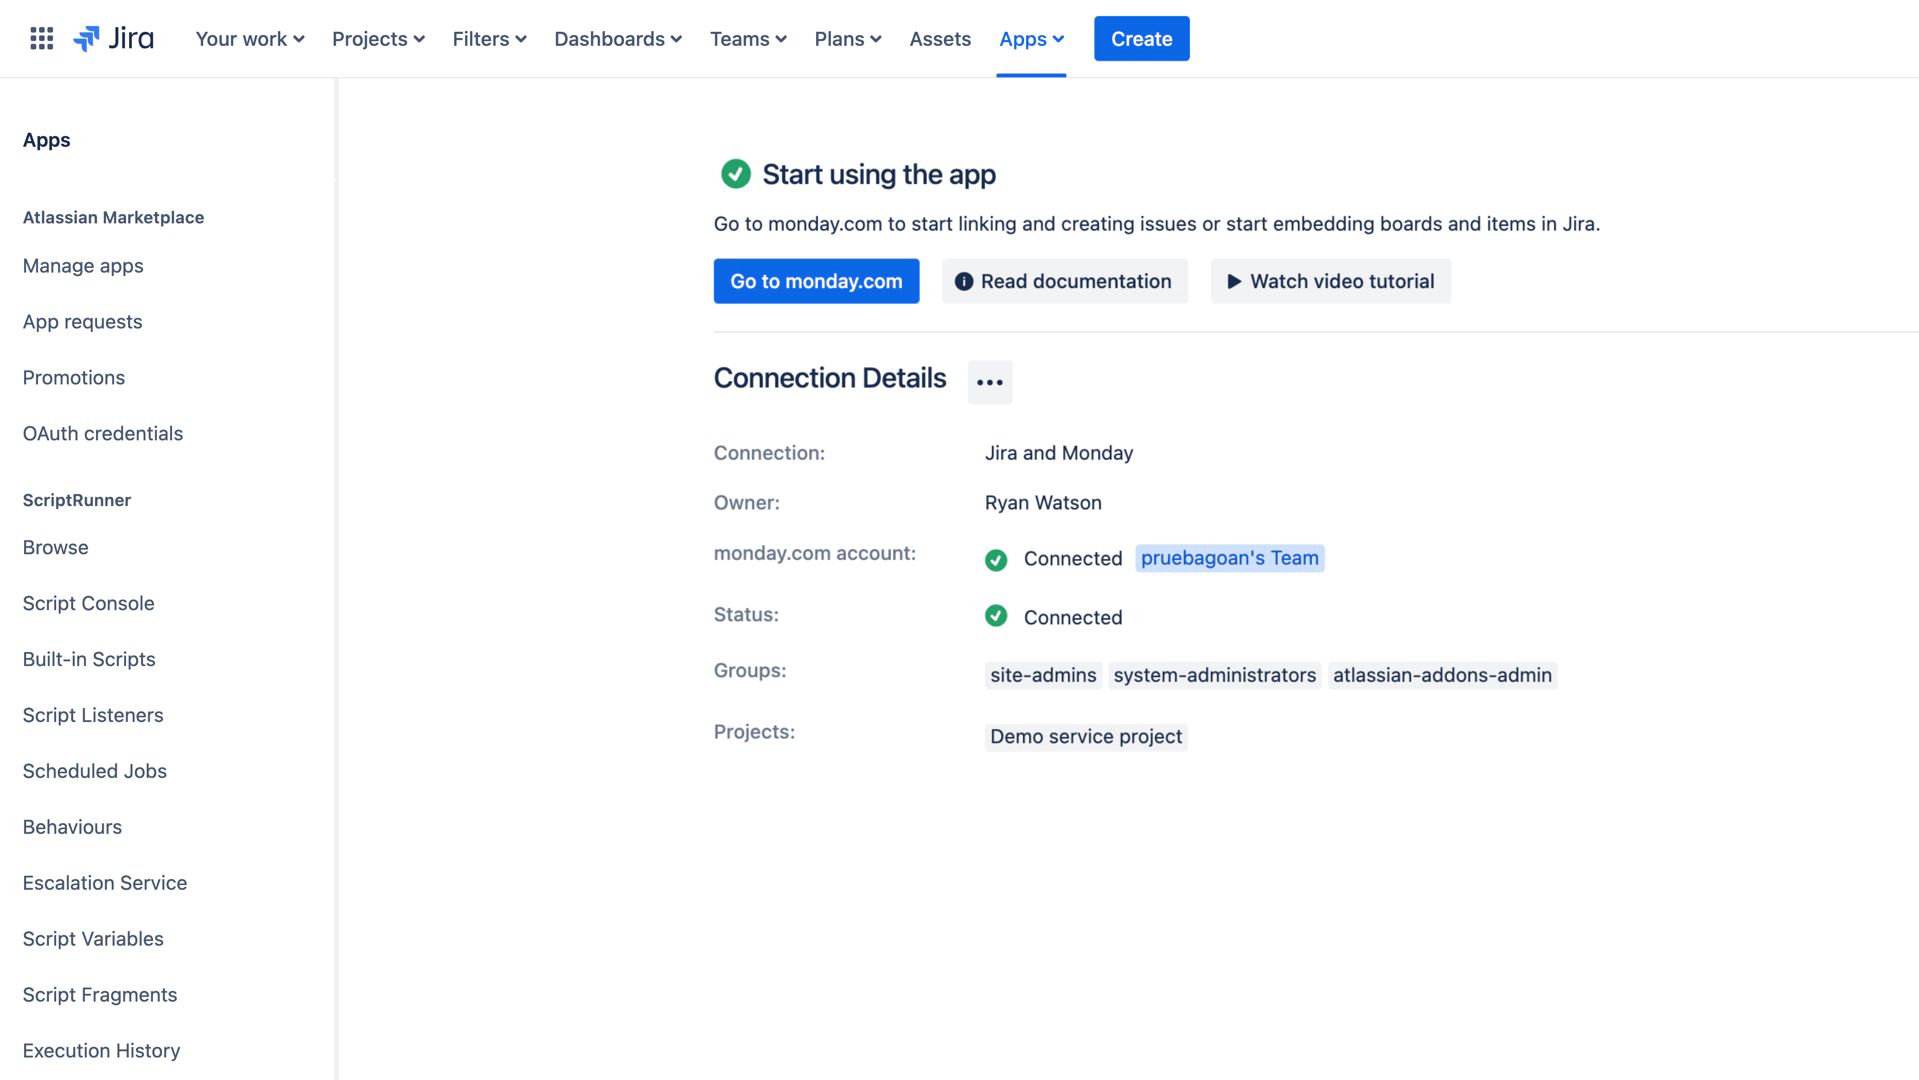
On this page, you will be able to make the following changes to the connection:
Edit - Make changes to any of the connection details.
Resync Connection - Reconnect the apps.
Disconnect - Delete the connection.
Update app on monday.com - Update the app on the monday.com side