AWS with Manual Provisioning
Goal
After completing this setup guide, you will have setup of AWS and your Atlassian product for the SAML SSO app. Additionally, you will test SSO and enable the SSO redirection.
Prerequisites
To use the SAML SSO app with AWS, you need the following:
AWS subscription
A (trial) subscription for the SAML SSO app
Admin access to your Atlassian product
Users are already available in the Atlassian application and AWS
Video Guide
Here you will find a detailed video guide soon.
Step-by-Step Setup Guide
Configure AWS for the SAML SSO App
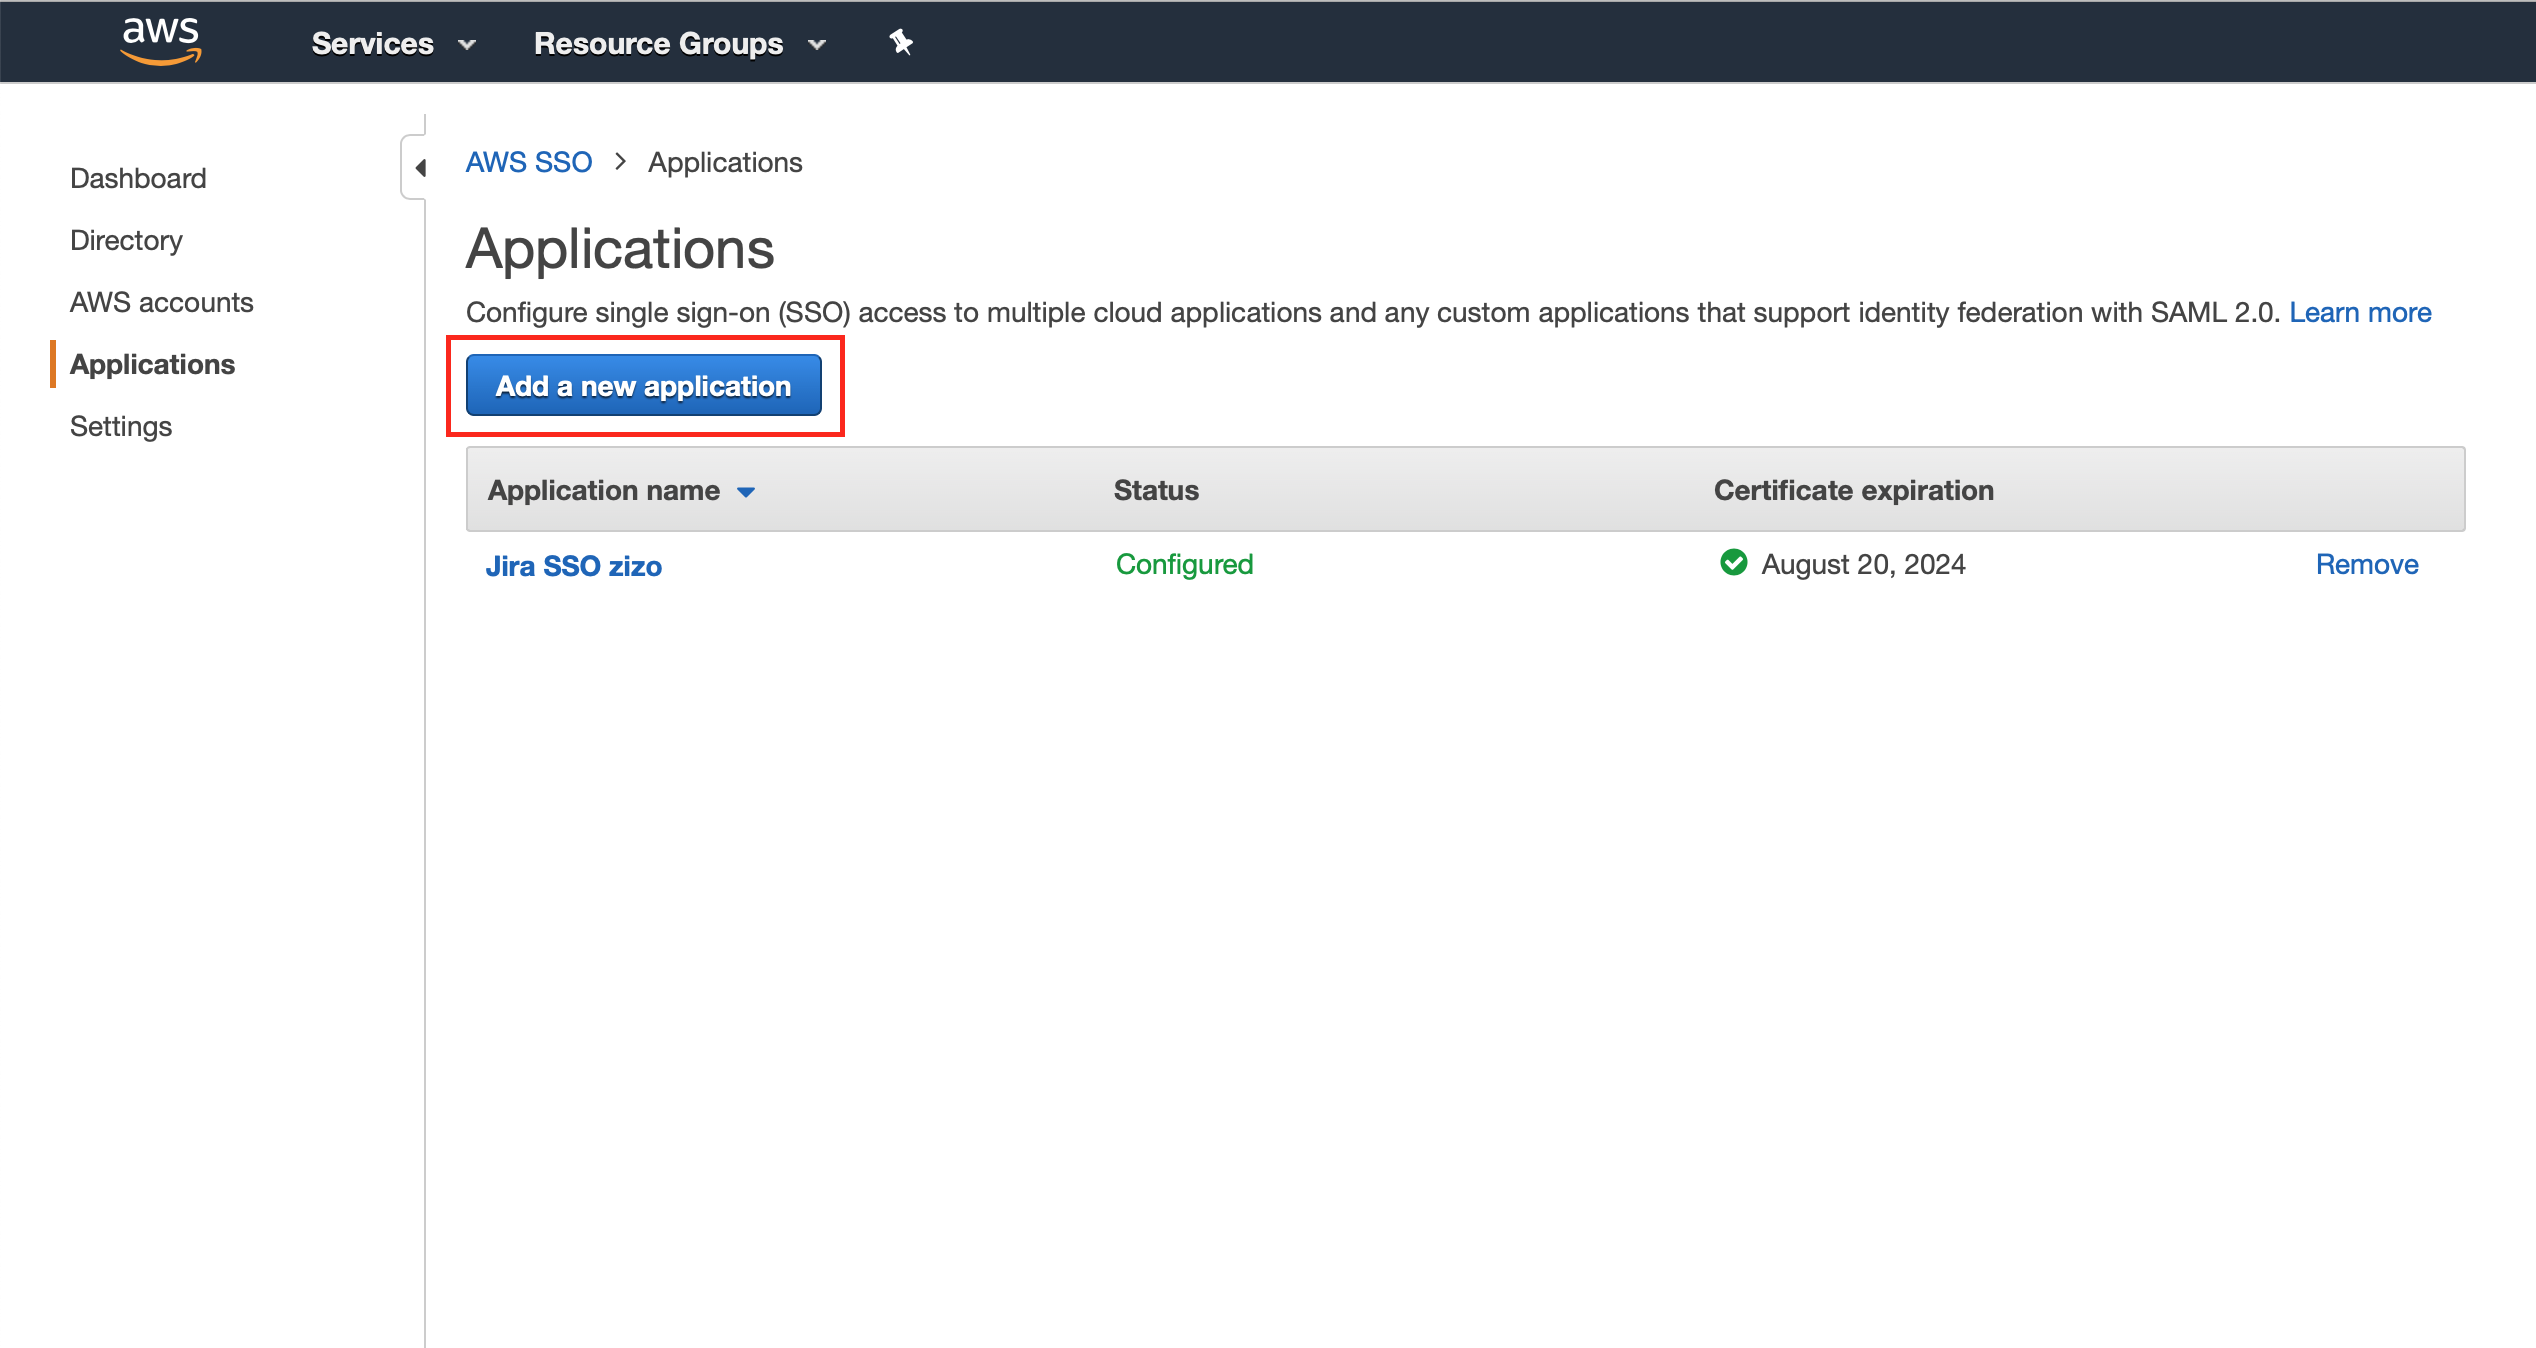
Go to the AWS Single Single Sign-On page (e.g. https://us-east-1.console.aws.amazon.com/singlesignon), and click on "Applications" from the left panel

Click on "Add a new application"
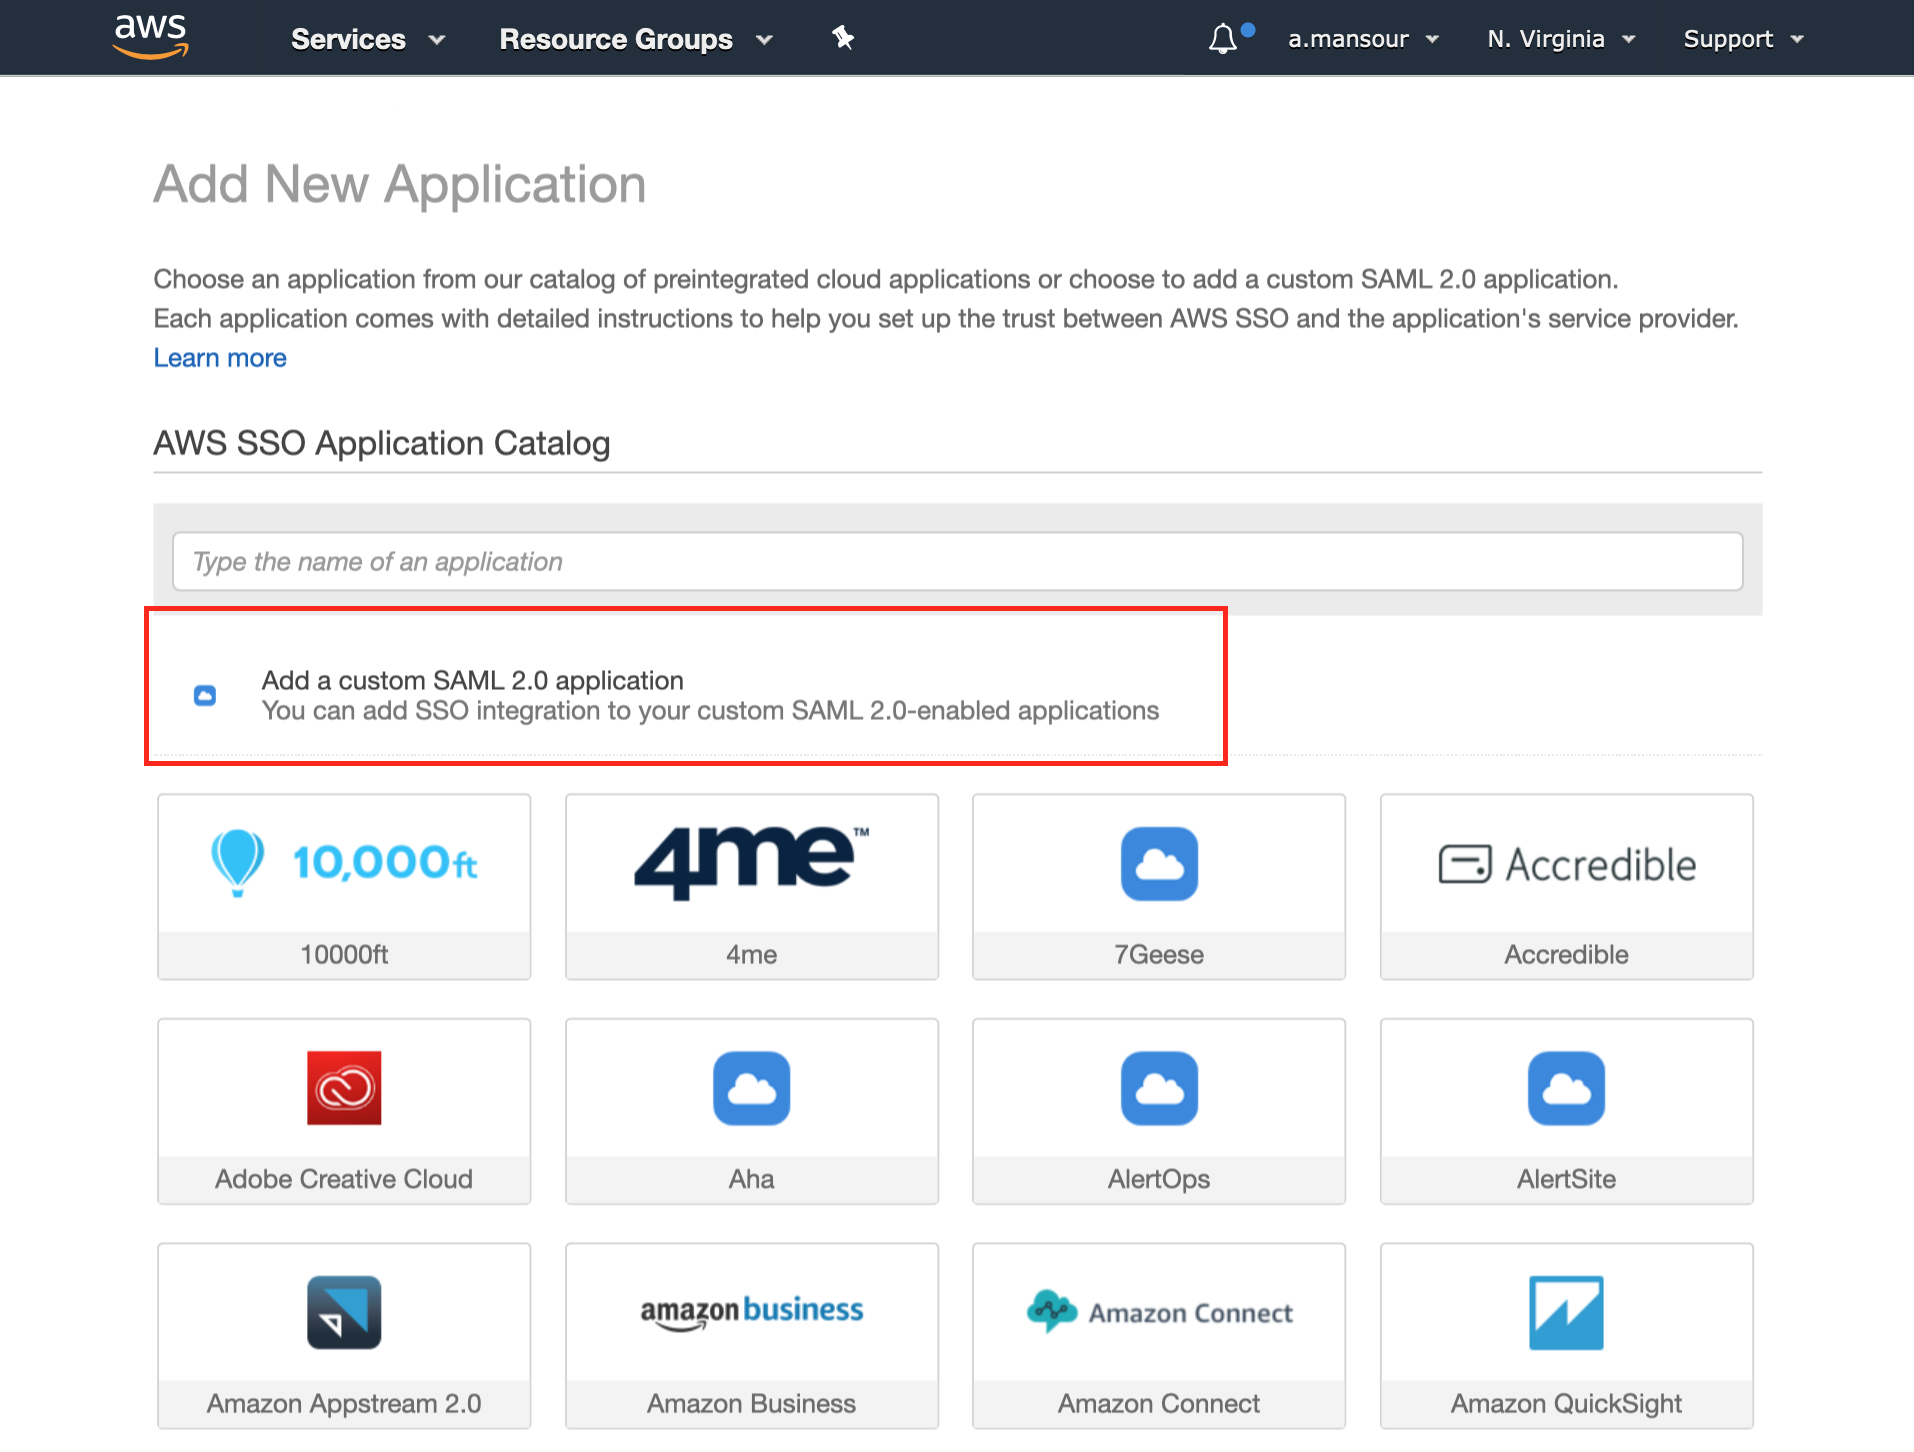
Click on "Add a custom SAML 2.0 application"
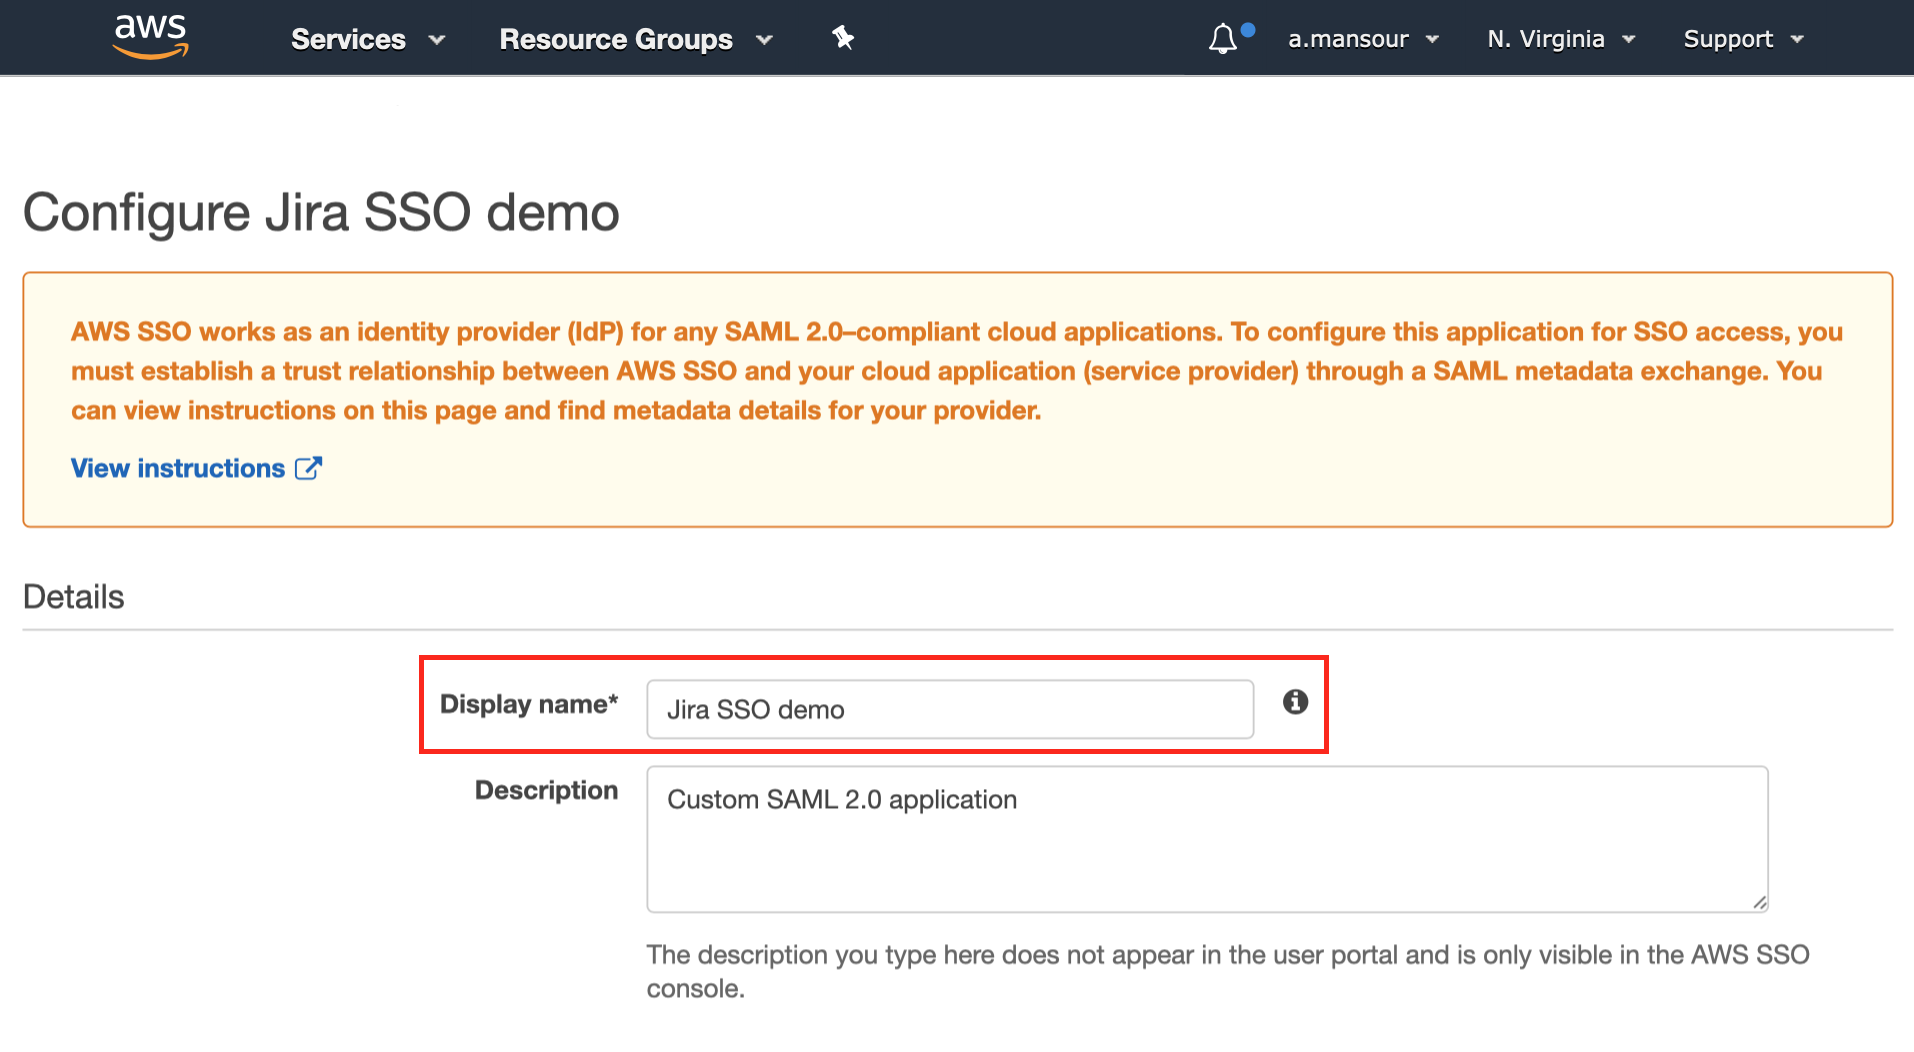
Choose a "Display name" in the Details section
Now we need to switch to the Atlassian application to complete the configuration.
Configure Jira for the SAML SSO App
Install the SAML SSO App
In your Atlassian product, open the in-product marketplace as described in the Atlassian documentation.
Search for "resolution saml" and click "Install" for SAML Single Sign On (SSO) by resolution Reichert Network Solutions GmbH.
After the installation is complete, click on Manage, then choose Configure.
Now, you are on the Add-on / app configuration page and the first step of the setup wizard will appear.

Configure the SAML SSO App
After you clicked "Configure", the Wizard will be triggered. If not, or if you want to add another Identity Prover (IdP) to your existing configuration, click on "+ Add IdP". This guide assumes, that you there is no IdP configured.
The Wizard greets you with information, click on "Add new IdP" to proceed.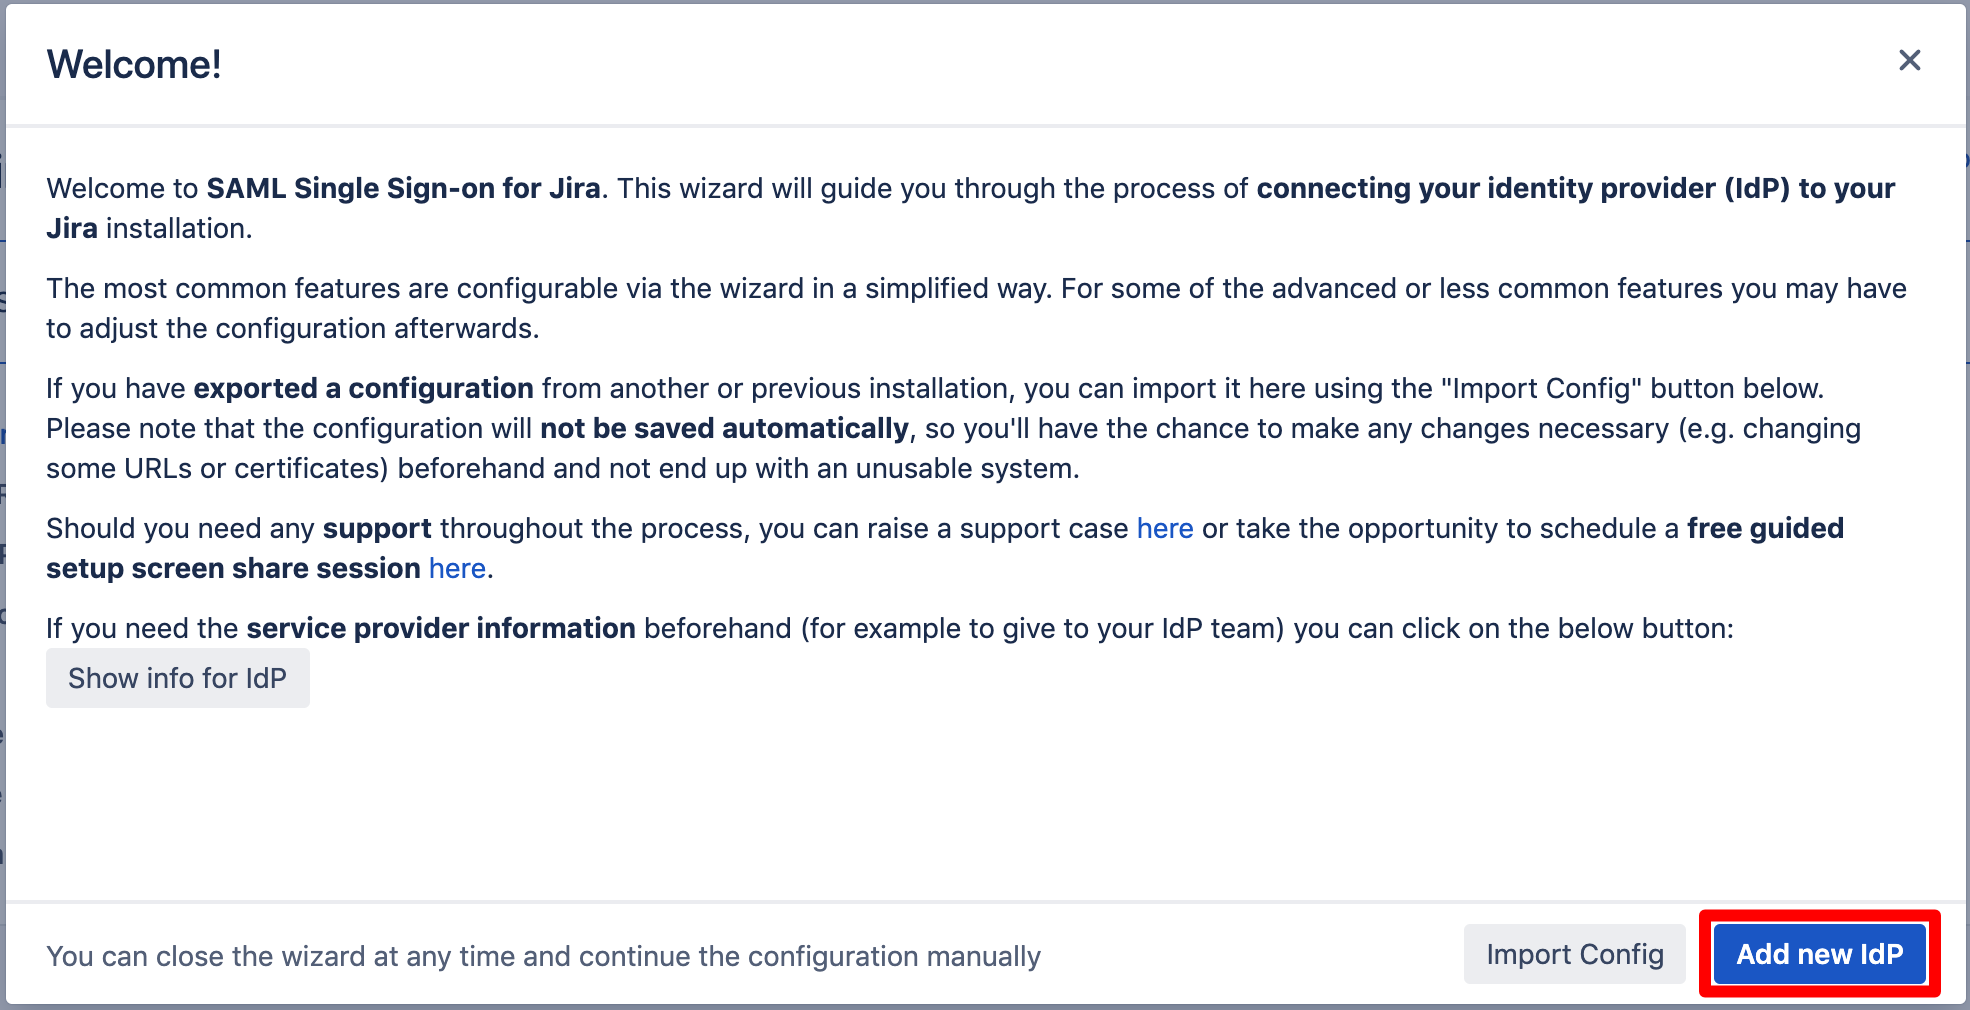
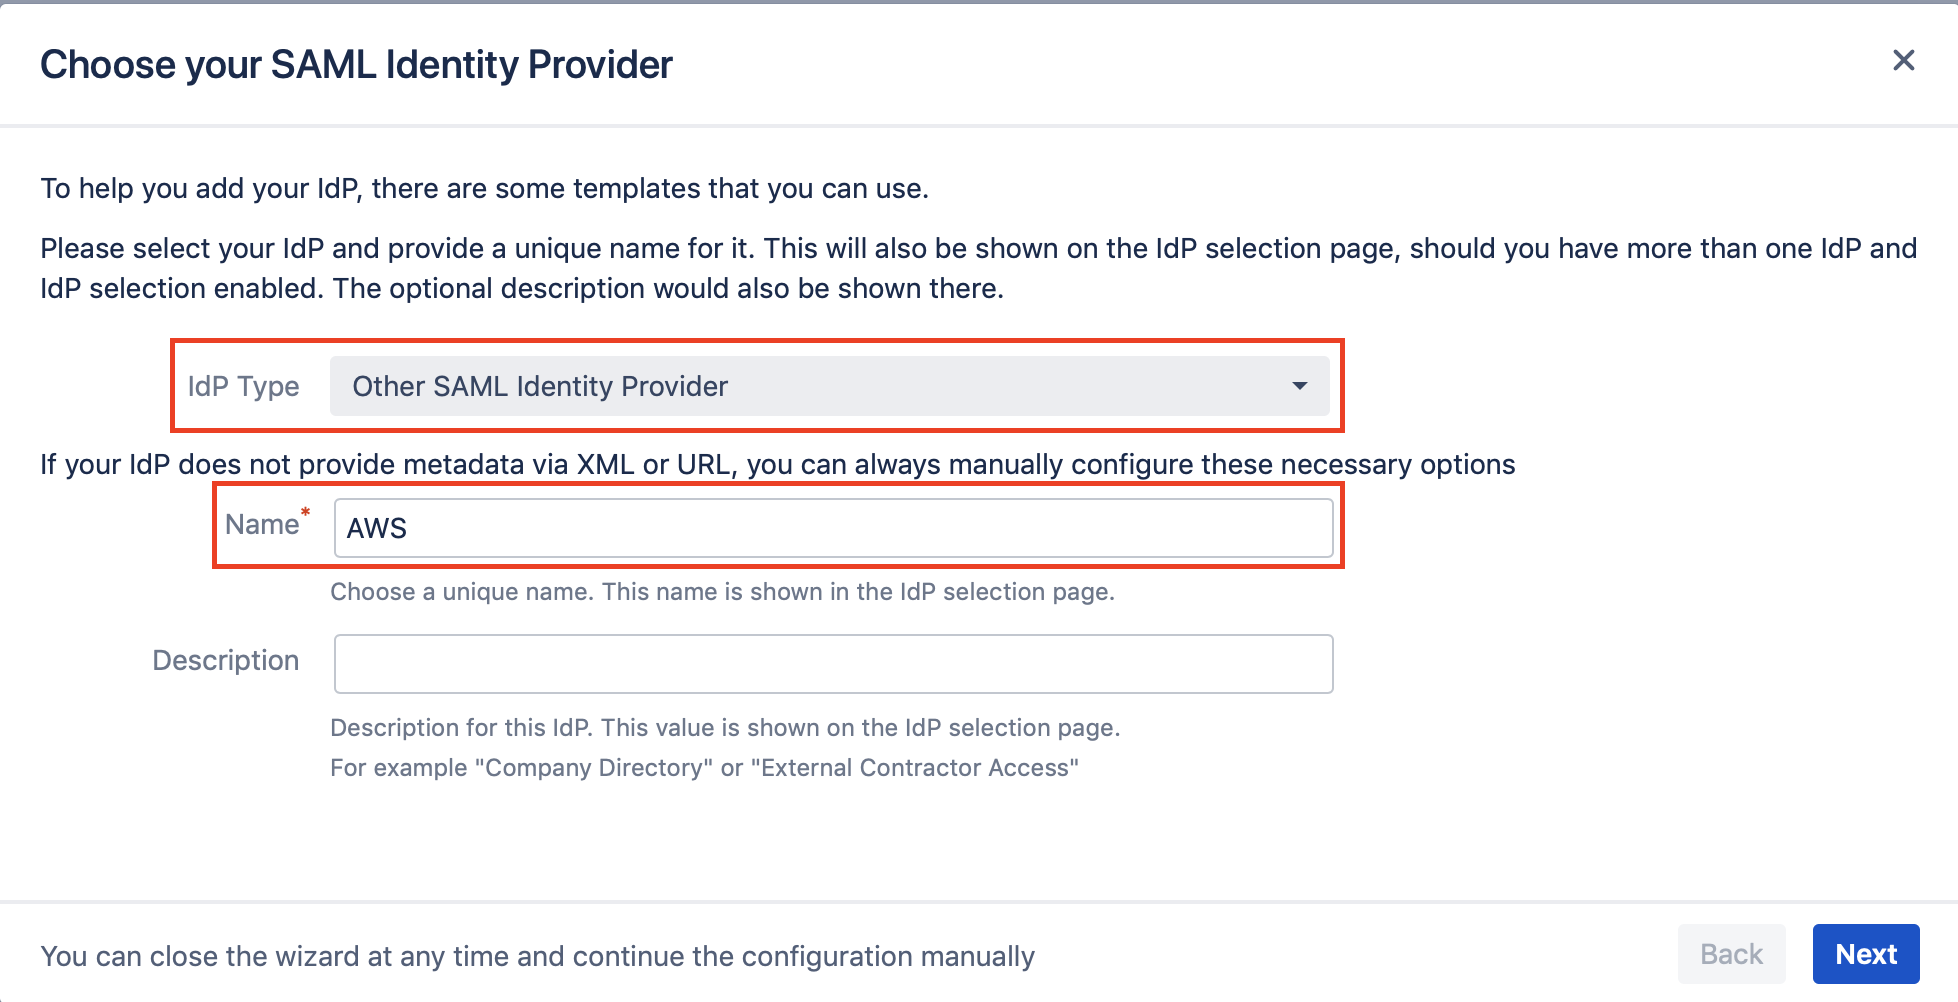
Choose "Other SAML Identity Provider" for the "IdP Type", and write a name for your IdP configuration, then click on Next.
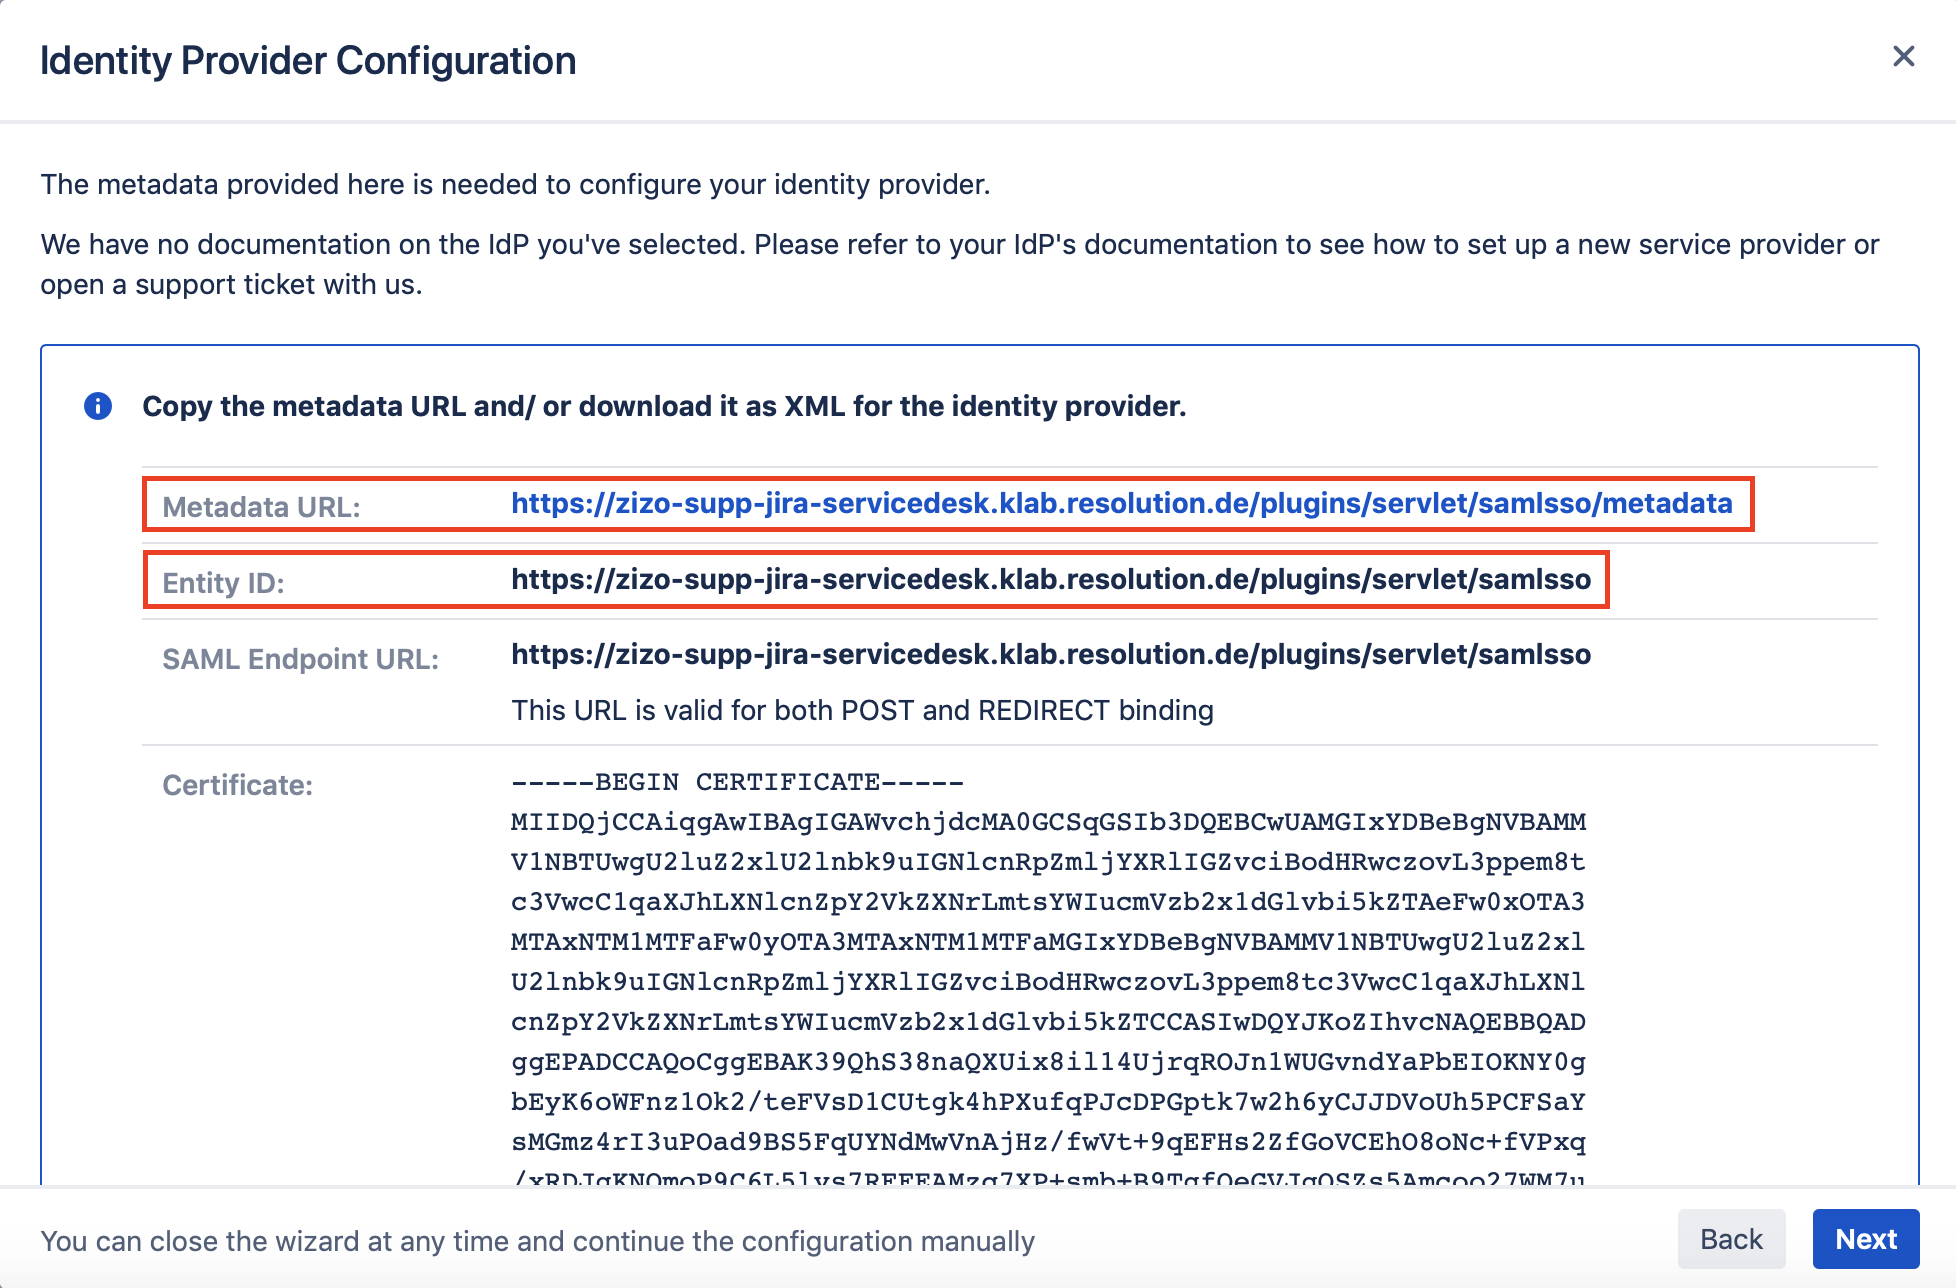
Download the metadata XML file from "Metadata URL", and copy the "Entity ID" as both would be needed to complete the configuration on the AWS side.
We need to switch to AWS console back to complete the configuration of the application.
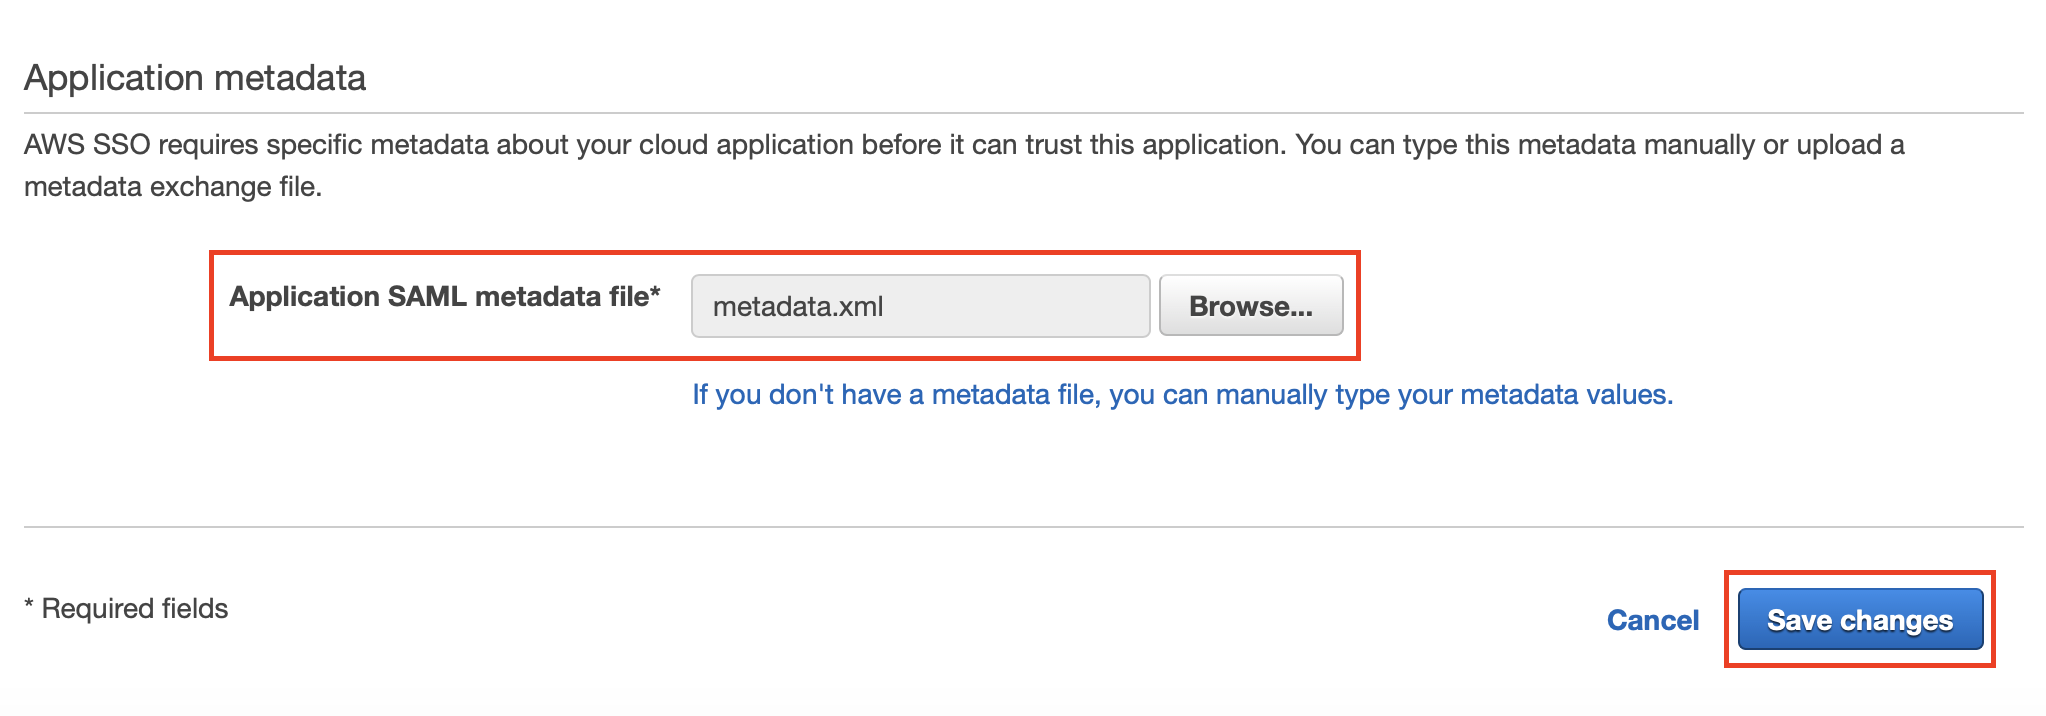
Import the metadata.xml file that you downloaded earlier from the plugin configuration in the Atlassian application, and click on Save changes.
Download the AWS SSO SAML metadata from the Configuration tab in the AWS SSO metadata section.
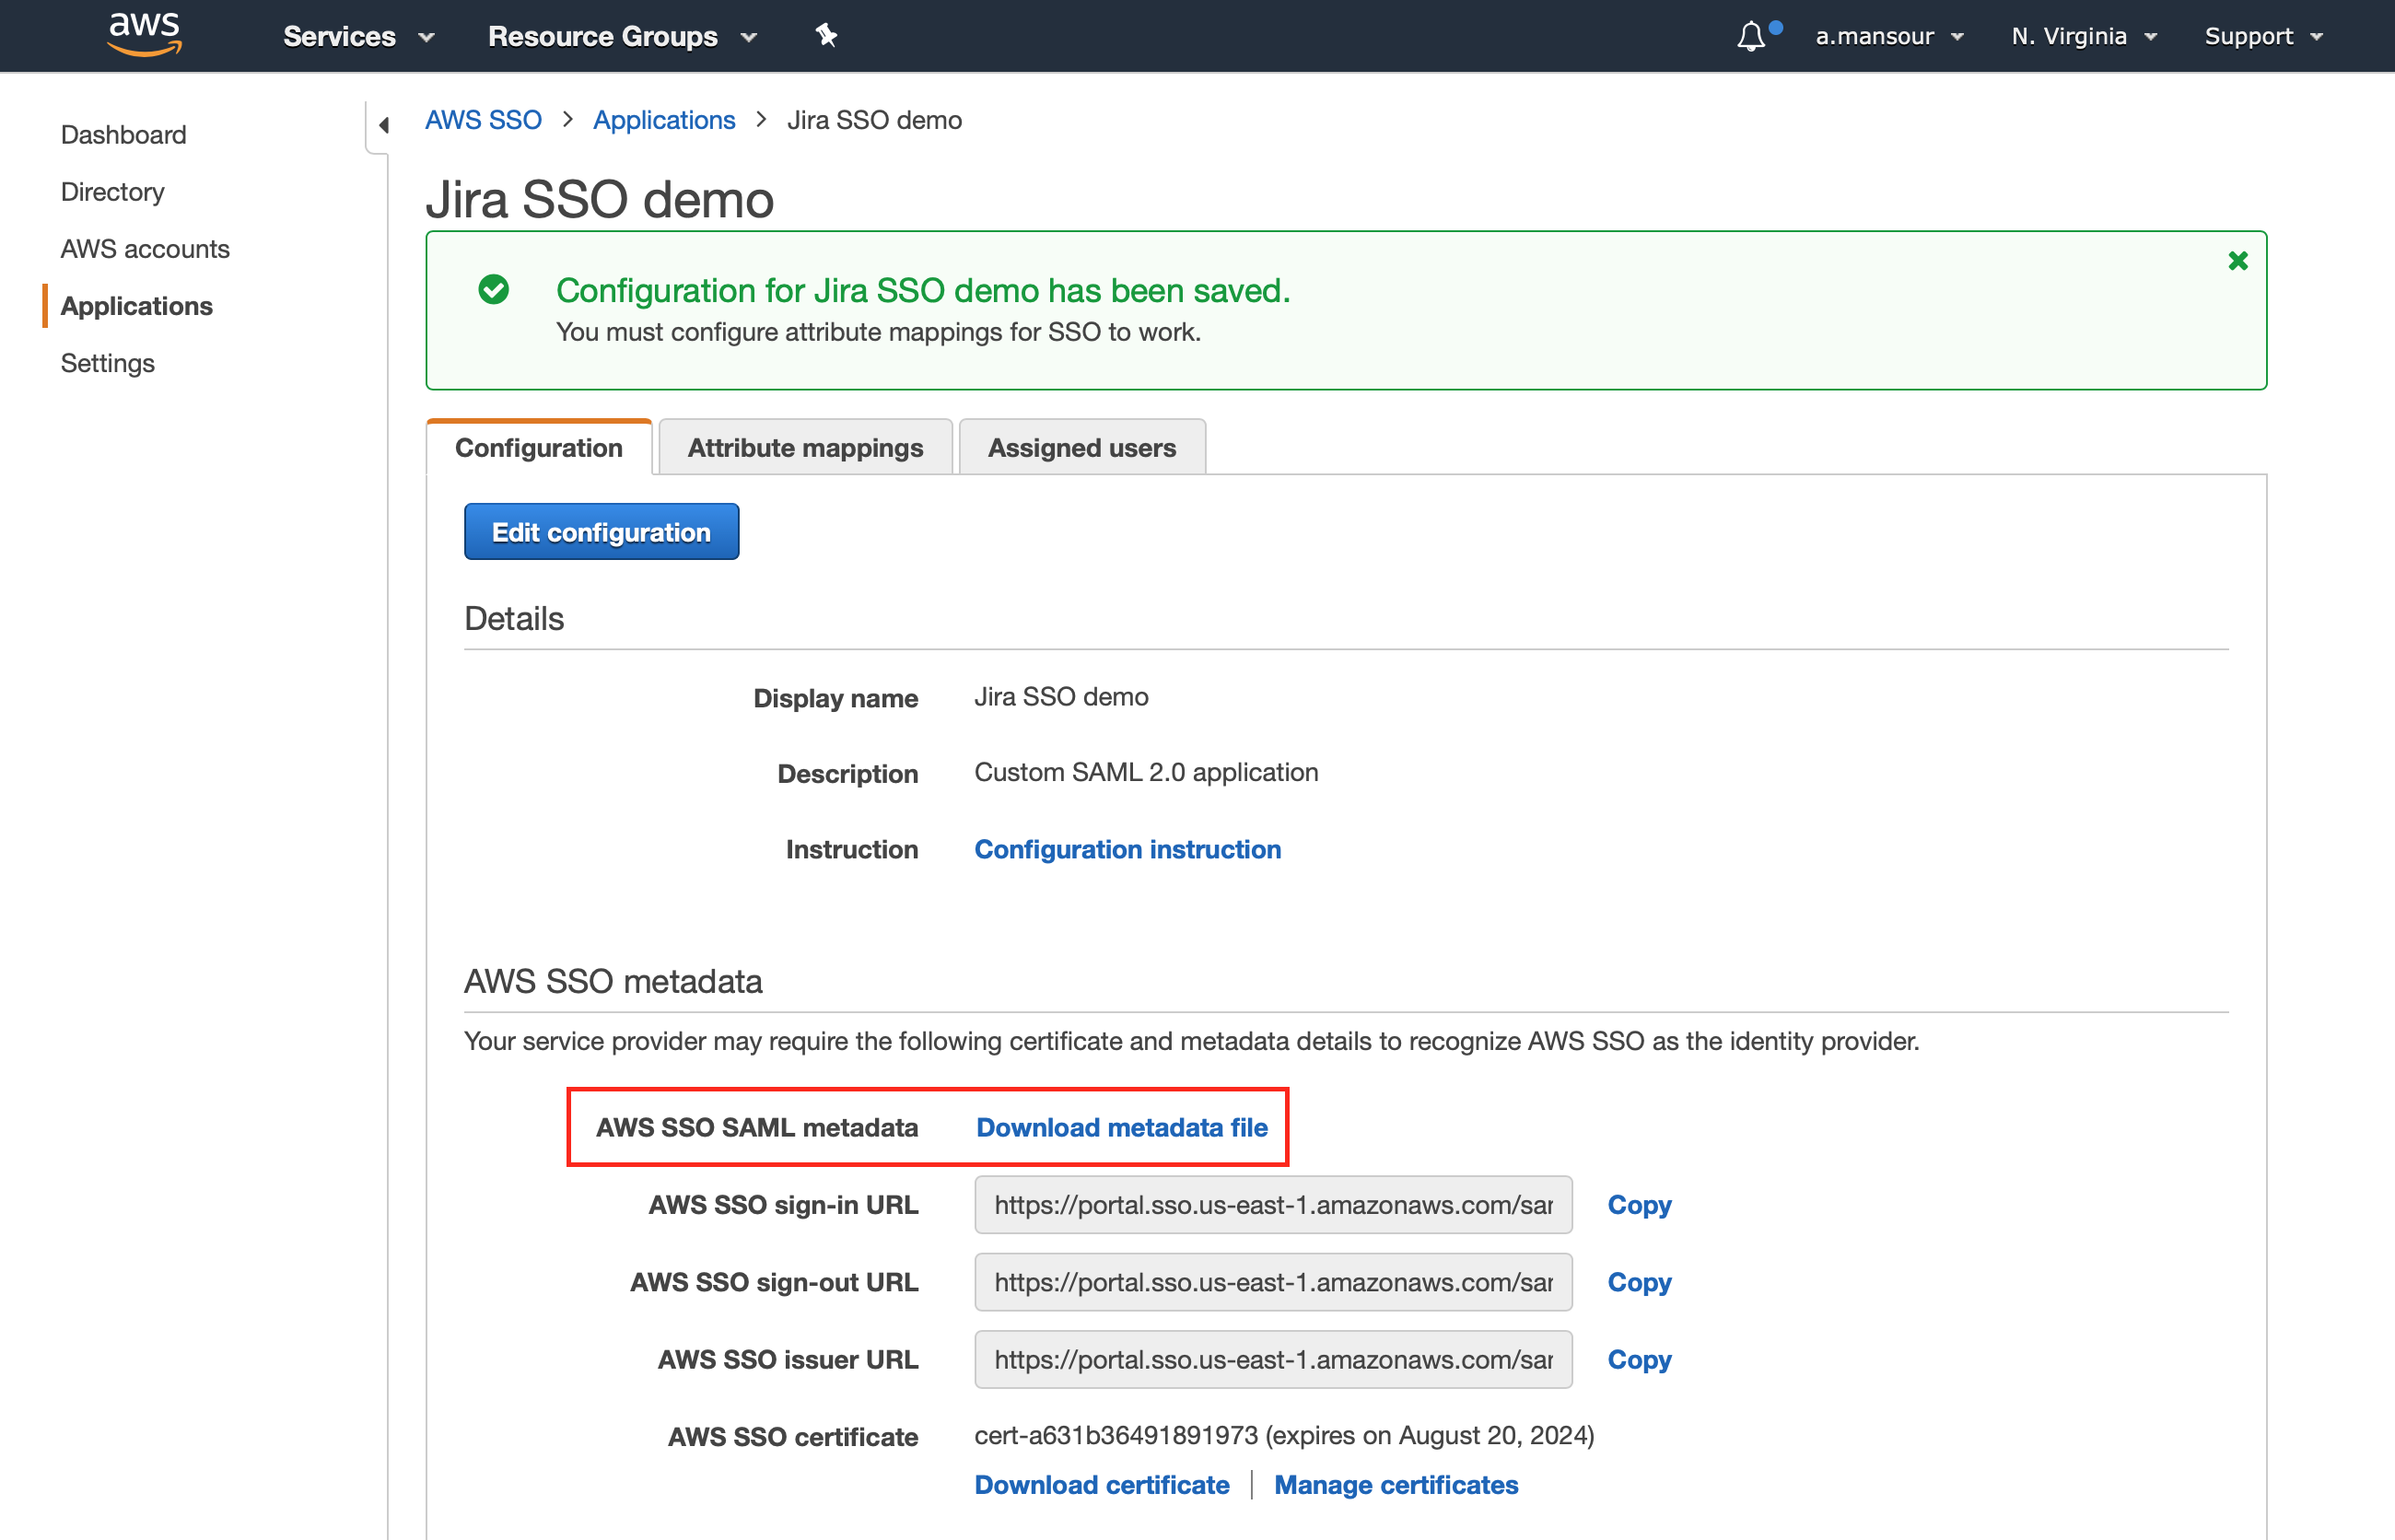
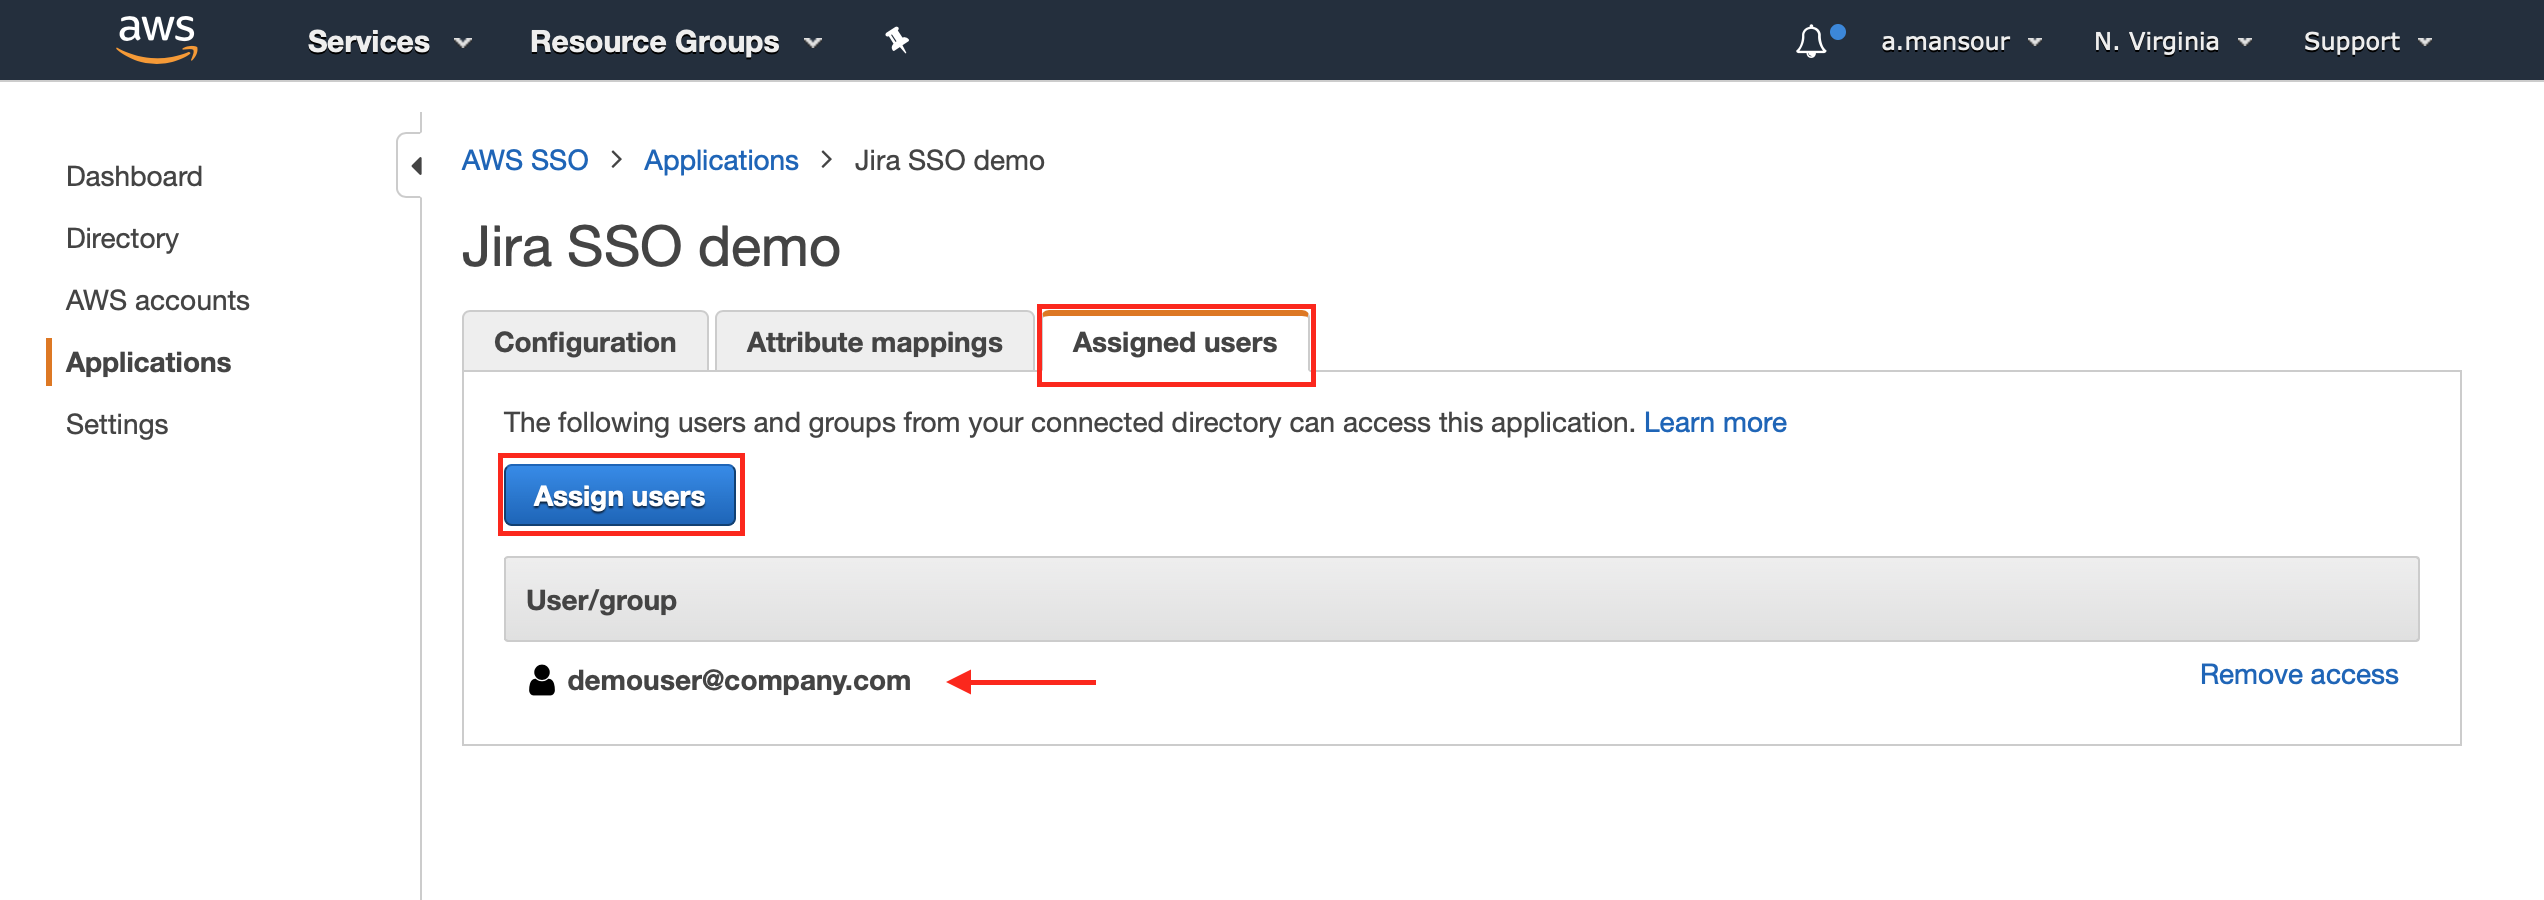
Make sure to assign your users to the application from the Assigned users tab, to grant them application access.
Now we need to switch back to the SAML SSO configuration in the Atlassian application.
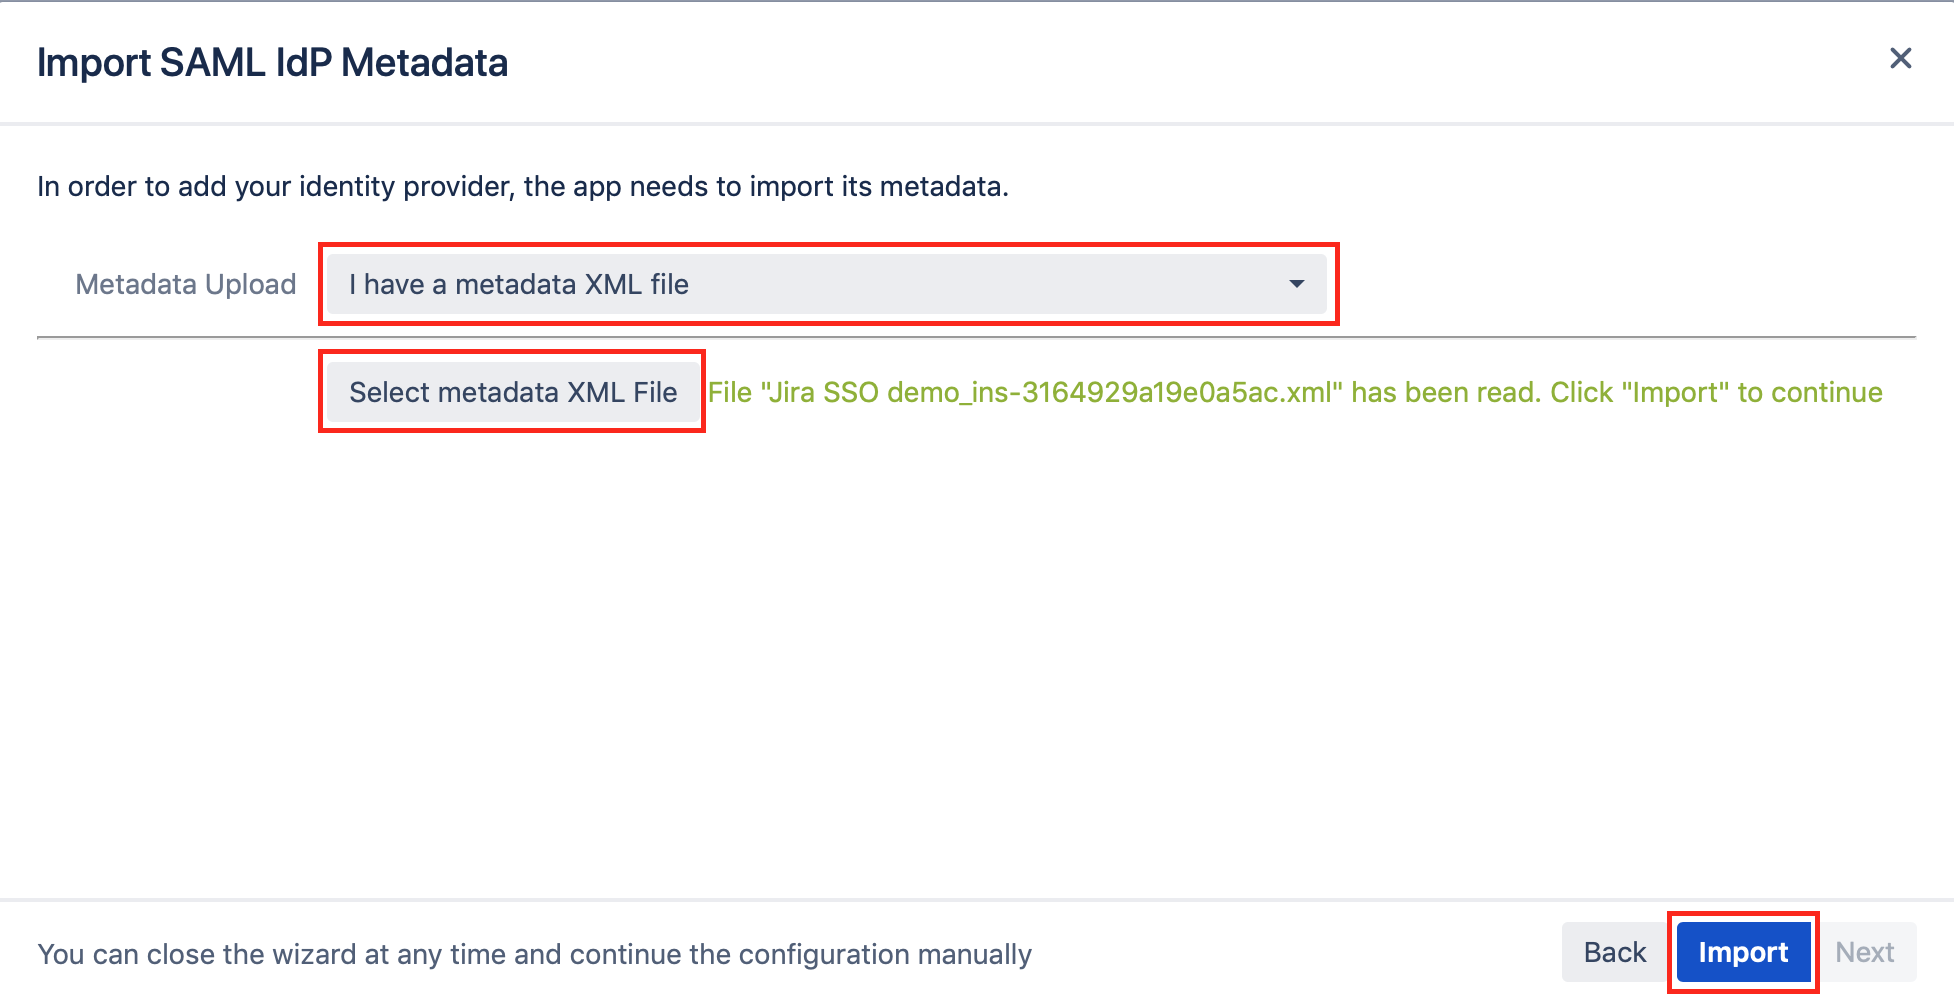
Choose "I have a metadata XML file" for the Metadata Upload field, and select the metadata XML file that you have downloaded earlier from AWS application, then click Import.
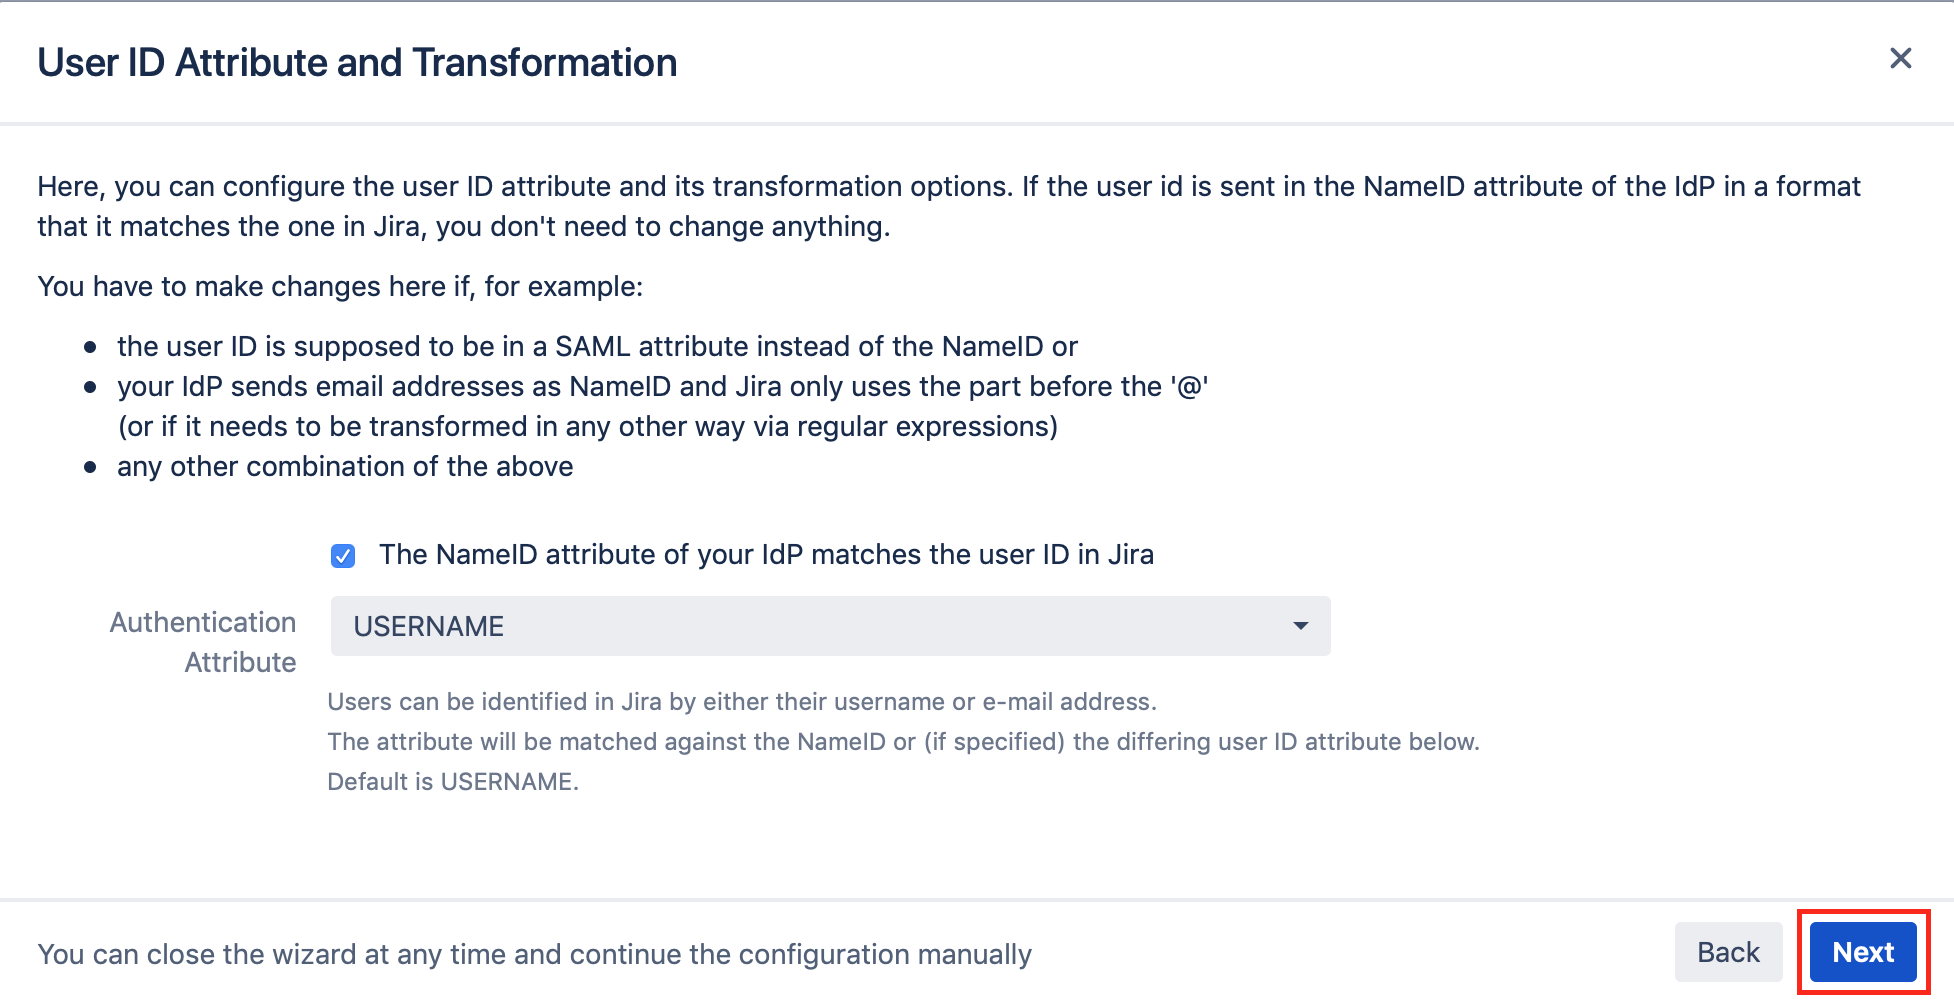
Keep the Authentication Attribute as USERNAME, and click on Next.
Keep the option No User update chosen, and click on Save & Next.
Now it is time to test your configuration.
Testing SSO
The wizard also allows to test the Single Sign On. Just follow the steps to test if the login works as expected.
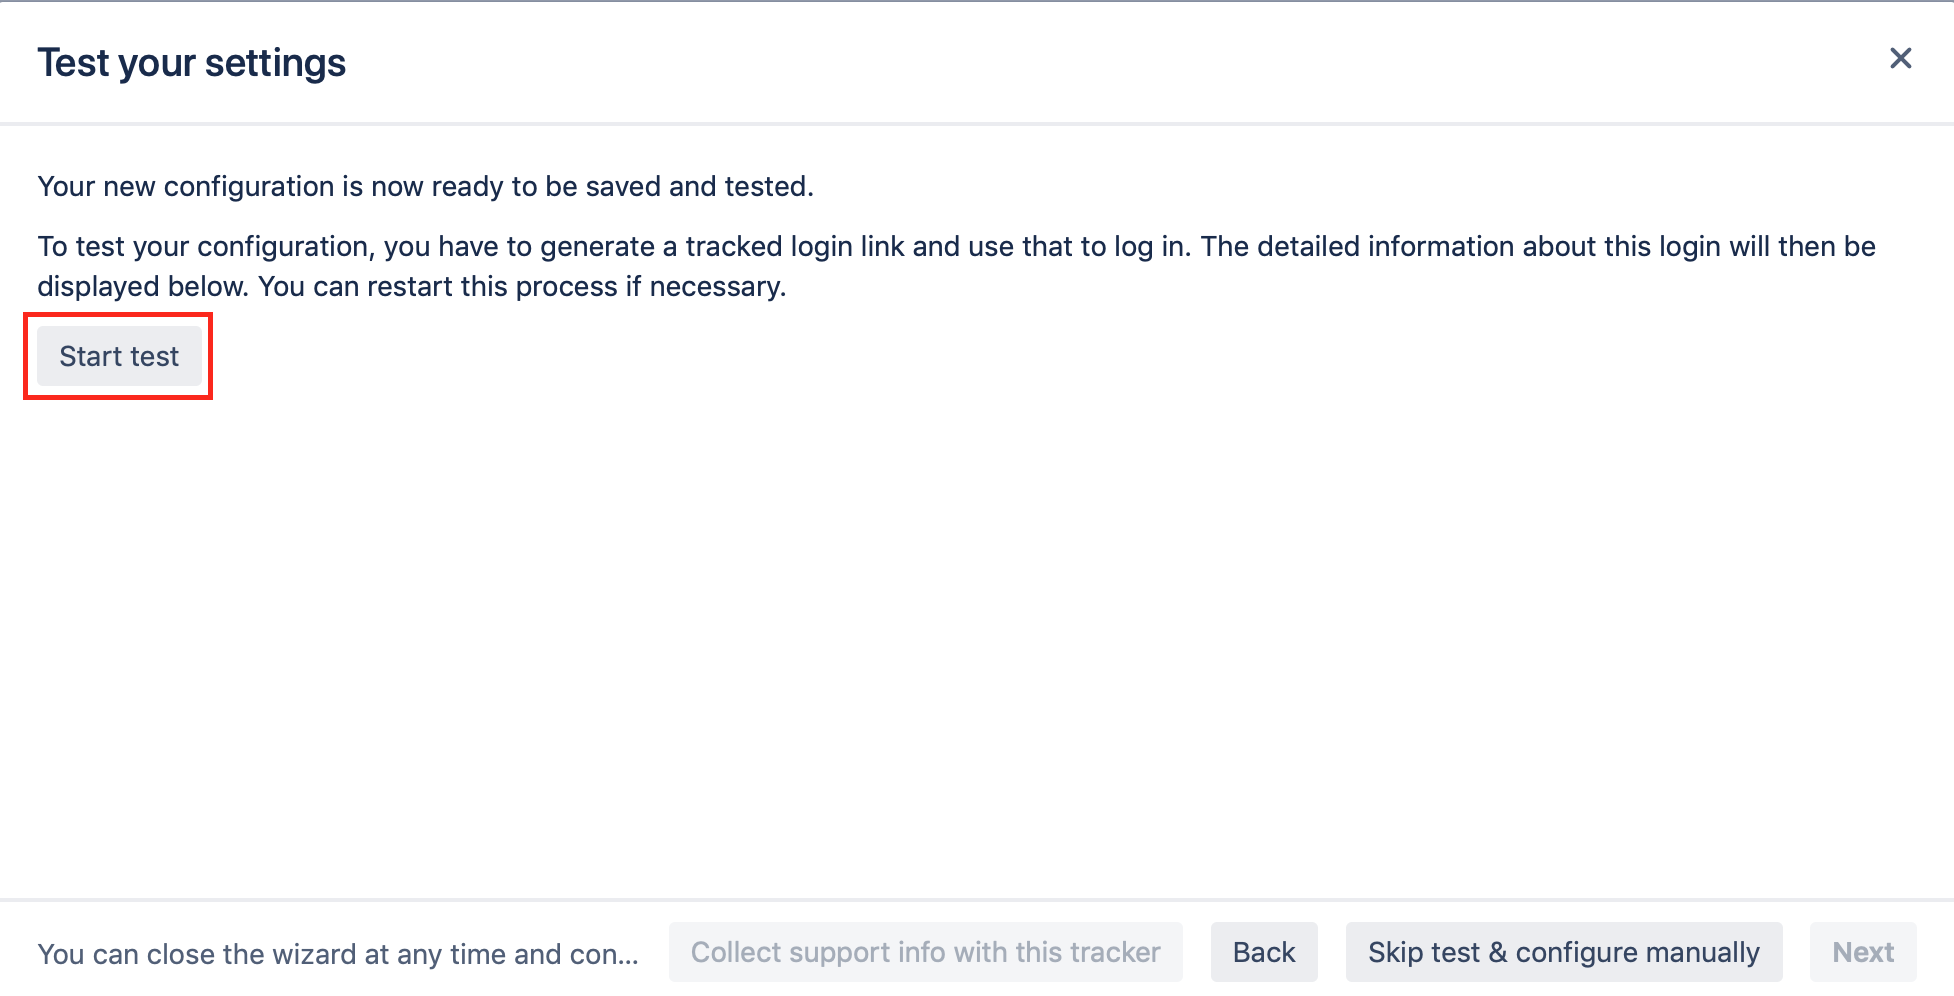
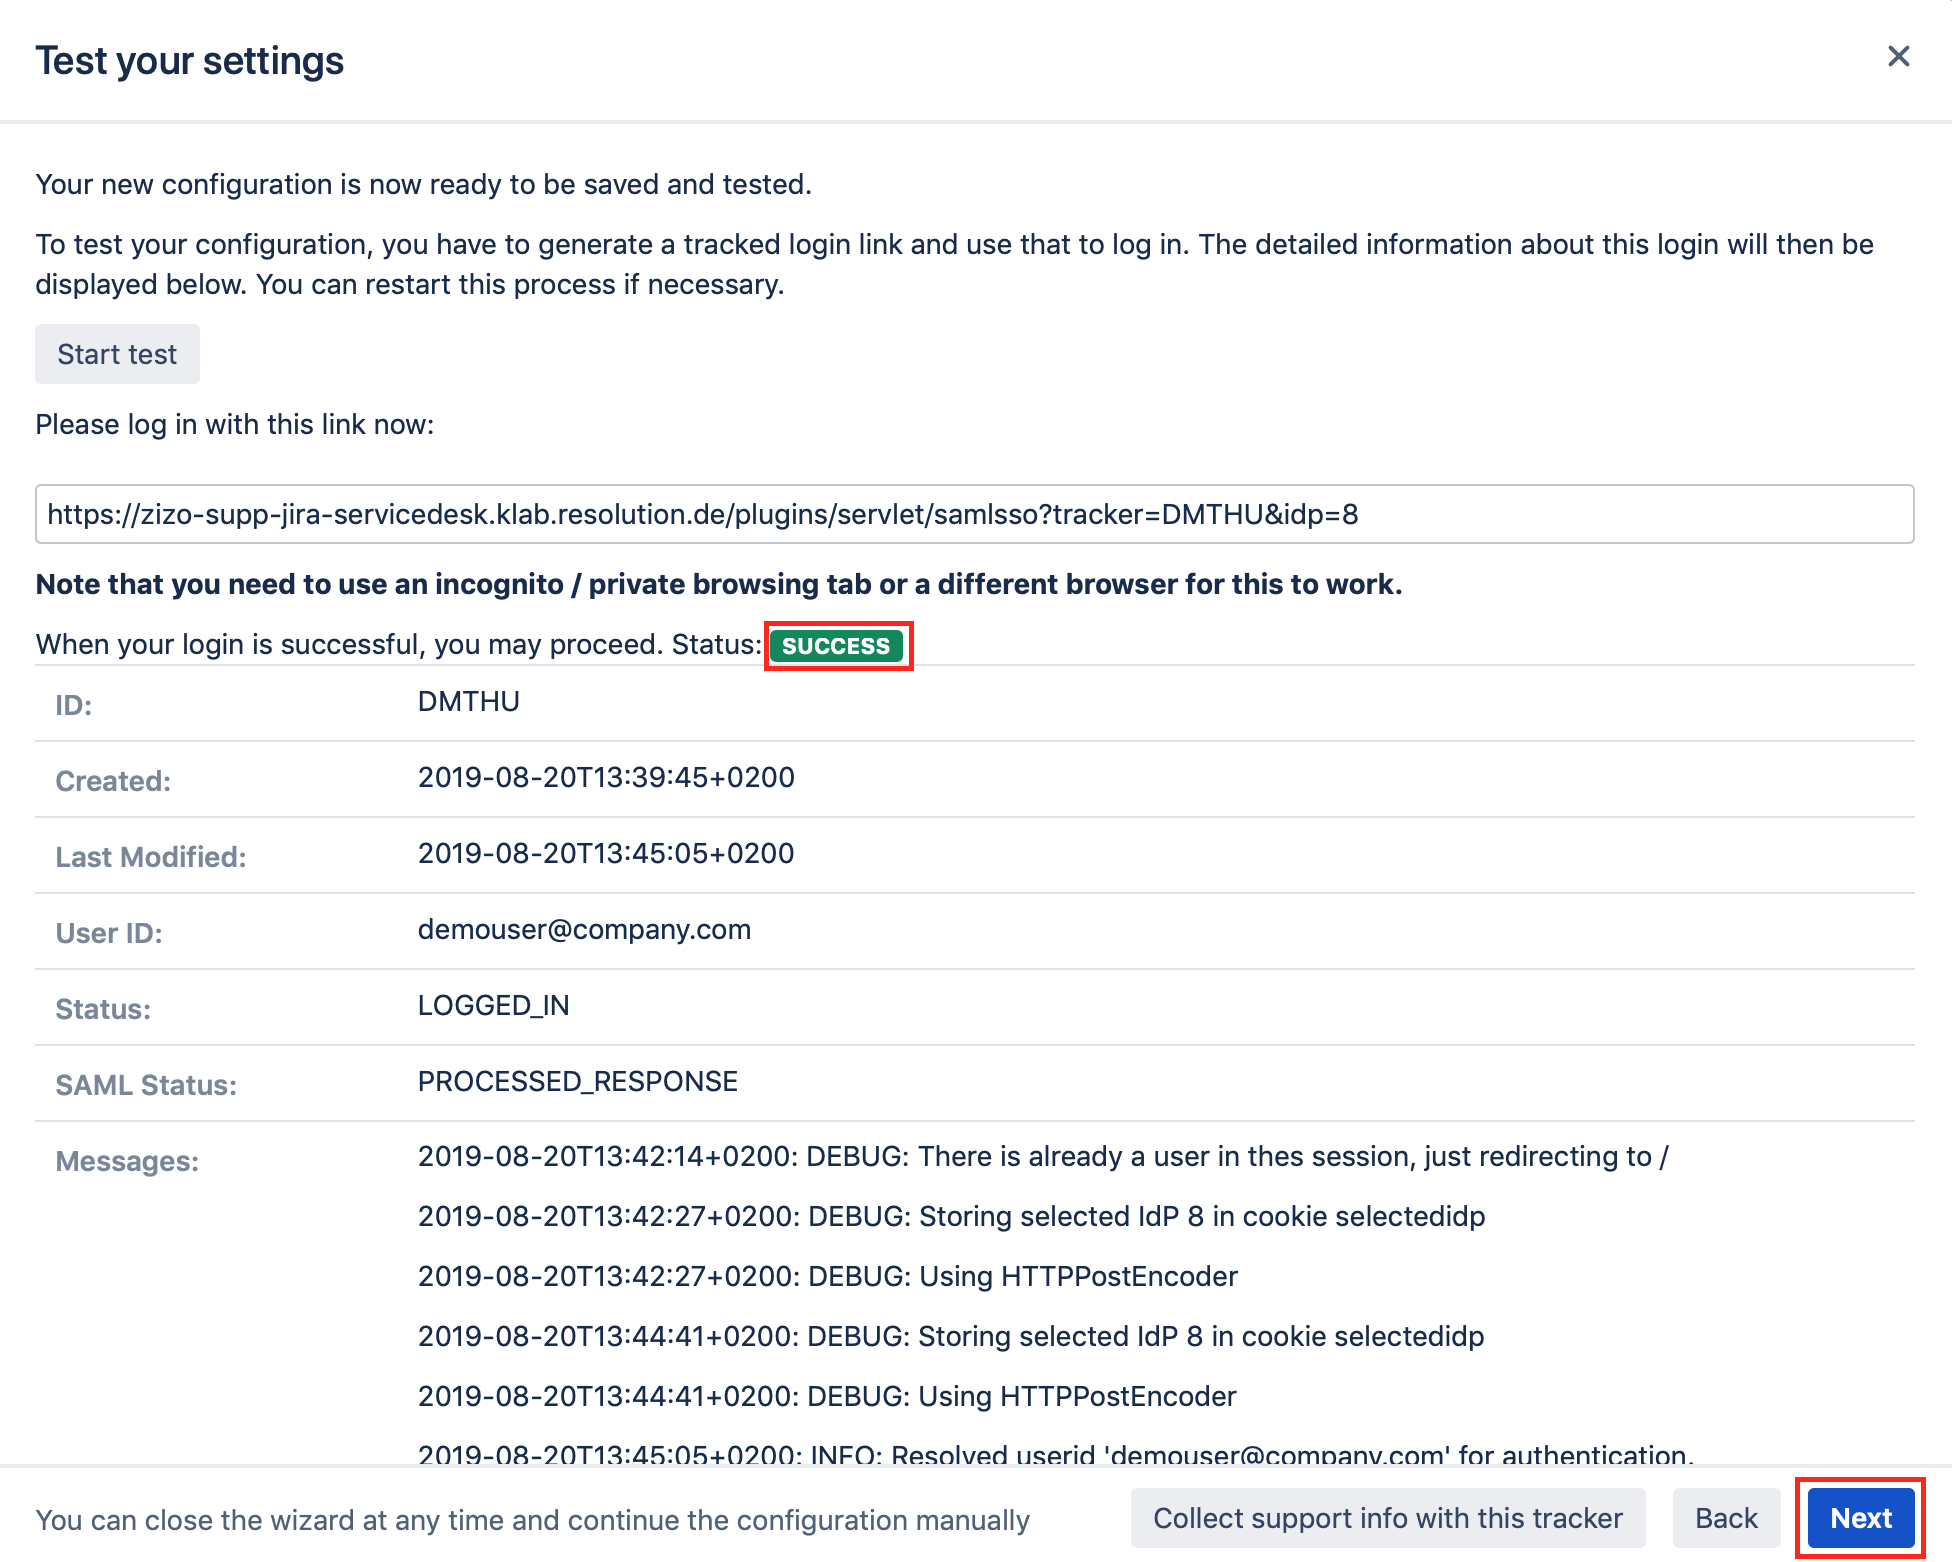
Click on "Start test" to proceed.
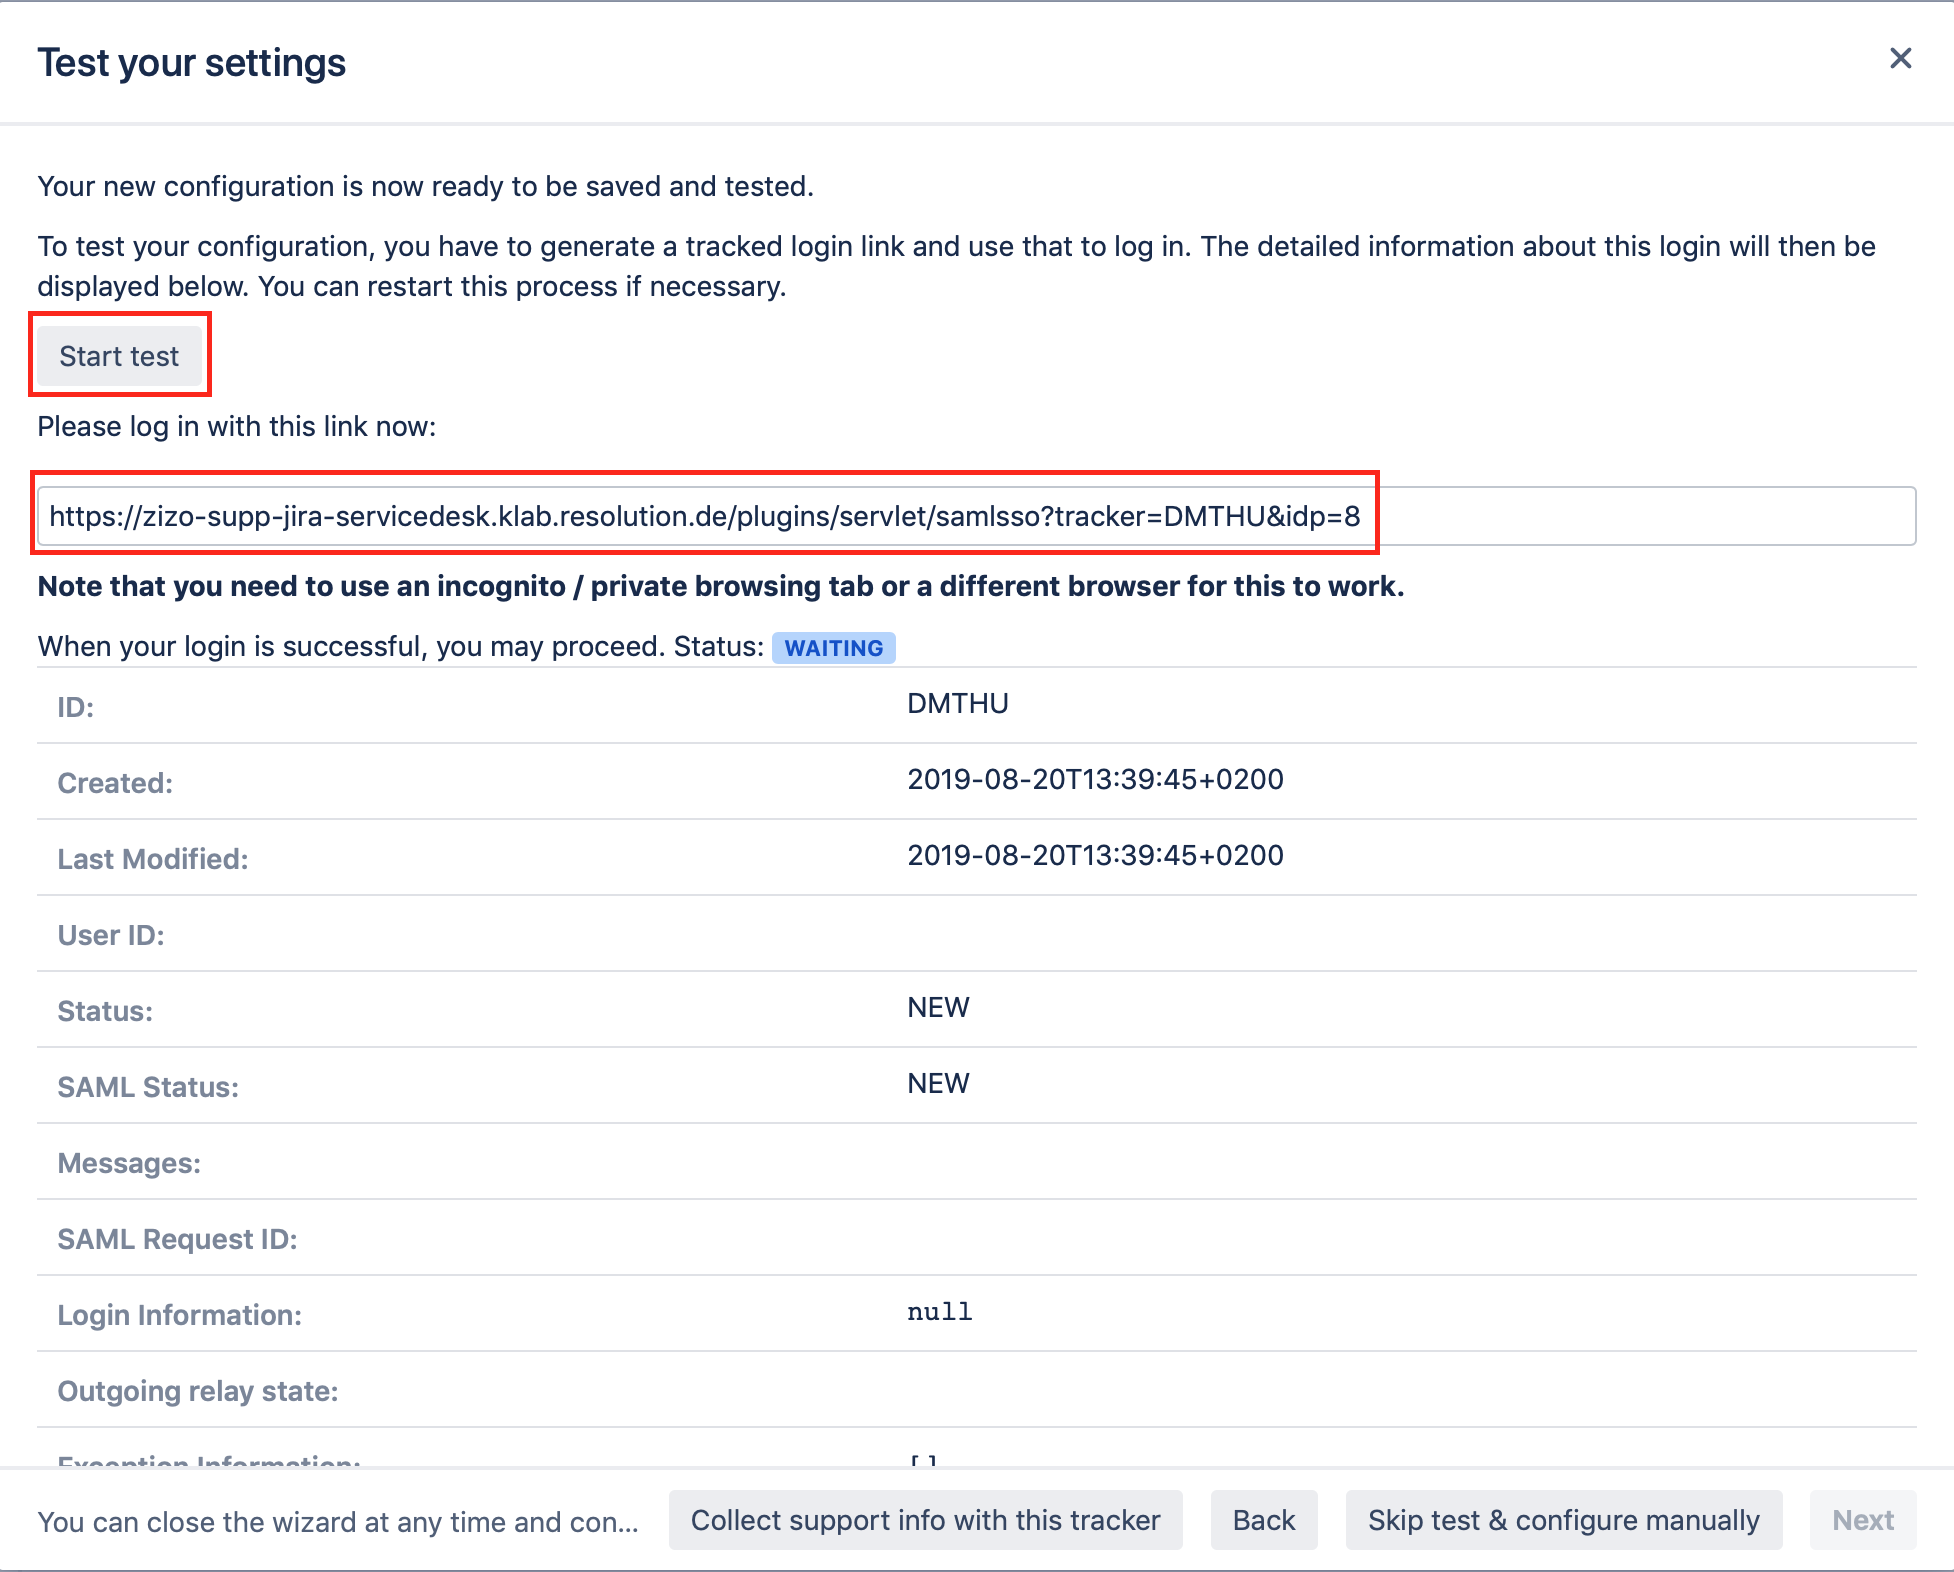
Copy the red marked link and open a new incognito/private tab or a different web browser. Then, paste the link and navigate to it.
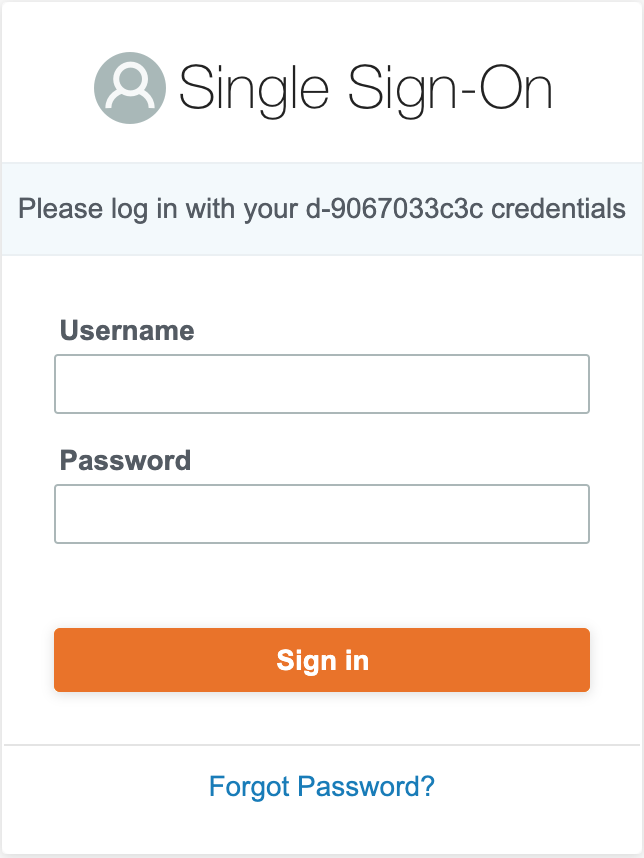
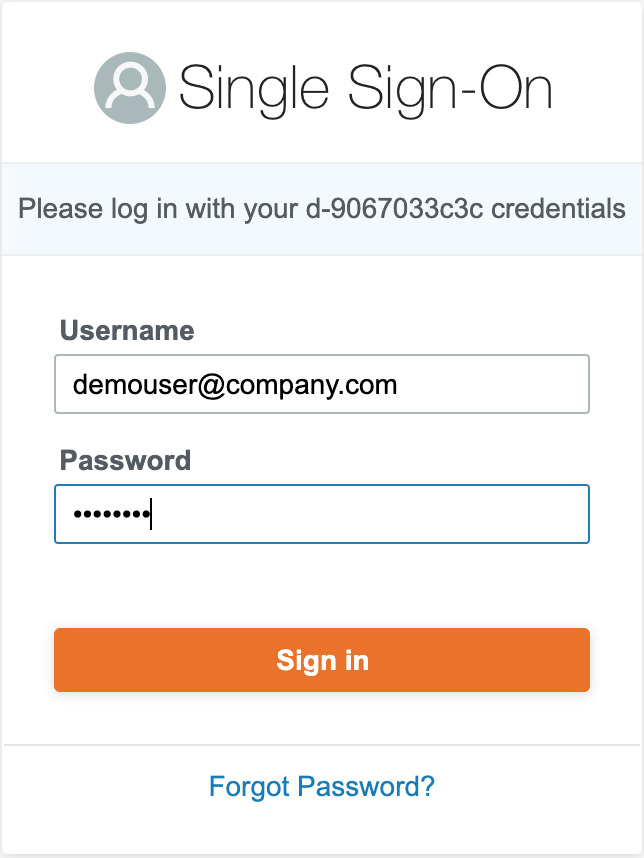
You will be now redirected to AWS login page. Please log-in with you username and password.
If everything worked fine, you will be logged in into your Atlassian application.
In the other tab/browser in which you were configuring the SAML SSO plugin, you can see also the "SUCCESS" status, if everything worked as expected. Click "Next" to proceed.
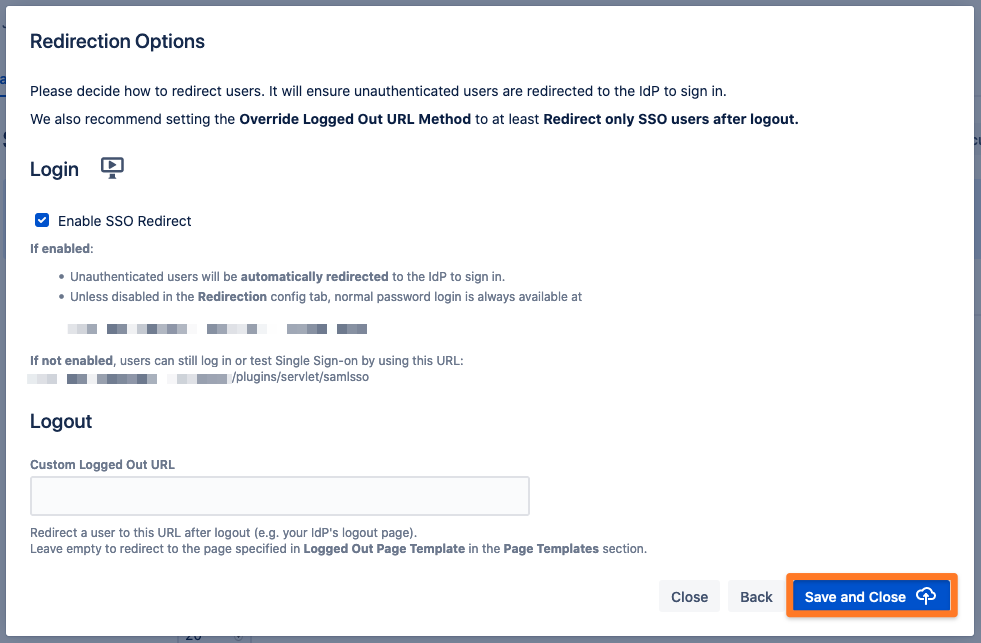
SSO Redirection
As a last step, you can set the Enable SSO Redirect option. If set, all users will be redirected to Single Sign On, thus they will be logged in via the IdP. Click on Save & Close to finish the configuration.