OneLogin configuration
Video Guide
User Guide
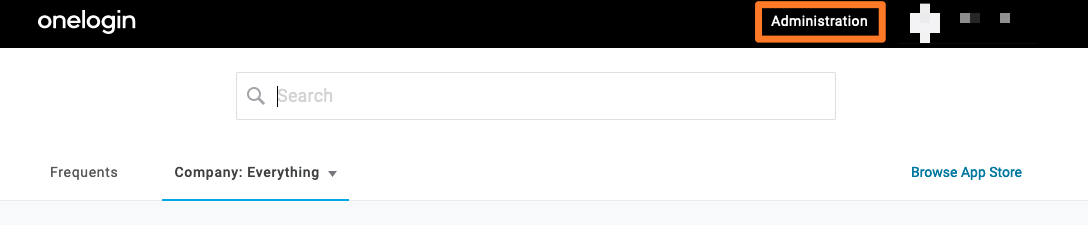
First, login into your OneLogin domain and click Administration.
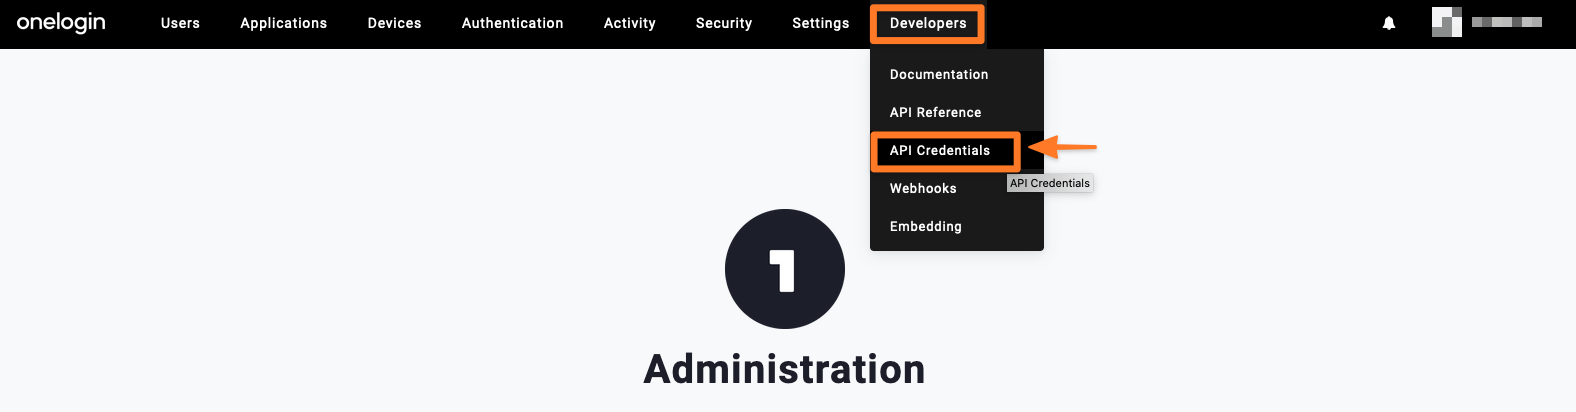
Next, hoover over DEVELOPERS and click API Credentials.
Then, click New Credential.

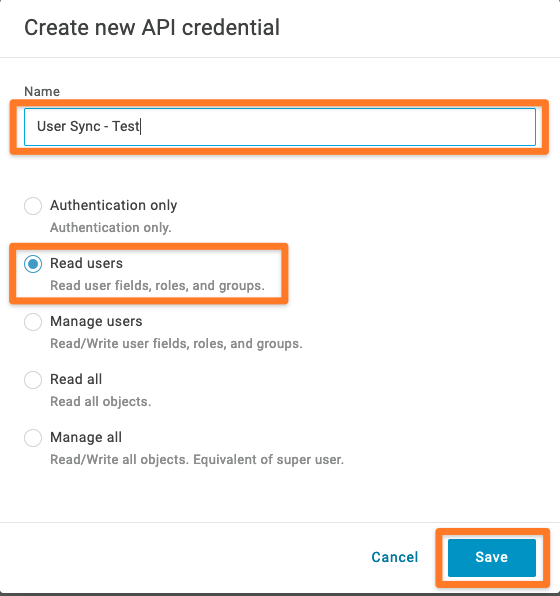
Please provide a Name and choose Read users. Click Save to continue.
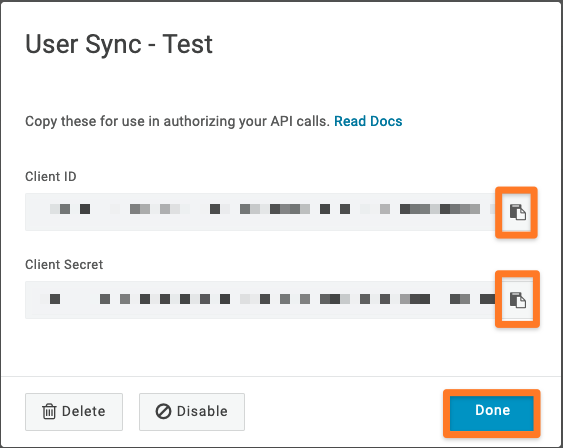
Please copy & paste the Client Secret and the Client ID to a text editor of your choice.
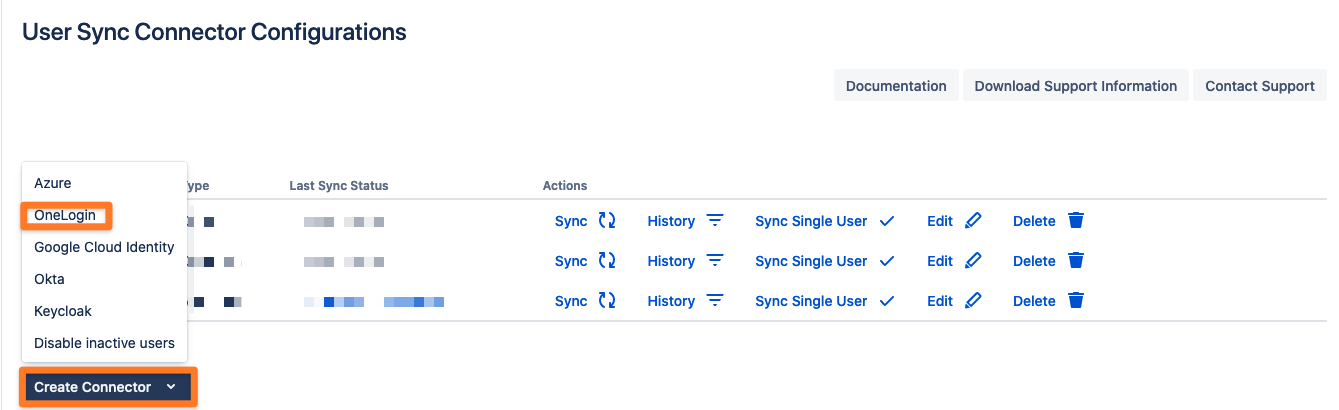
Now, go to your Atlassian product and navigate to the User & Group Sync settings. Click Create Connector and choose OneLogin.
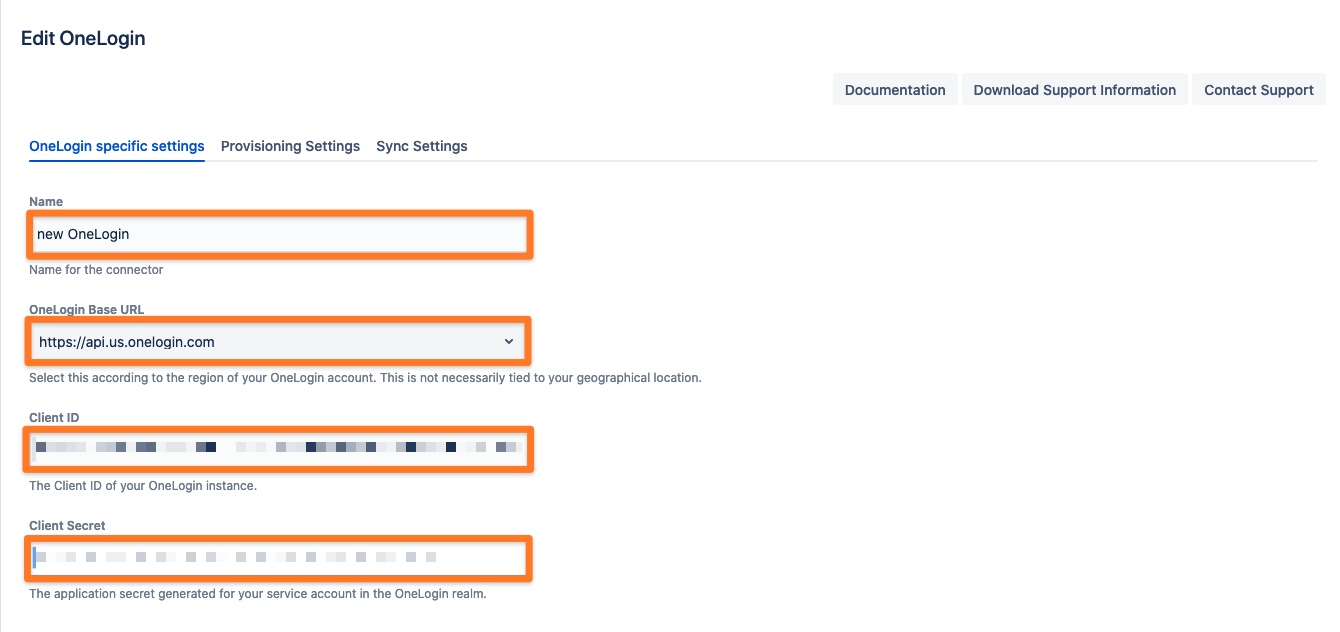
You can change or add a Name for your OneLogin Connector. Please enter the Client ID and die Client Secret. Please also choose the OneLogin Base URL of your OneLogin account.
Next, please choose what to sync for the groups. You can sync the Groups from member_of (in case you have an external connector integrated to OneLogin), Groups from roles (the OneLogin roles for groups), and you can sync the OneLogin Group from group of a user.
You could also modify the Minimum remaining API calls. In this case the sync don't start if less than the configured amount of calls is available within the hour.
Last but not least you could add a required OneLogin Group "Required OneLogin Groups:". User & Group Sync would only sync users when they are member of the OneLogin Group(s). Using this group-based approach to filtering will speed up your sync significantly.

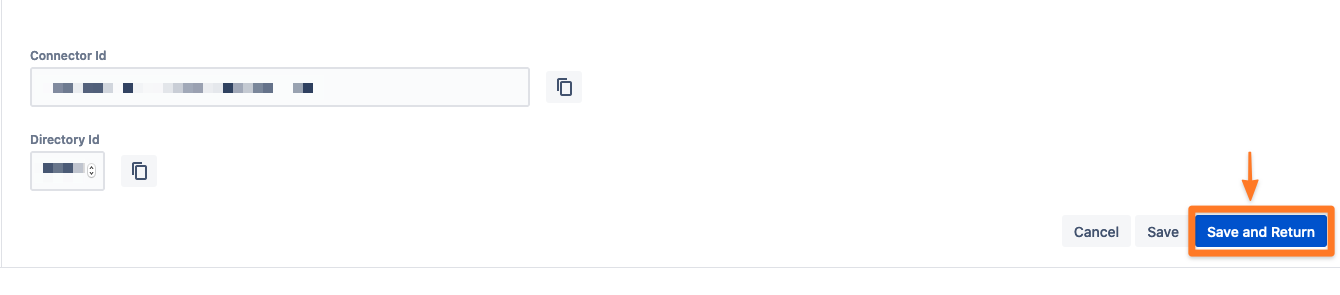
Don't forget to save "Save and Return" your settings!
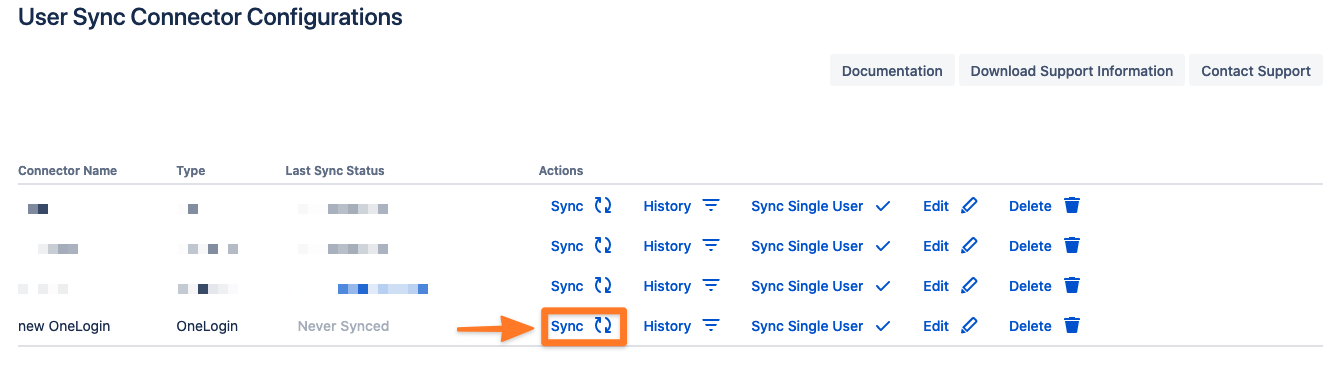
You are now ready to toggle a full sync. Simply click the "Sync" button.
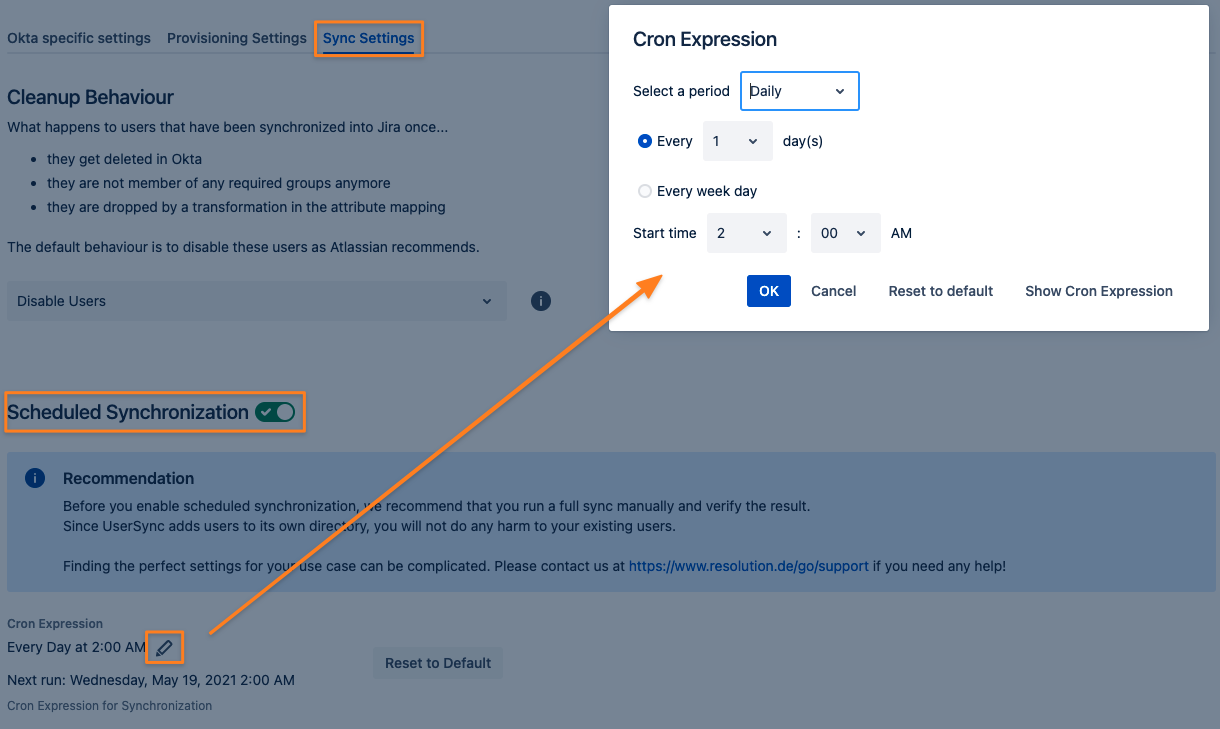
Scheduled Synchronization
To take full advantage of User Sync, click on the Sync Settings tab and Enable Scheduled Synchronization.
You can control the sync interval with the modal but also by editing the Cron expression.
Do not forget to save your configuration. Scroll down to the bottom of the page and press Save or Save and Return.