
Getting Started
Welcome
With Zoom Jira Plugin for Zoom Meetings and Recordings you will have native access to Zoom meetings and recordings. Launch meetings, receive recordings, and add chapters without moving away from your Jira!
Follow this quick guide to get started.
Step 1: Schedule a Zoom meeting
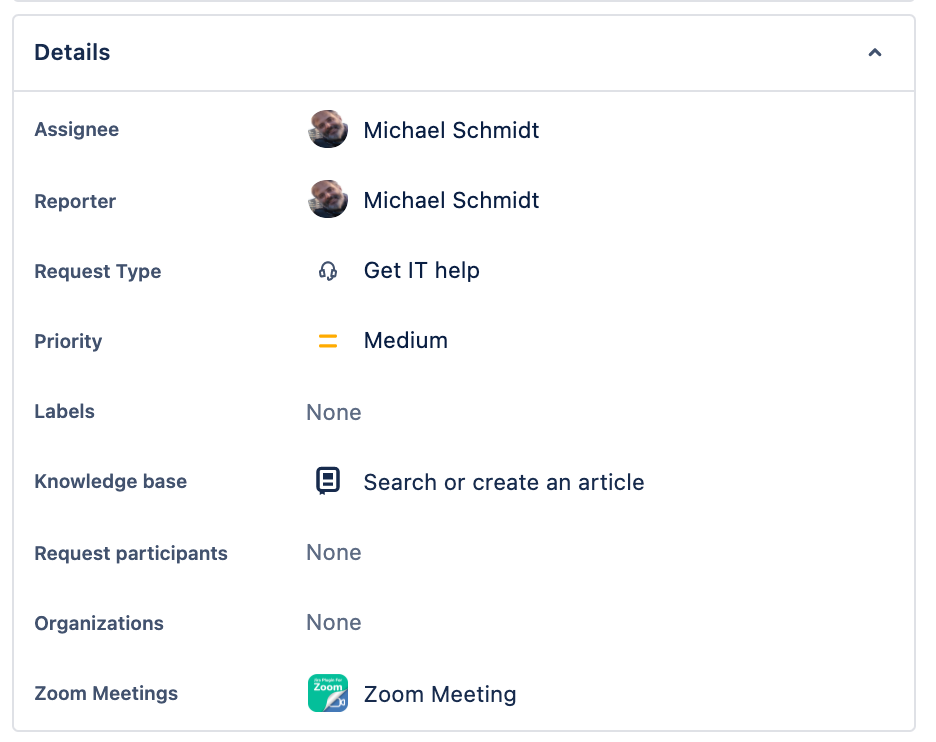
Click on "Zoom Meeting" in the right-side panel of an issue
You don’t need a premium Zoom account to launch Zoom meetings, receive a message with all attendees after the meeting ended or edit recordings in a Jira issue.
To add cloud recordings to an issue, either by starting a meeting with the recording option checked or by importing it, you need a pro, business, or enterprise Zoom account.
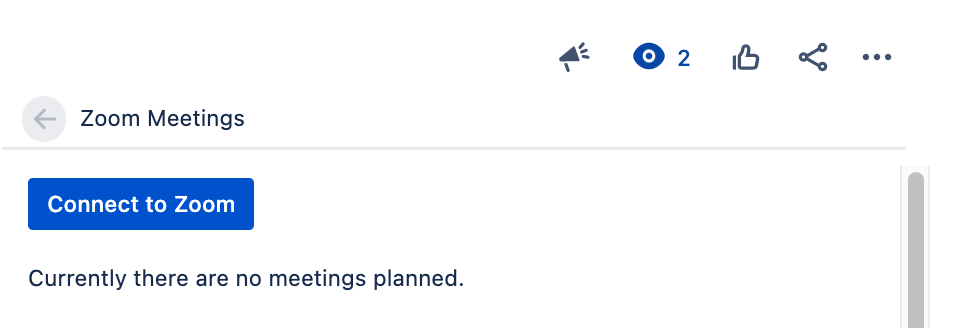
Click on "Connect to Zoom" and log into your account (if not already logged-in in the browser)
Due to some browser restrictions, the Connect to Zoom button works only in Chrome and Edge browsers. But after you connect your account there, you can return to your browser of choice.
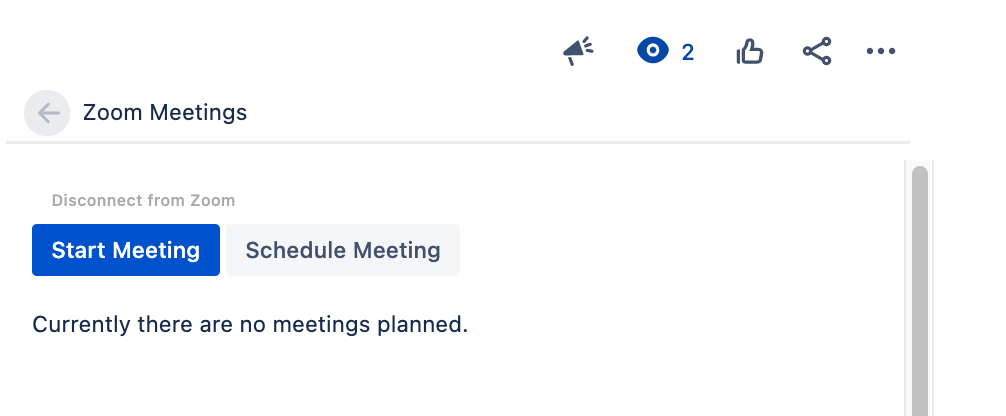
Click "Start Meeting" to instantly create a meeting or click on "Schedule Meeting" if you want to choose a time and a title for the meeting.
Schedule Meeting dialog
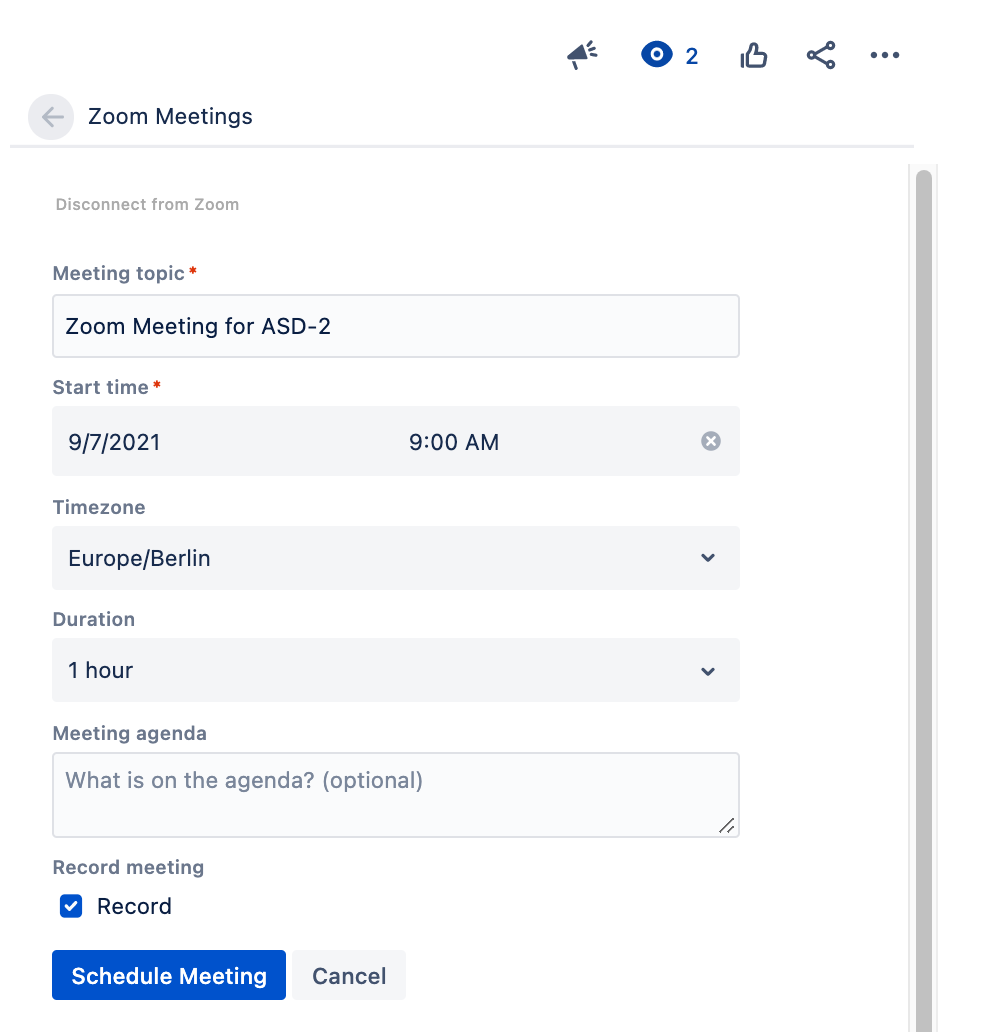
Hit "Schedule Meeting" to create a new meeting in your Zoom account.
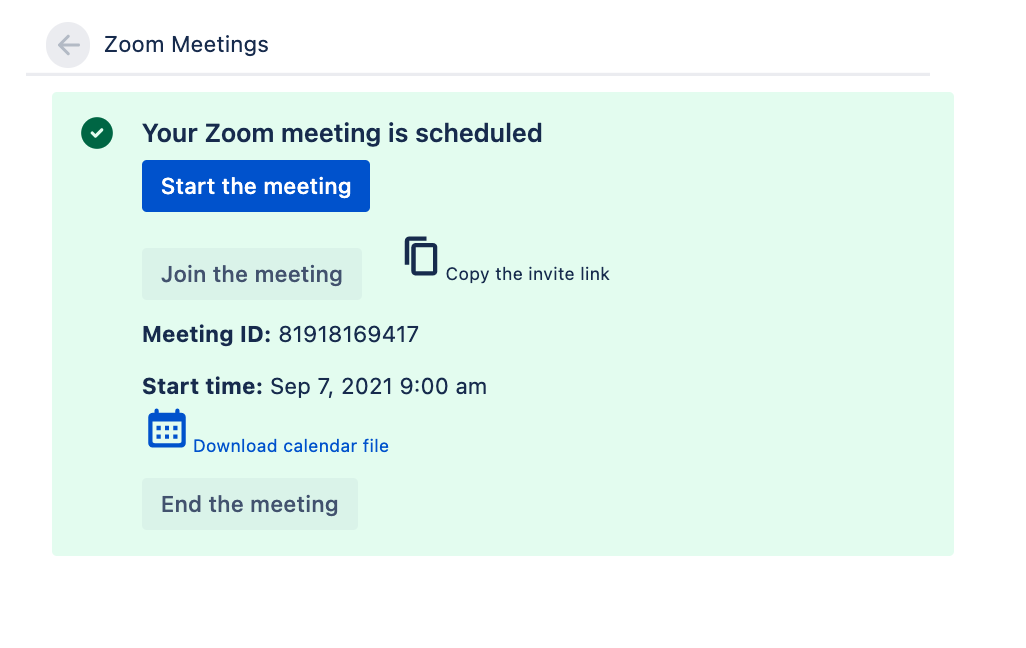
Step 2: Start the Zoom meeting with auto recording
Here you can copy the invite link or download a calendar file.
To start the meeting click on the "Start the meeting" button.
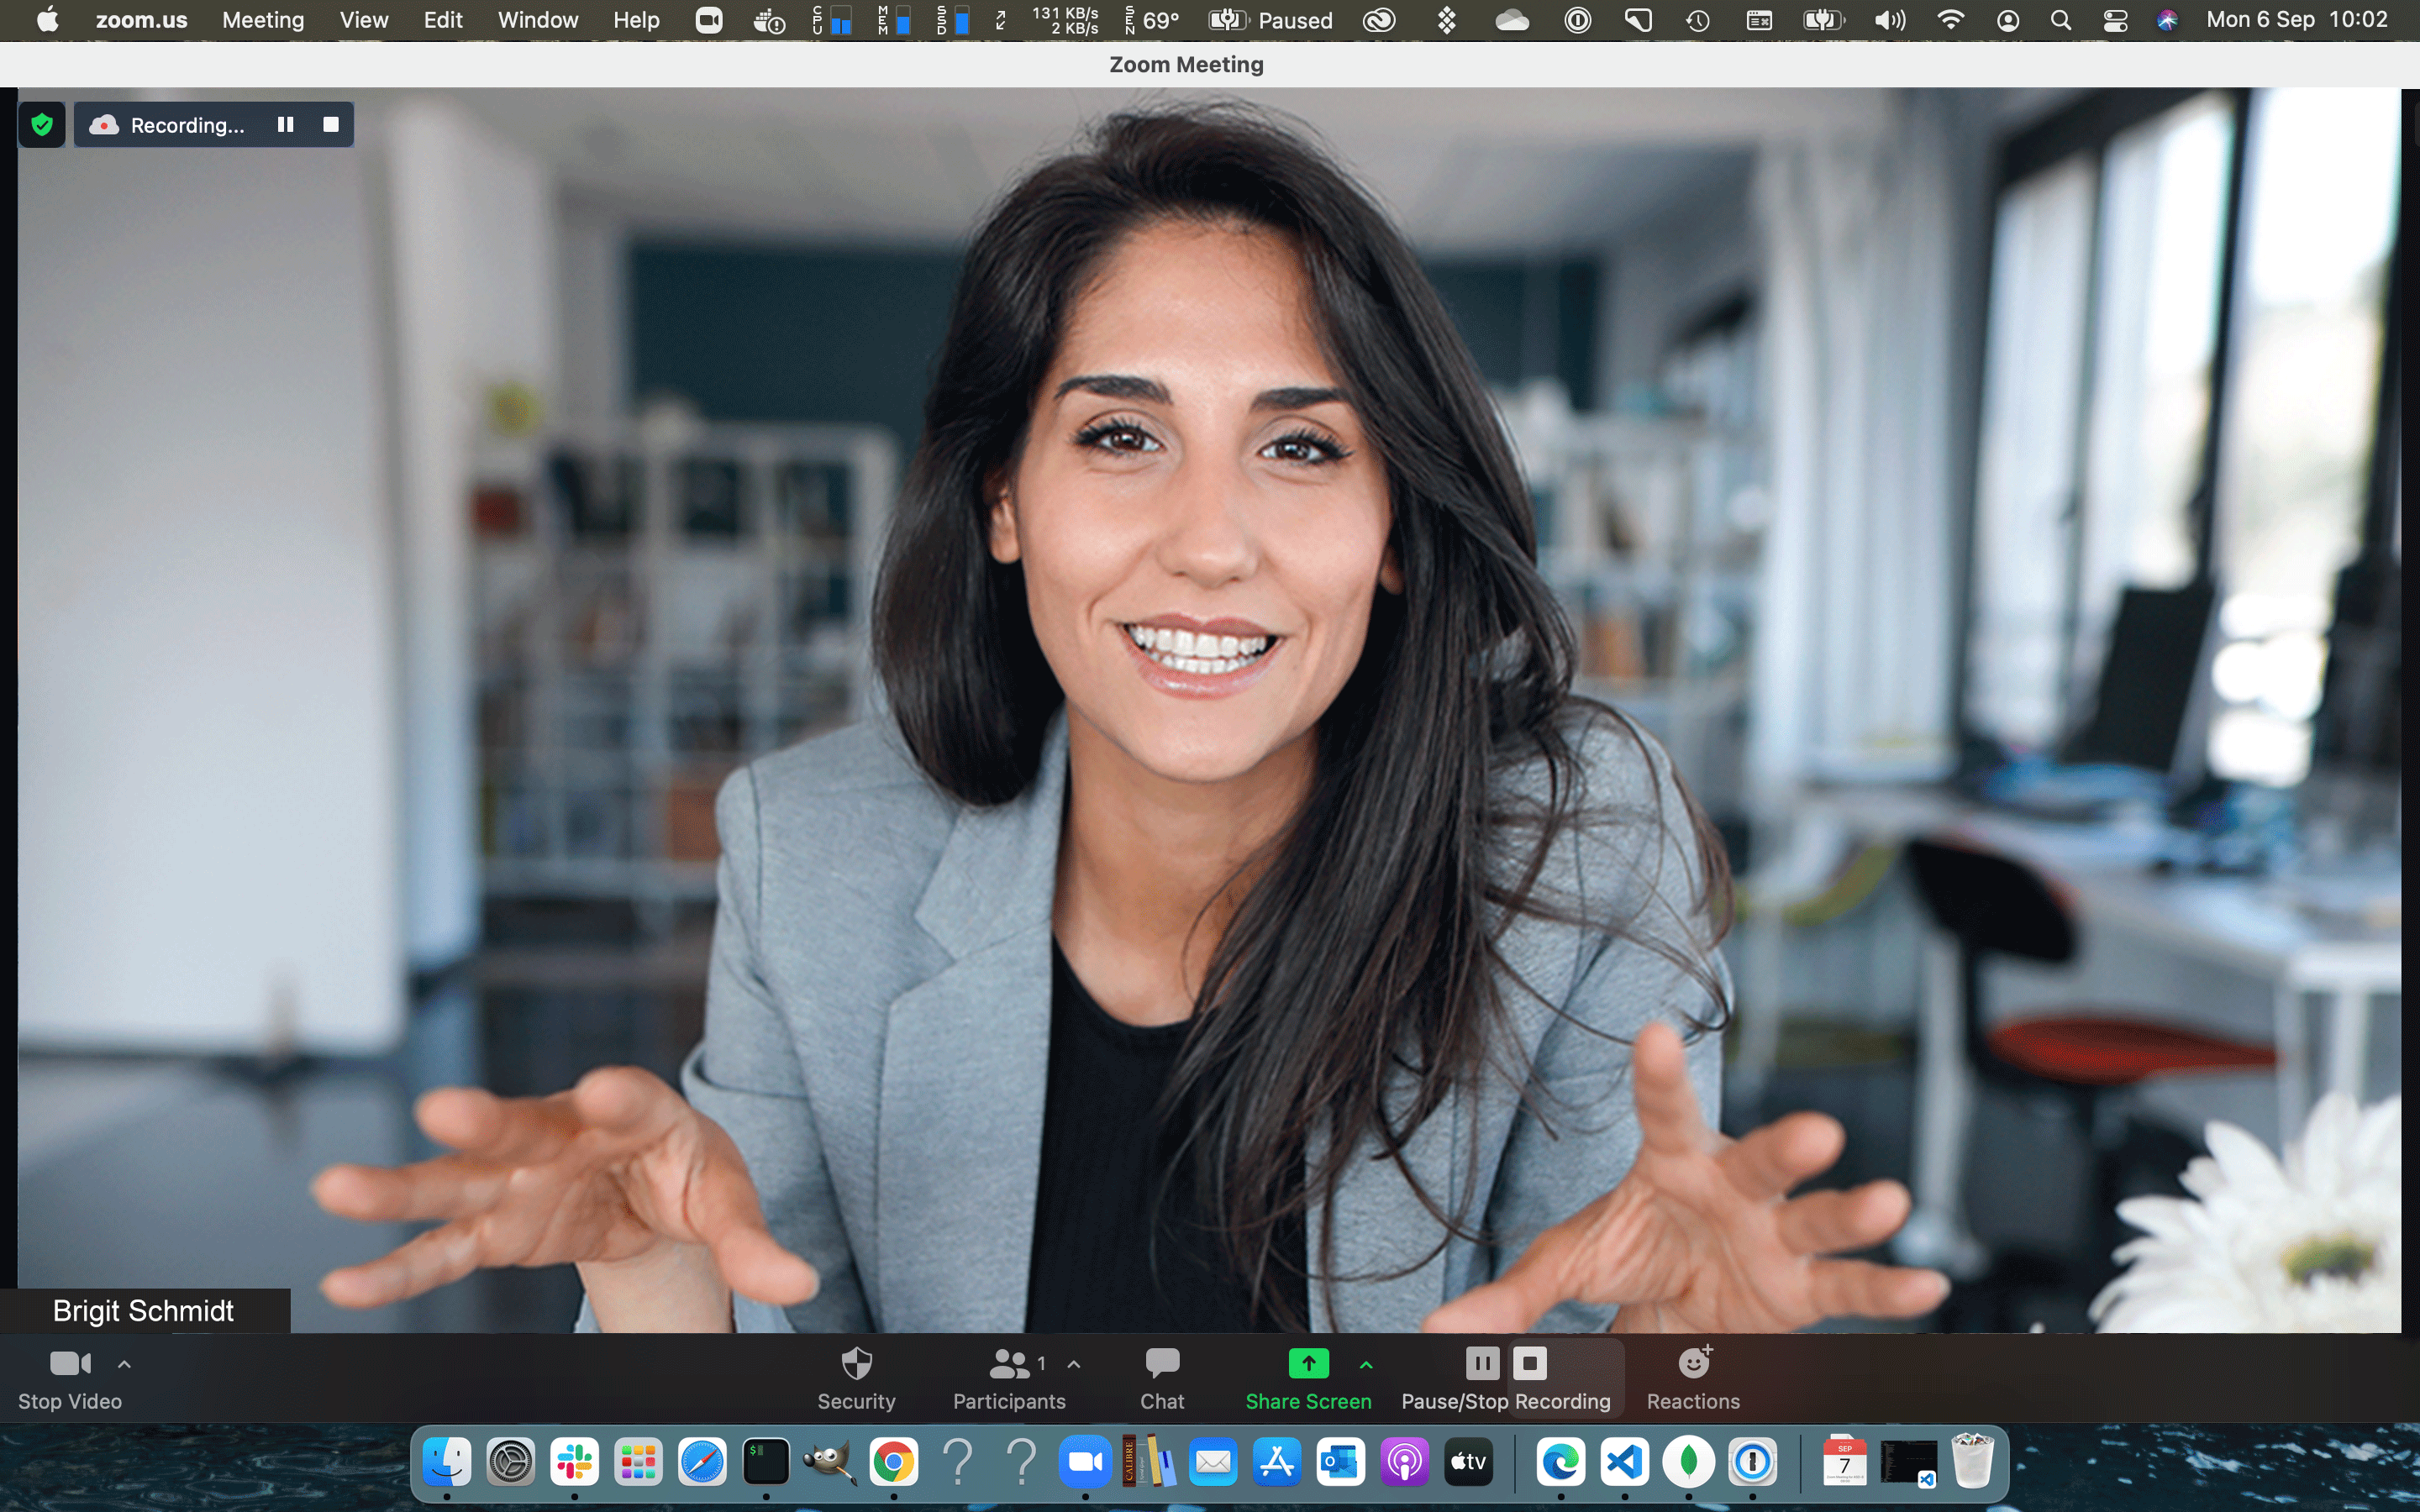
If you checked the Record option, Zoom will automatically start the recording.
If you stop the recording and start again, Zoom will send a recording for every new start. Make sure to always choose "Record to the Cloud" not to your computer.
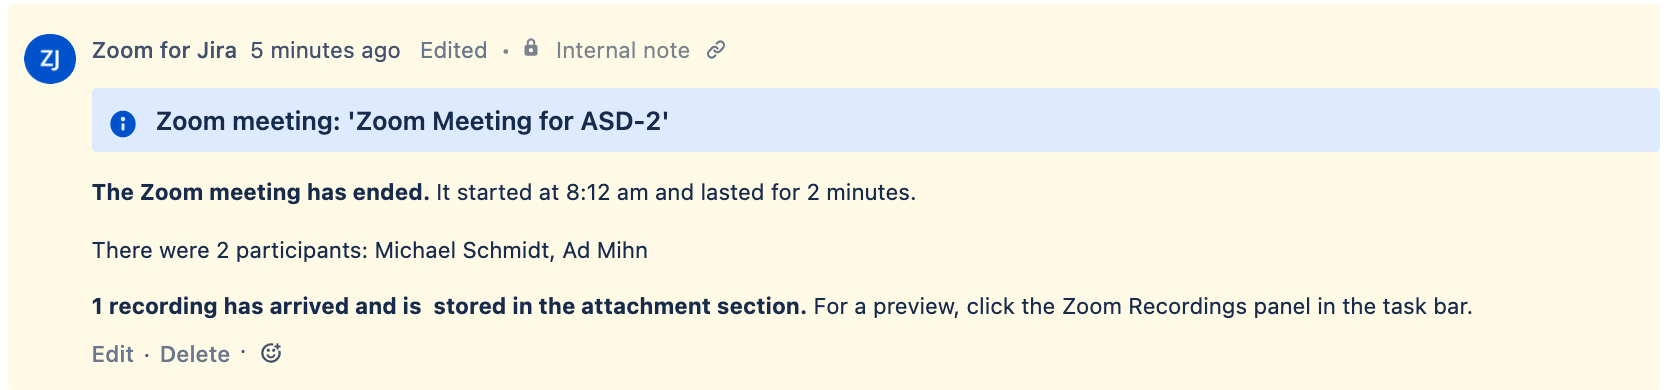
Step 3: Receive a comment and the recording after the meeting ended
When the meeting comes to an end, you will find a comment in the issue giving you information about the time, duration, and participants of the meeting.
After Zoom processes the recording it will automatically be sent to the issue and update the meeting comment like in the example below:
Then you can open the Zoom recordings panel by hitting "Zoom Recordings" in the task bar.
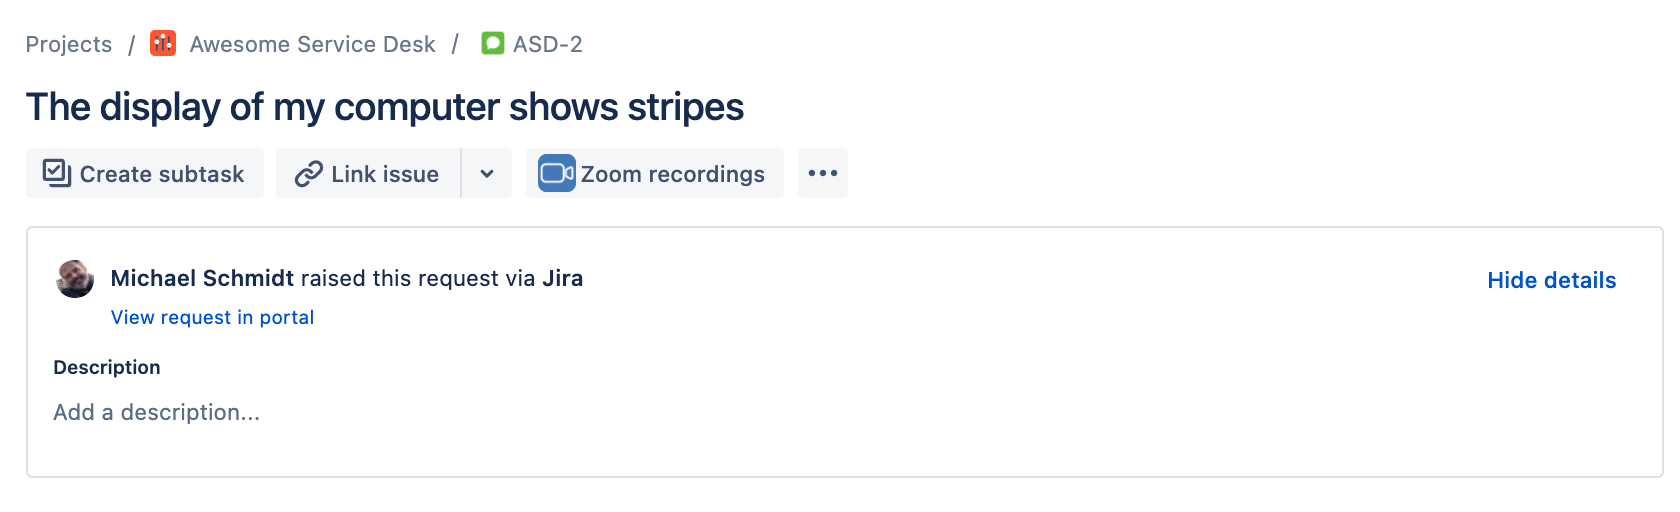
Step 4: The Zoom Recordings Panel
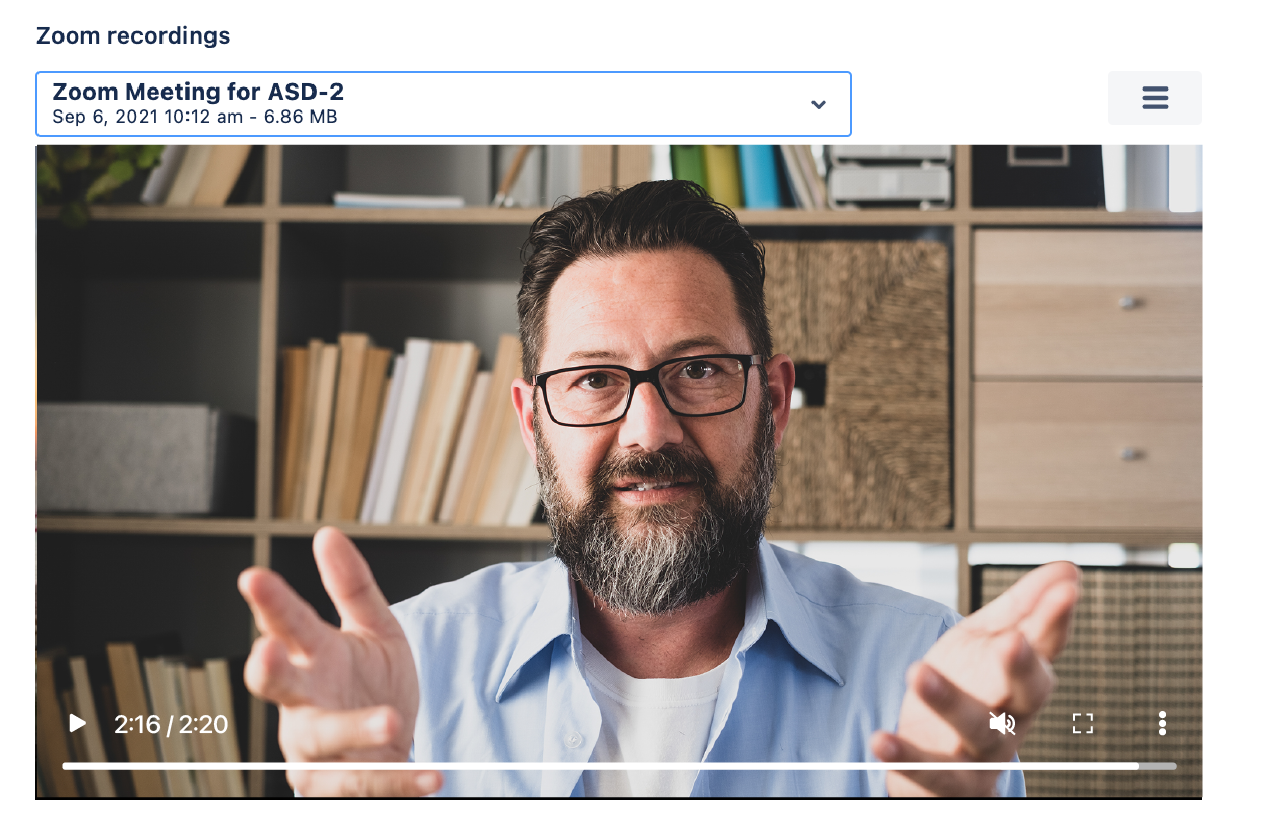
Please read on in the User Guide about the features of the recordings panel:
List all Zoom recordings
Add chapters to the recording
Import other recordings from your Zoom account (only with Zoom pro accounts or up)
Delete recordings