User Guide
Welcome!
This user guide builds on the Getting Started page. So if you haven't started a meeting, or received or imported cloud recordings from Zoom, then please first look at the Getting Started page for the first steps.
1. The Recordings Panel
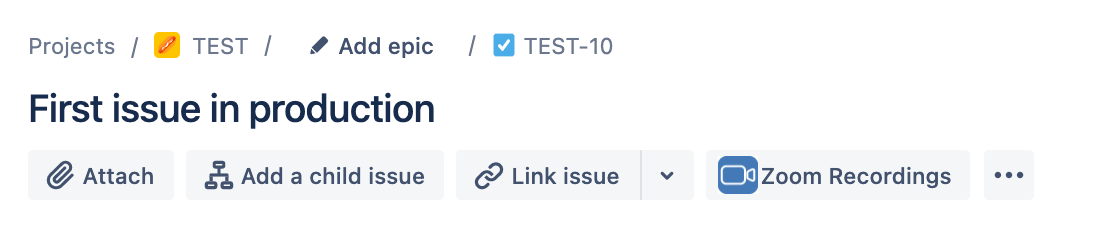
Open the recordings panel by clicking on "Zoom Recordings"
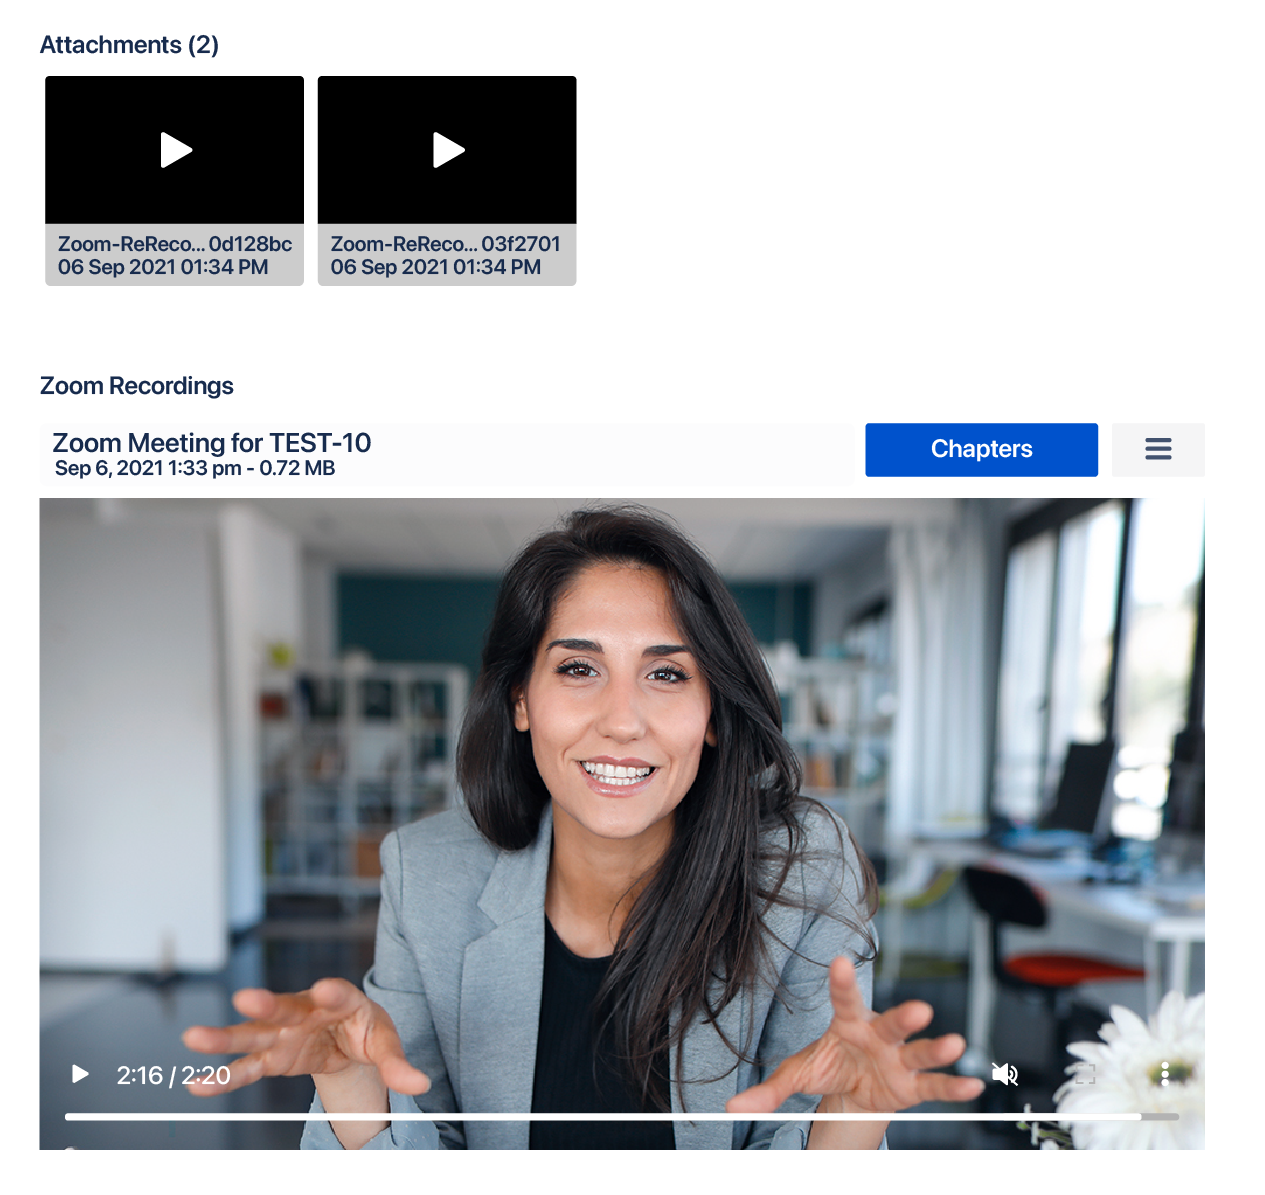
The panel will appear on the opened Jira Issue below the attachments section.
1.1 Import recordings
You can import recordings automatically by scheduling a meeting and having the record option checked. After the meeting is finished, it will be processed and will appear in the issue. See: Getting Started.
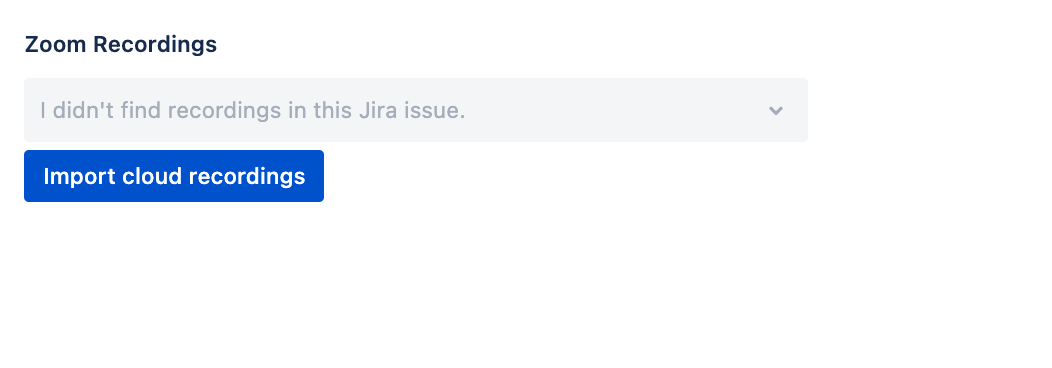
You can also manually import recordings directly from your Zoom account (after having connected it in the issue glance on the right):
Click on "Import cloud recordings"
Choose a recording from the list. It shows all recordings in the last 30 days, if you need older recordings, select a different date.
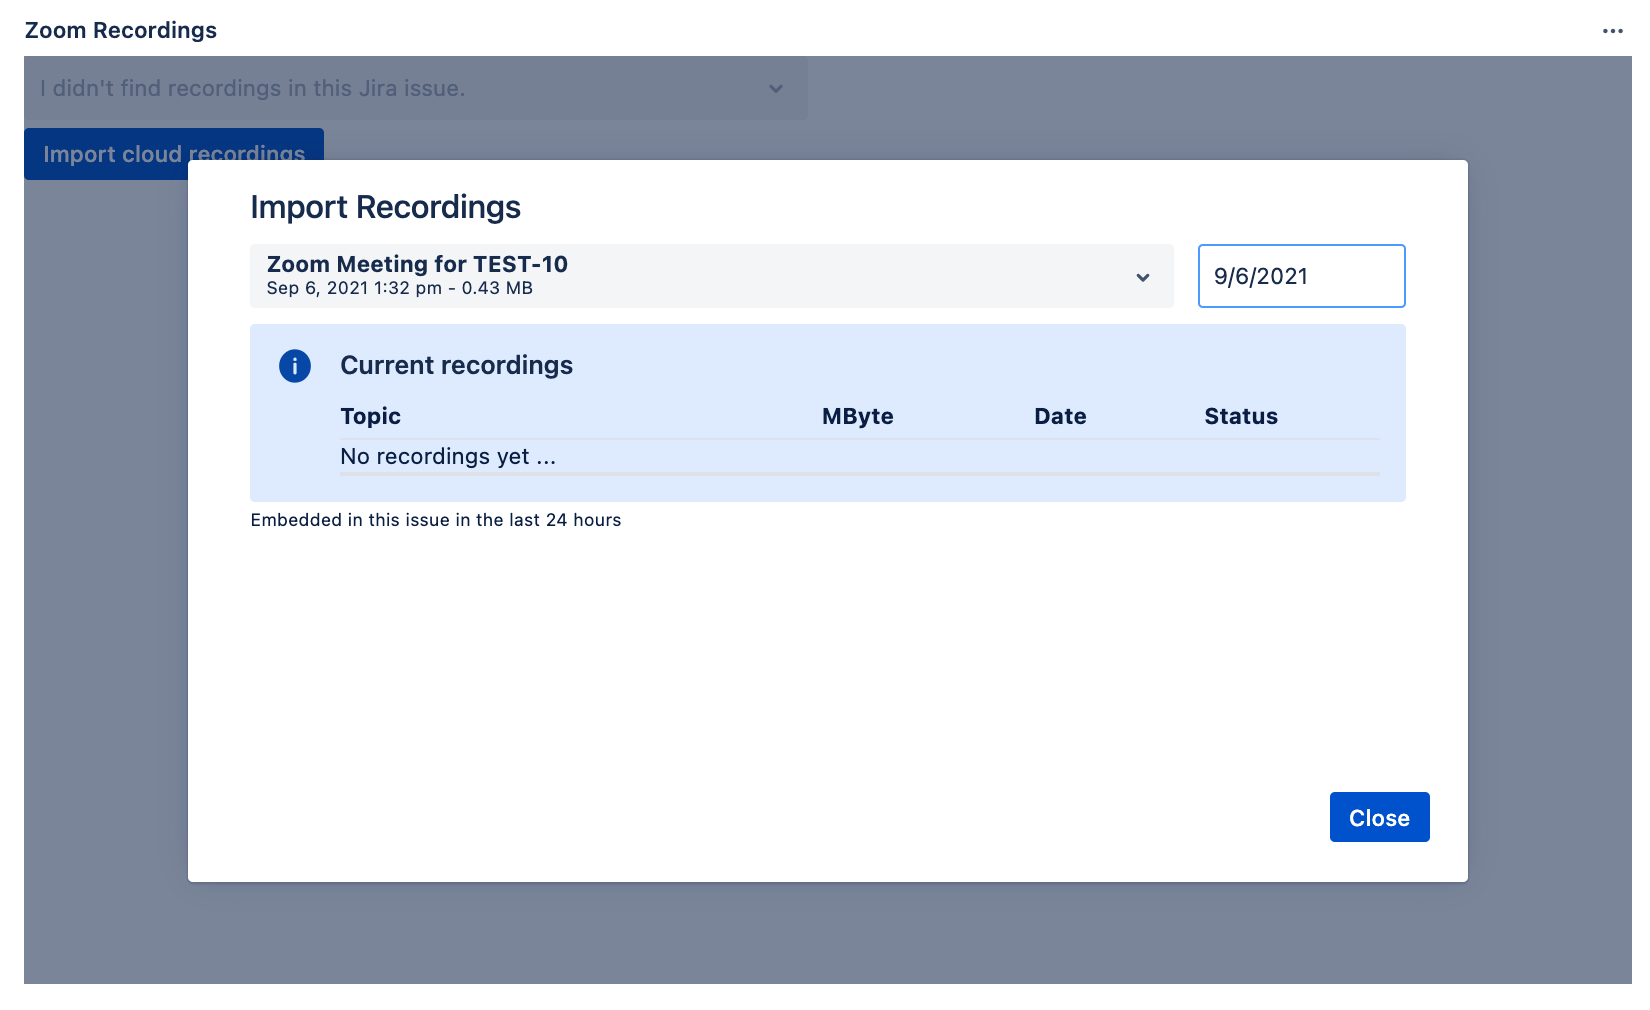
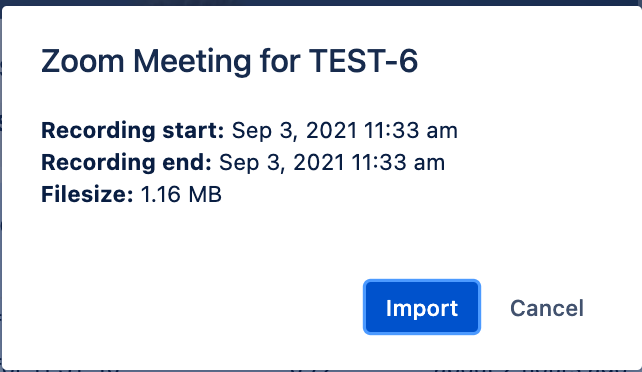
Import it.
Then choose another one or "Close" to return to the main panel. You can close the dialog even if recordings are still uploading.
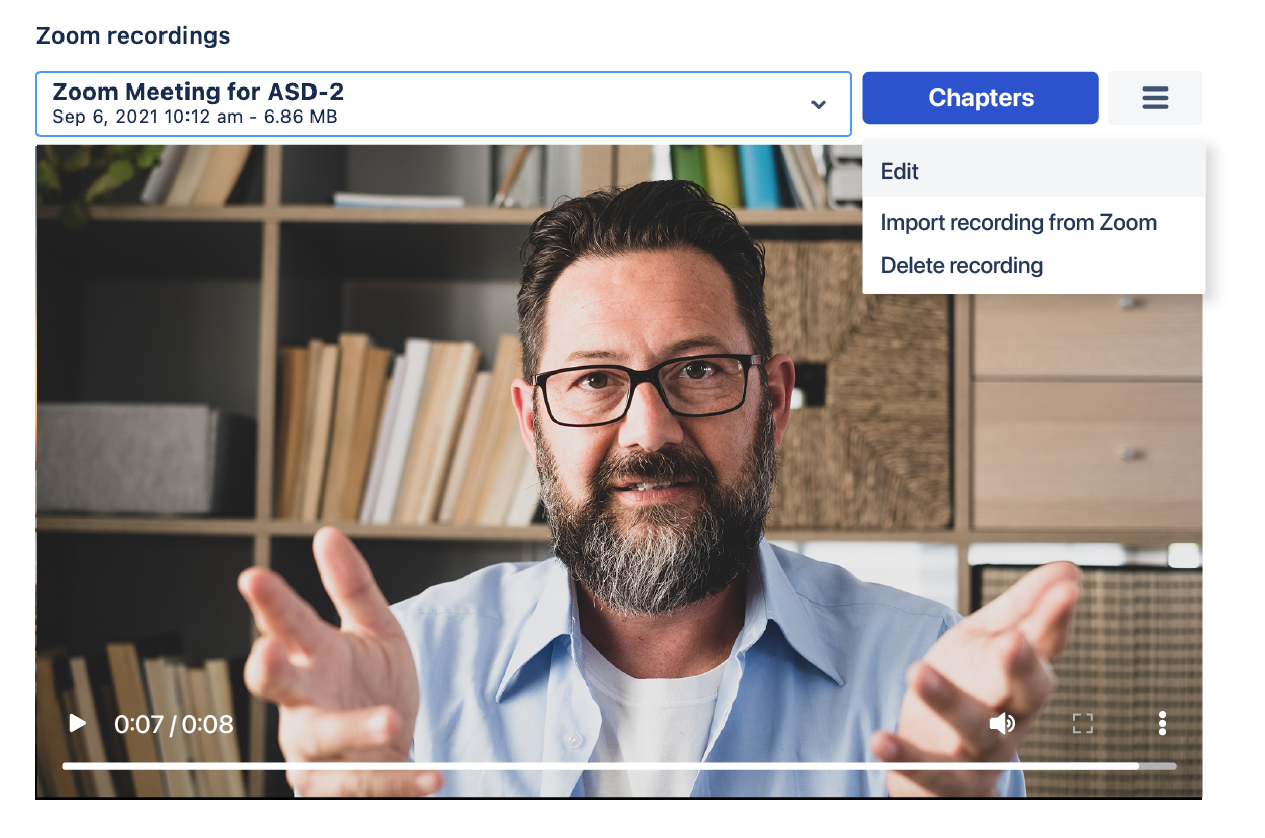
The import command can be found in the Hamburger menu on the top right.
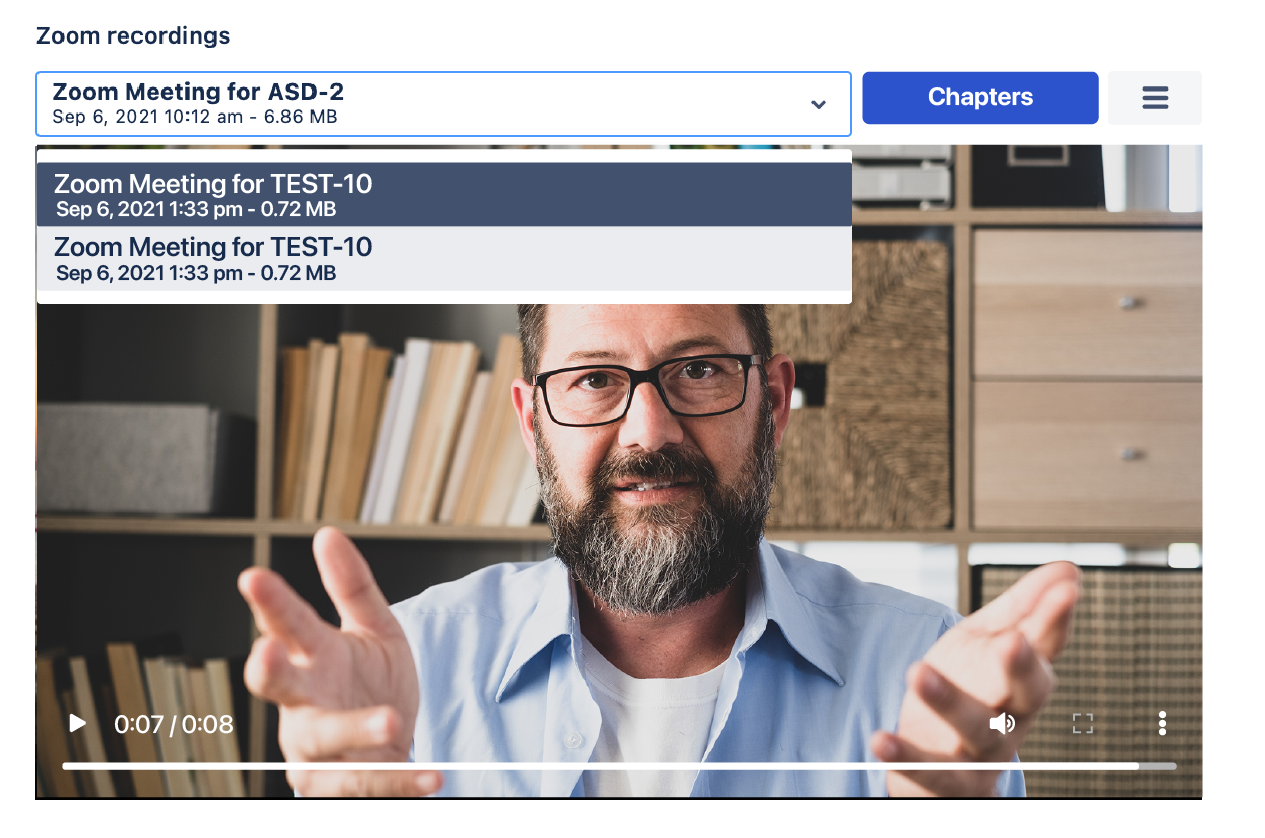
1.2 Select recording
Choose a recording from recordings available in the issue.
1.3 Add chapters
Click on the Hamburger menu, then select "Edit".
Choose a position in the recording and click on "Chapters" then "Mark this position" to create a chapter.
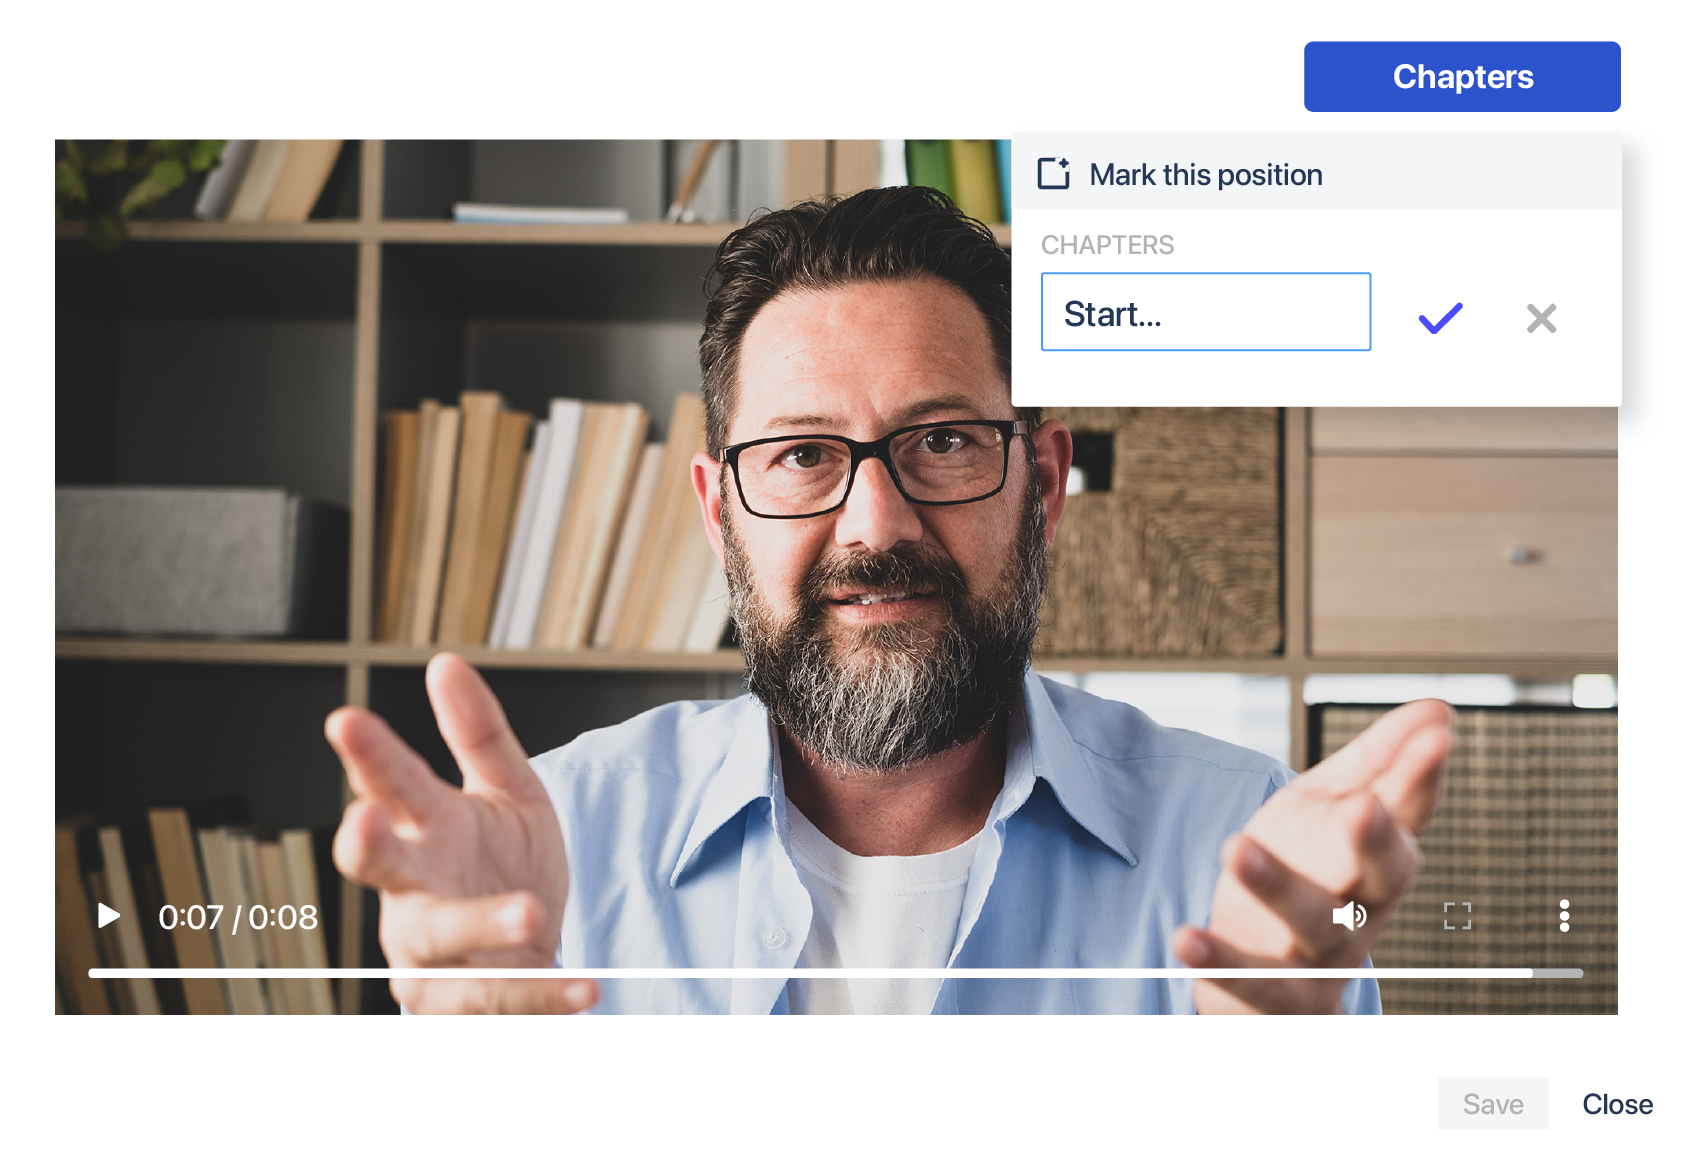
You can add as many chapters as you like. Just move the recording position to the desired one and repeat the last step.
When finished "Save" your changes.
If you choose "Close", changes will not be saved.
1.4 Deleting recordings
Choose the "Delete recording" option from the Hamburger menu to delete the selected recording.
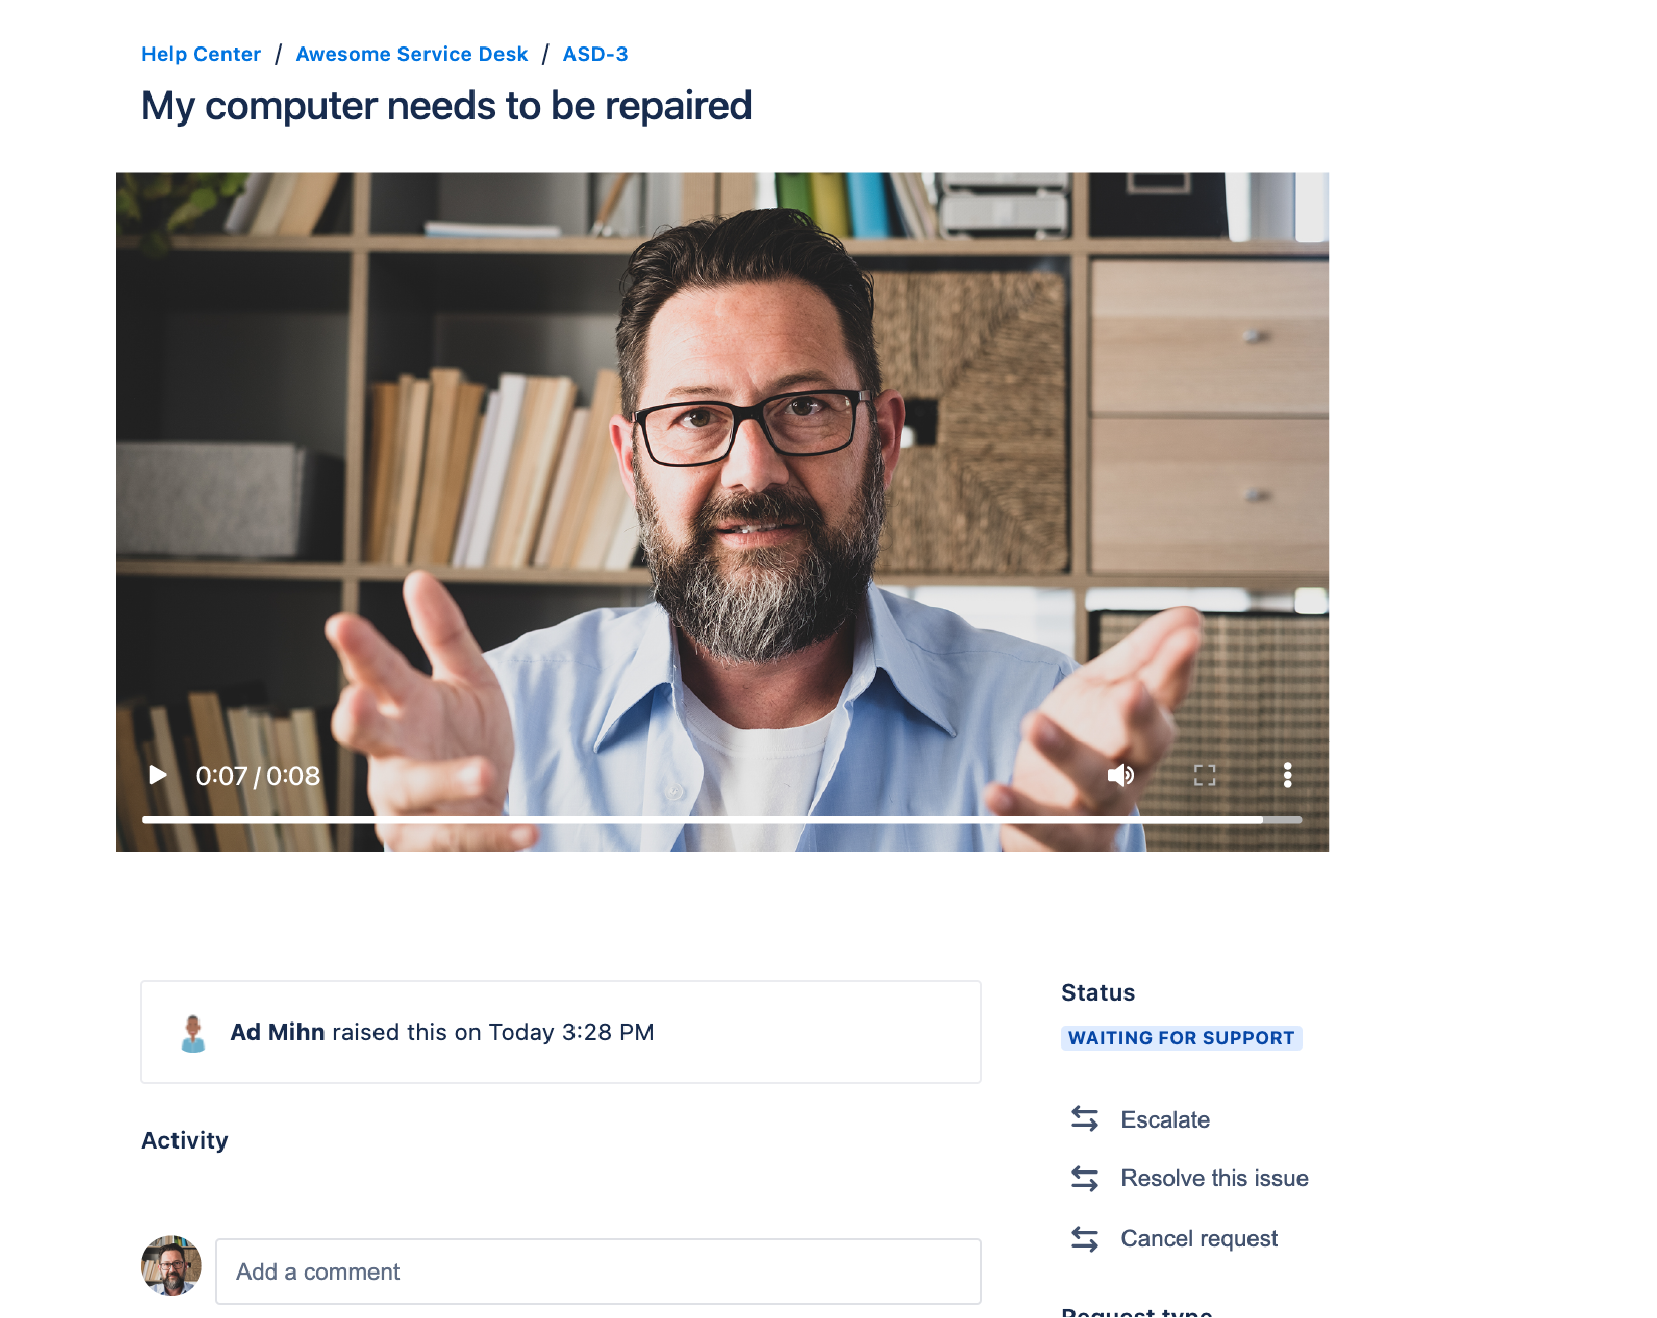
1.5 Show a recording to a customer - Only for Jira Service Desk
In a Jira Service Desk issue click the "Show recording to customer" option on the Hamburger menu.
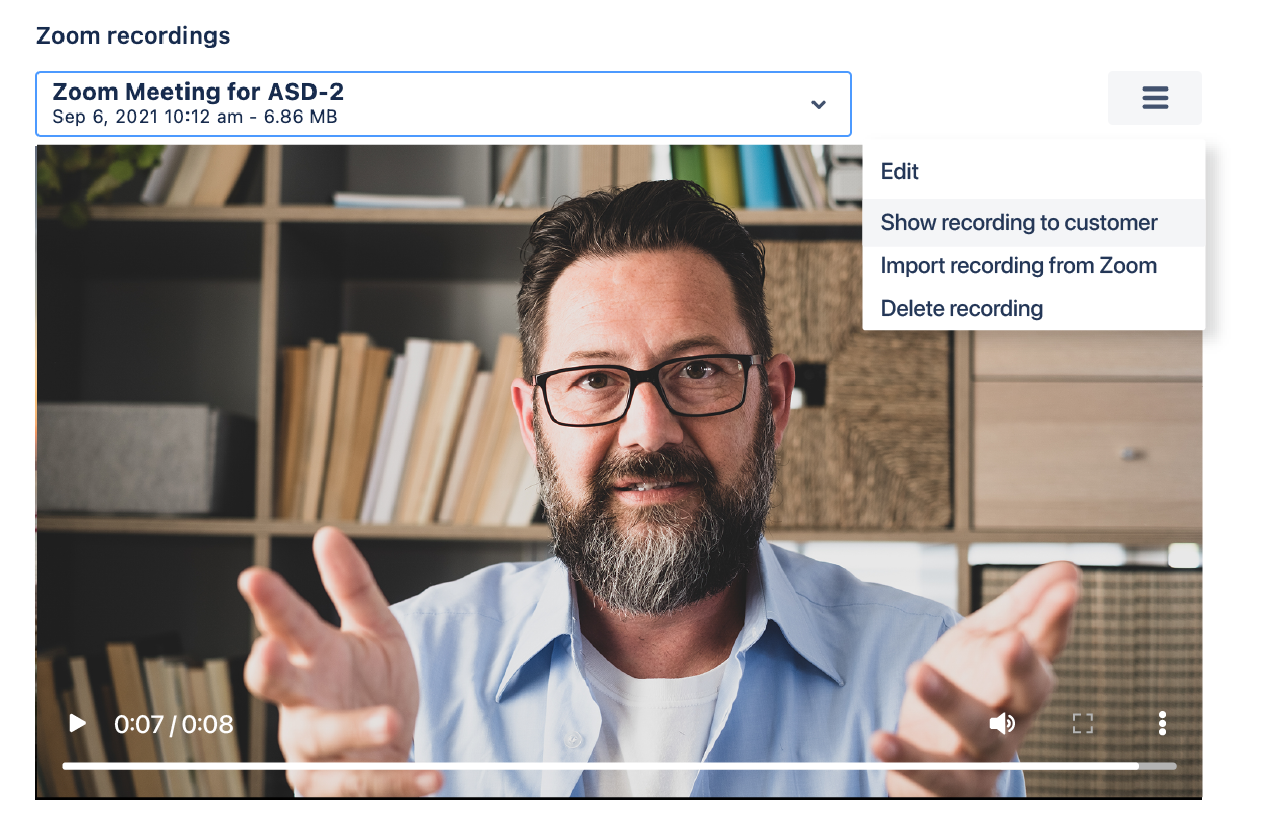
Click "Ok". The current recording will be marked as visible to the customer.

The recording now will appear in the top section of the help desk view of the issue.