
Configure ADFS
Goal
Add a relying party trust to an existing AD FS server and configure claim rules for it.
This will allow your Atlassian Data Center or Server instance, the service provider, to authenticate against AD FS, your identity provider via SAML SSO.
Prerequisites
An existing Windows Active Directory with AD FS enabled is required to proceed with the steps described here.
Add ADFS Relying Party trust
Via Powershell script
This method will only work, if your ADFS server can access your Atlassian host via its hostname and via https.
Instead of adding the relying party trust via ADFS management console as described in the next chapter,
you could also use the script below and call it with parameters on your ADFS server - download it here: add_relying_trust.ps1 or see the source below.
Create ADFS relying party trust via Powershell
- param($Name,$AppHost,$SingleLogout)
- If ($SingleLogout) {
- $SingleLogout = "?slo"
- }
- Else {
- $SingleLogout = ""
- }
- $IssuanceRules = '@RuleTemplate = "LdapClaims"
- @RuleName = "NameID Name Email"
- c:[Type == "http://schemas.microsoft.com/ws/2008/06/identity/claims/windowsaccountname", Issuer == "AD AUTHORITY"]
- => issue(store = "Active Directory", types = ("http://schemas.xmlsoap.org/ws/2005/05/identity/claims/nameidentifier",
- "http://schemas.xmlsoap.org/ws/2005/05/identity/claims/name",
- "http://schemas.xmlsoap.org/ws/2005/05/identity/claims/emailaddress"),
- query = ";sAMAccountName,displayName,mail;{0}", param = c.Value); '
- $partyTrust = Get-AdfsRelyingPartyTrust `
- -PrefixIdentifier "https://$AppHost/plugins/servlet/samlsso/metadata"
- If ($partyTrust) {
- Write-host "There is a record for that relying party already. Do you want it to be removed automatically?" -ForegroundColor Yellow
- $Readhost = Read-Host " ( y / n ) "
- Switch ($ReadHost)
- {
- Y {Write-host "Removing existing record."; $RemoveExistingTrust=$true}
- N {Write-Host "Aborting script. Please remove or edit the existing record yourself."; }
- Default {Write-Host "Aborting script, no option provided."; }
- }
- If ($RemoveExistingTrust) {
- Remove-AdfsRelyingPartyTrust `
- -TargetRelyingParty $partyTrust
- }
- Else {
- Exit
- }
- }
- Add-AdfsRelyingPartyTrust `
- -Name "$Name" `
- -MetadataUrl "https://$AppHost/plugins/servlet/samlsso/metadata$SingleLogout" `
- -AccessControlPolicyName "Permit Everyone" `
- -MonitoringEnabled $true `
- -AutoUpdateEnabled $true `
- -IssuanceTransformRules $IssuanceRules
You can execute it with parameters as following:
- PS C:\Scripts> .\add_relying_trust.ps1 <relying_party_trust_friendly_name> <atlassian_application_host>
- i.e.
- PS C:\Scripts> .\add_relying_trust.ps1 jira jira.my-company.com
The script will prompt you, should it find an existing trust with that Atlassian host URL already. It can remove it automatically, if you choose y for yes.
You might have noticed the third and optional $SingleLogout parameter. When following the basic setup guide for SAML and ADFS,
you should leave it empty, as it requires settings on the SAML app side which was not part of the guide.
You can read more about SAML and Single Log Out here.
Manually via ADFS management console
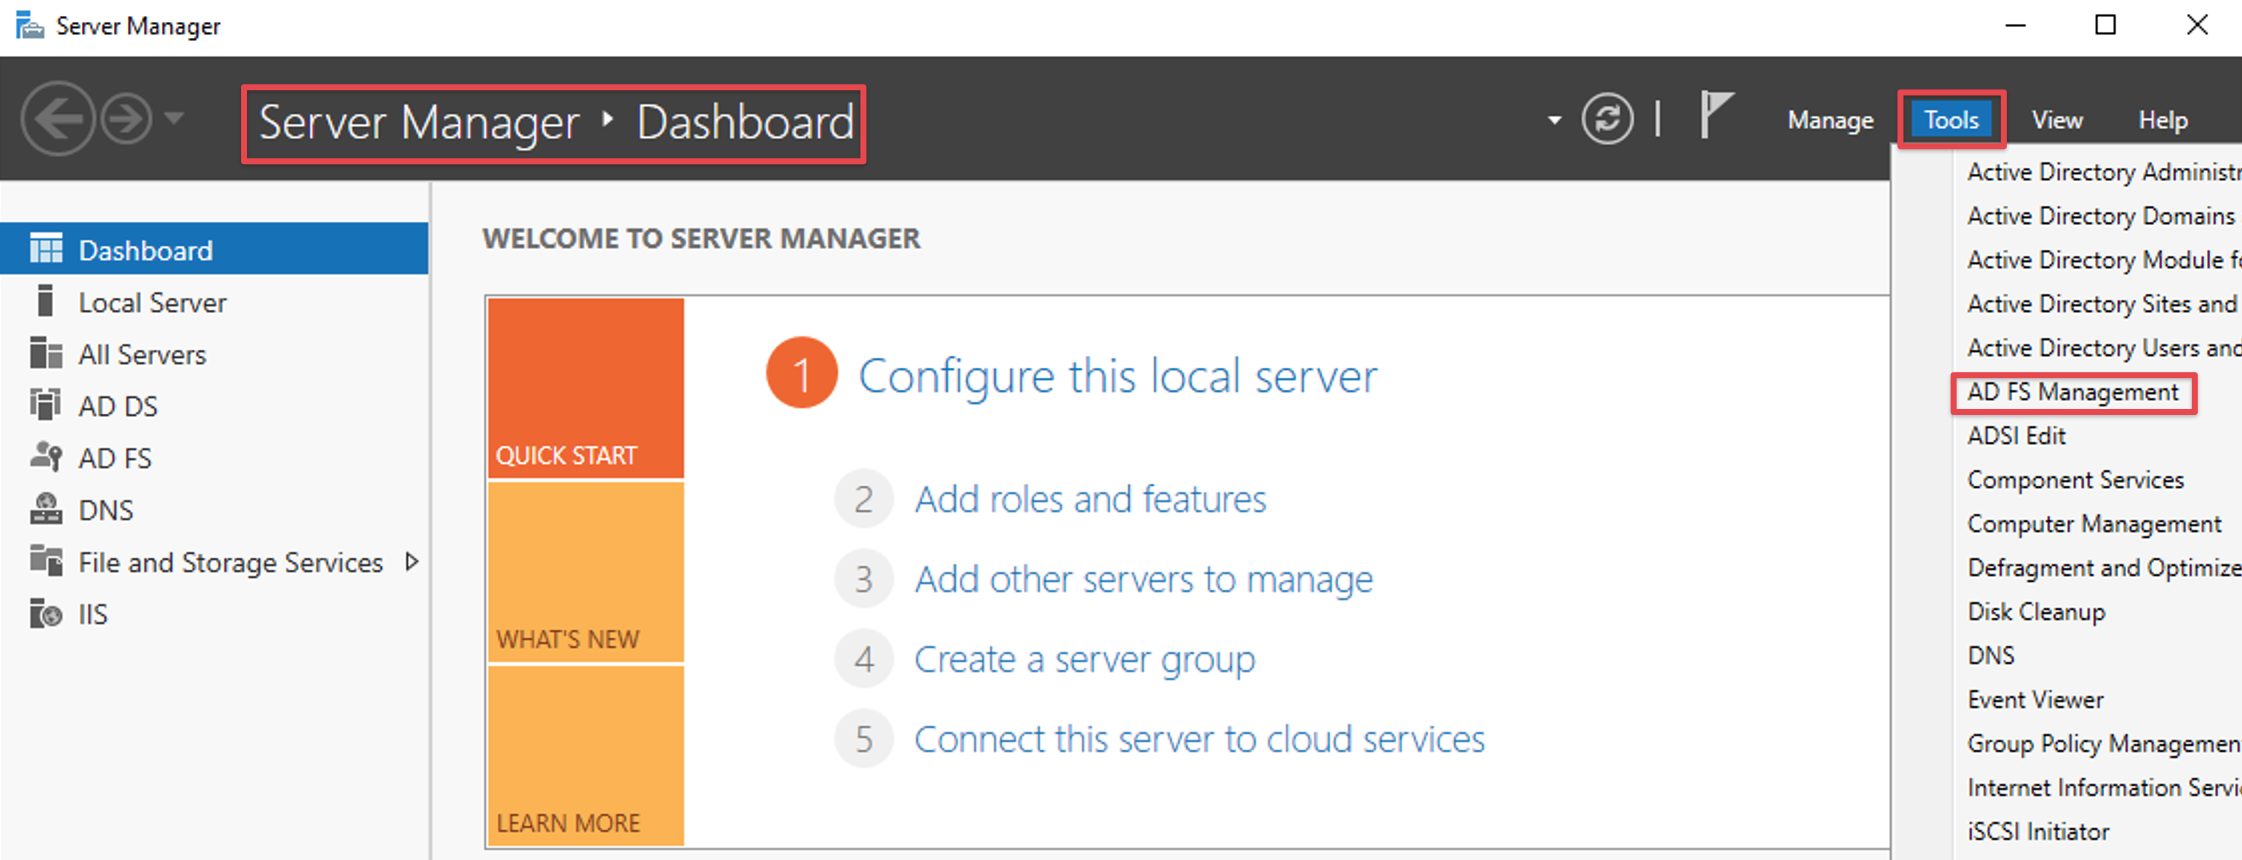
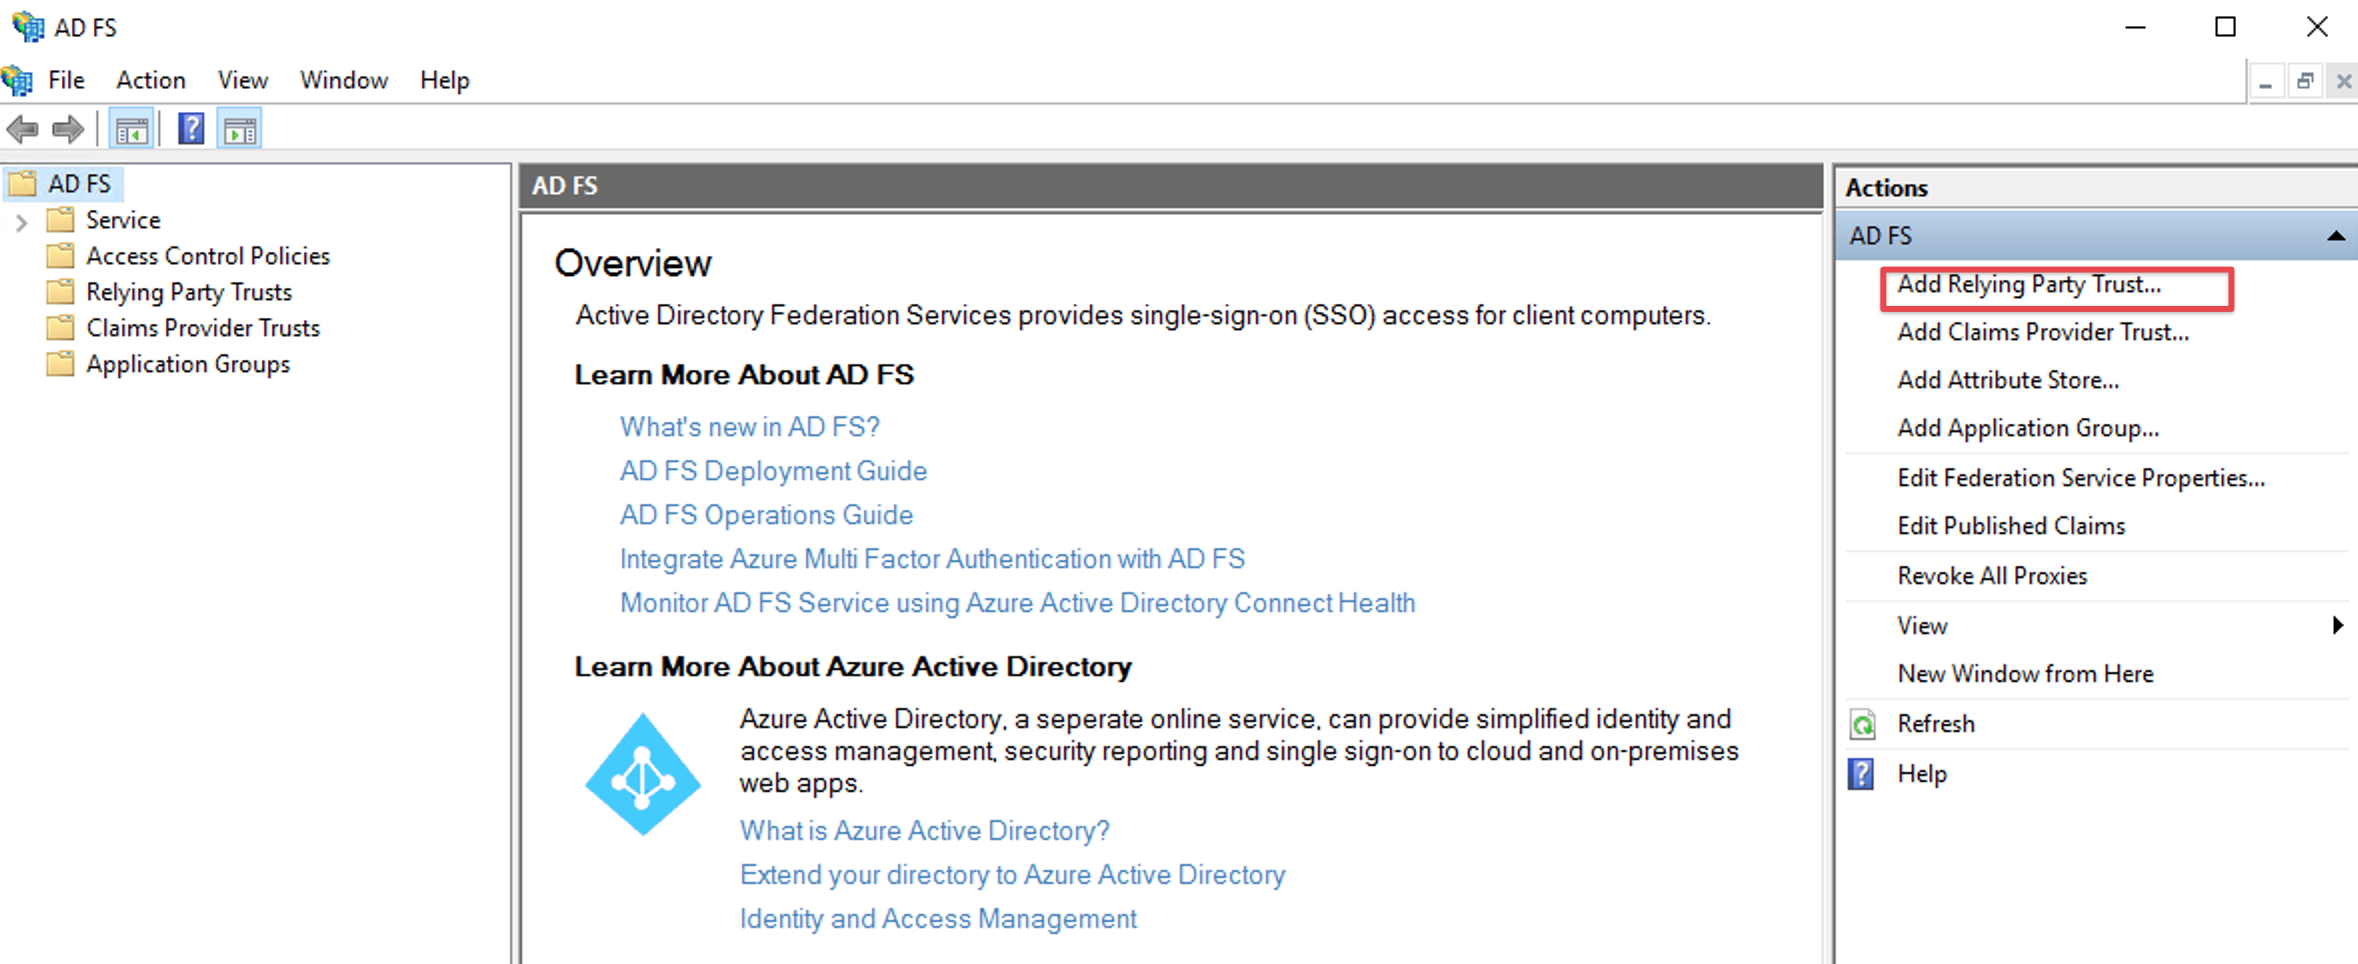
Open the ADFS management console (i.e. via the Server Manager Dashboard) and select Add Relying Party Trust.
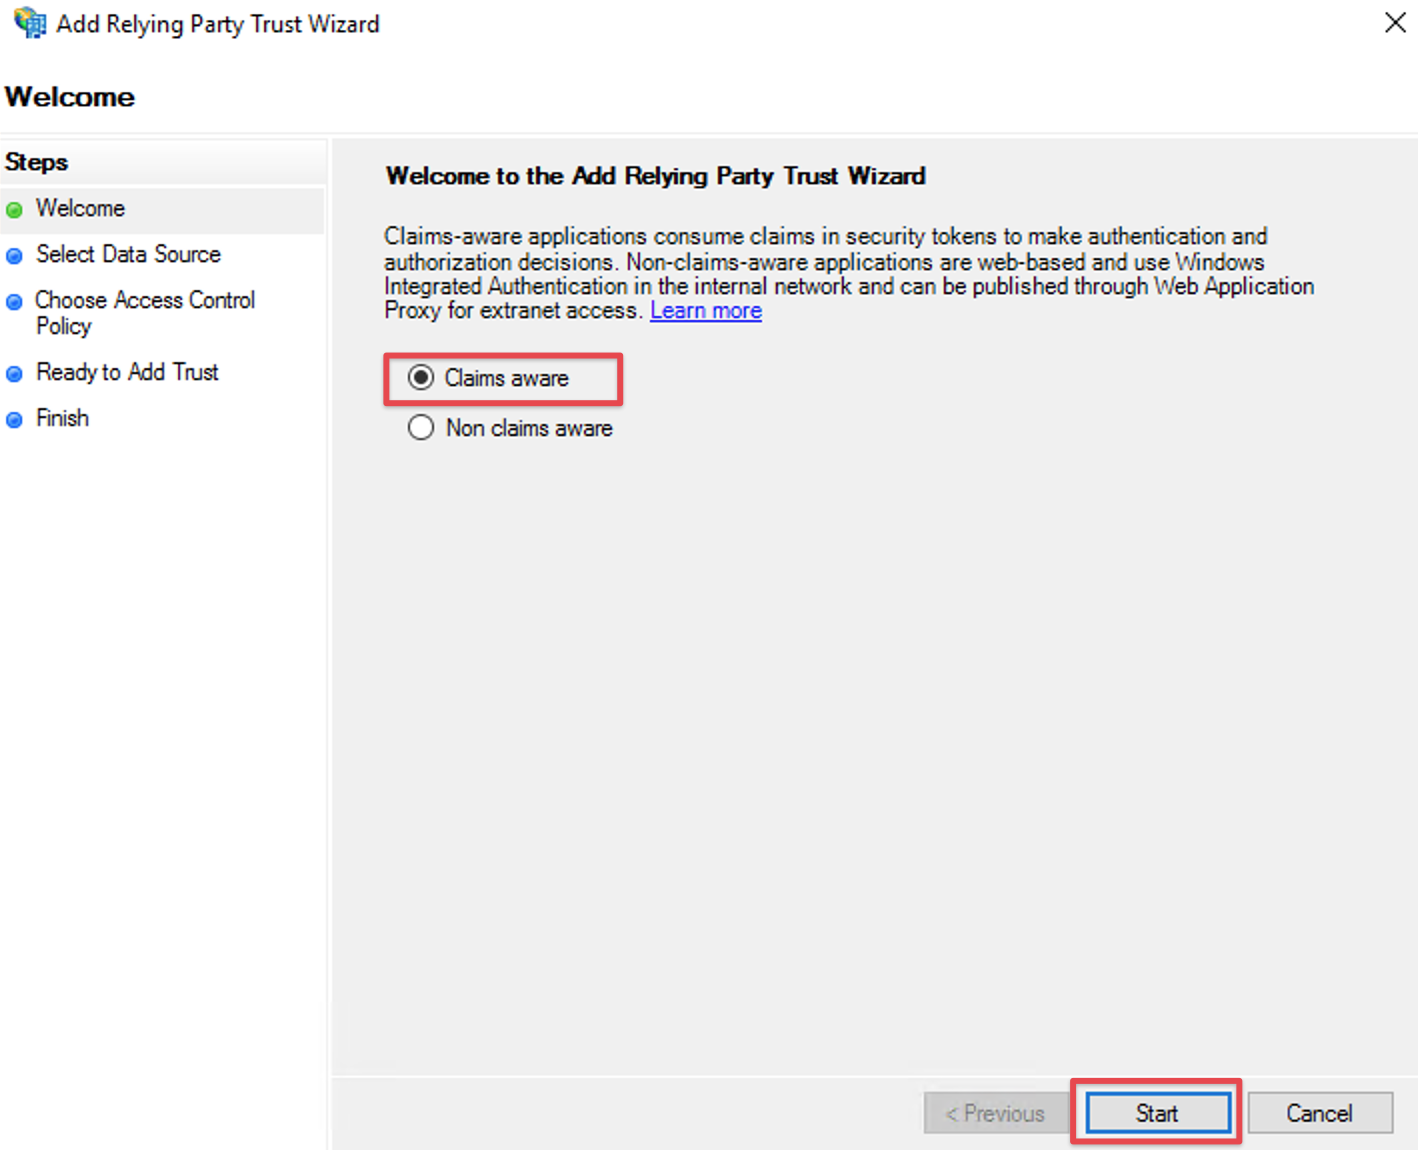
Click the Start Button to start the wizard.
Choose Claims aware, should it be an option on the welcome screen (missing in older versions of ADFS).
Provide SAML Metadata for relying part
You can provide the metadata either
via URL
or from the file downloaded earlier
again depending on if your ADFS server has internet connection to your Atlassian Data Center or Server instance.
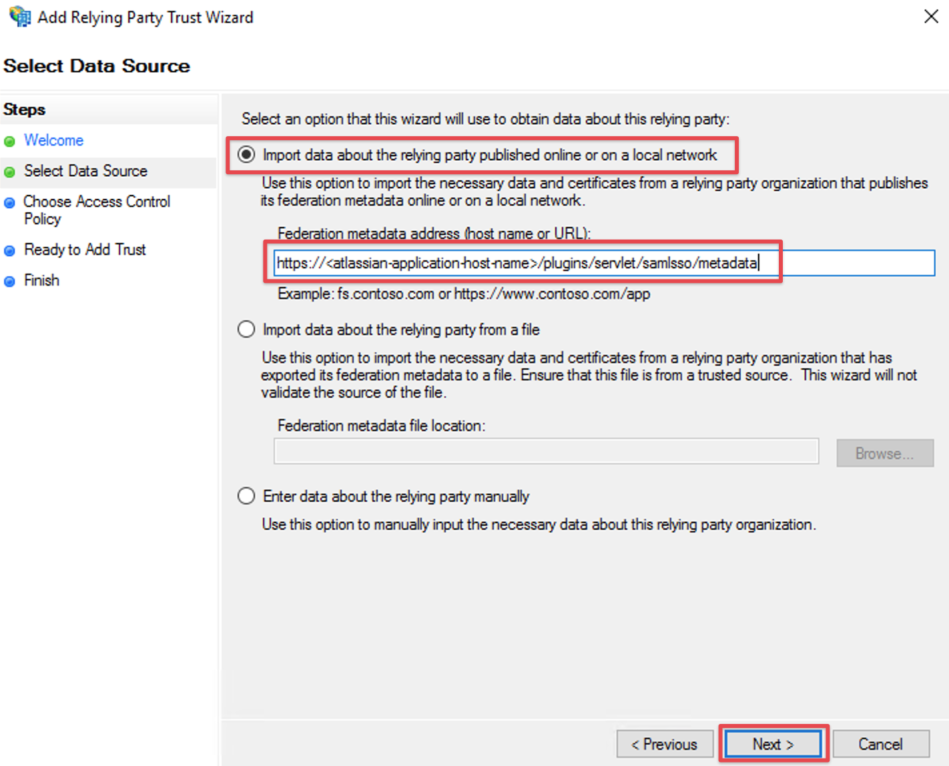
Import via URL
Select Import data about the relying party published online or on a local network
and paste in the SAML Meta-URL in the Federation metadata address (host name or URL) field.Click Next
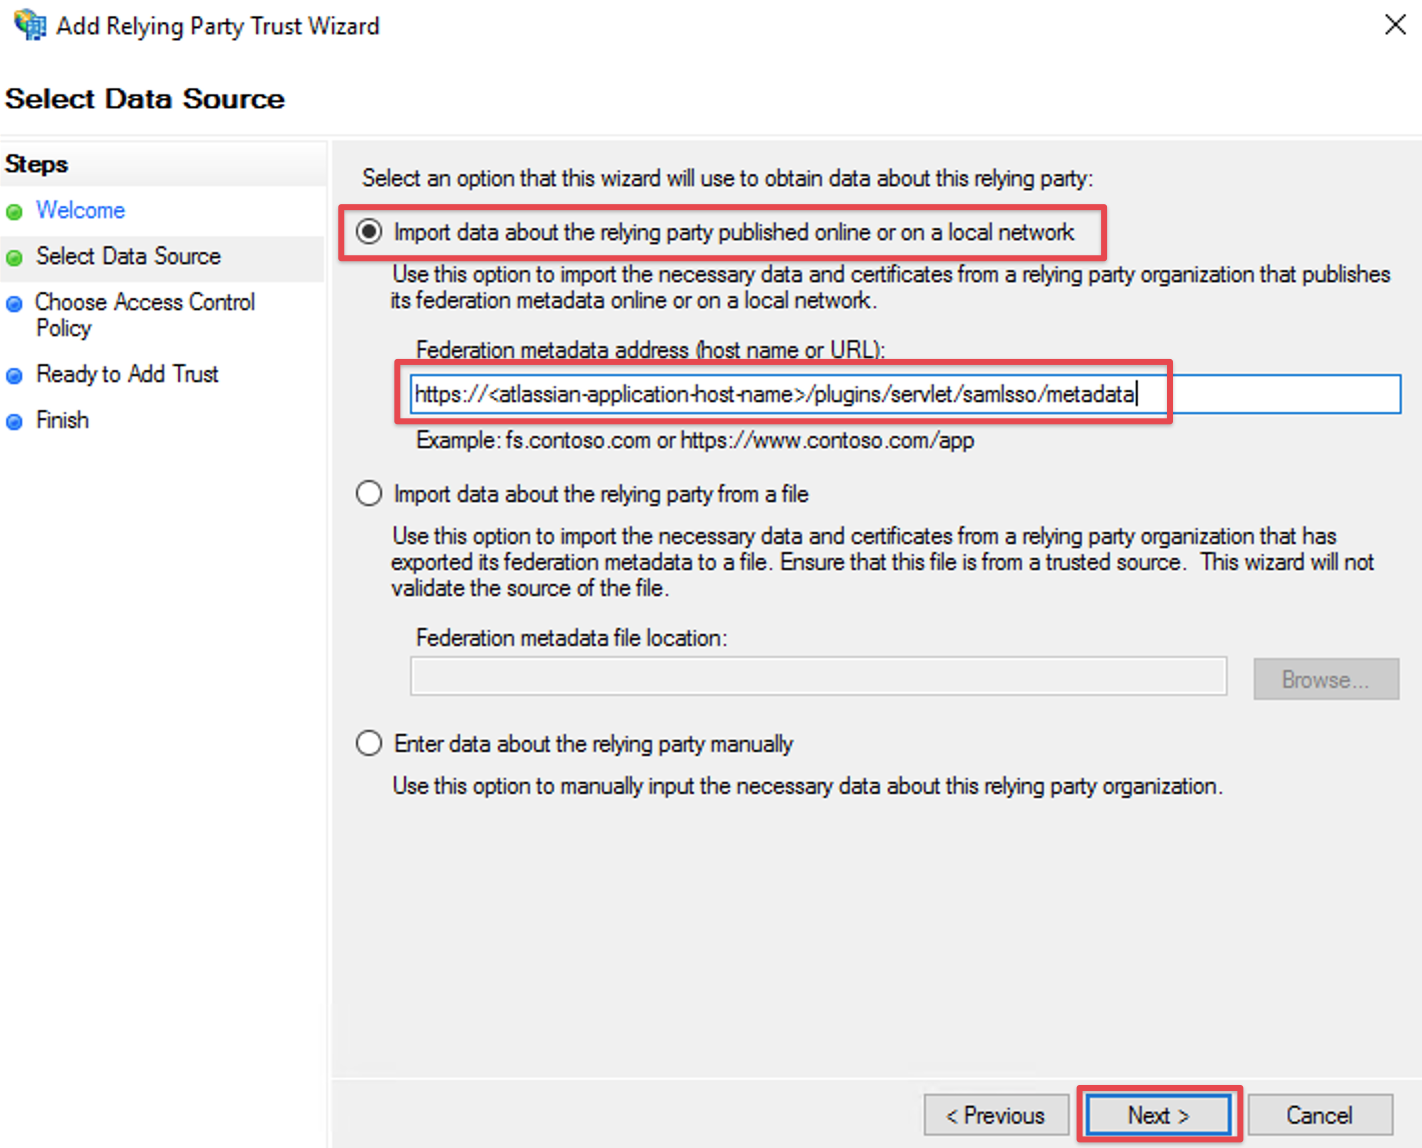
If an error appears after clicking on Next, check the connection from ADFS to your instance.
If you can't establish a connection, you should rather import the metadata via xml file as described in the next chapter.
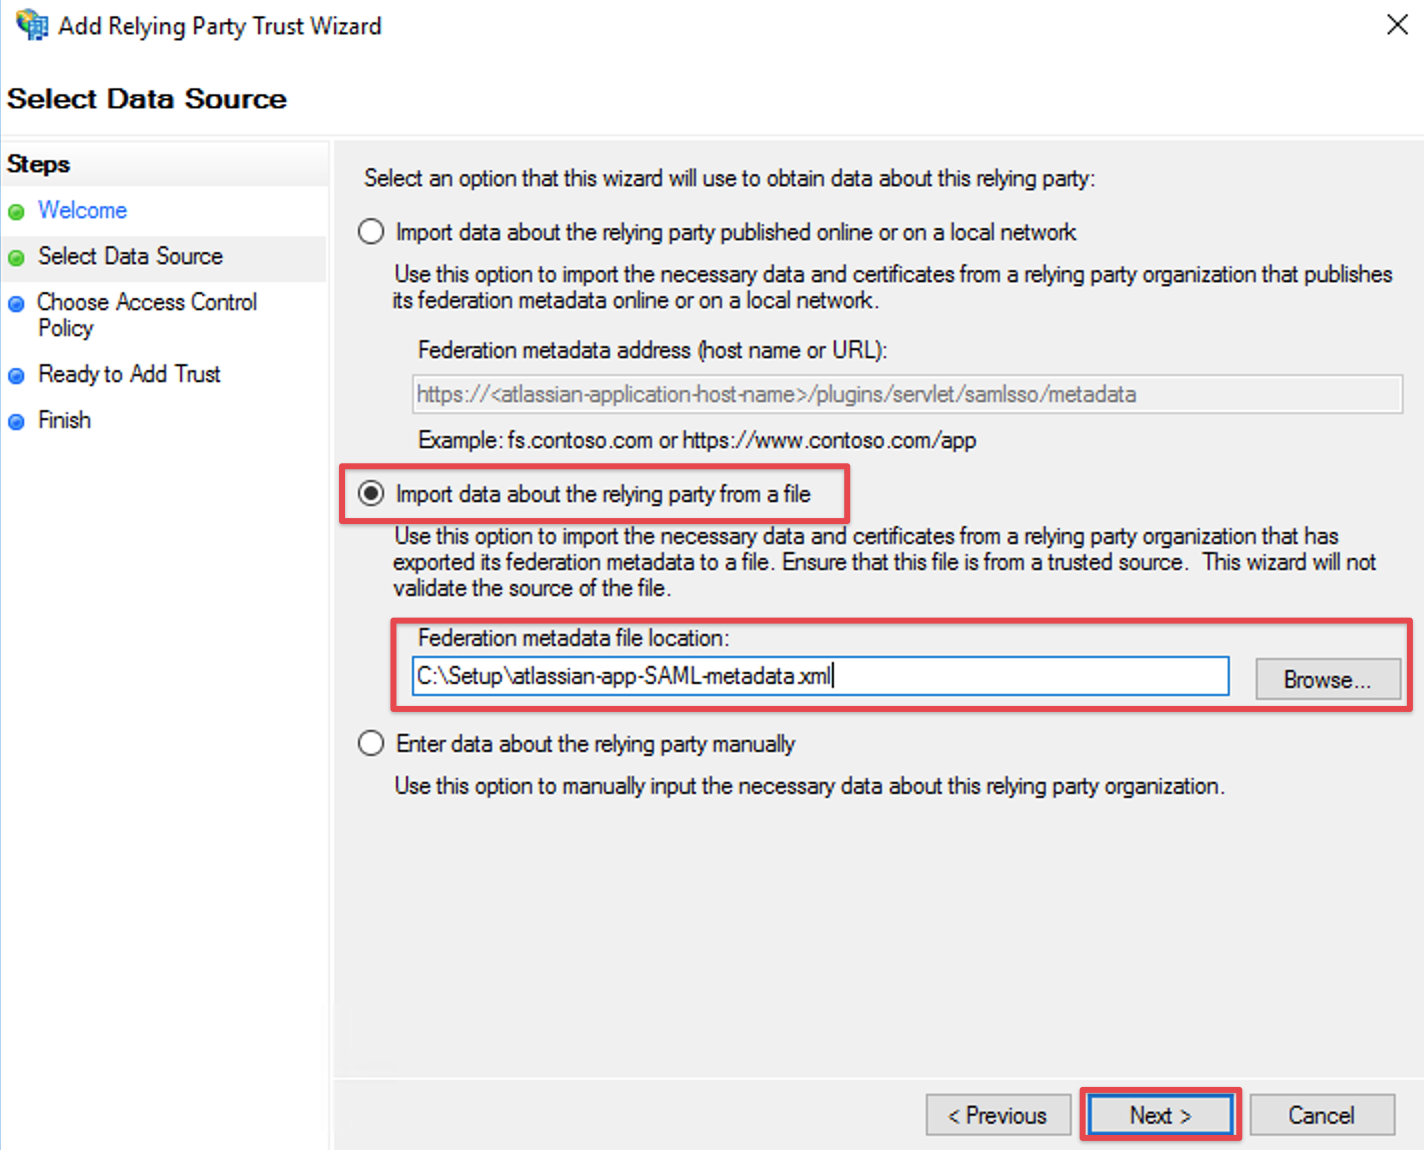
Import via XML
Select Import data about the relying party from file and browse to your metadata.xml location with the Browse... button or fill in your location directly
Click Next

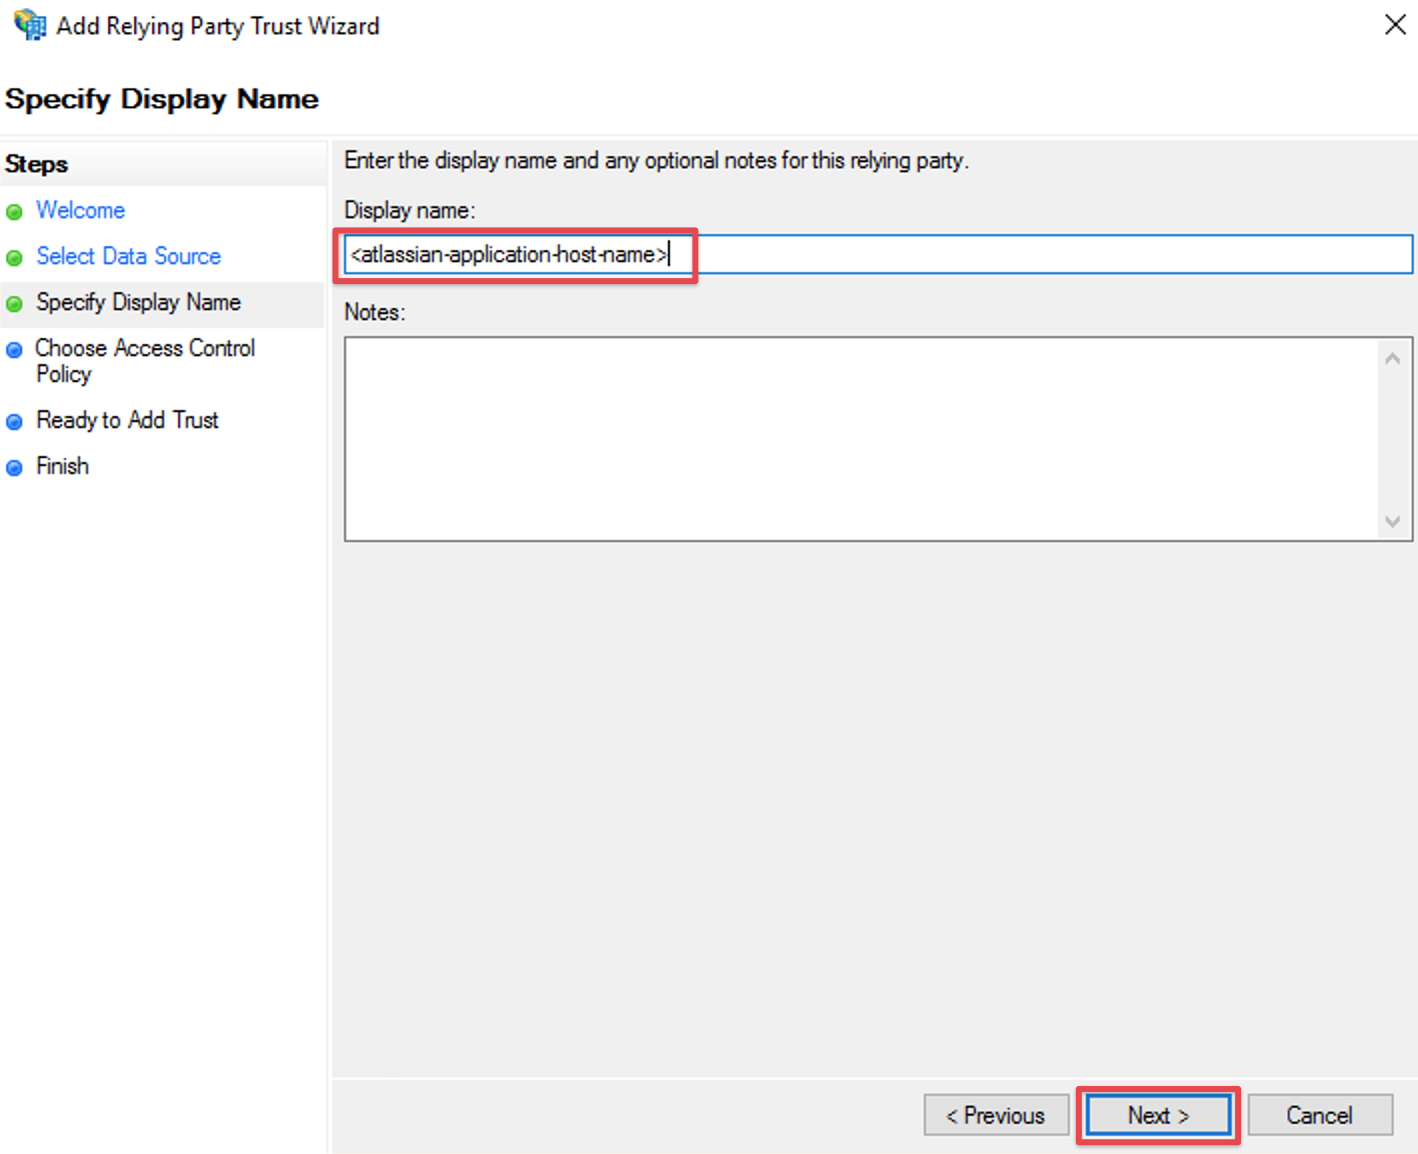
Complete the Add Relying Party Trust Wizard
Fill the field Display name with a name of your choice, i.e. the host name of your Atlassian Data Center or Server instance again
Click Next
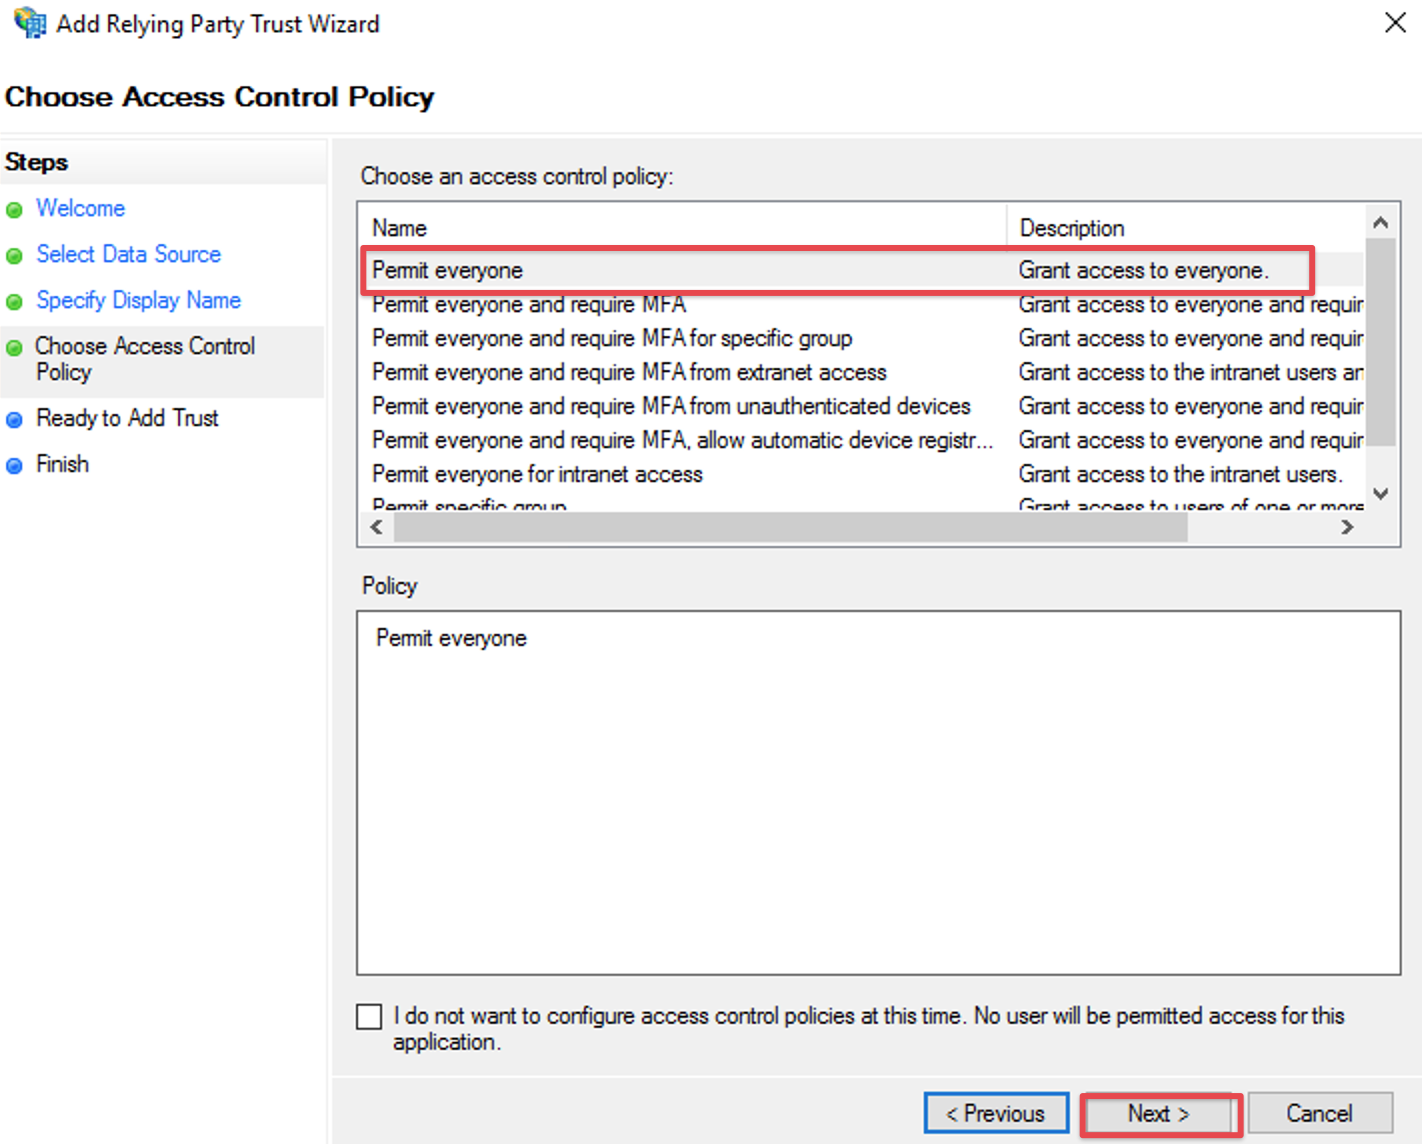
select Permit everyone and click on Next in the Access Control Policy Window
in older ADFS versions these settings are on two separate screens, where you should select
I do not want to configure multi-factor authentication settings for this relying party trust at this time
and click Next on the first
and Permit all users to access this relying party on the second and click Next
just click Next on the Ready to Add Trust step window
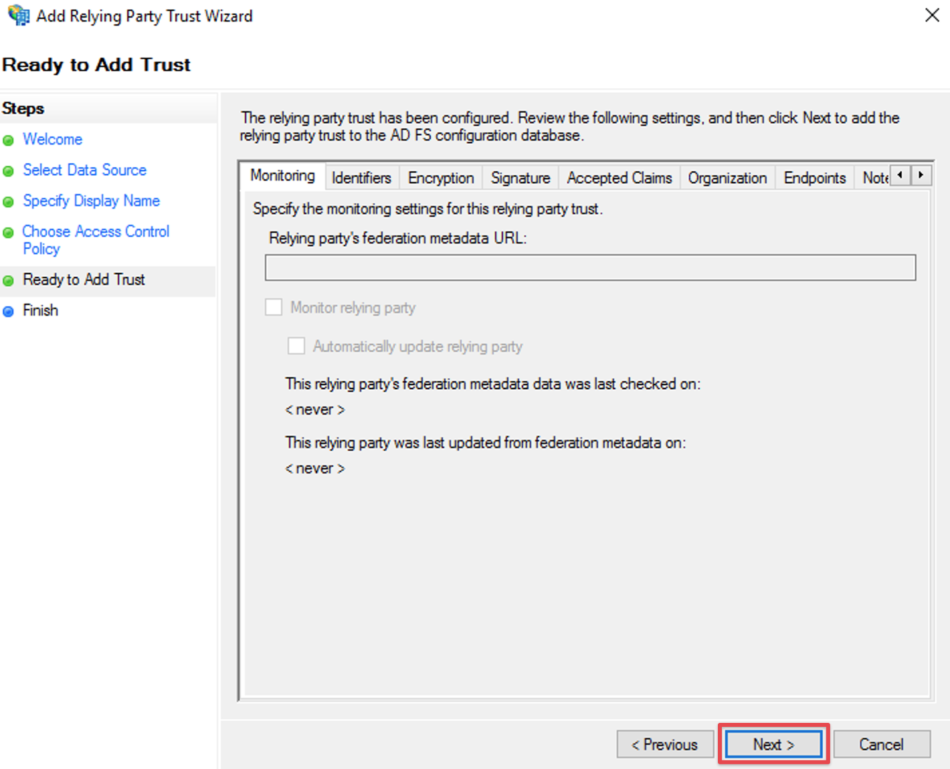
should you receive an error like the below, make sure you didn't add this trust already at some point
and delete the old one, if you are sure it is a leftover from a previous configuration attempt


Check the Configure claims issuance policy for this application
Click Close to finish the Add Relying Party Trust Wizard.
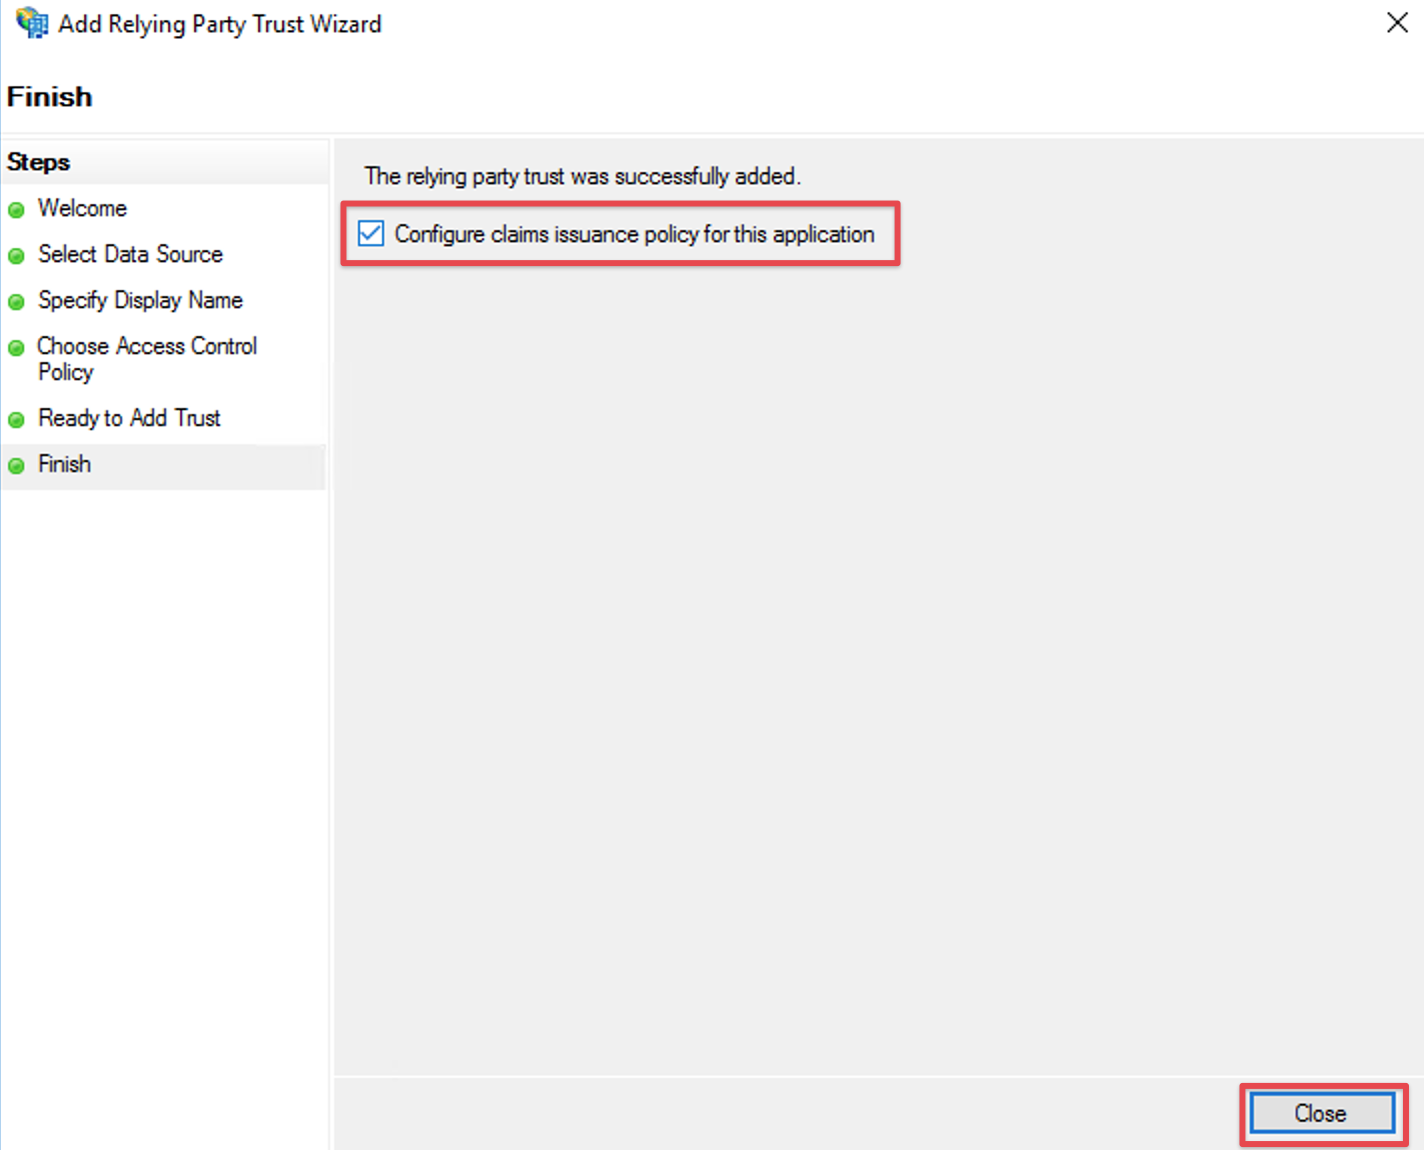
the wizard will close and you'll be presented with the ADFS management console again
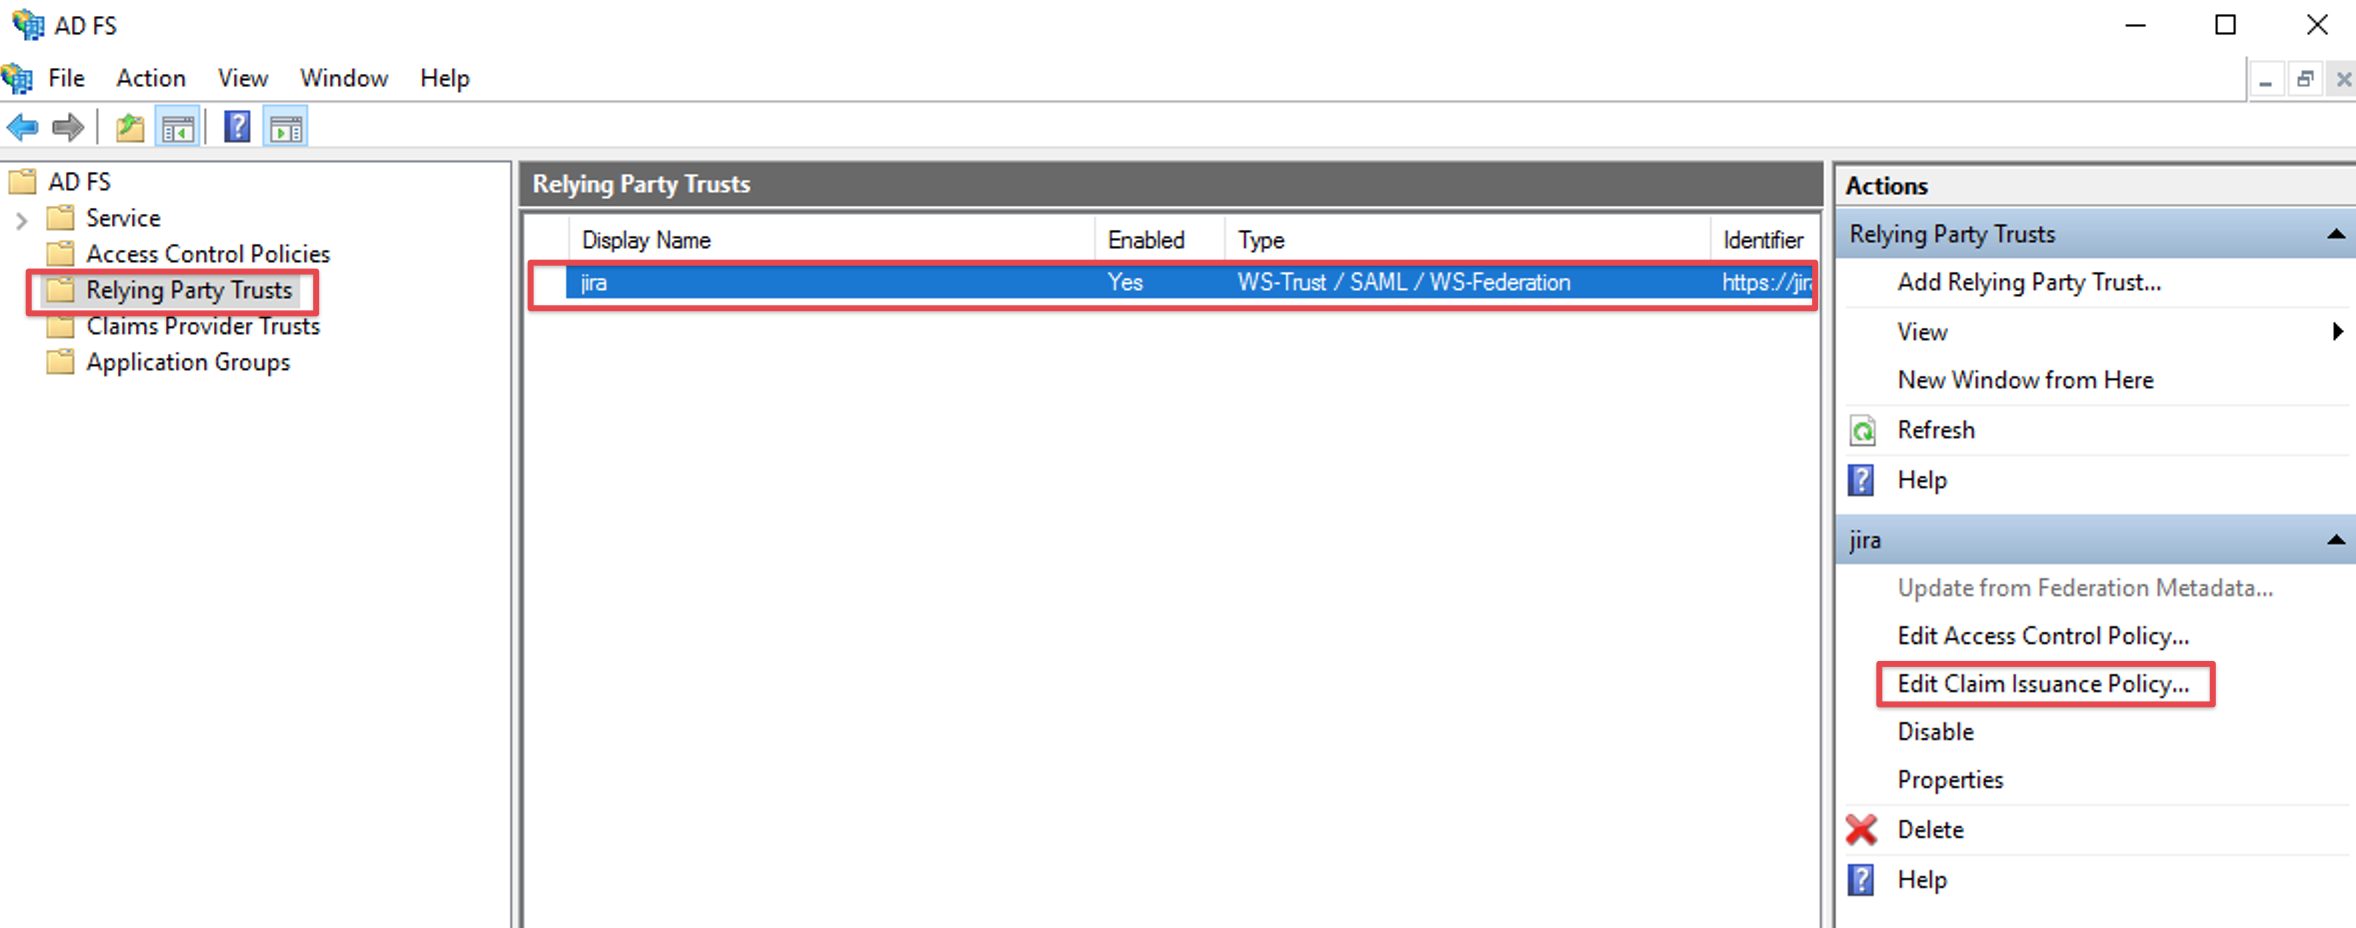
Configure Claim Rules
Per default, the Name ID from the SAML Response is required to authenticate users.
Hence we need to add a claim rule on ADFS, which adds the Name ID in every SAML Response from ADFS.
Select the relying party trust and choose Edit Claim rules or Edit Claim Issuance Policy from the Actions in the right panel:
Click the Add Rule... Button to open the Add Transform Claim Rule Wizard.
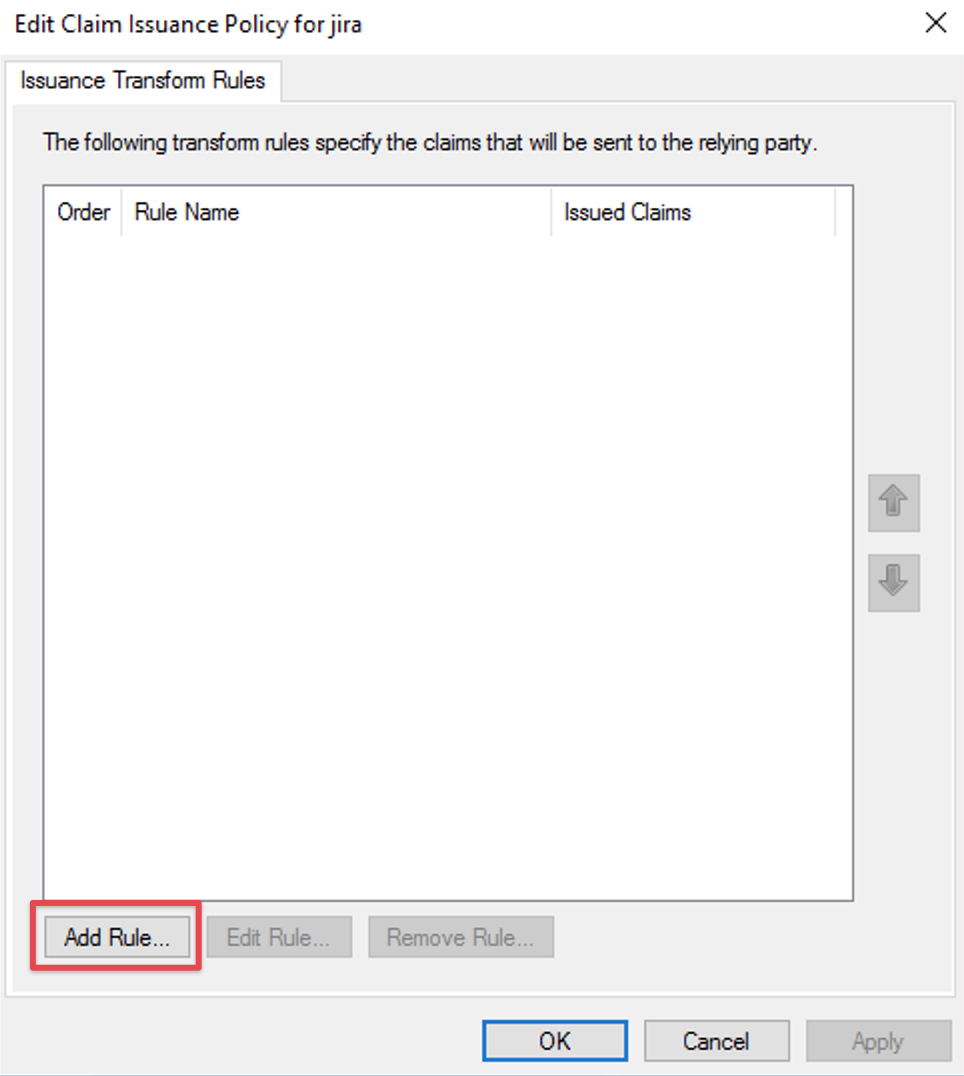
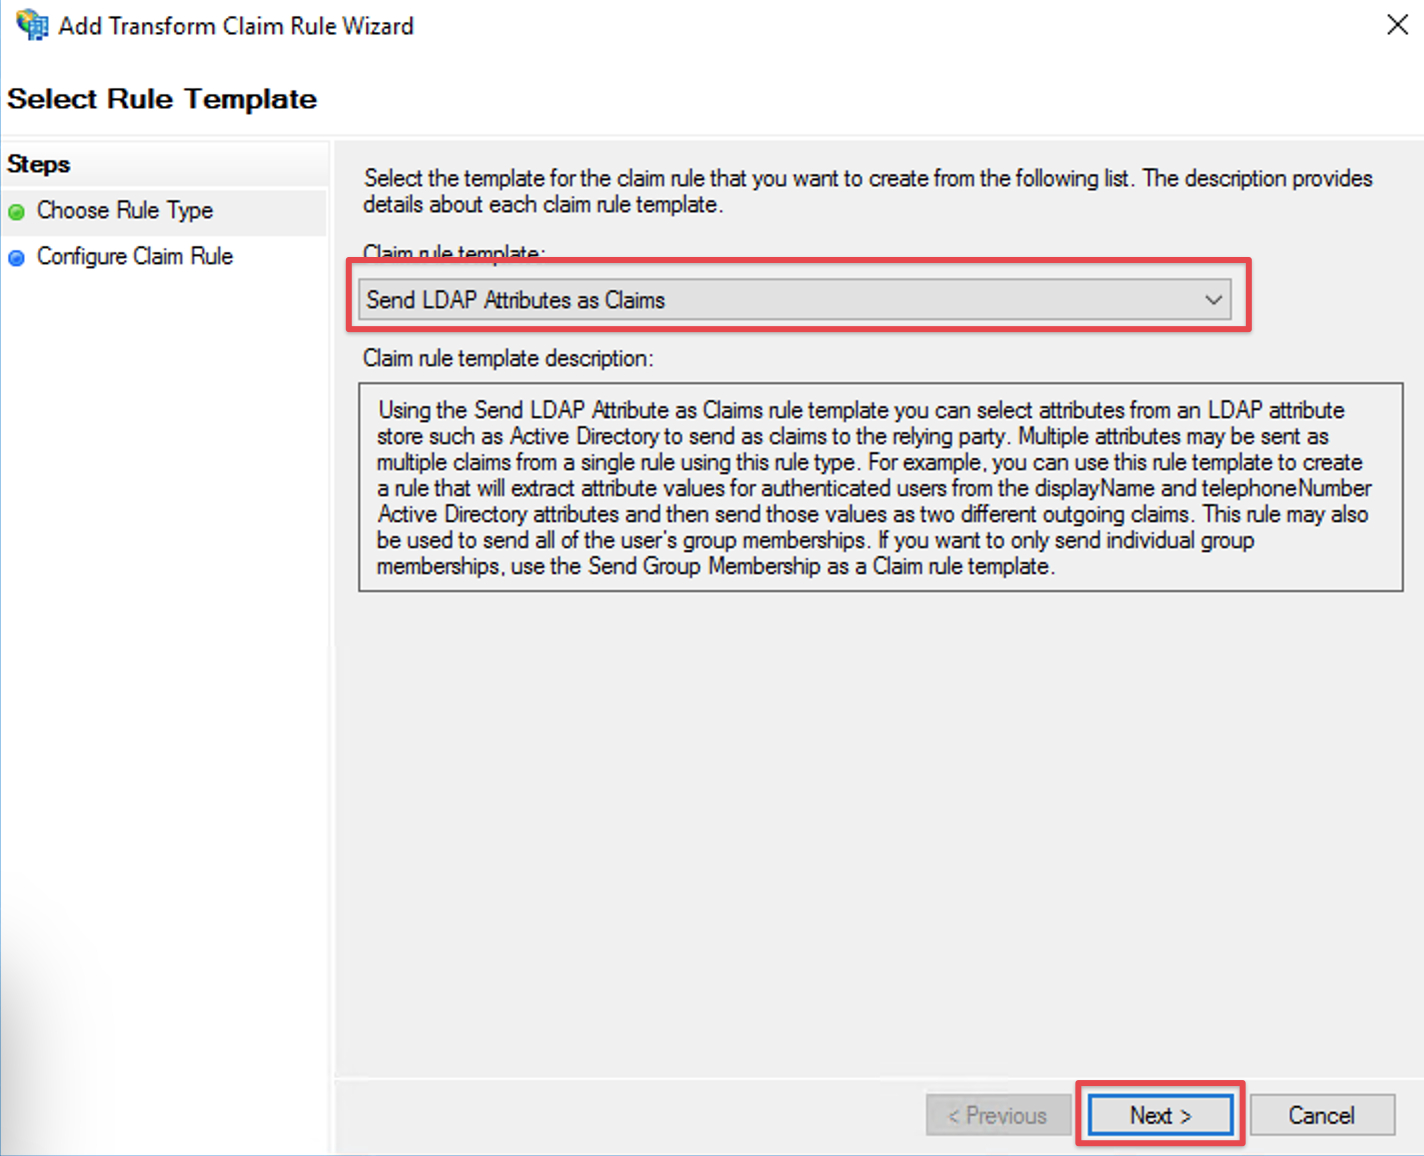
Select Send LDAP Attributes as Claims in the Claim rule template drop-down list.
Click Next.
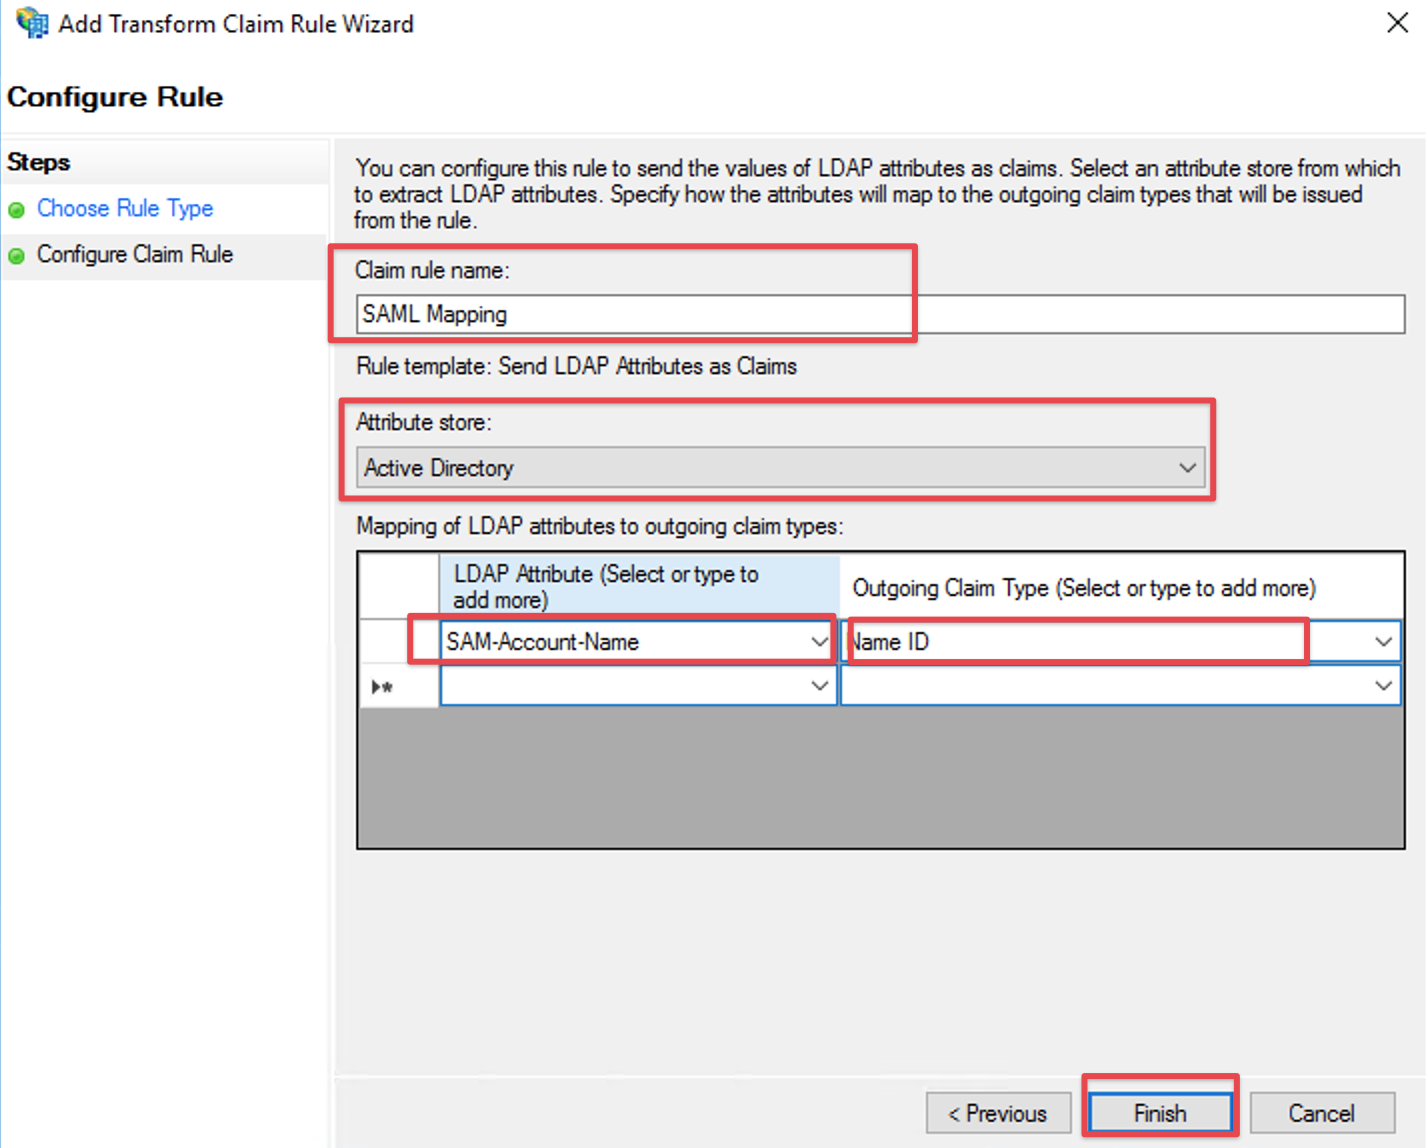
Fill the field Claim rule name with a name your choice.
Select Active Directory in the Attribute store drop-down list.
Select your appropriate LDAP Attribute in the first drop-down field from LDAP Attribute (Select or type to add more). In this example we are using the Windows login name attribute SAM-Account-Name as Name ID.
Select Name ID in the first drop-down field from Outgoing Claim Type (Select or type to add more).
Click Finish to complete the Add Transform Claim Rule Wizard.
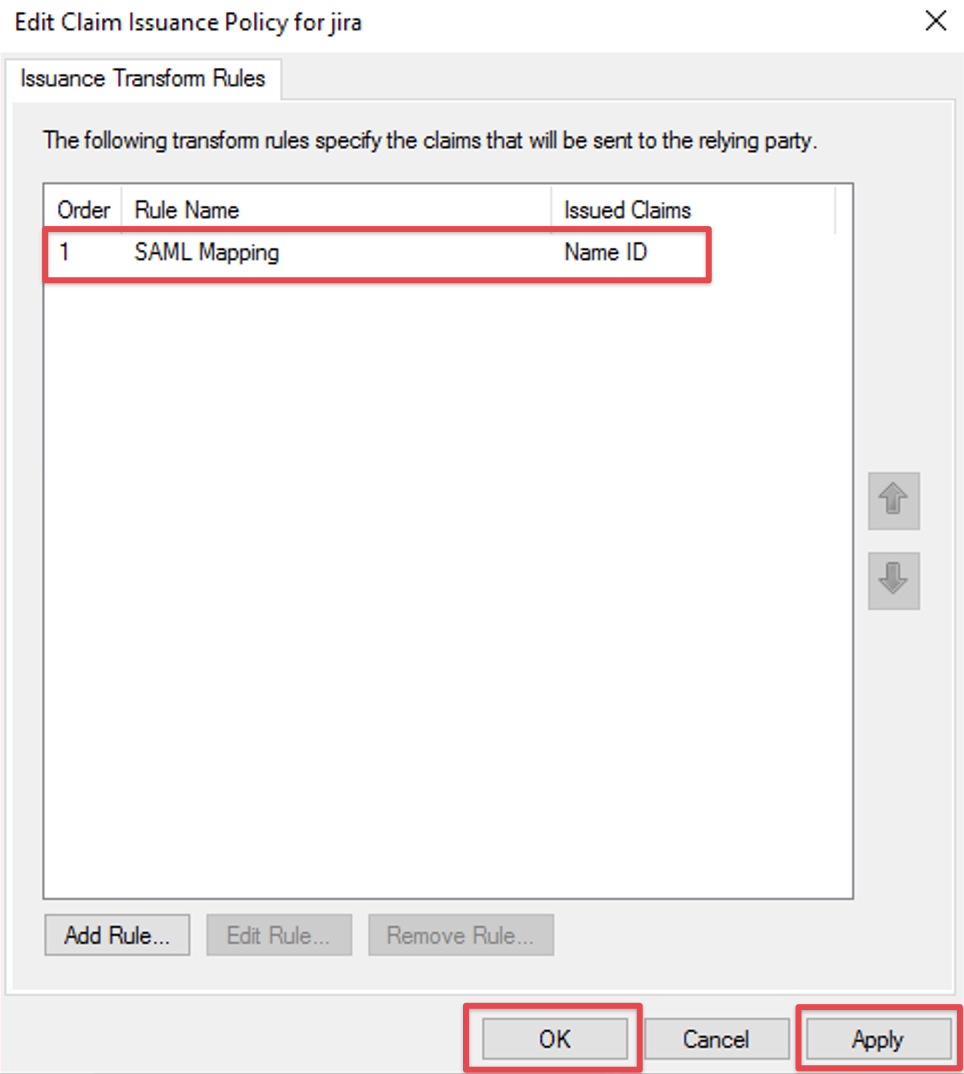
Check if your new rule has been added to the Edit Claim Rules dialog. Try again Step G if it has failed.
Click Apply to save your settings.
Click OK to finish.
Seamless SSO with AD FS (Windows Integrated Authentication - WIA)
If the users are logged in already with their computer account, you'd not expect to see the AD FS prompt to enter your username and password again.
Windows Integrated Authentication solves that problem. Here's an article that describes the steps necessary to set this up: https://www.ibm.com/docs/en/security-verify?topic=directory-configuring-adfs-windows-integrated-authentication