
Facebook with Just-in-Time Provisioning
Goal
After completing this setup guide, you will have set up Facebook with Just-in-Time Provisioning and your Atlassian product for the SAML SSO for Atlassian Server or Data Center app. Additionally, you will enable the SSO redirection and test SSO.
If you need help, please reach out to us at https://www.resolution.de/go/support. You can also book a free meeting via https://www.resolution.de/go/calendly.
This tutorial shows how to set up a dev app for testing purposes only. In order for Facebook users to be able to use SSO in your Atlassian product, your must make your app public and thus turn off dev mode. Please see the related docs here.
After making the app public, every Facebook user can log in to your instance since this will create an account for them. You cannot limit user access from the Facebook side, but it is possible to block users with SAML SSO. Please contact us at https://www.resolution.de/go/support in that case.
With default settings, these users will not be part of an application access group (see Limitations).
When granting users application access, please remember any security implications - any Facebook user can use your Atlassian product in this case!
Prerequisites
To use the SAML SSO app for Atlassian Server or Data Center with Azure AD, you need the following:
A Facebook Developer Account
A (trial) subscription for the SAML SSO app
Admin access to your Atlassian product
Limitations
By default, the newly created users will not have application access because they are not added to a group during login. This can be changed, please see (6.16.x) JIT Connector: Users do not have application access.
In the context of Jira Service Management, users will be automatically redirected to the service management portal.
Step-by-Step Setup Guide
Install the SAML SSO App
In your Atlassian product, open the in-product marketplace as described in the Atlassian documentation.
Search for "resolution saml" and click "Install" for SAML Single Sign On (SSO) by resolution Reichert Network Solutions GmbH.
After the installation is complete, click Manage Apps/Addons.

Configure SAML SSO
After you clicked "Configure", the Wizard will be triggered. If not, or if you want to add another Identity Prover (IdP) to your existing configuration, click on "+ Add IdP". This guide assumes, that there is no IdP configured.
The Wizard greets you with information, click on "Add new IdP" to proceed.

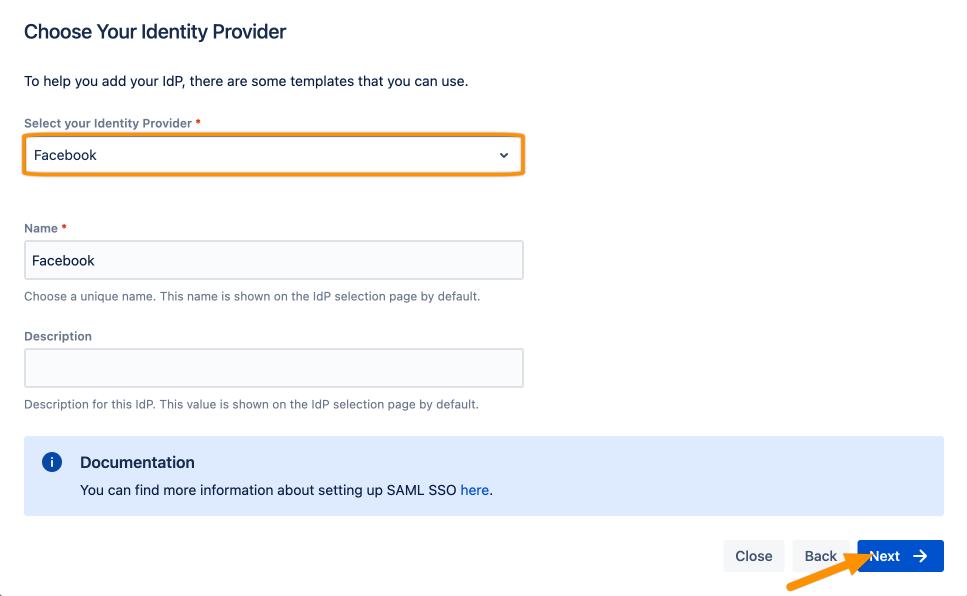
Choose Facebook for your Identity Provider and click Next.
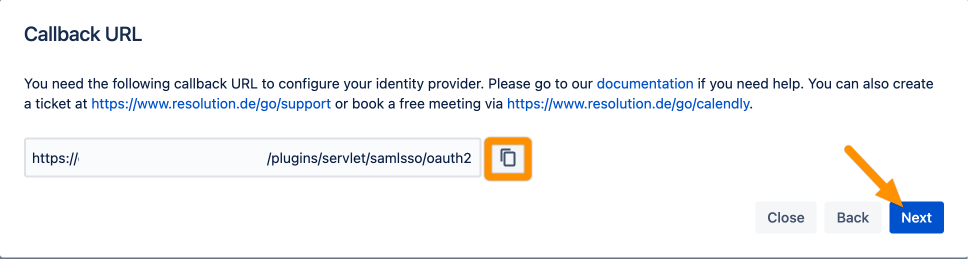
Copy the Callback URL and keep it ready for the next step. Click Next.
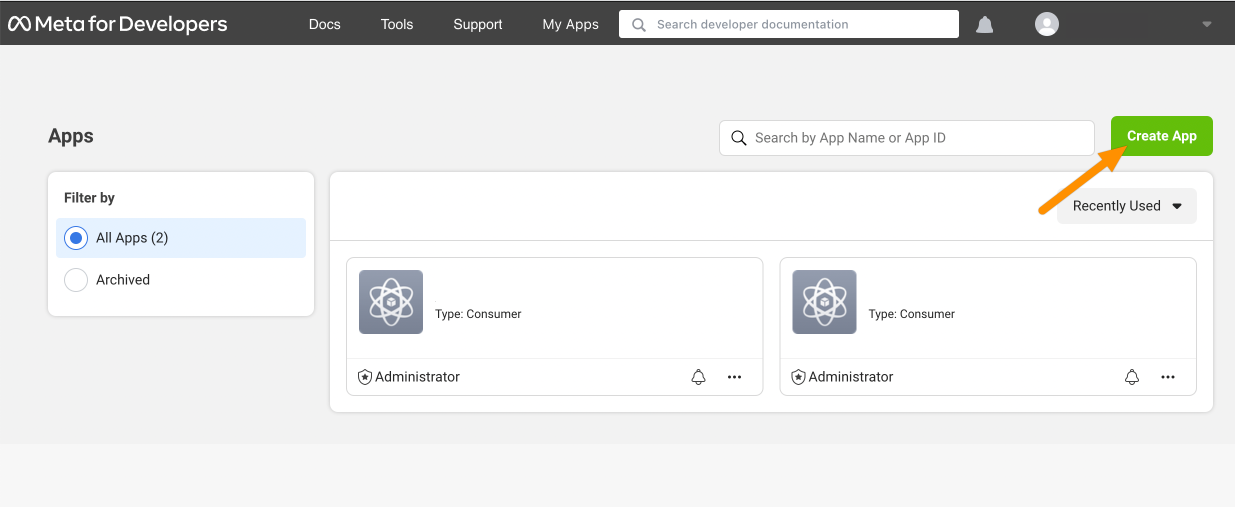
Go to https://developers.facebook.com/apps/?show_reminder=true and log in.
Click Create App.
For the app type, select Consumer.

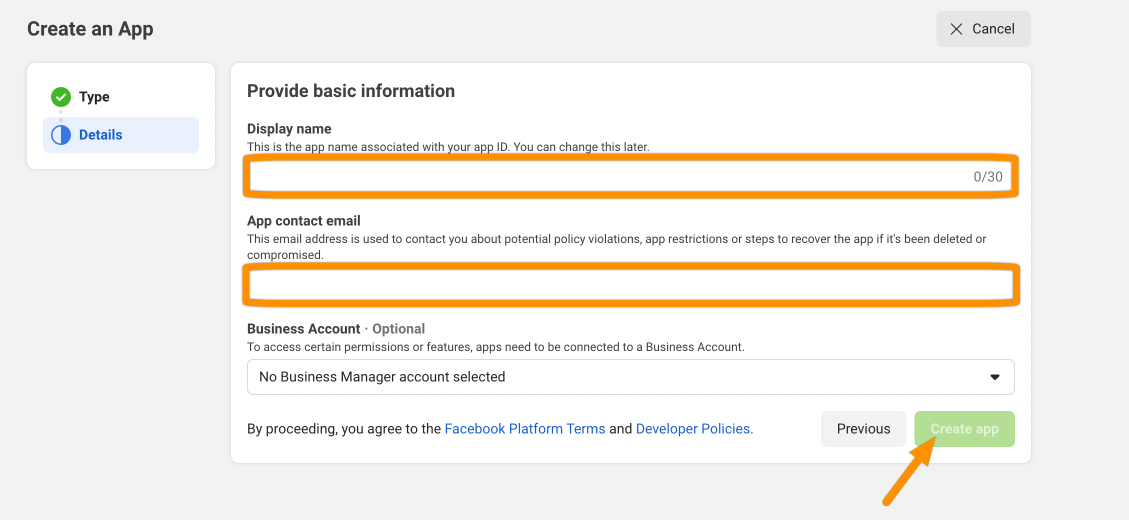
Provide a Display name and App contact email. Click Create App to continue.
Click Set up for Facebook Login.

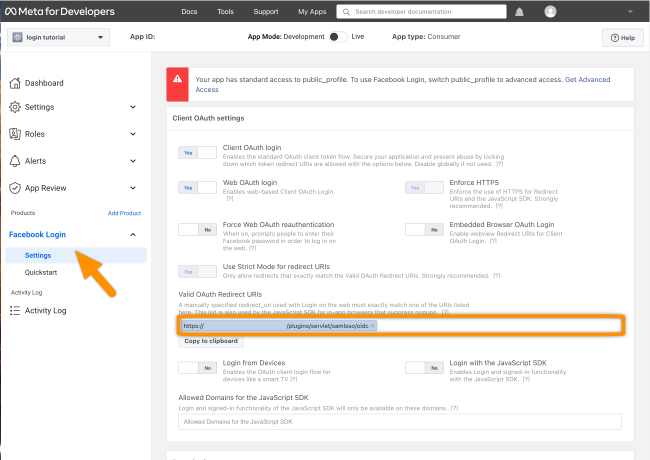
From the left submenu, select Settings from Facebook Login. Add the Callback URI from the wizard to ValidOAuth Redirect URIs and save the changes.
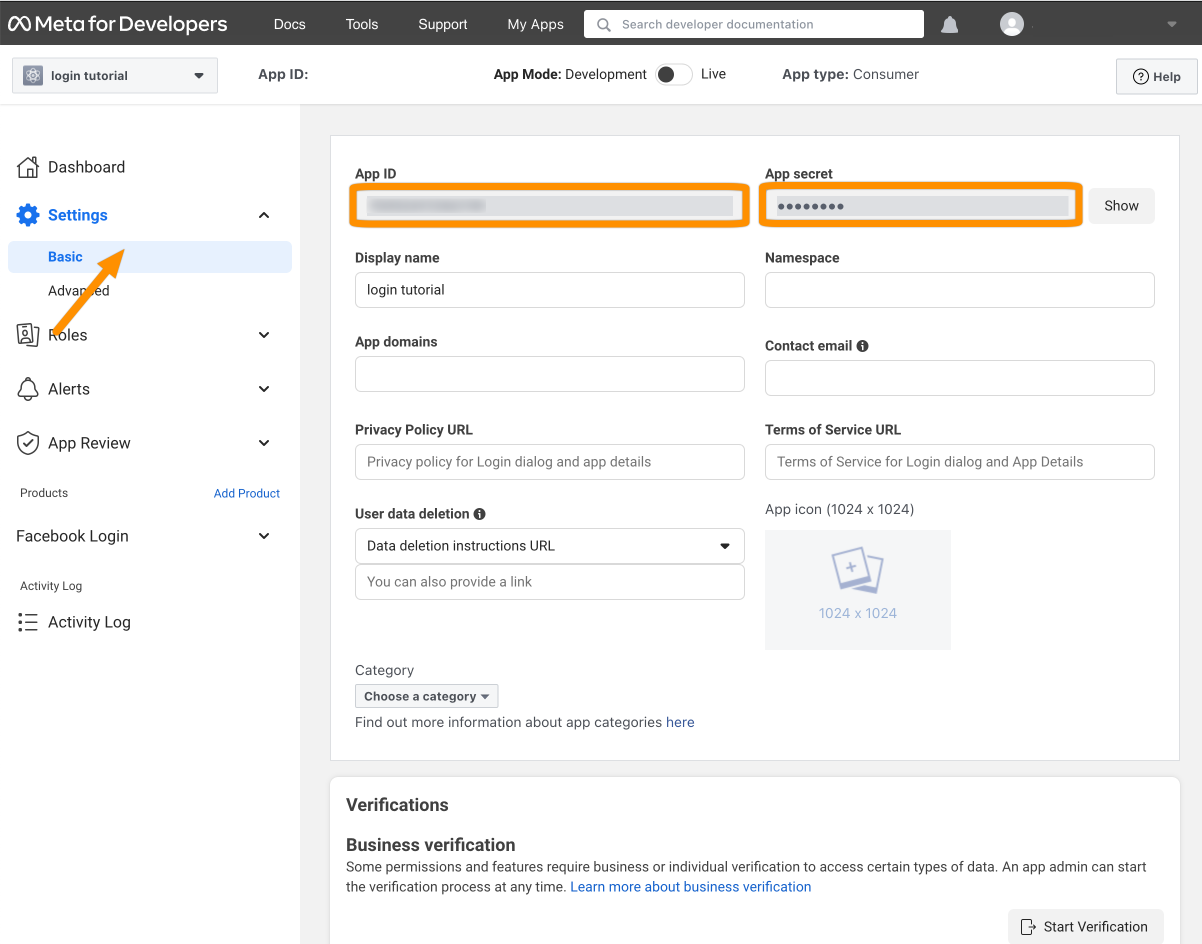
Next, click Basic from Settings. Copy the App ID and App secret to a text editor of your choice.
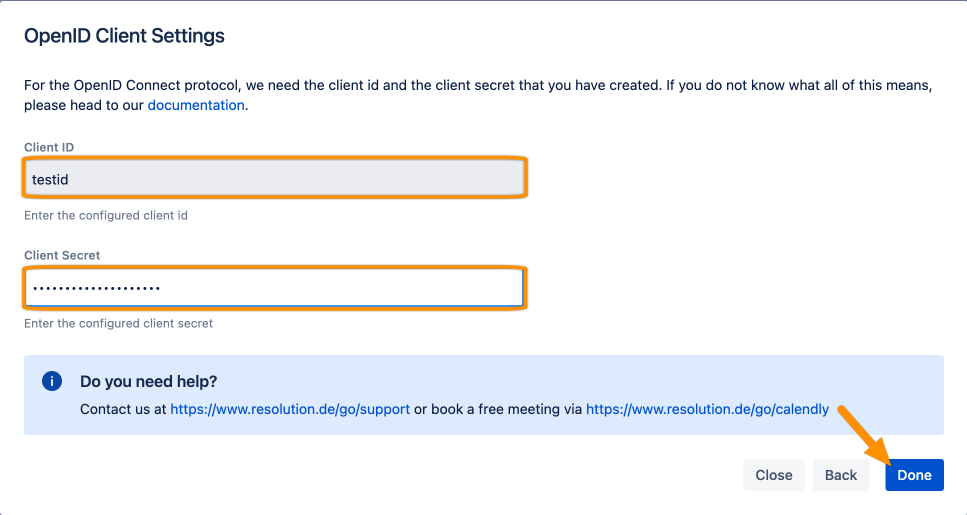
Enter the obtained Client ID and Client Secret, and click Done.
Click Save to save the configuration.
To set up Just-In-Time provisioning, scroll down to User Creation and Update from UserSync-Connector.
Click Create and Setup Just-In-Time Connector.
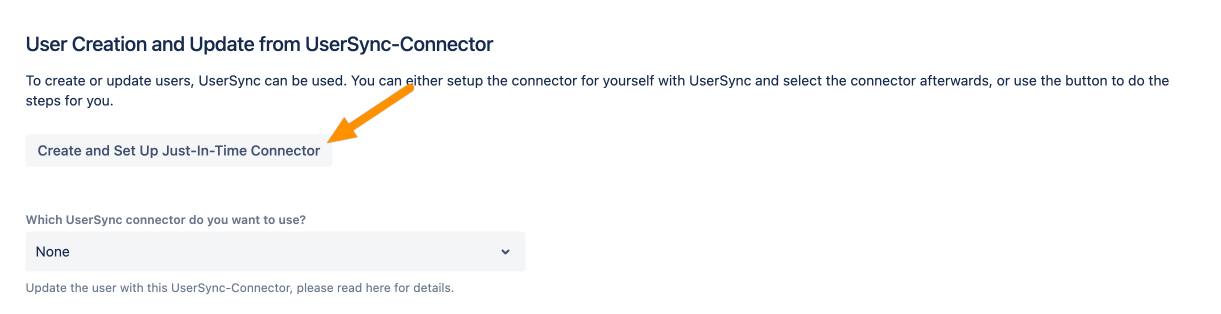
Afterward, Save the configuration to make the change permanent. Now, when a user logs in, the user is created and/or updated.
That's it! When users log in, their accounts will be created and updated during login.