
Excel Connector
User Guide for the Excel Connector
Excel Connector Overview
The Excel connector is a custom connector for User & Group Sync, internally developed by the resolution team to aid with support cases. Since SAML 5.0 / User & Group Sync 2.0, it is already part of the app, for its ease of use and numerous advantages as an alternative to direct database modifications. Note that the import option should be used with caution.
By design, the Excel Import option of the Excel Connector will modify the information stored in your user directory to include data that has been manually manipulated and transformed on an Excel file.
To avoid unexpected results, make sure you understand the consequences of every import and always test in a development or staging environment before using the connector.
If you have doubts or questions about the process, please do not hesitate to contact us via https://www.resolution.de/go/support.
Features
Export the set of users from either the internal user directory of the Atlassian application or your Identity Provider into an Excel file
Import users and their attributes from an existing Excel file
Note that the following attributes are read-only and won’t be modified with any import:
ATTRIBUTE_ID
ATTRIBUTE_IS_ADMIN
ATTRIBUTE_IS_SYSADMIN
ATTRIBUTE_JIRA_KEY
ATTRIBUTE_CONFLUENCE_KEY
Use Cases
Migrations
Ensure username matches to prepare migrations from the Atlassian application’s internal directory to an Identity Provider with User & Group Sync
Export users and import them back into the Atlassian application’s internal directory before deprecating LDAP
Periodic exports
Create scheduled reports for auditing purposes
Bulk operations
Create new users
Migrate users from one directory to another (see full tutorial)
Update user profiles
Rename users (see full tutorial)
Modify user attributes
Modify group memberships
Requirements
SAML SSO 3.5.4 or later or User & Group Sync 1.4.4 or later
SAML SSO versions before 5.0 and User & Group Sync before 2.0 require the Excel connector to be installed first, please read here
Ideally, a staging/ development environment to test the functionality before applying any changes to the user directories
How to activate the Excel Connector
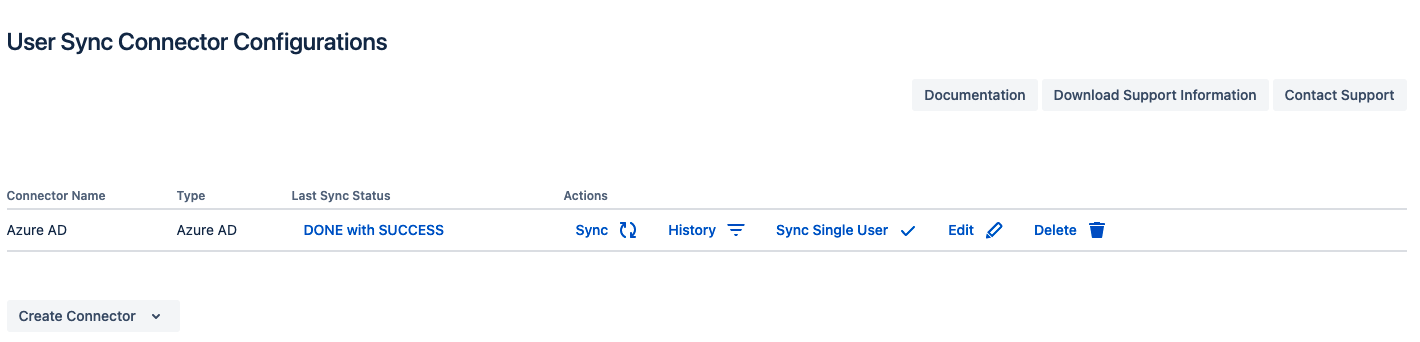
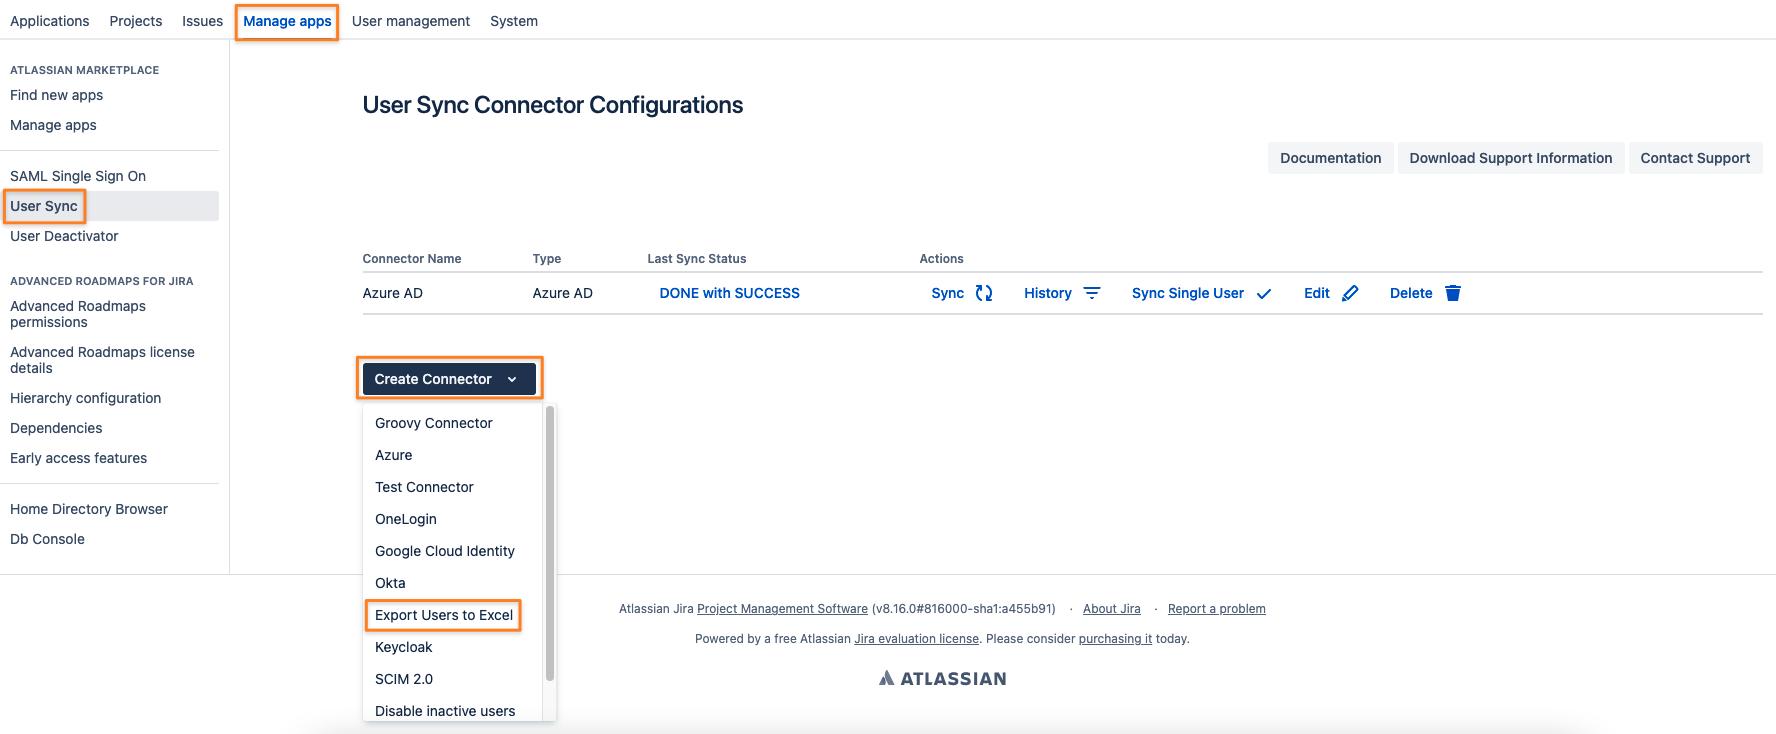
Navigate to the User & Group Sync connector list first:
Now press the key sequence xls on your keyboard. You'll notice a confirmation: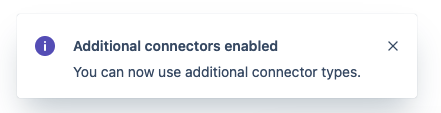
The Create Connector pick list now offers more connector types, two of which are Export Users to Excel and Import Users from Excel connector: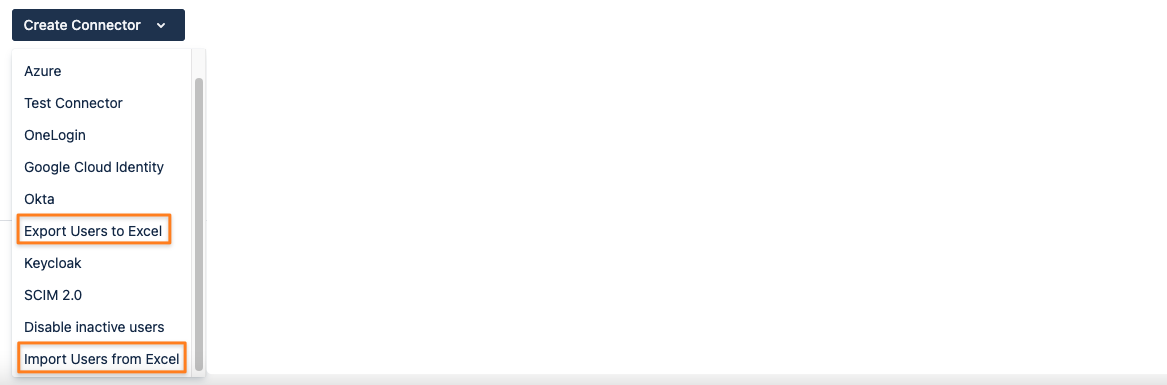
Please be aware that you need to enter the key sequence again whenever you reload the User & Group Sync page or continue working on it another day.
Additional connector types which have been added already will be preserved in the connector list, but you can't add new ones until you repeat the key sequence.
We always recommend upgrading to the latest version of SAML SSO/ User & Group Sync, so that you can use the latest version of the Excel Connector as well.
How to Export Users with the Excel Connector
With the Excel Connector, you can export the users stored in any user directory connected to your Atlassian applications.
The Excel Connector will export every user stored in the selected directory.
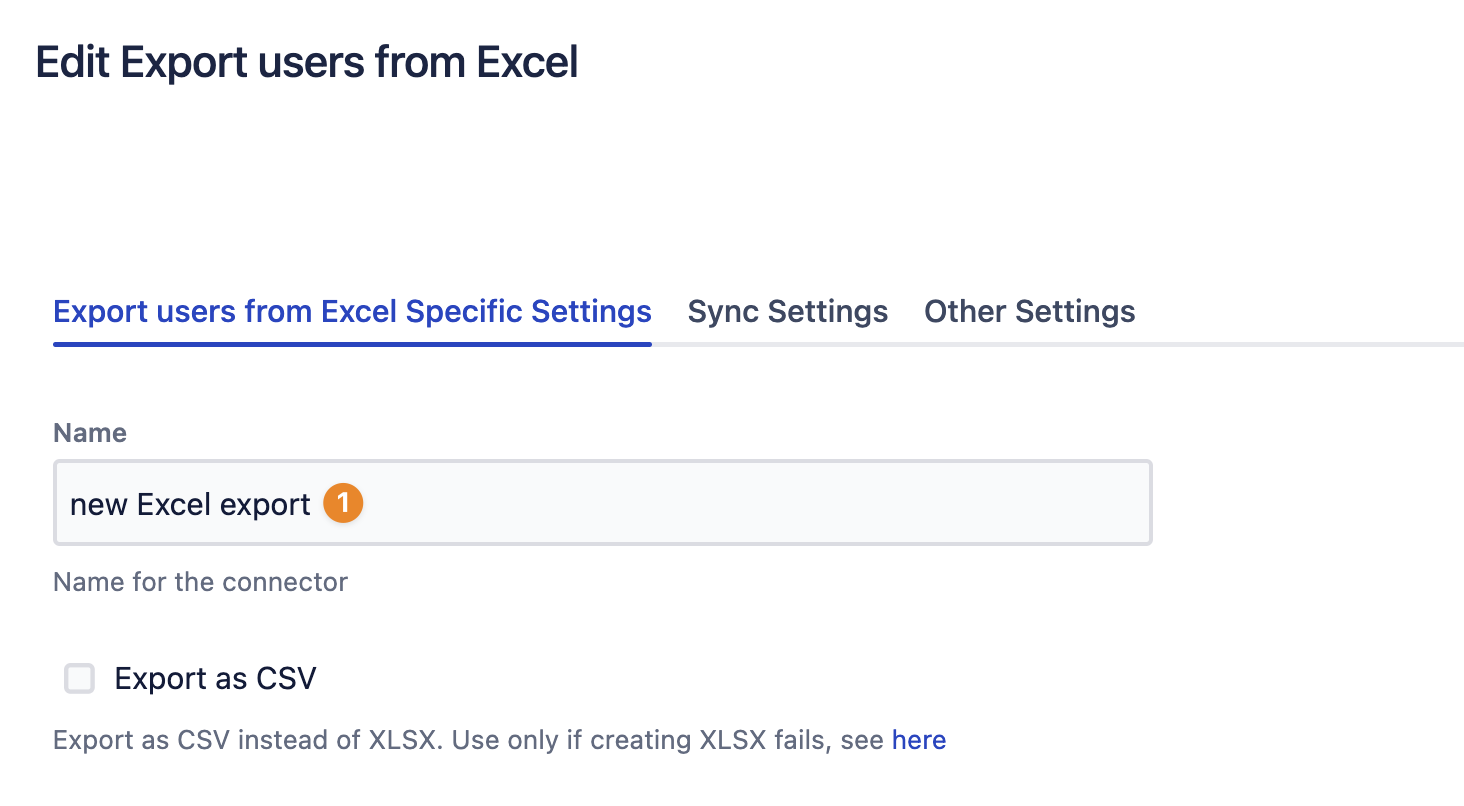
If Export as CSV is enabled, a CSV file is generated instead of an Excel workbook. The reason for this option is to work around a bug in Apache POI, the library used to read and generate Excel workbooks (https://bz.apache.org/bugzilla/show_bug.cgi?id=65260).
It's not recommended to use this option until needed as CSV output has some limitations:
Multi-valued attributes, especially groups, are stored as one comma-separated record in double quotes, e.g. "group1,group2,group3". To be able to re-import this data, these values must be split into separate columns. Values including commas may cause issues here.
When importing the CSV into Excel, don't just open the file but use the Import function. Take special care about proper character encoding and number formats.
To import data back into the system, the file needs to be saved as XLSX as importing CSV is not supported.
If you want to use the export to make modifications to existing users and import them back into the same user directory, remember to import only the modified users and delete the users without changes from the file.
Step 1: Adding a new User & Group Sync Connector
Navigate to User & Group Sync in the User Management tab of the Administration section (Jira) or search for it in the general configuration list (Confluence)
type the key sequence xls on your keyboard and wait for the confirmation popup
Click on Create Connector
Select the Export Users to Excel option
Step 2: Export settings
Name the Excel export connector
Select the User Directory you want to export
If you’re using the export for reporting or auditing, you can also enable scheduled synchronization via the Sync Settings tab
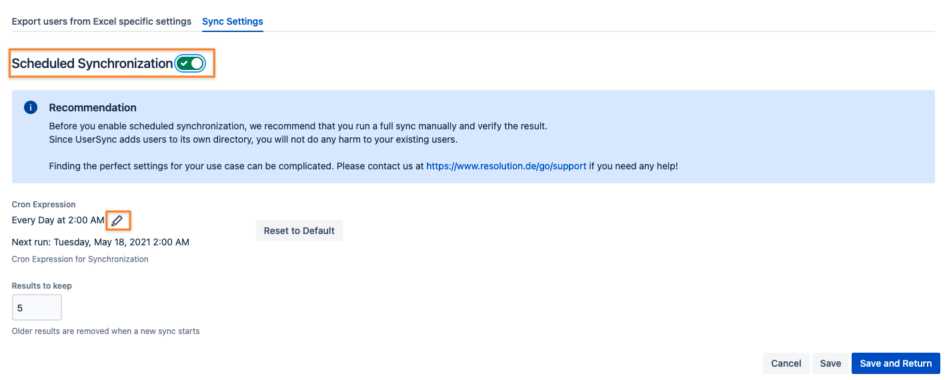
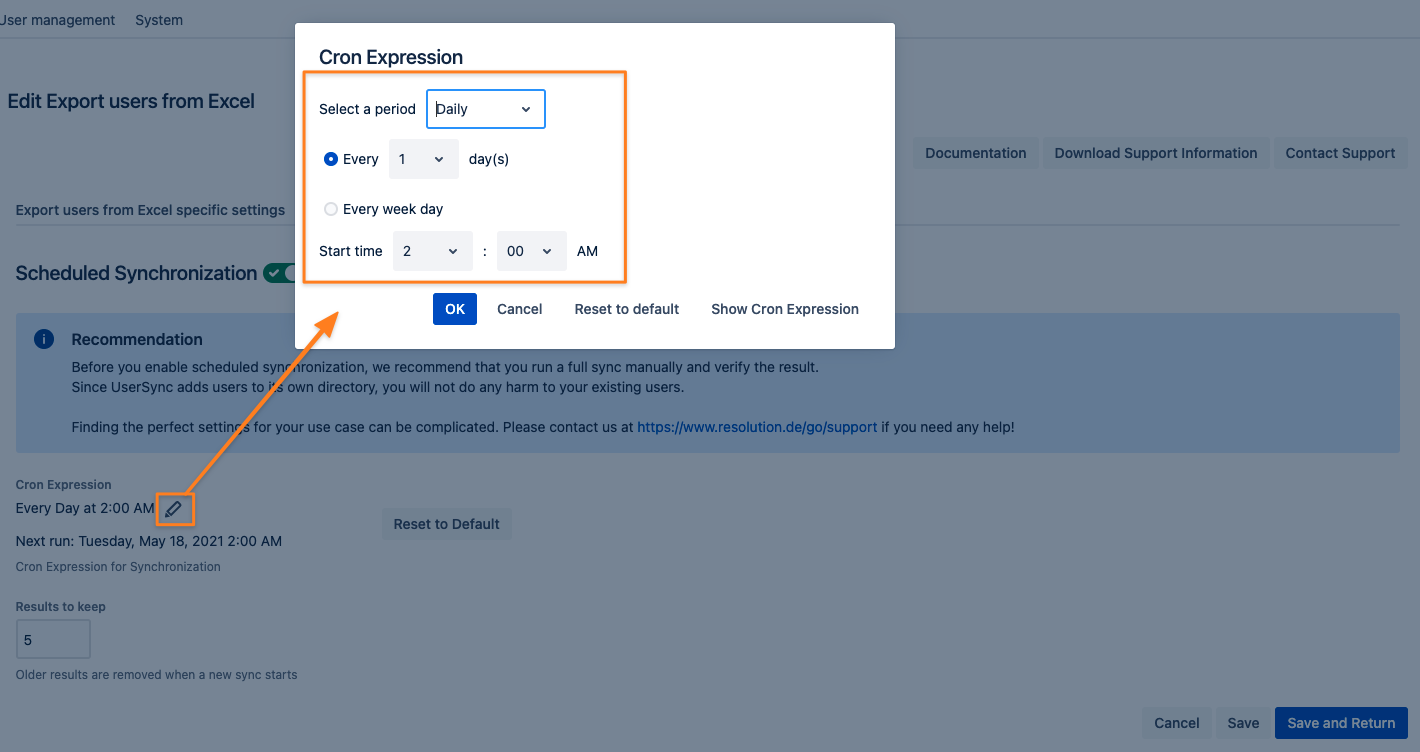
click on the Cron Expression pencil icon to change the time according to your needs and press OK

Press Save and Return

Step 3: Running the synchronization
After saving the connector, you can press the Sync button

Step 4: Checking the Sync Status message
The Result field will confirm whether the synchronization has been successful or not
The Messages field will include the location and file name of the export on the server
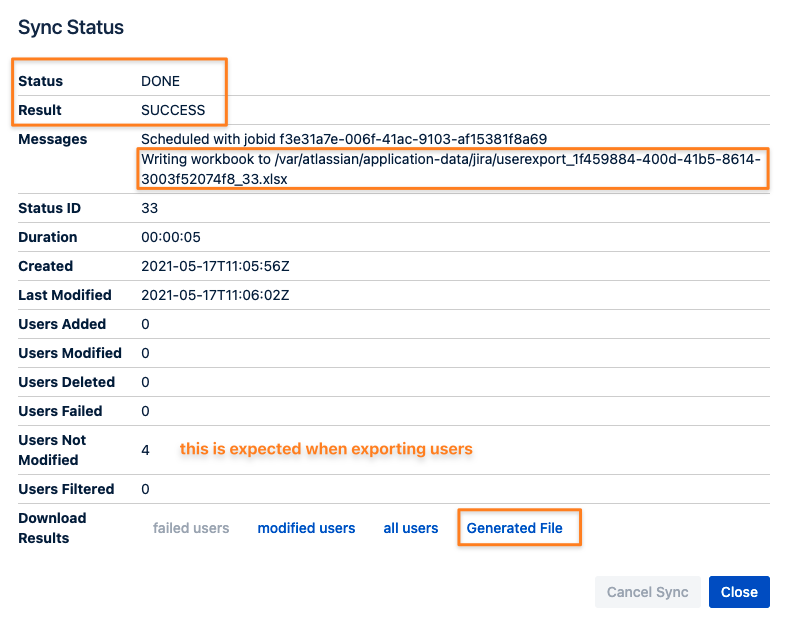
Step 5: Saving the Excel file
Press the Generated File link at the bottom of the modal window to download the Excel file.
How to Import Users with the Excel Connector
Step 1: Adding a new User & Group Sync Connector
Navigate to User & Group Sync in the User Management tab of the Administration section (Jira) or search for it in the general configuration list (Confluence)
type the key sequence xls on your keyboard and wait for the confirmation popup
Click on Create Connector
Select the Import Users from Excel option
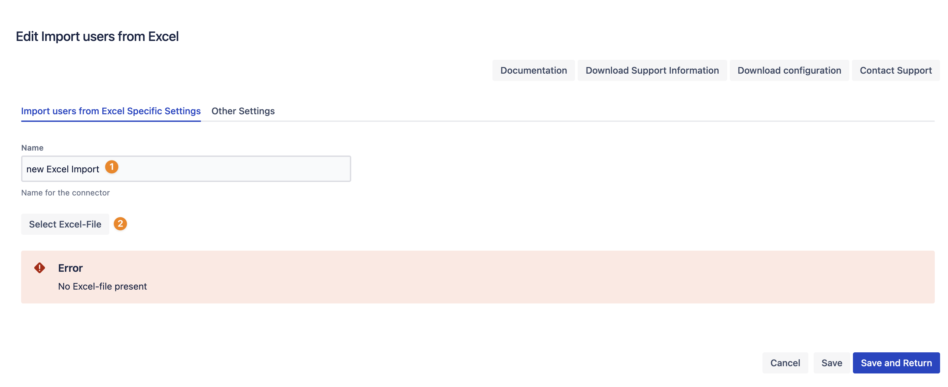
Step 2: Import settings
Change the Excel import connector name if you like (optional)
Select the Excel file to be imported

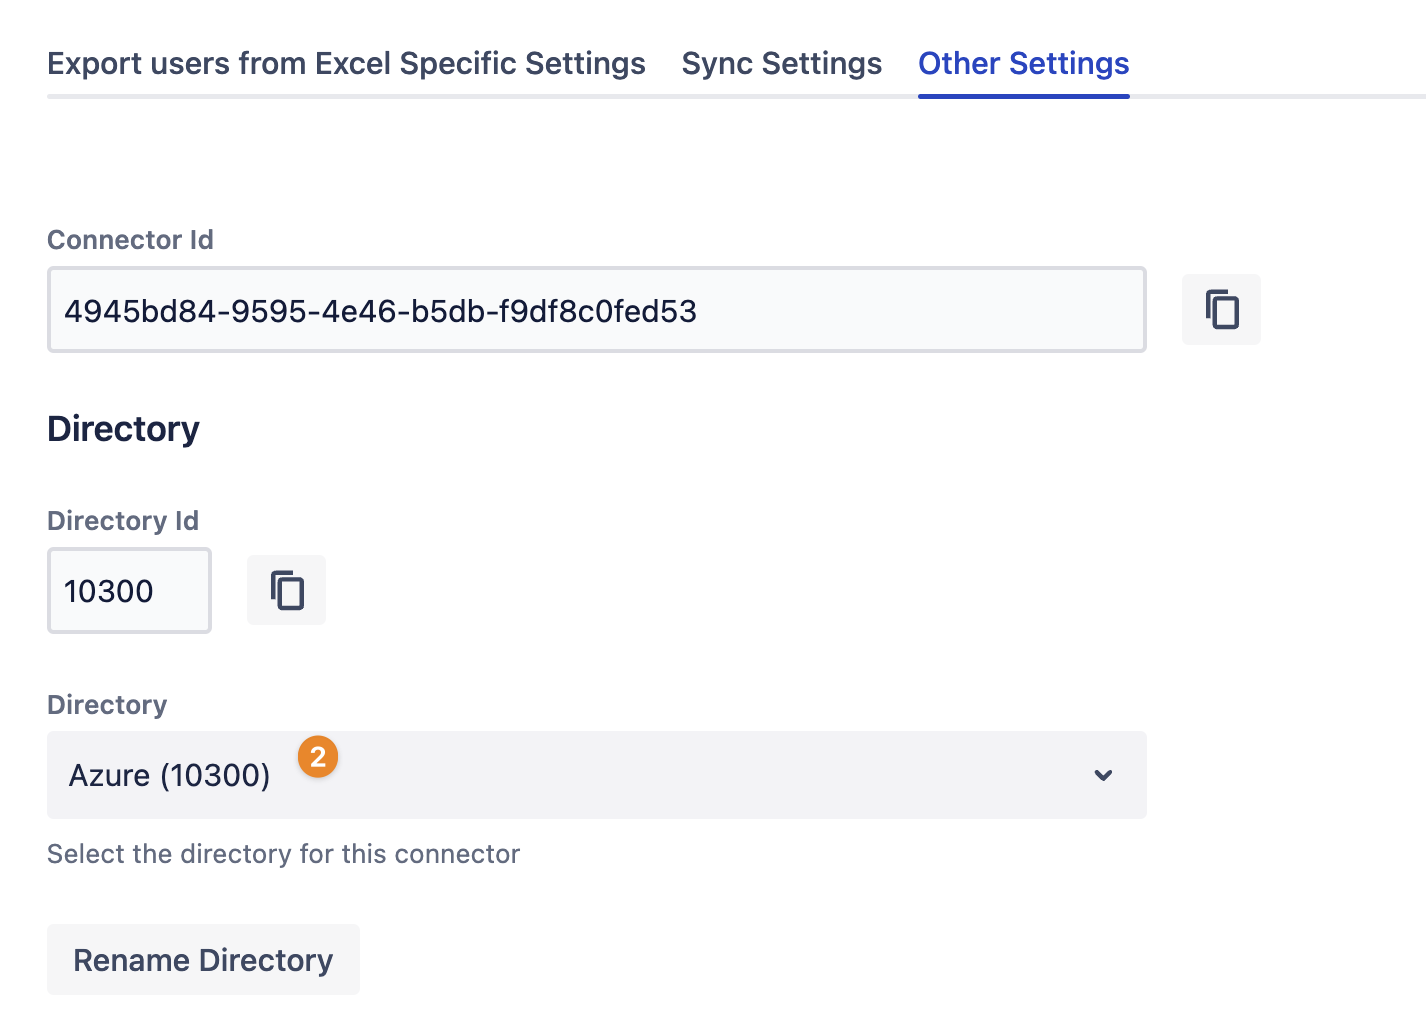
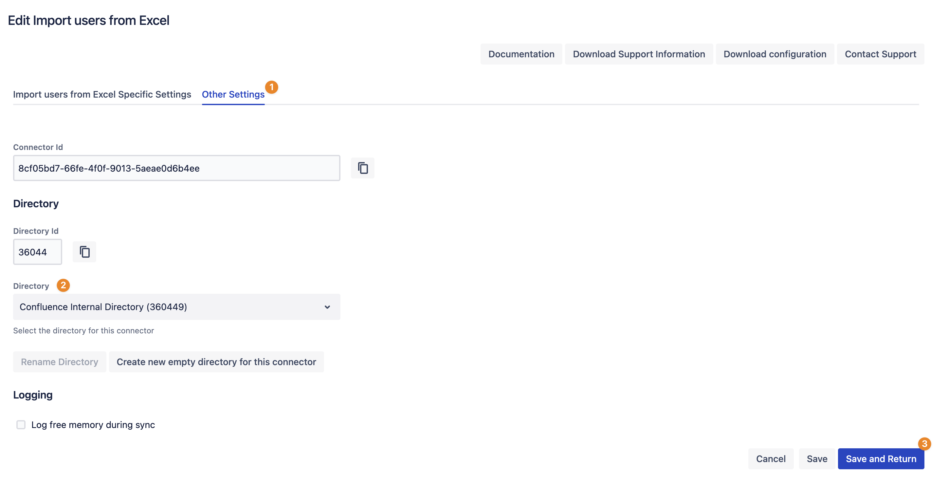
Open the Other Settings tab
Select the target Directory or Create new empty Directory for this connector
Press Save and Return

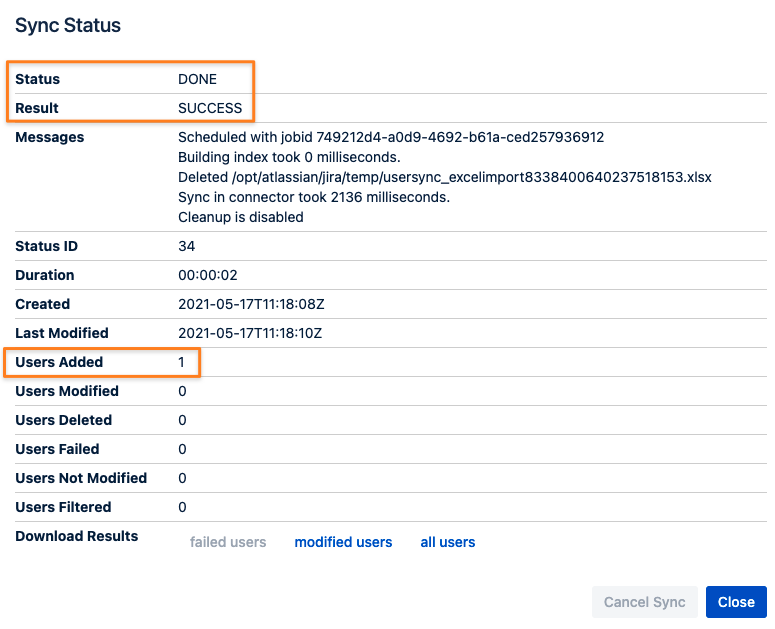
Step 3: Running the synchronization
Now you can start the sync/ import process.

Once complete, you'll see the number of users added:
Step 4: Maintenance
Once synchronized, an Excel import will display an Invalid! message, indicating that the original file is no longer present.
Note that the sync button has disappeared and the synchronization cannot be run again.

At this stage, it’s safe to delete the entry and remove it from your list of connectors.
