How To Bulk-Rename Users With The User Sync Excel Connector
Goal
Rename users in the internal directory in bulk without breaking references to Jira issues, Confluence pages, etc. Excel formulas can be used to apply the same transformation to usernames, for example by appending a domain name.
Important
The Excel connector is designed to make changes to your user directory based on input that can be manually edited and transformed. Always test in a staging or dev environment first to understand the consequences of your operations and prevent any negative impact.
If you have doubts about the process or questions, please do not hesitate to contact us via https://www.resolution.de/go/support.
Please note that Jira doesn't support updating filters and mentions upon renaming usernames. There's an open Atlassian ticket for that though: https://jira.atlassian.com/browse/JRASERVER-70685.
Requirements
SAML SSO 3.5.4 or later or User Sync 1.4.4 or later
SAML SSO versions before 5.0 and User Sync before 2.0 require the Excel connector to be installed first, please read here
Step 1: Export Users
Export your users from the selected directory following the instructions in this article:
How to Export Users with the Excel Connector
The connector will export every user in the directory selected.
Step 2: Clean the file to prepare the rename in bulk operation
The Excel file contains as many lines as users in the directory. While each line contains many columns, only a few are needed for renaming users.
Below are two sample lines and all the original columns:

Remove unaffected users
Delete all lines corresponding to users that won’t be renamed in the import.
Remove not Required Columns
Remove all columns starting with column E, the ATTR_GROUPS column.
Only the following existing columns are required:
ATTR_NAME
ATTR_FULLNAME
ATTR_EMAIL
ATTR_ACTIVE
You only need to keep ATTR_ACTIVE if you want to make sure that inactive users stay inactive when being renamed.
Add another new column after ATTR_ACTIVE and call it ATTR_NEW_NAME
This needs to contain the new username.
In the following example, you can see a user called user4 which will be renamed to user-4 in the next step.

Before you import it back, remember that the Excel file must be cleaned following two general rules:
The file must contain only the users that you want to rename.
Usernames must be unique
Follow these recommendations:
Delete every line of a user that won’t be renamed
Make sure there are no empty lines in between each user line
make sure each ATTR_NEW_NAME column contains the new username value
make sure you don't provide the same ATTR_NEW_NAME twice, as this will result in errors
Please also be advised about the following:
Don’t ever upload the same Excel file twice with the import connector!
Doing so will result in duplicate users, with a second batch of original users & usernames unassigned to any groups.
Renaming users might lead to an increase of user licenses
Example: you've migrated users from a directory using the Excel connector as well. You want to rename the users afterward.
That will result in users having a different username meaning they're counted towards the total user licenses.
Solution: disable the source directory in a case like this, that's the goal of a migration anyway.
Directory order
Before renaming users that way, the directory in which the users are getting renamed should ideally be at the bottom of the directory list.
If not, renaming might fail for some users, if their account exists in another directory with the same name already.
After the bulk operation, you should move the directory at the top of the list again or at least above the first directory in the list which has users in it with the same name.
Step 3: Import the users to rename them in bulk
Use the transformed file to import your users into the target directory following the instructions in the article linked below.
The import with the reduced amount of columns and one column providing the new username will result in bulk renaming users.
How to Import Users with the Excel Connector to Bulk Rename
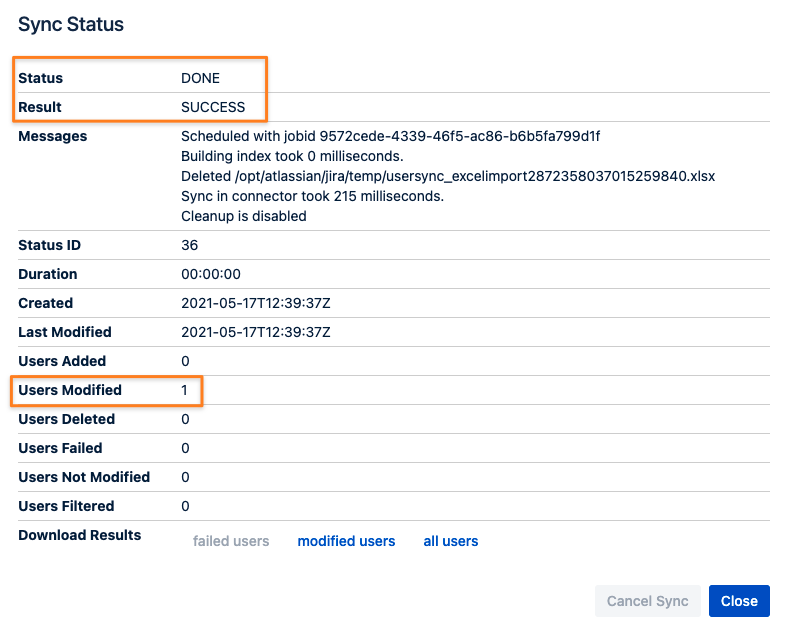
The result summary should contain the number of users who have been renamed:
You can delete the connector again afterward
