
How to use REST API with User Sync?
General Information
Please note that this is our private API, there might be breaking changes in upcoming versions. Please contact our support, if something does not work as expected anymore.
REST API
Below you will find some examples that you can use. You need to change the following:
change '<base-url>' with your actual base URL
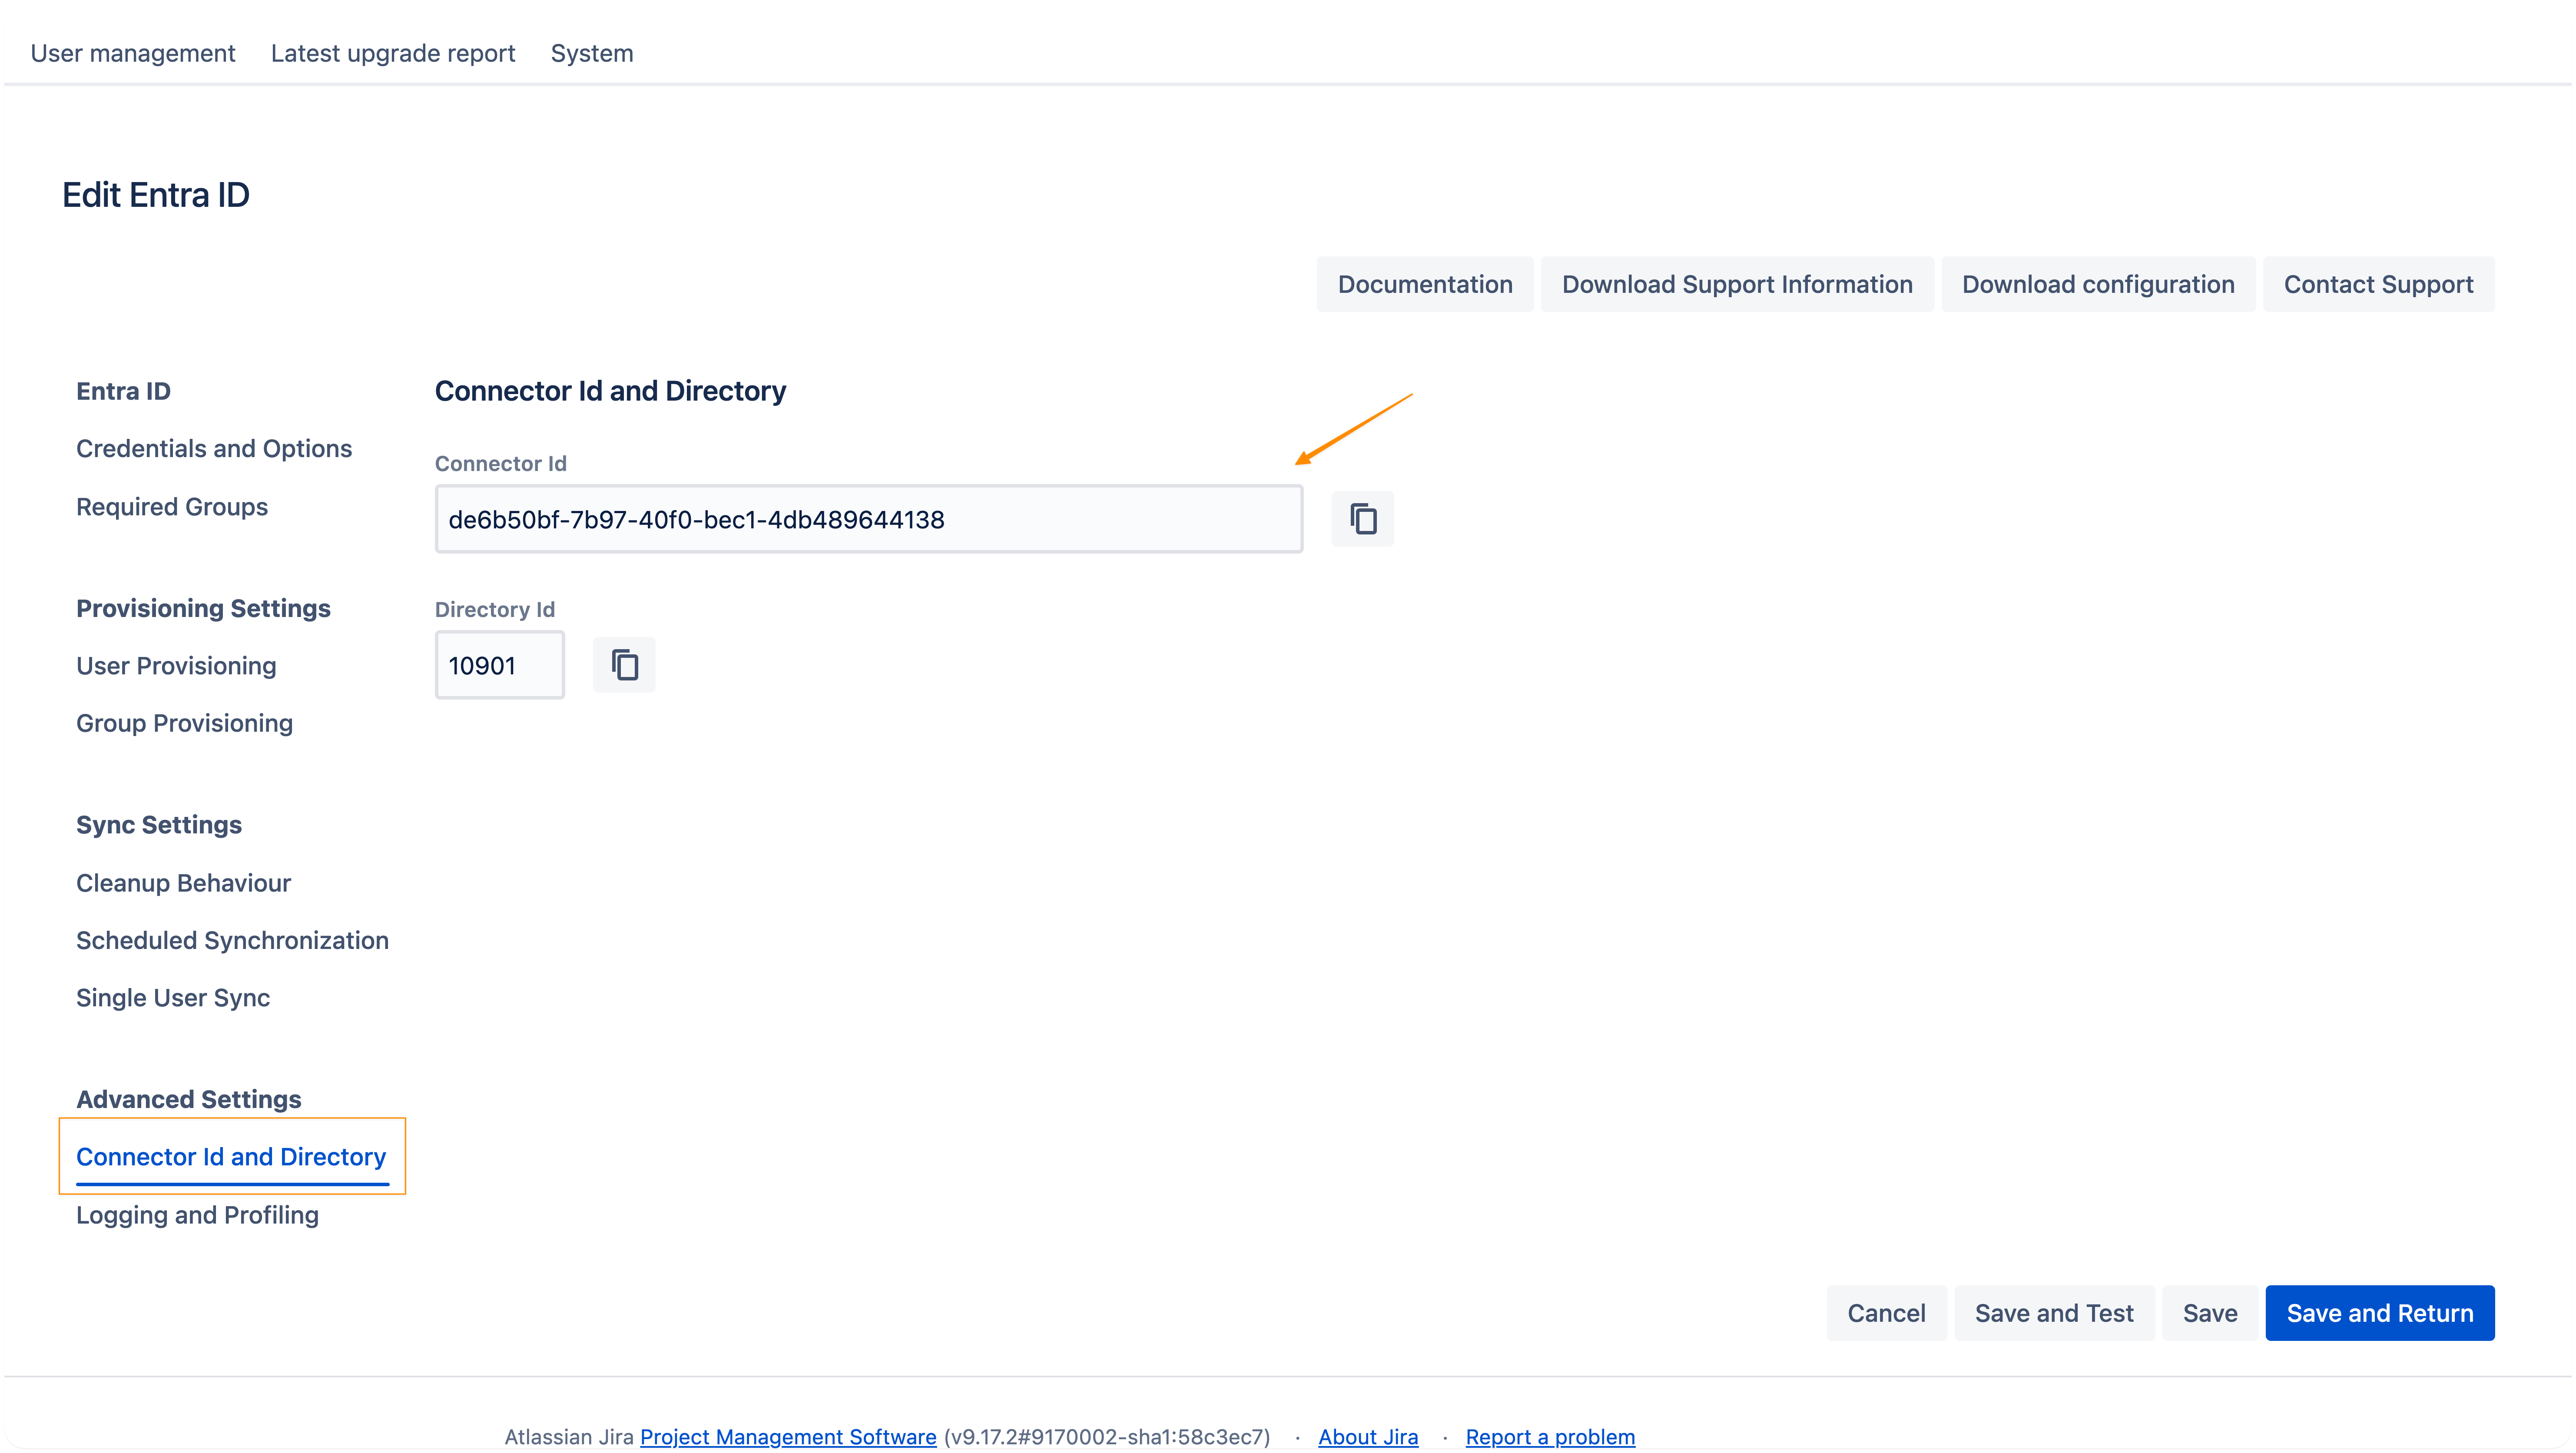
change '<connectorID>' with your connector ID (you can find it if you click on Edit on your connector and scroll down to the field)
change '<directoryID>' with your directory ID (below the connector id)
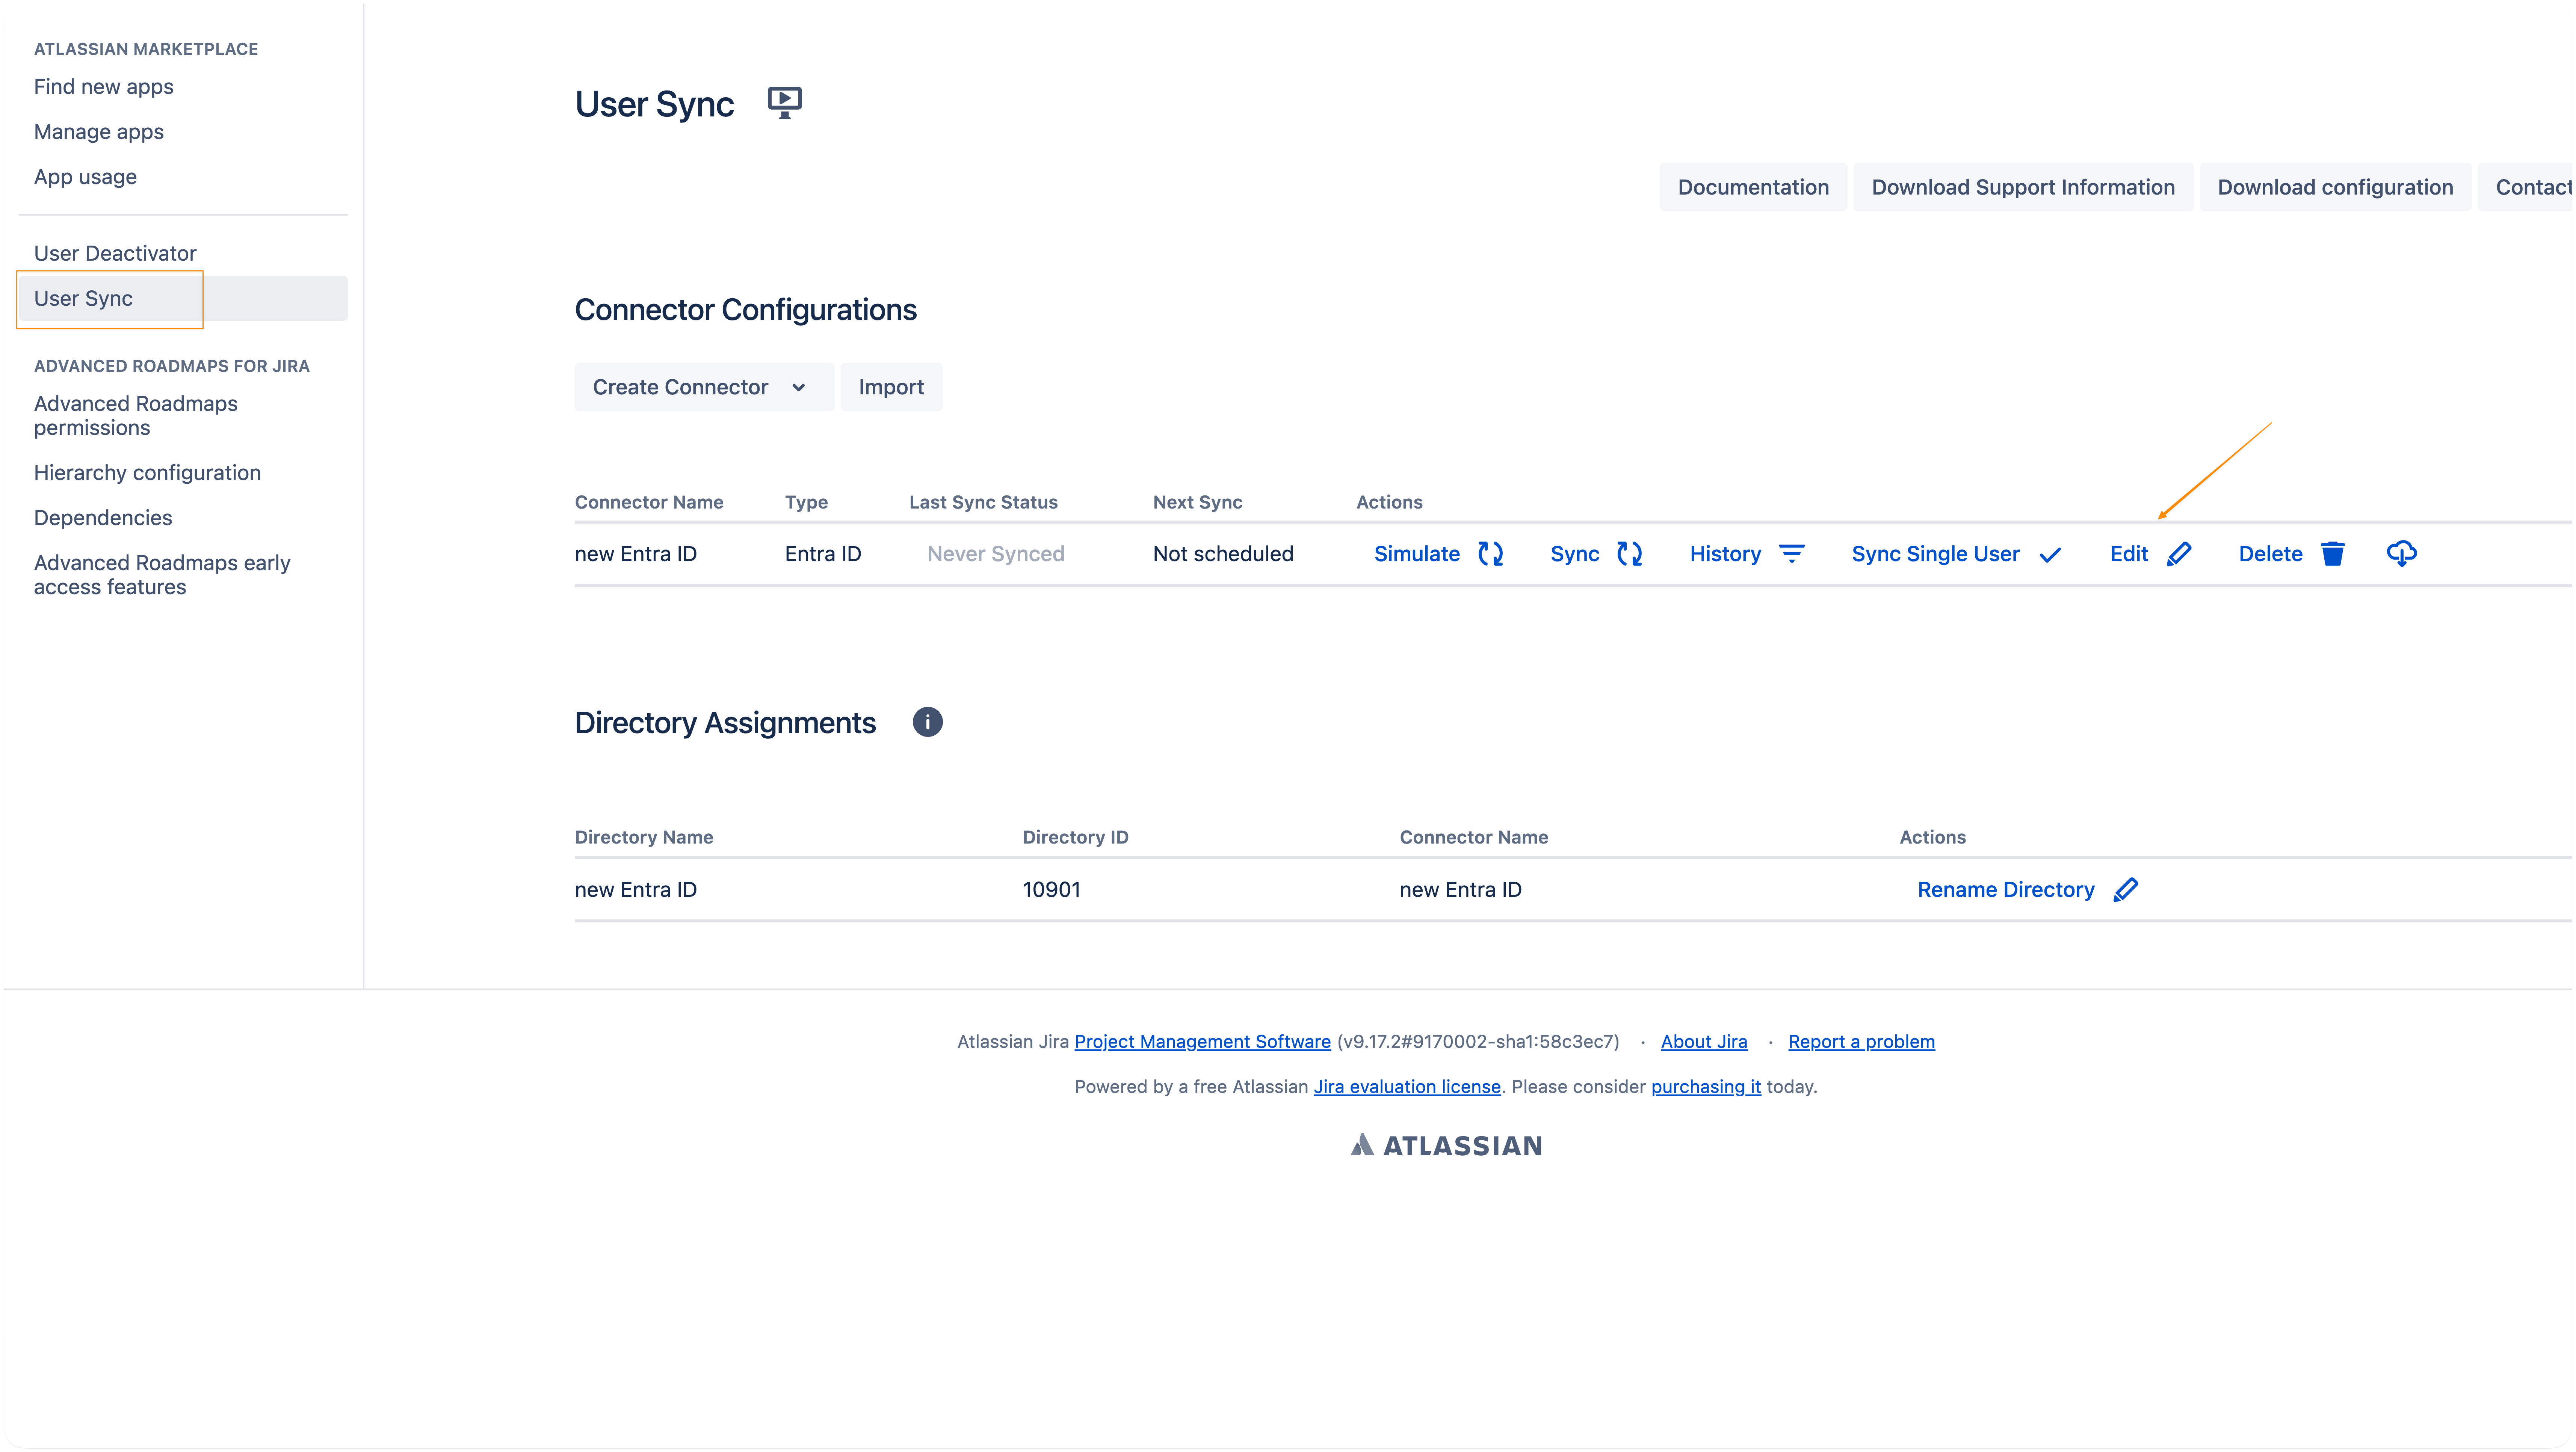
You can find the connectorID in the connector settings. Go to User Sync and Edit the connector.
From here you go to Connector Id and Directory under Advanced Settings.
How to monitor the User Sync status via REST API?
Problem
We are looking for a REST API endpoint to monitor the User Sync status.
Solution
You can use the REST API of the User Sync app, which allows you to get the results from the last sync.
GET – status from the last sync
- curl -u username:password -X GET https://<base-url>/rest/samlsso-admin/1.0/usersync/connector/<connectorID>/syncstatus
GET – status from a specific sync
You could add the sync ID to the REST API call to get more information about a specific sync result:
- curl -u username:password -X GET https://<base-url>/rest/samlsso-admin/1.0/usersync/syncstatus/<id>
In our example, we use the ID 94.
- curl -u username:password -X GET https://<base-url>/rest/samlsso-admin/1.0/usersync/syncstatus/94
- {
- "status" : "DONE",
- "addedCount" : 0,
- "resultCount" : 2,
- "notModifiedCount" : 2,
- "failedCount" : 0,
- "updatedCount" : 0,
- "deletedCount" : 0,
- "filteredCount" : 0,
- "messages" : [ "Scheduled with jobid 388382e4-46cb-408f-bd12-ee71545653b0", "Skipping admin or sysadmin <admin>", "User <test> has no lastAuthenticated timestamp and cleanup users without timestamp is disabled. Therefore the user will not be cleaned up." ],
- "clusterNode" : "NOT_CLUSTERED",
- "connectorUID" : "7df9fd3f-793f-4595-b415-b839b76b0018",
- "lastModified" : "2022-10-05T08:17:44Z",
- "created" : "2022-10-05T08:17:44Z",
- "duration" : 0,
- "id" : 94,
- "resultMessage" : null,
- "resultFilePath" : null,
- "syncUserResults" : null,
- "connectorSupportInformation" : null,
- "syncStatusResult" : "SUCCESS",
- "_self" : "/syncstatus/94"
- }
GET – results from a sync
If you add /results you will get the sync results. The REST API call will only give the first 10 users by default.
- curl -u username:password -X GET https://<base-url>/rest/samlsso-admin/1.0/usersync/syncstatus/94/results
To get all users, please use the following REST API call (this would output the same results as for ALL USERS via the UI):
- curl -u username:password -X GET <https://<base-url>/rest/samlsso-admin/1.0/usersync/syncstatus/<id>/results?count=-1
More useful REST API examples
You can get some more information from your User Sync via REST API.
RUN_LOCALLY
We added the possibility to schedule a sync as RUN_LOCALLY instead of RUN_ONCE_PER_CLUSTER. To trigger a sync like this, use the following cURL command:
- curl -d "" -A "curl" -H "X-Atlassian-Token:nocheck" --user admin:<pw> http://<base-url>/rest/samlsso-admin/1.0/usersync/connector/<connectorID>/sync?local=true
GET – show all connectors
Get all configured connectors (and the connector settings). This will also include the uniqueId which is the Connector ID.
- curl -u username:password -X GET https://<base-url>/rest/samlsso-admin/1.0/usersync/connector/
GET - connector ID
We have to use a JSON parser to extract the information. You can use, as an example, jq to do that (jq is a lightweight and command-line JSON processor).
- curl -u user:password -X GET https://<base-url>/rest/samlsso-admin/1.0/usersync/connector/ | jq '.[].uniqueId'
If you want to get rid of the double quotes, pass -r (--raw) to jq:
- curl -u user:password -X GET https://<base-url>/rest/samlsso-admin/1.0/usersync/connector/ | jq -r '.[].uniqueId'
GET - show a connector
- curl -u username:password -X GET https://<base-url>/rest/samlsso-admin/1.0/usersync/connector/<connectorID>
POST
The way the command works has changed for SAML version 5.x / User Sync 2.x. The data is now sent as a JSON.
POST - initiate a Sync (User Sync 2.x)
- curl -X POST "https://<base-url>/rest/samlsso-admin/1.0/usersync/connector/<connectorID>/sync" \
- -H 'Content-Type: application/json; charset=utf-8' \
- -u ‘username:password’
POST - initiate a Single User Update (User Sync 2.x)
- curl -X POST "https://<base-url>/rest/samlsso-admin/1.0/usersync/connector/<connectorID>/syncsingle" \
- -H 'Content-Type: application/json; charset=utf-8' \
- -u ‘username:password’ \
- -d $'{"identifier": "<user-indentifier>"}'
POST - initiate a Single User Update with the Option Sync With Username As Primary Attribute (User Sync 2.x)
- curl -X POST "https://<base-url>/rest/samlsso-admin/1.0/usersync/connector/<connectorID>/syncsingle" \
- -H 'Content-Type: application/json; charset=utf-8' \
- -u 'username:password' \
- -d '{"identifier": "<user-indentifier>", "overridePrimaryAttributeWithUsername": true}'
POST - initiate a sync (User Sync 1.9)
- curl -u username:password -X POST https://<base-url>/rest/samlsso-admin/1.0/usersync/connector/<connectorID>/sync
POST - initiate a Single User Update (User Sync 1.9)
- curl -u username:password -X POST https://<base-url>/rest/samlsso-admin/1.0/usersync/connector/<connectorID>/syncsingle/<username>
DELETE - delete a directory
The REST API command will delete a User Directory in your Atlassian instance. This will also include a deletion of all users who were part of the directory! There will be no warning! Use with care.
- curl -u username:password -X DELETE https://<base-url>/rest/samlsso-admin/1.0/directory/<directoryID>
Creation
There is a way to create your deleted directory. Please note you can not start a new Sync from your User Sync Connector, this will fail with the following message:
- Scheduled with jobid d8dc7879-1b15-4dcd-98b6-64eb5c30e2f1
- Directory <directoryID> does not exists
Choose the Connector Name from which you want to create a new directory. You have to click 'Edit' and 'Save' your connector settings (User Sync → Edit Connector → Save). This will create a User Directory (directory ID) again.
Now you can start a 'Sync' again and the user directory will be filled with user data
PATCH - update connector configuration
A connector's configuration can be updated using HTTP patch.
This can be done either using JSON Merge Patch (RFC 7686) or JSON Patch (RFC 6902).
JSON Patch
To update specific values, send a JSON patch (see https://jsonpatch.com/) as HTTP Patch with content-type application/json-patch+json
- [{
- "op": "replace",
- "path": "/name",
- "value": "Changed name"
- }]
- curl -u username:password -X PATCH https://<base-url>/rest/samlsso-admin/1.0/usersync/connector/<connectorID> -d @patched_json.json --header "Content-Type: application/json-patch+json"
JSON Merge Patch
JSON Merge patch allows to just specify the JSON-fragment that should be changed (see https://datatracker.ietf.org/doc/html/rfc7386). To use this syntax, send the JSON as HTTP Patch with content-type application/merge-patch+json.
- {
- "name" : "Changed Name"
- }
- curl -u username:password -X PATCH https://<base-url>/rest/samlsso-admin/1.0/usersync/connector/<connectorID> -d @patched_json.json --header "Content-Type: application/merge-patch+json"