How to Synchronize Profile Data to the User Profile in Jira or Confluence
User Sync can synchronize profile data (also known as user attributes) from an identity cloud provider to the user profile in your Atlassian Data Center or Server product.
After following this guide, you will find user details from the Identity Provider (like Azure Active Directory, Okta, or Google Cloud Identity) in the user profile in Jira or Confluence.
For the synchronization of profile pictures, please refer to this article:
How to Synchronize Profile Pictures from Azure AD and Google Cloud Identity to the User Profile in Jira or Confluence
If you want to sync the users' manager data from Azure AD to the user profile in Jira, please have a look at the following article: https://wiki.resolution.de/doc/usersync/latest/knowledge-base/how-to-synchronize-users-manager-data-to-the-user-profile-in-jira-from-azure-ad
Adding IdP attributes
Jira User Profiles
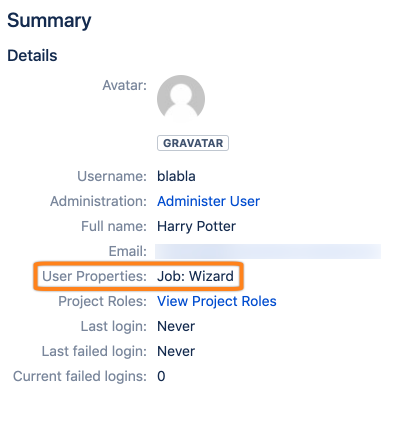
You can add as many user properties as you want in Jira, they'll be displayed under User Properties in the user profile:
Confluence User Profiles
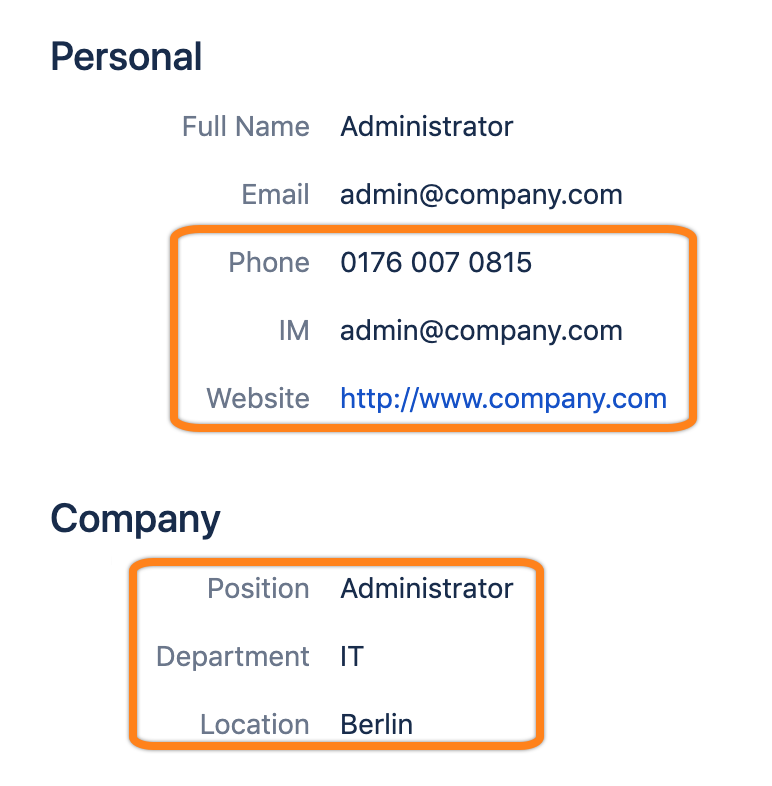
In Confluence you can only synchronize the following attributes:
Phone
IM
Website
Position
Department
Location
Guide
To configure your User Sync connector to synchronize fields from the user's profile of your cloud provider, do the following:
Step 1: Access the Settings
Go to the UserSync settings and click Edit for the connector you want to modify.

Then go to User Provisioning Settings.
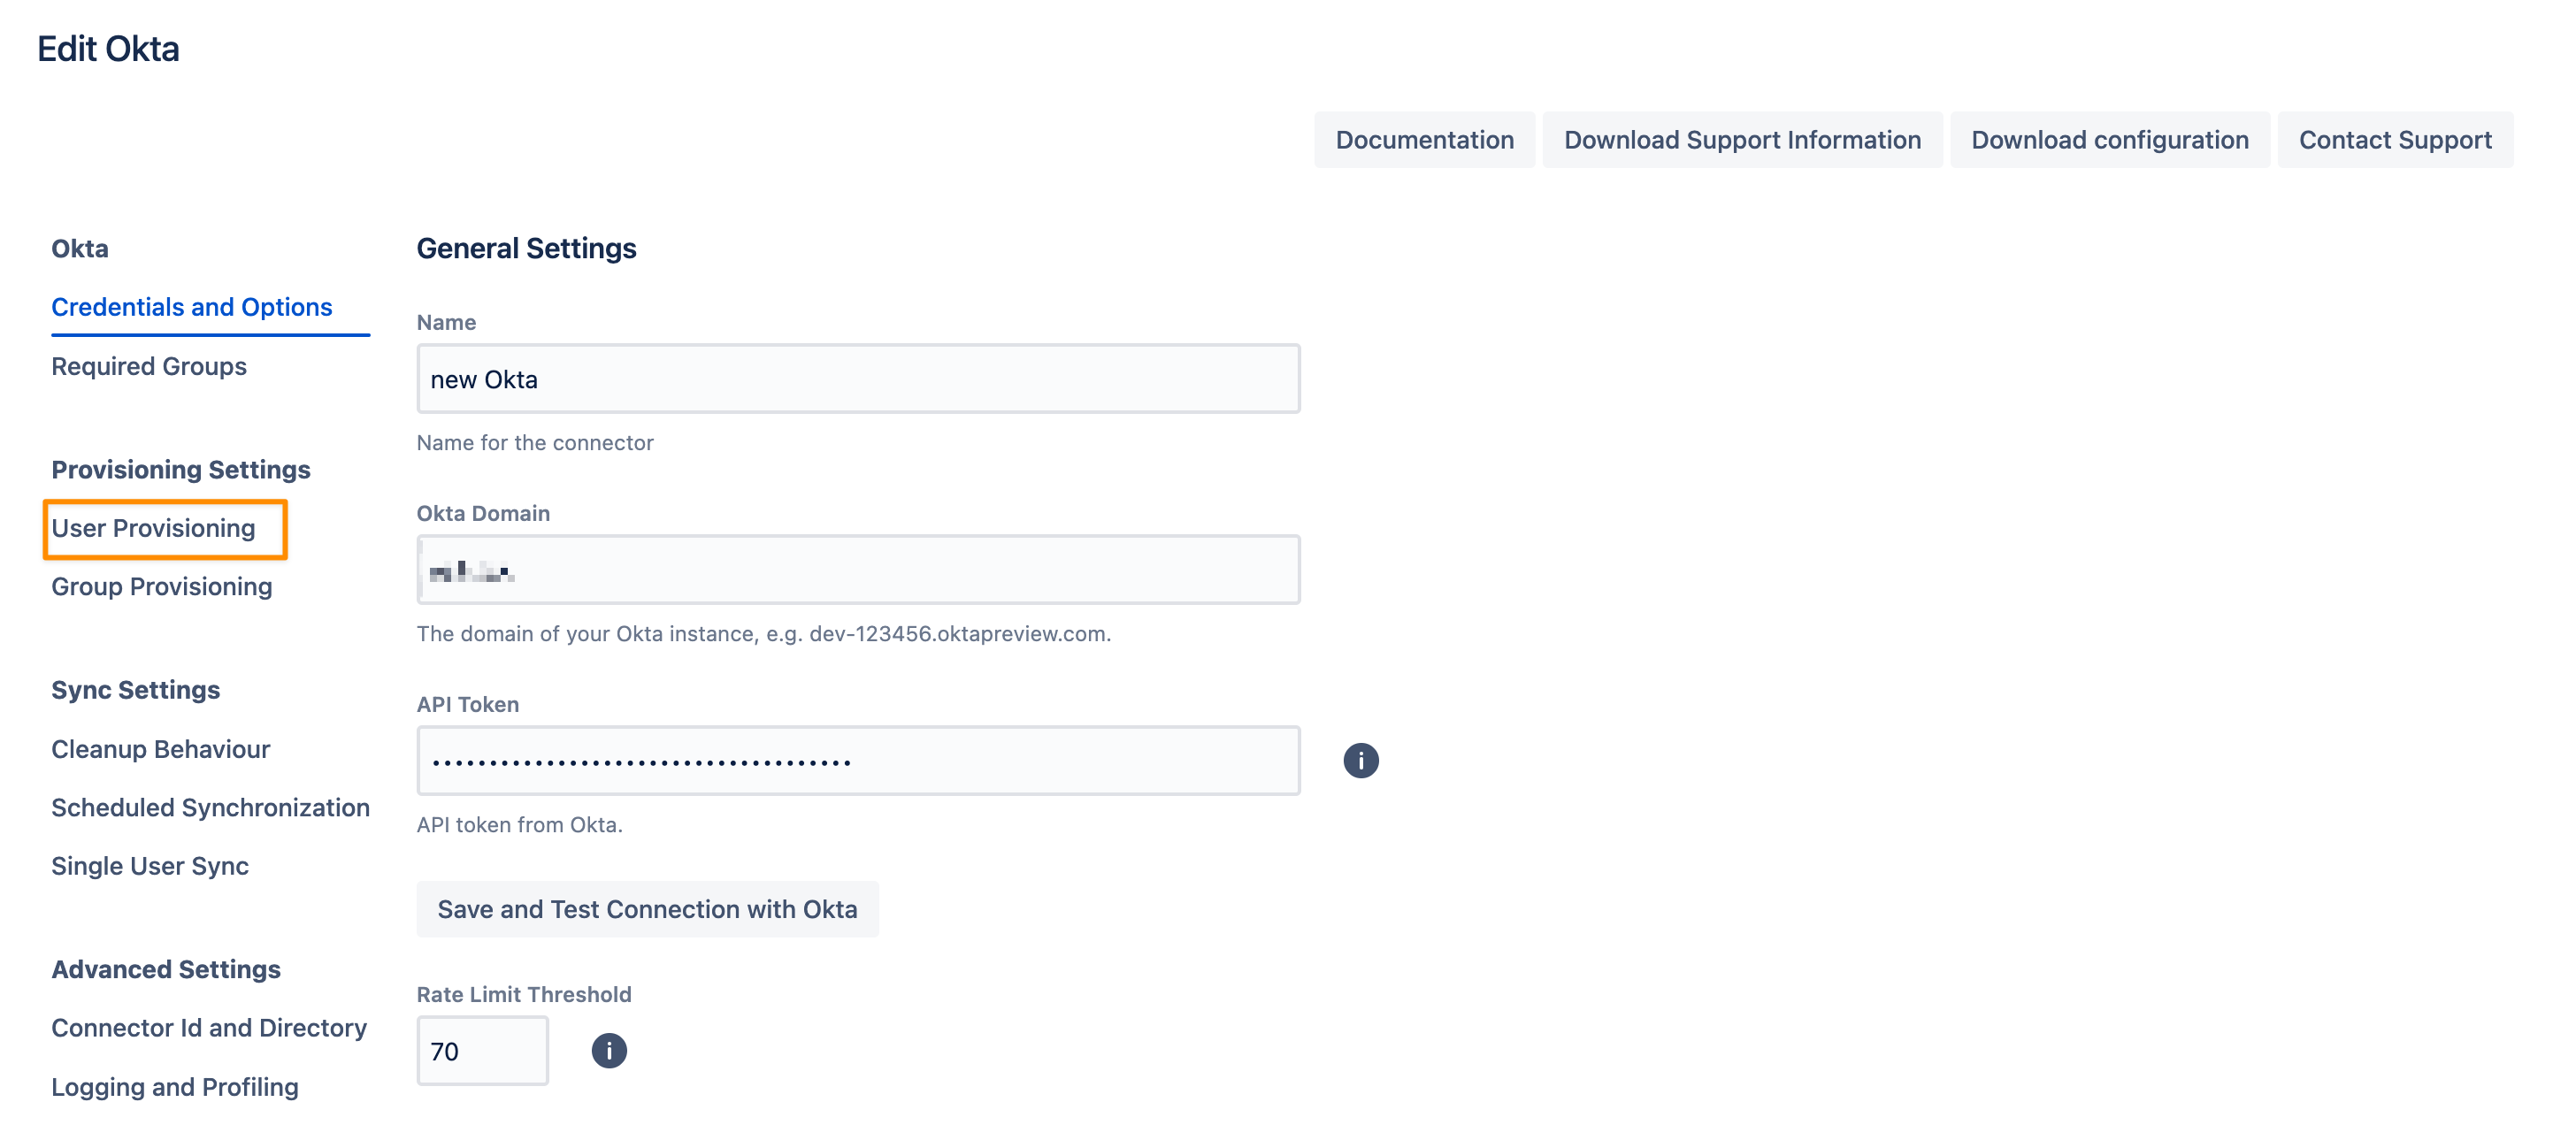
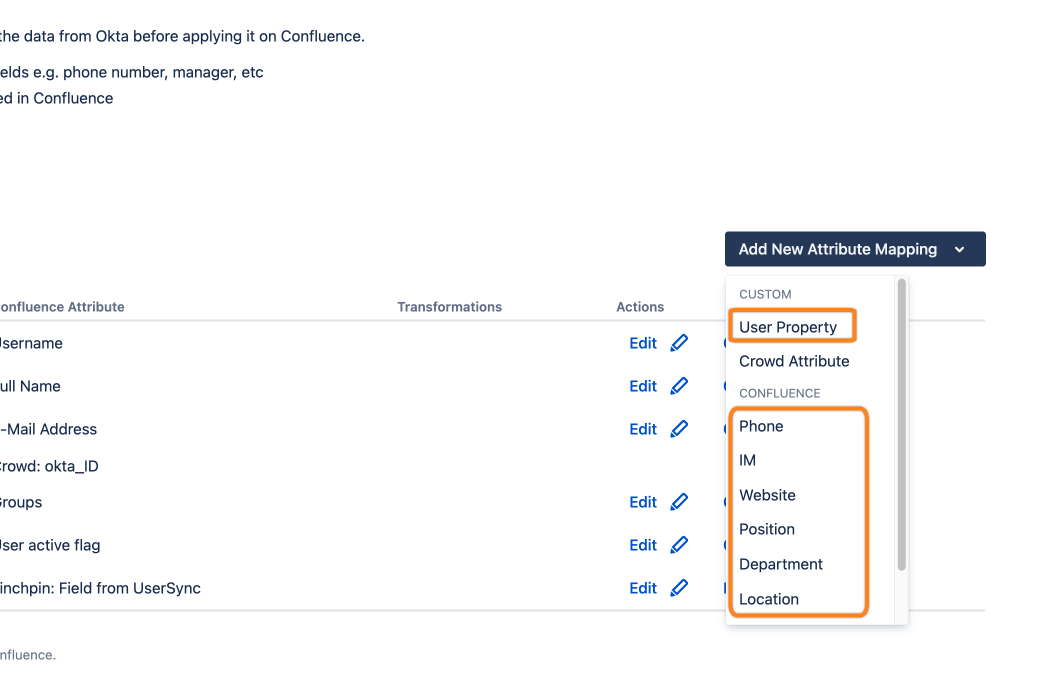
Scroll down to the Attribute Mapping table and click Add New Mapping. On Jira, you can only map a User Property, while on Confluence you can also map the Confluence Profile fields.
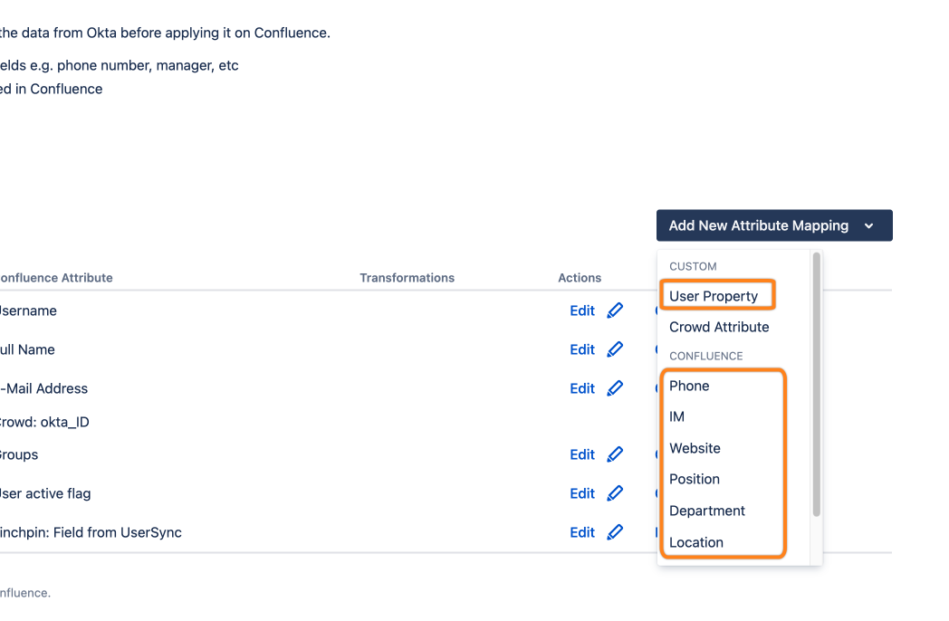
Step 2: Add an Attribute
User Properties
When mapping a User Property, you must enter a name. Afterwards, click Next to continue.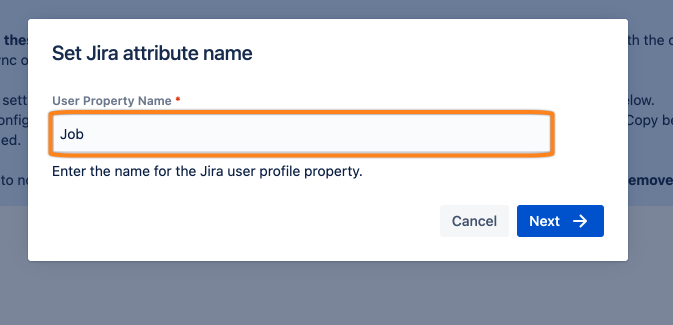
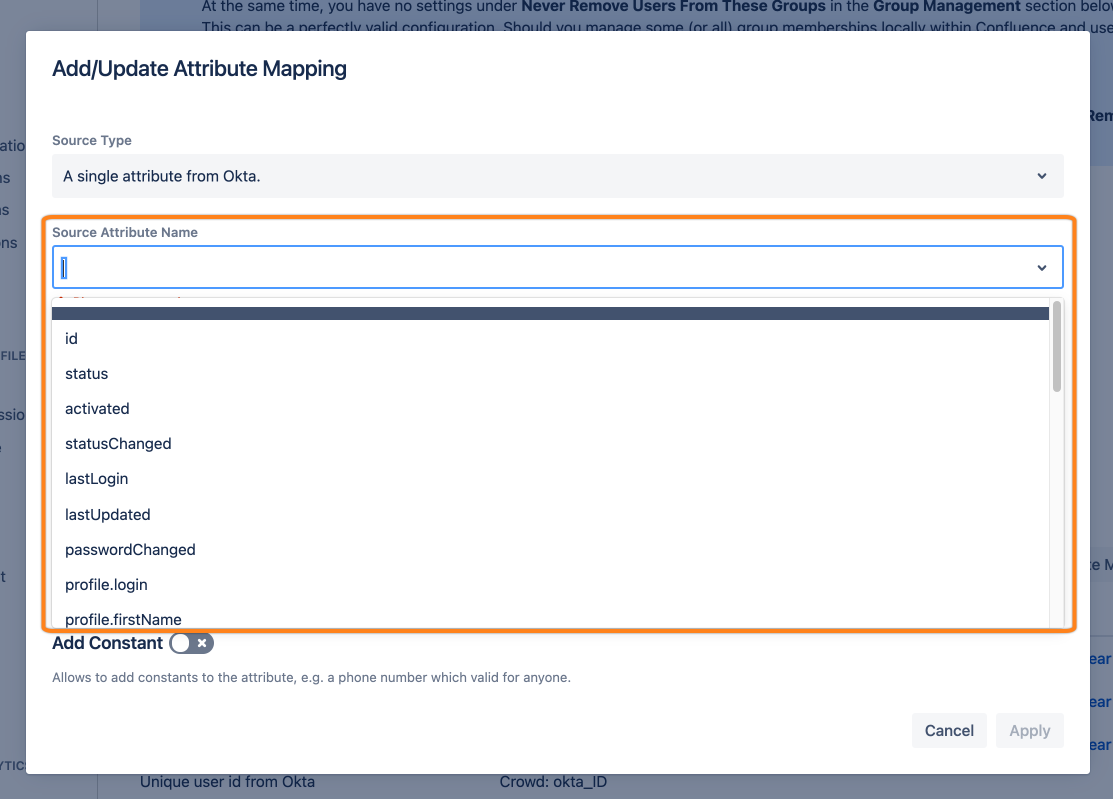
Choose the source attribute or any of the other options. Click Apply to confirm.
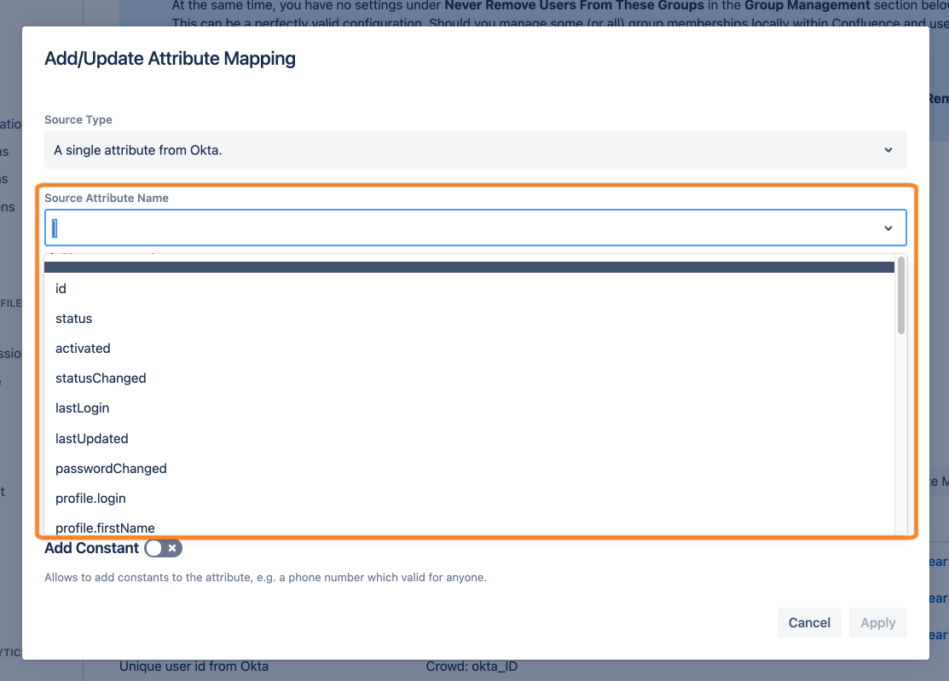
If you don't see the desired attribute name in the list, you can just write it yourself there, and choose it.
Please note that you need to write the full path of the attribute, e.g.profile.loginoronPremisesExtensionAttributes.extensionAttribute1.
Step 3: Save the settings
Save the connector settings as shown below: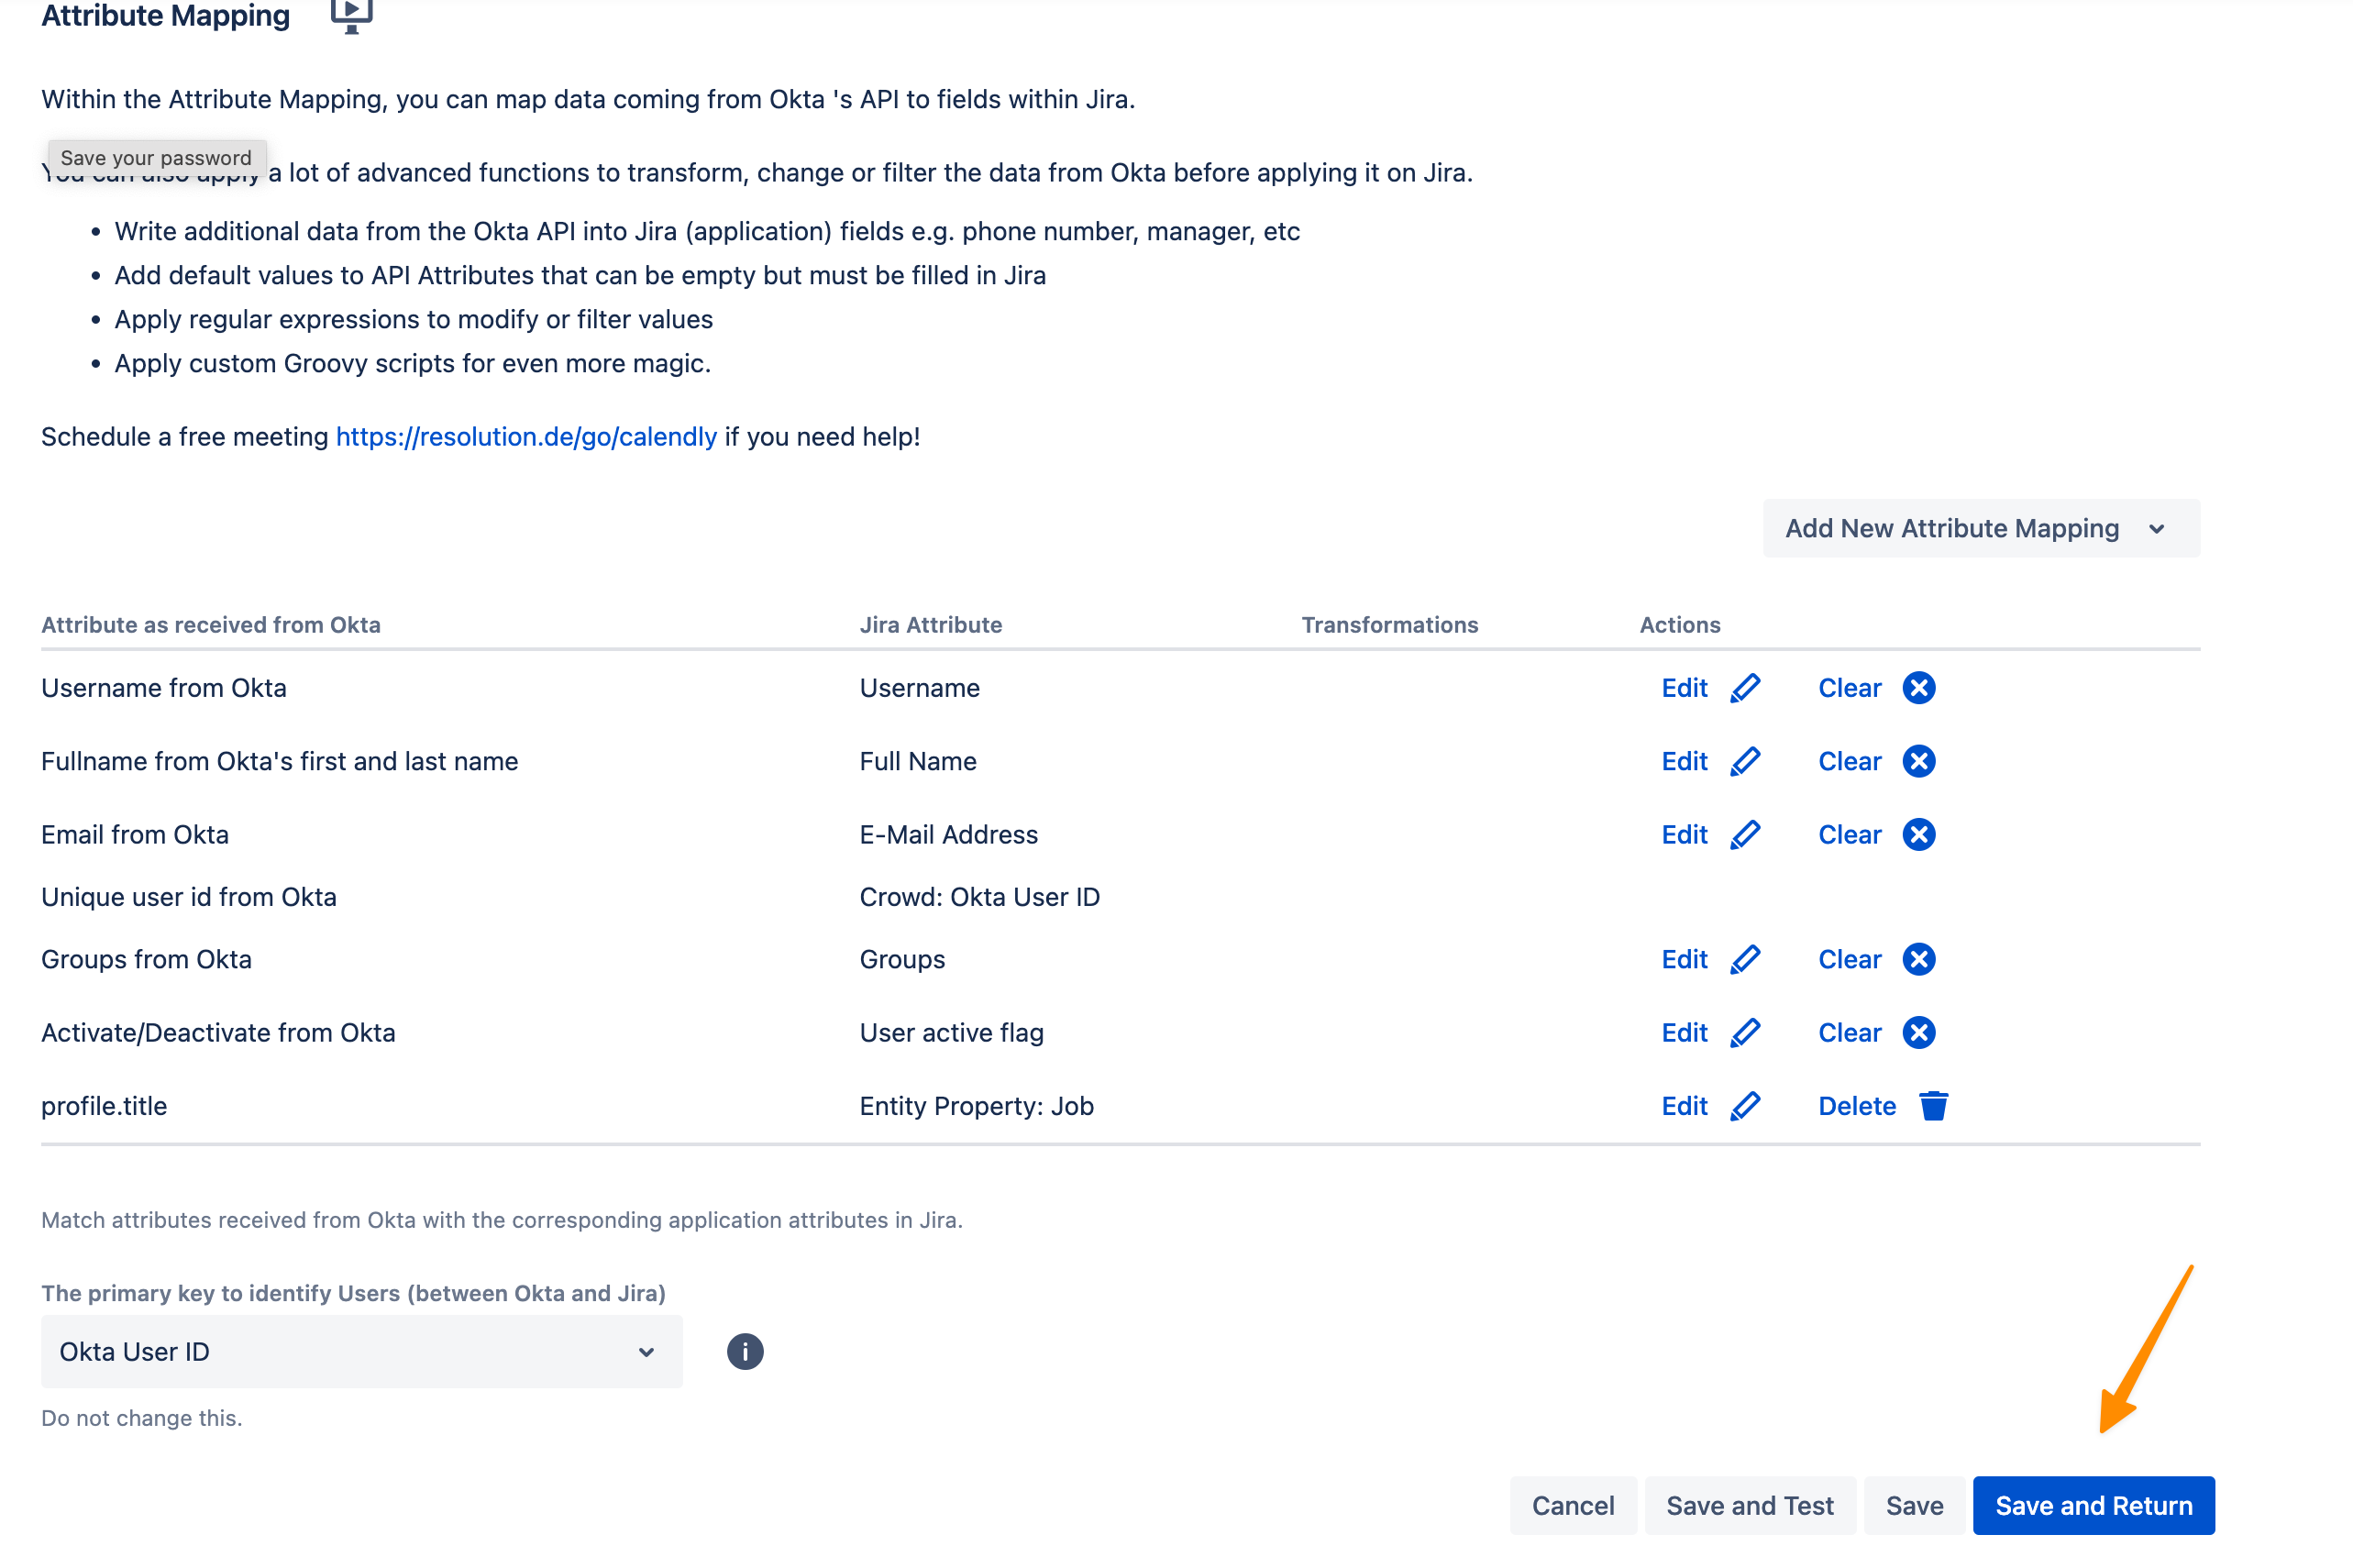
Step 4: Trigger the sync
You can run either a Sync Simulation for testing your configuration or a live Sync. There are three options to trigger the live synchronization:
Updating a single user,
Starting a full sync
Waiting for the next scheduled sync.

Limitations
So far, no limitations are known. However, not all fields in an IdP user profile might be supported. Please let us know if you have noticed a limitation. We will then update the documentation and, if necessary, find a way to implement it.
