OpenID Connector for Google Cloud Identity with Just-In-Time Provisioning
Goal
After completing this setup guide, you will have setup GSuite AD with Just-In-Time Provisioning and your Atlassian product for the SAML SSO app. Additionally, you will test SSO and enable the SSO redirection.
Prerequisites
To use the SAML SSO app with GSuite, you need the following:
A GSuite subscription
A (trial) subscription for the SAML SSO app
Admin access to your Atlassian product
You mange your groups locally on your Atlassian product.
Step-by-Step Setup Guide
Install the SAML SSO App
In your Atlassian product, open the in-product marketplace as described in the Atlassian documentation.
Search for "resolution saml" and click "Install" for SAML Single Sign On (SSO) by resolution Reichert Network Solutions GmbH.
After the installation is complete, click Manage Apps/Addons.

Configure SAML SSO
For the next steps, please go to Manage apps (or addons), choose SAML SSO and click Configure.
First Steps - Wizard
After you clicked "Configure", the Wizard will be triggered. If not, or if you want to add another Identity Prover (IdP) to your existing configuration, click on "+ Add IdP". This guide assumes, that there is no IdP configured.
The Wizard greets you with information, click on "Add new IdP" to proceed.

Select Google Cloud Identity for your identity provider and select OpenID Connect for the authentication protocol. Enter a unique name and click Next to continue. 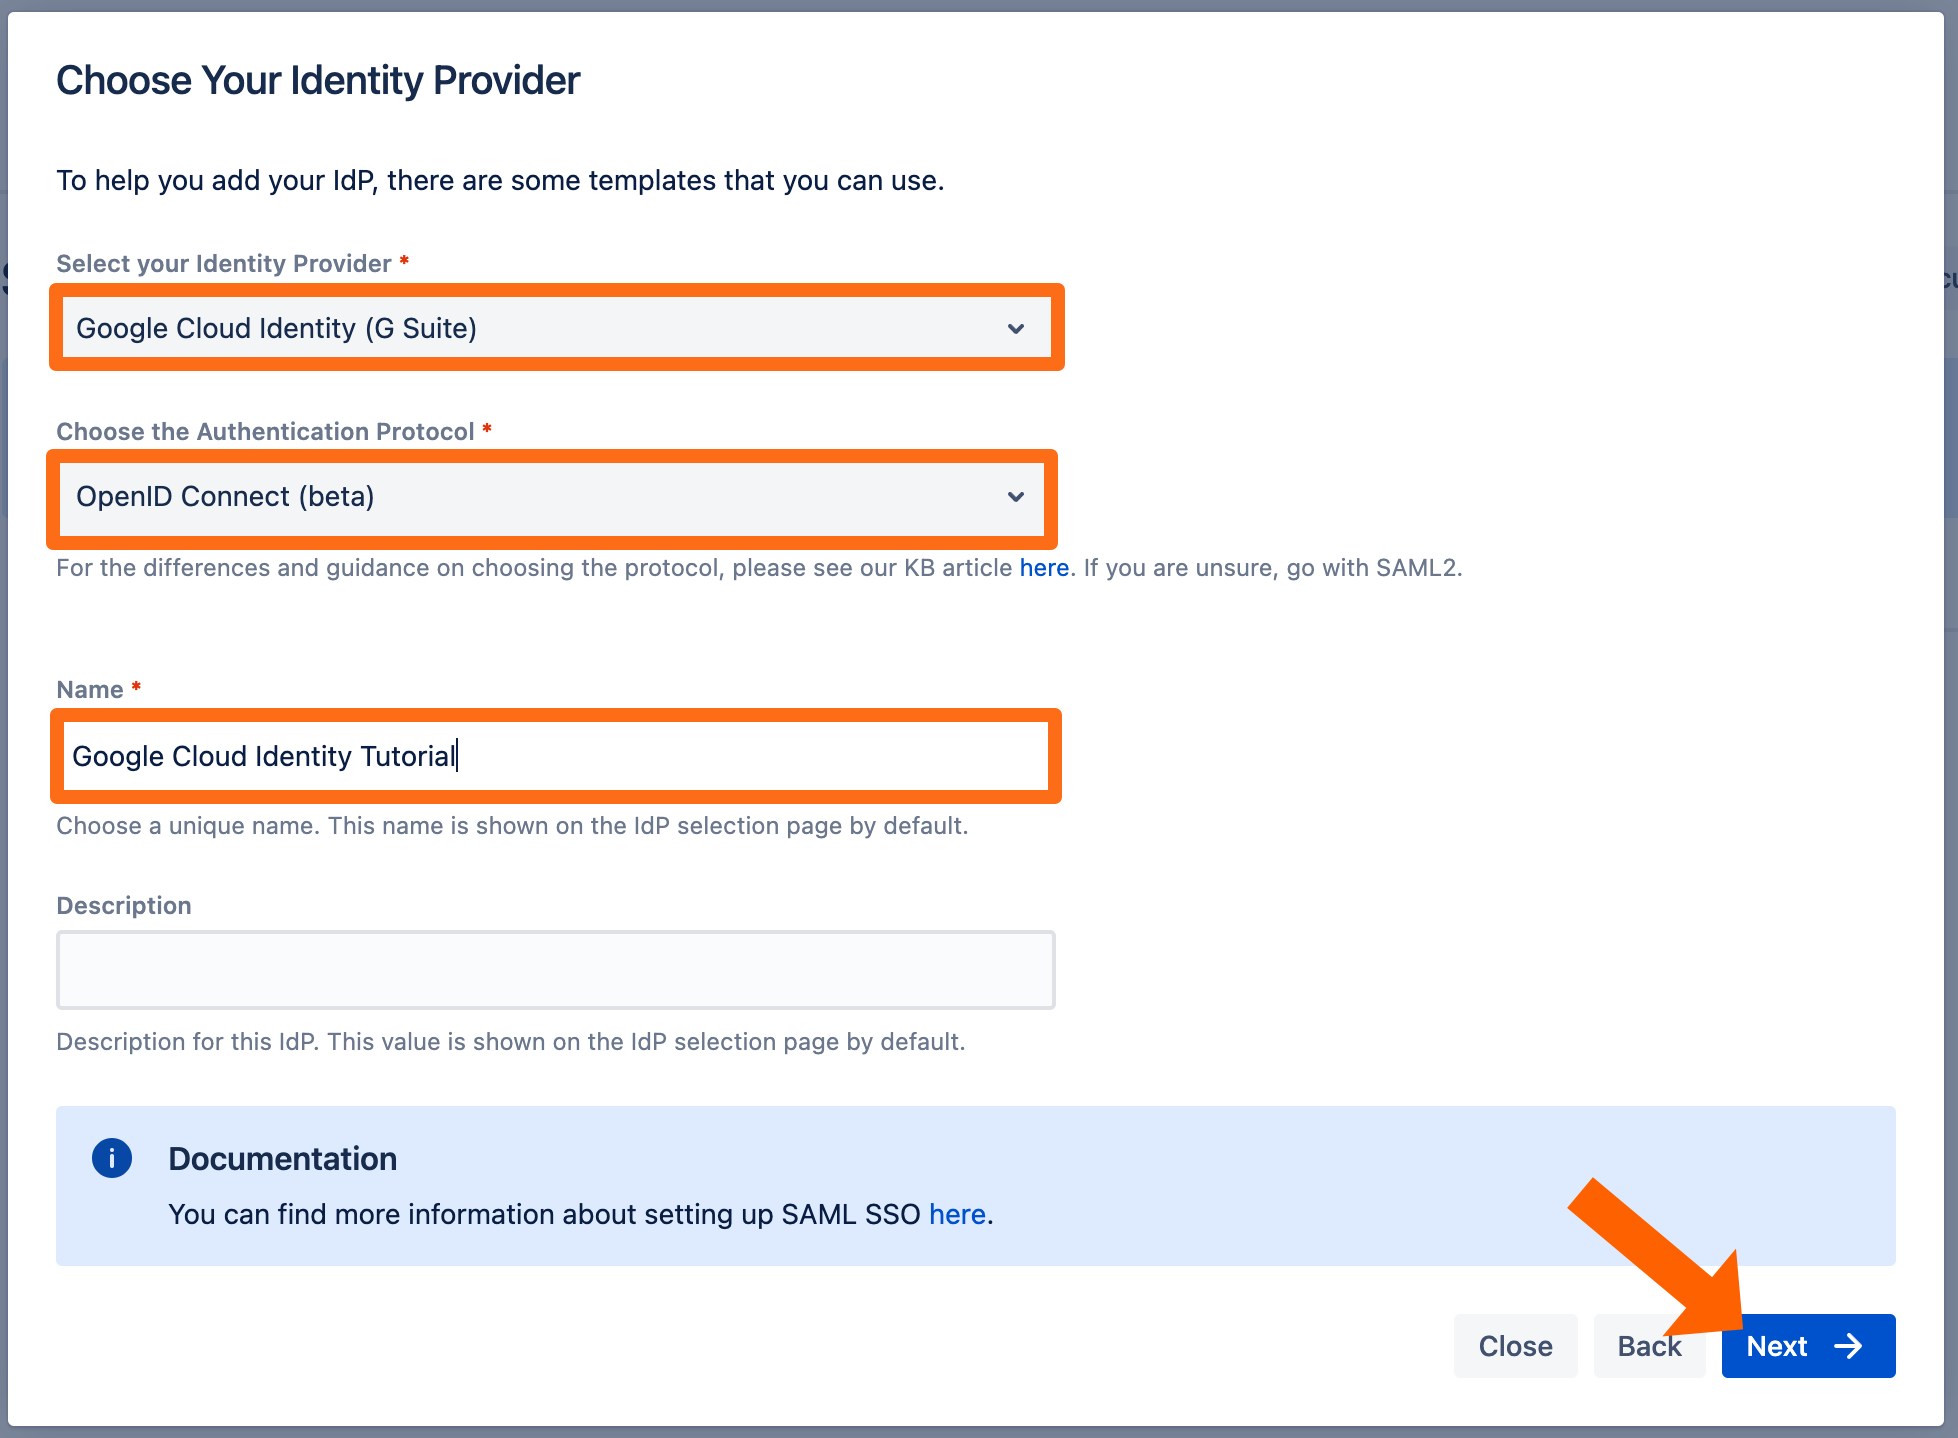
Copy the callback url to your favourite text editor. 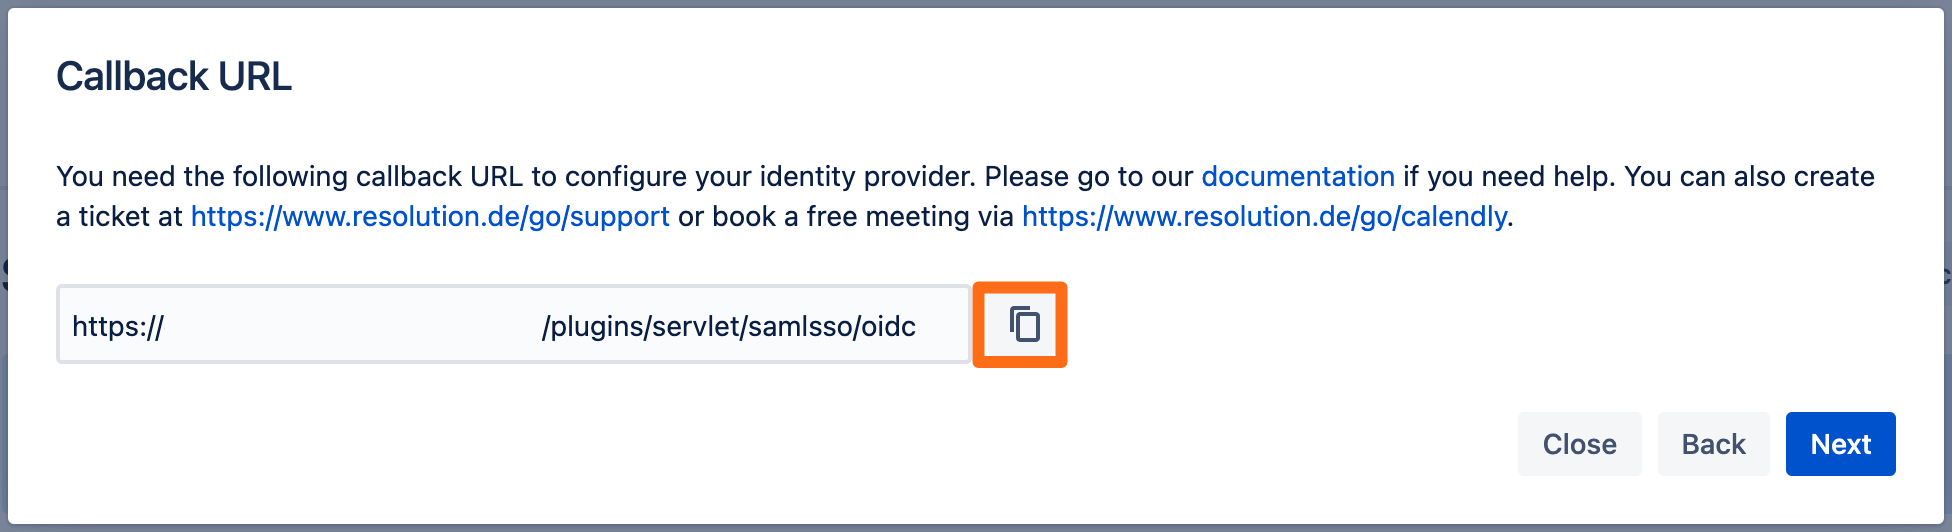
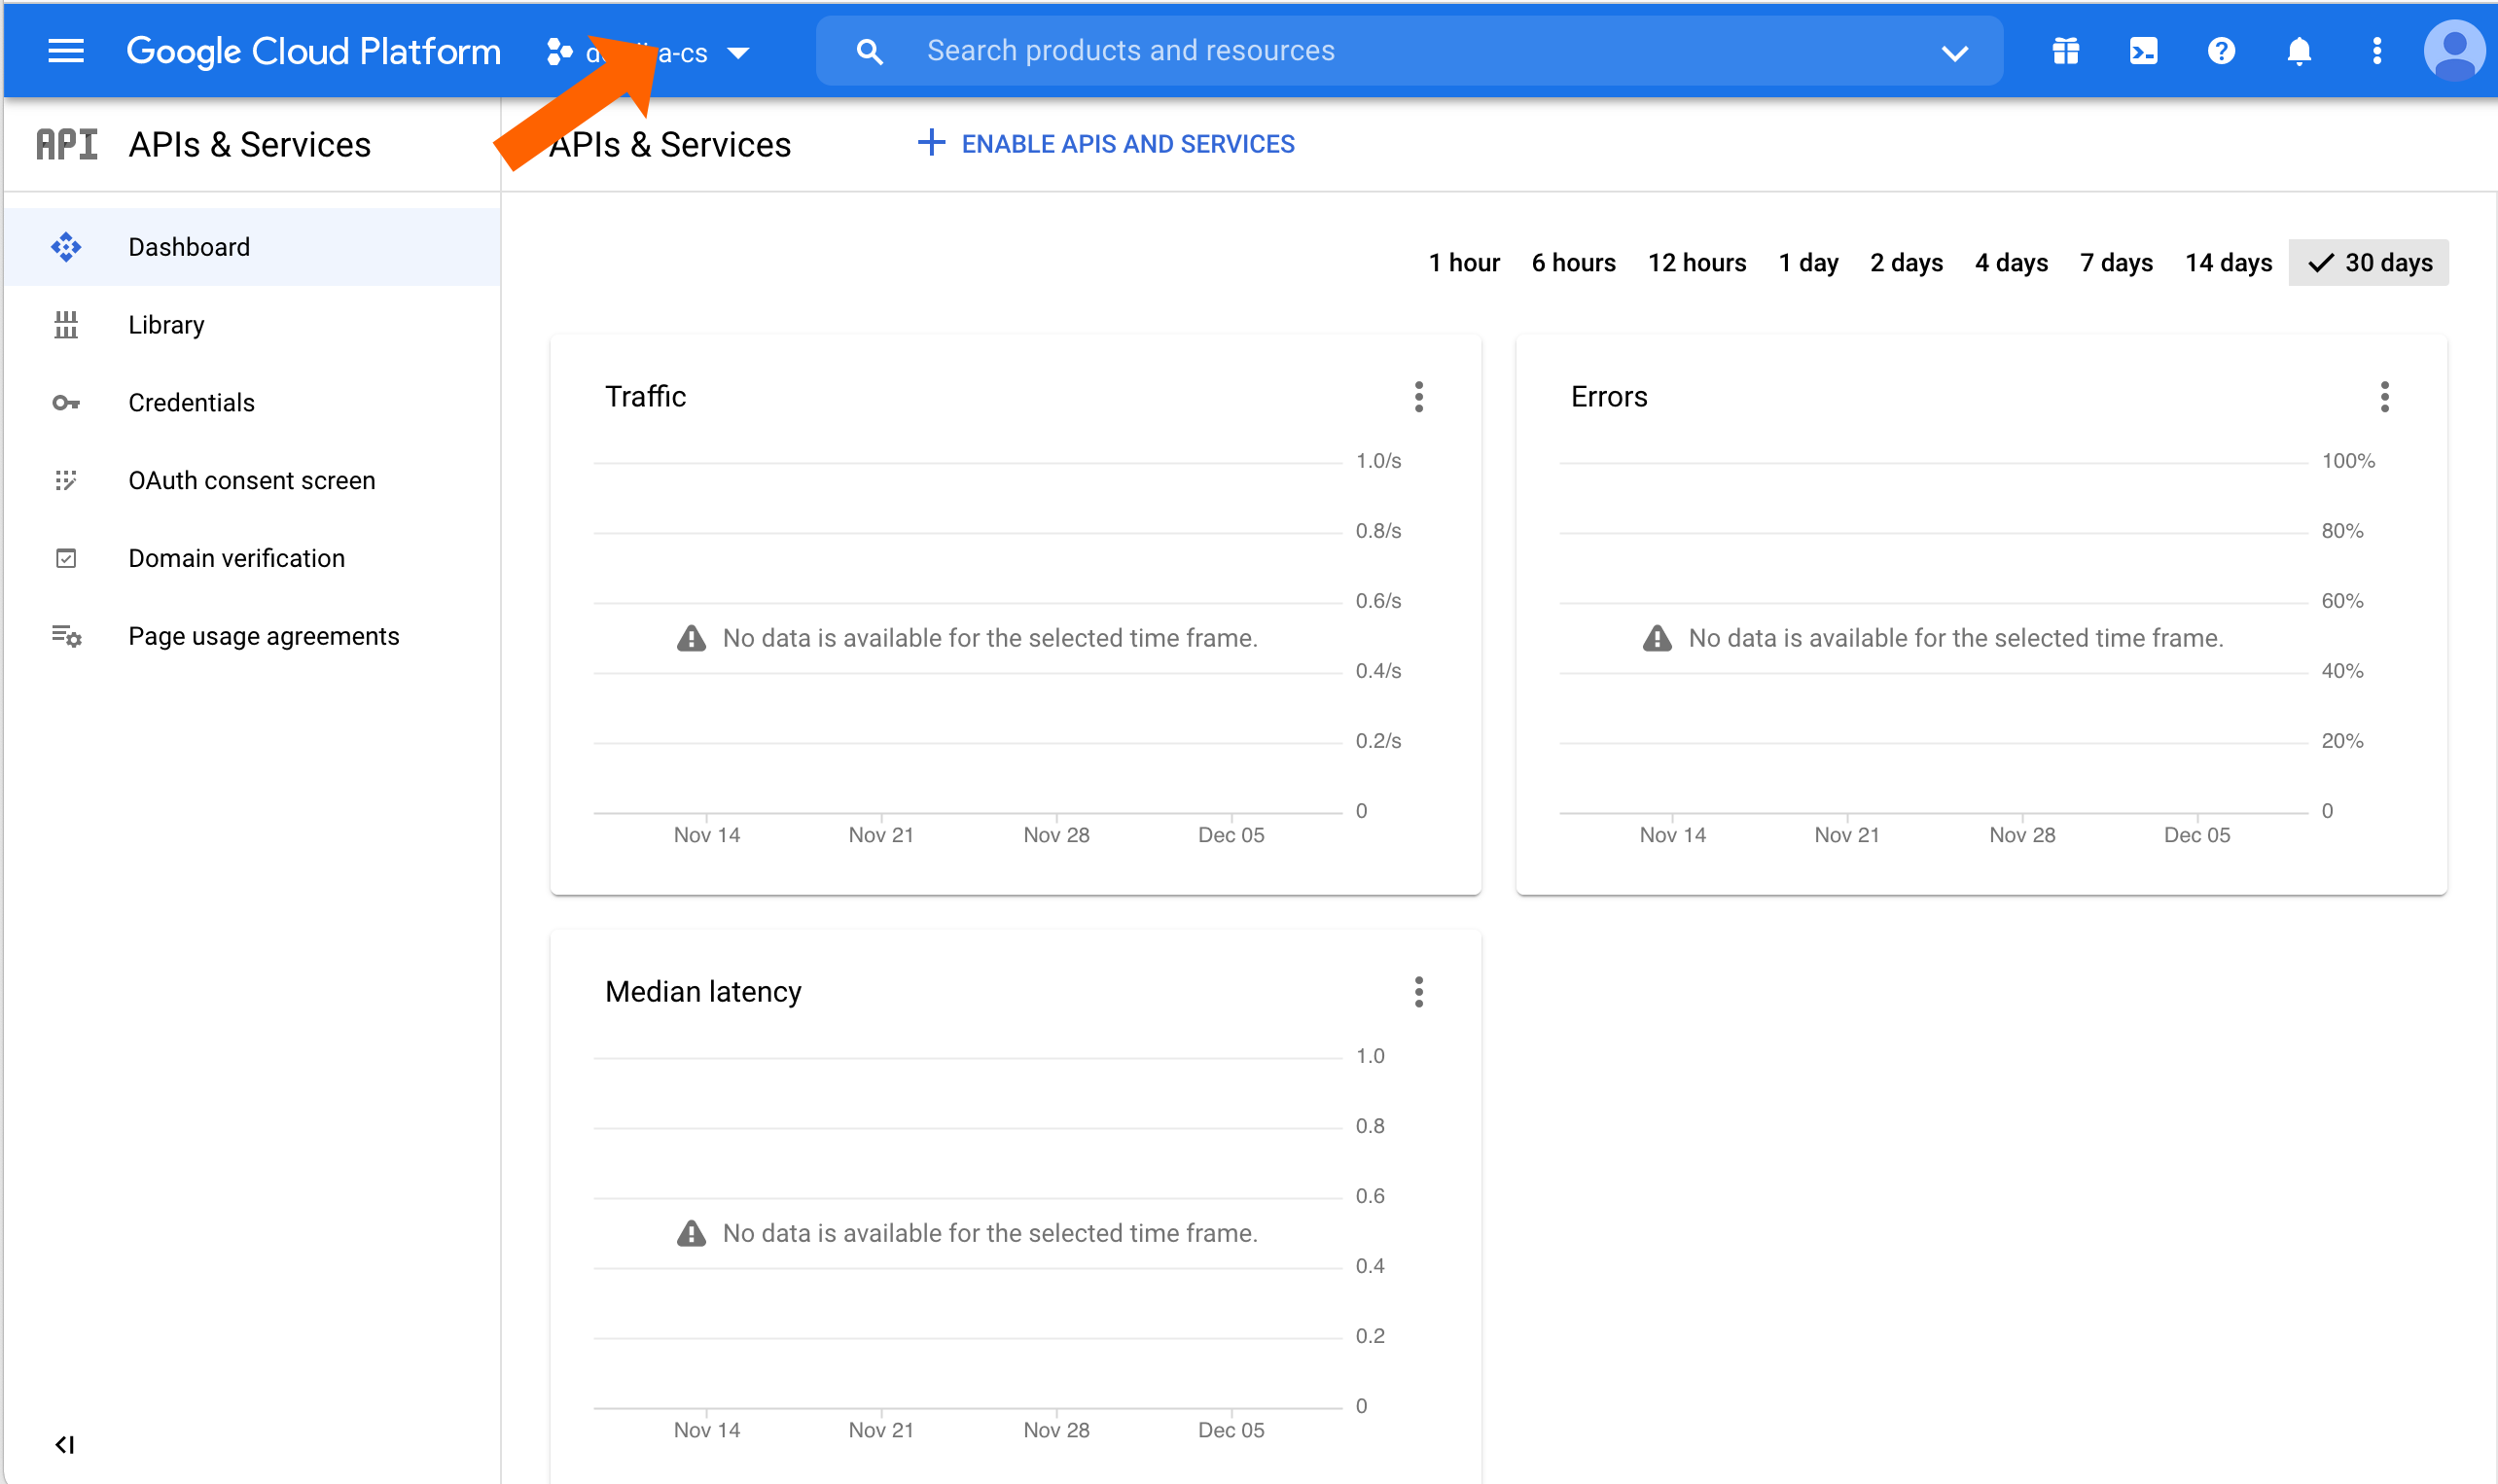
Go to https://console.cloud.google.com and login as an administrator.
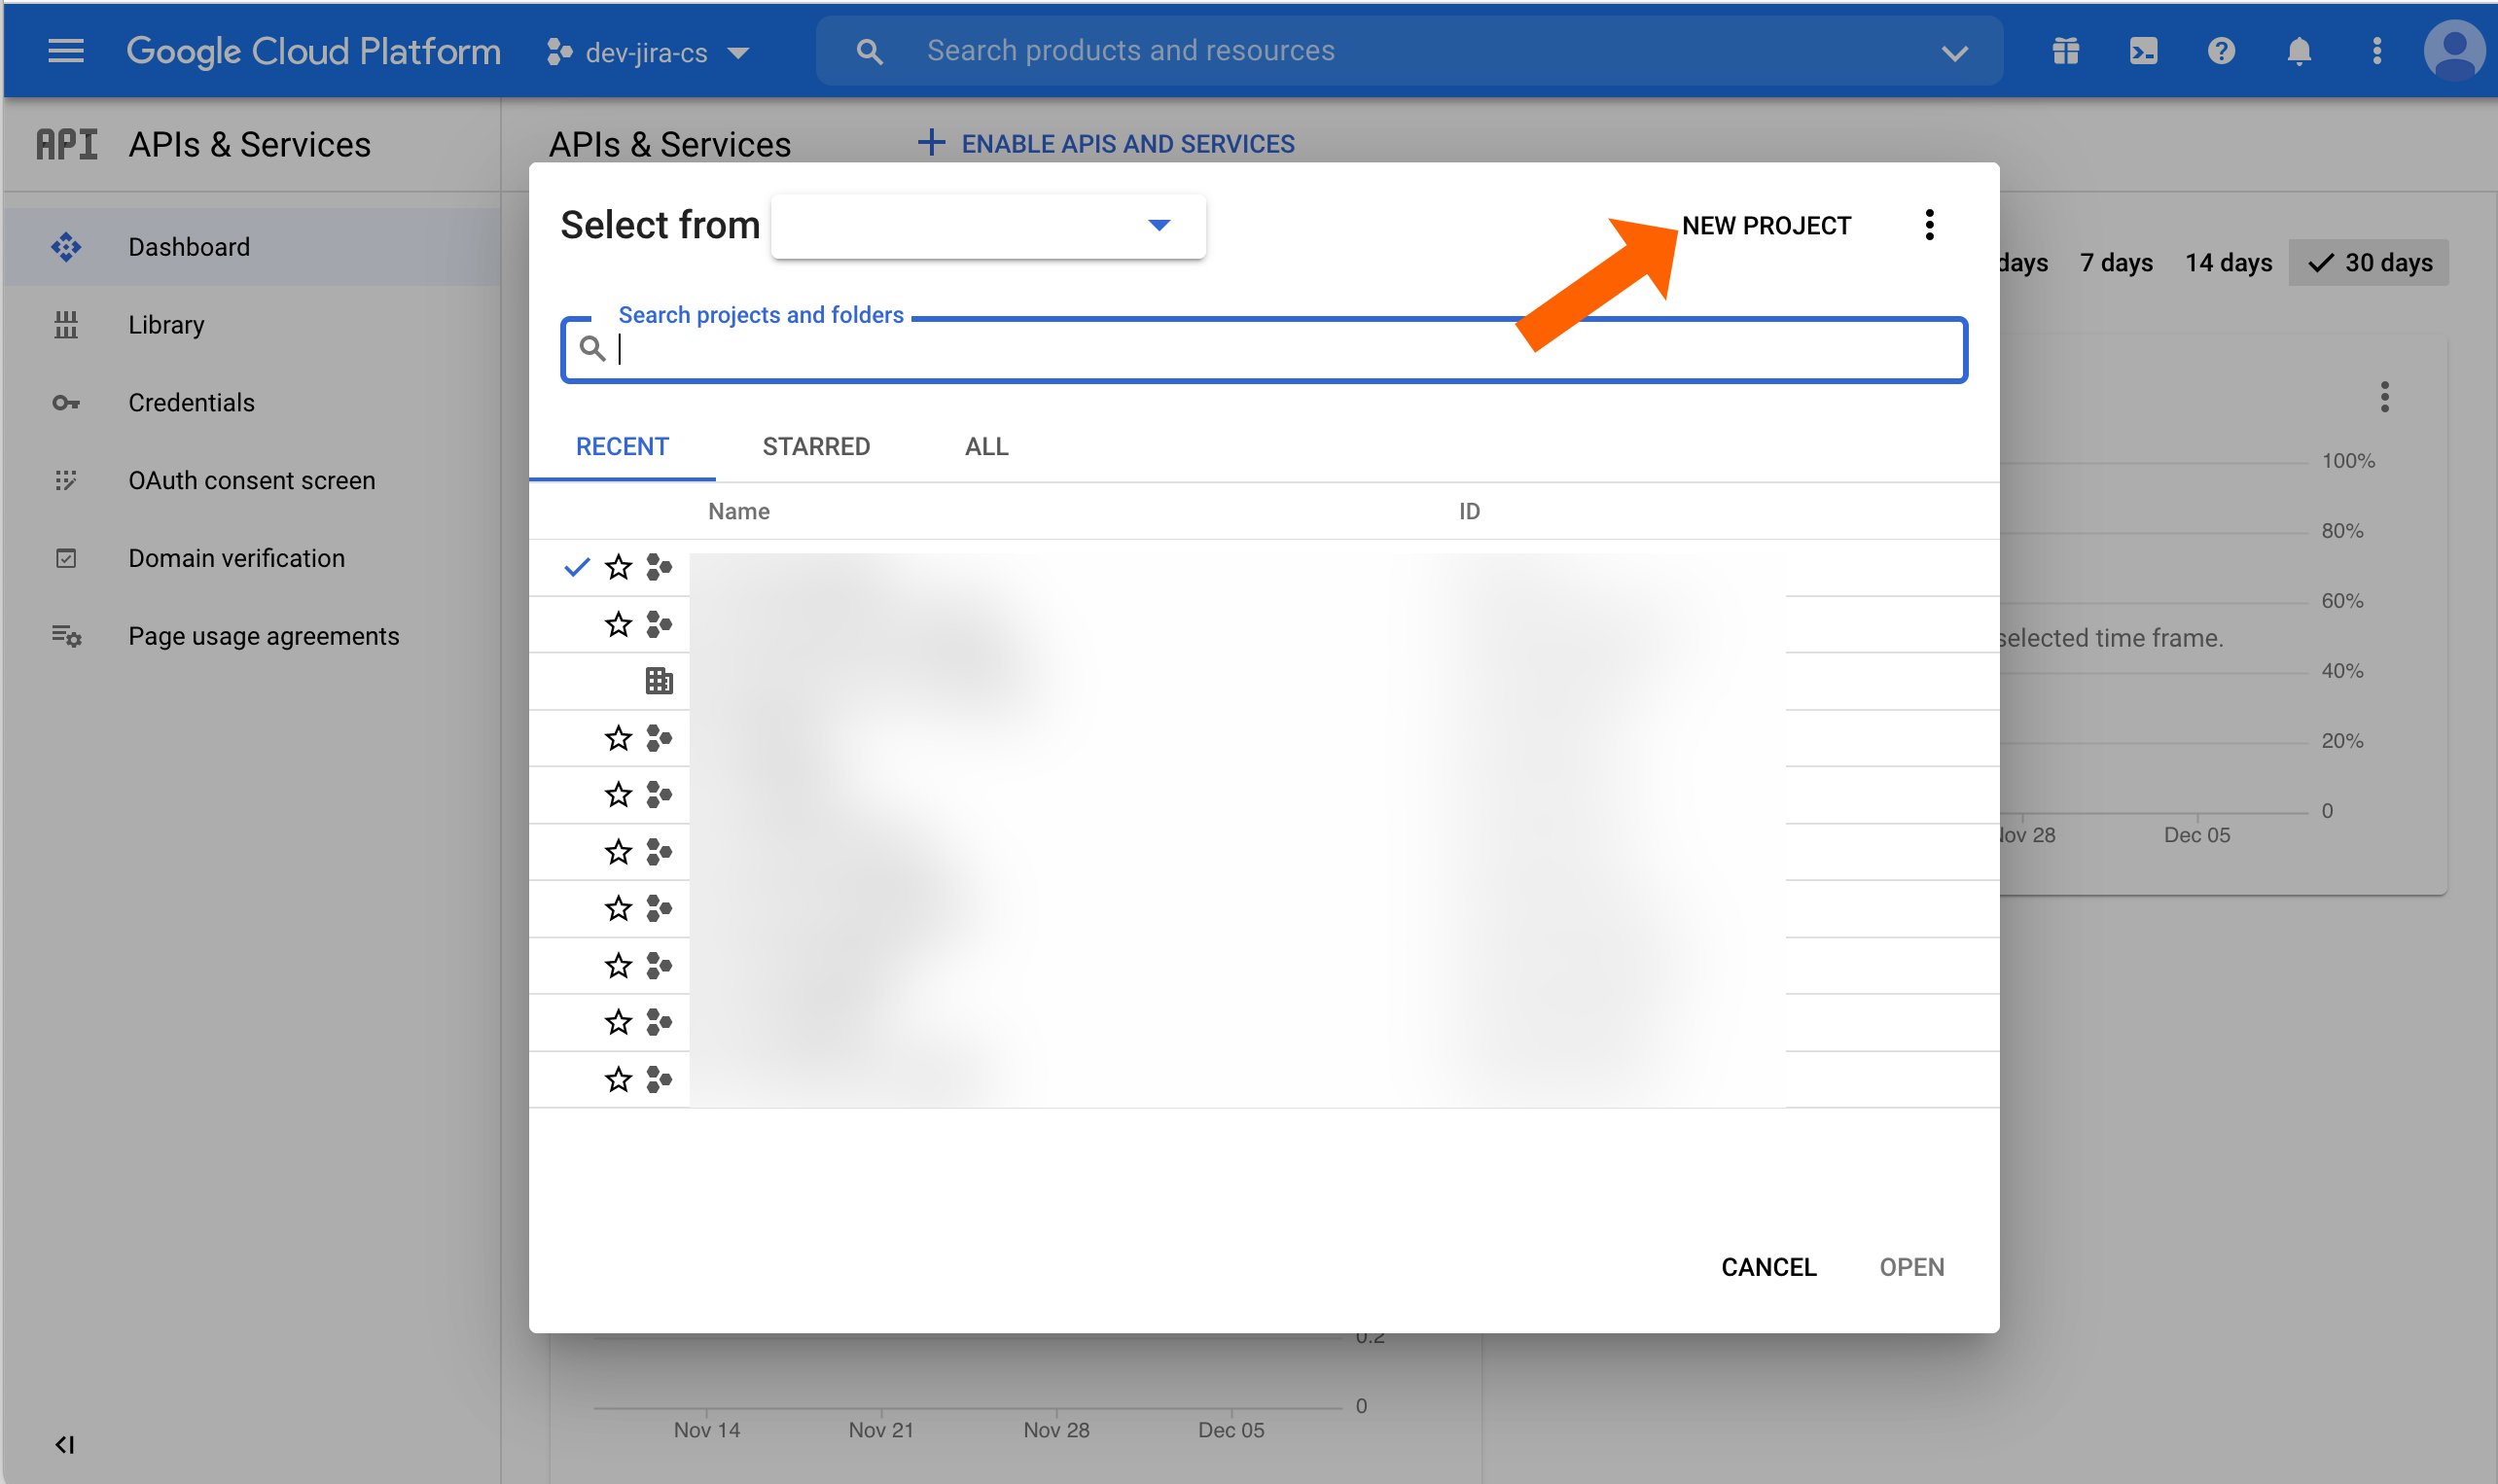
Click the name of the current loaded project.
Click NEW PROJECT.
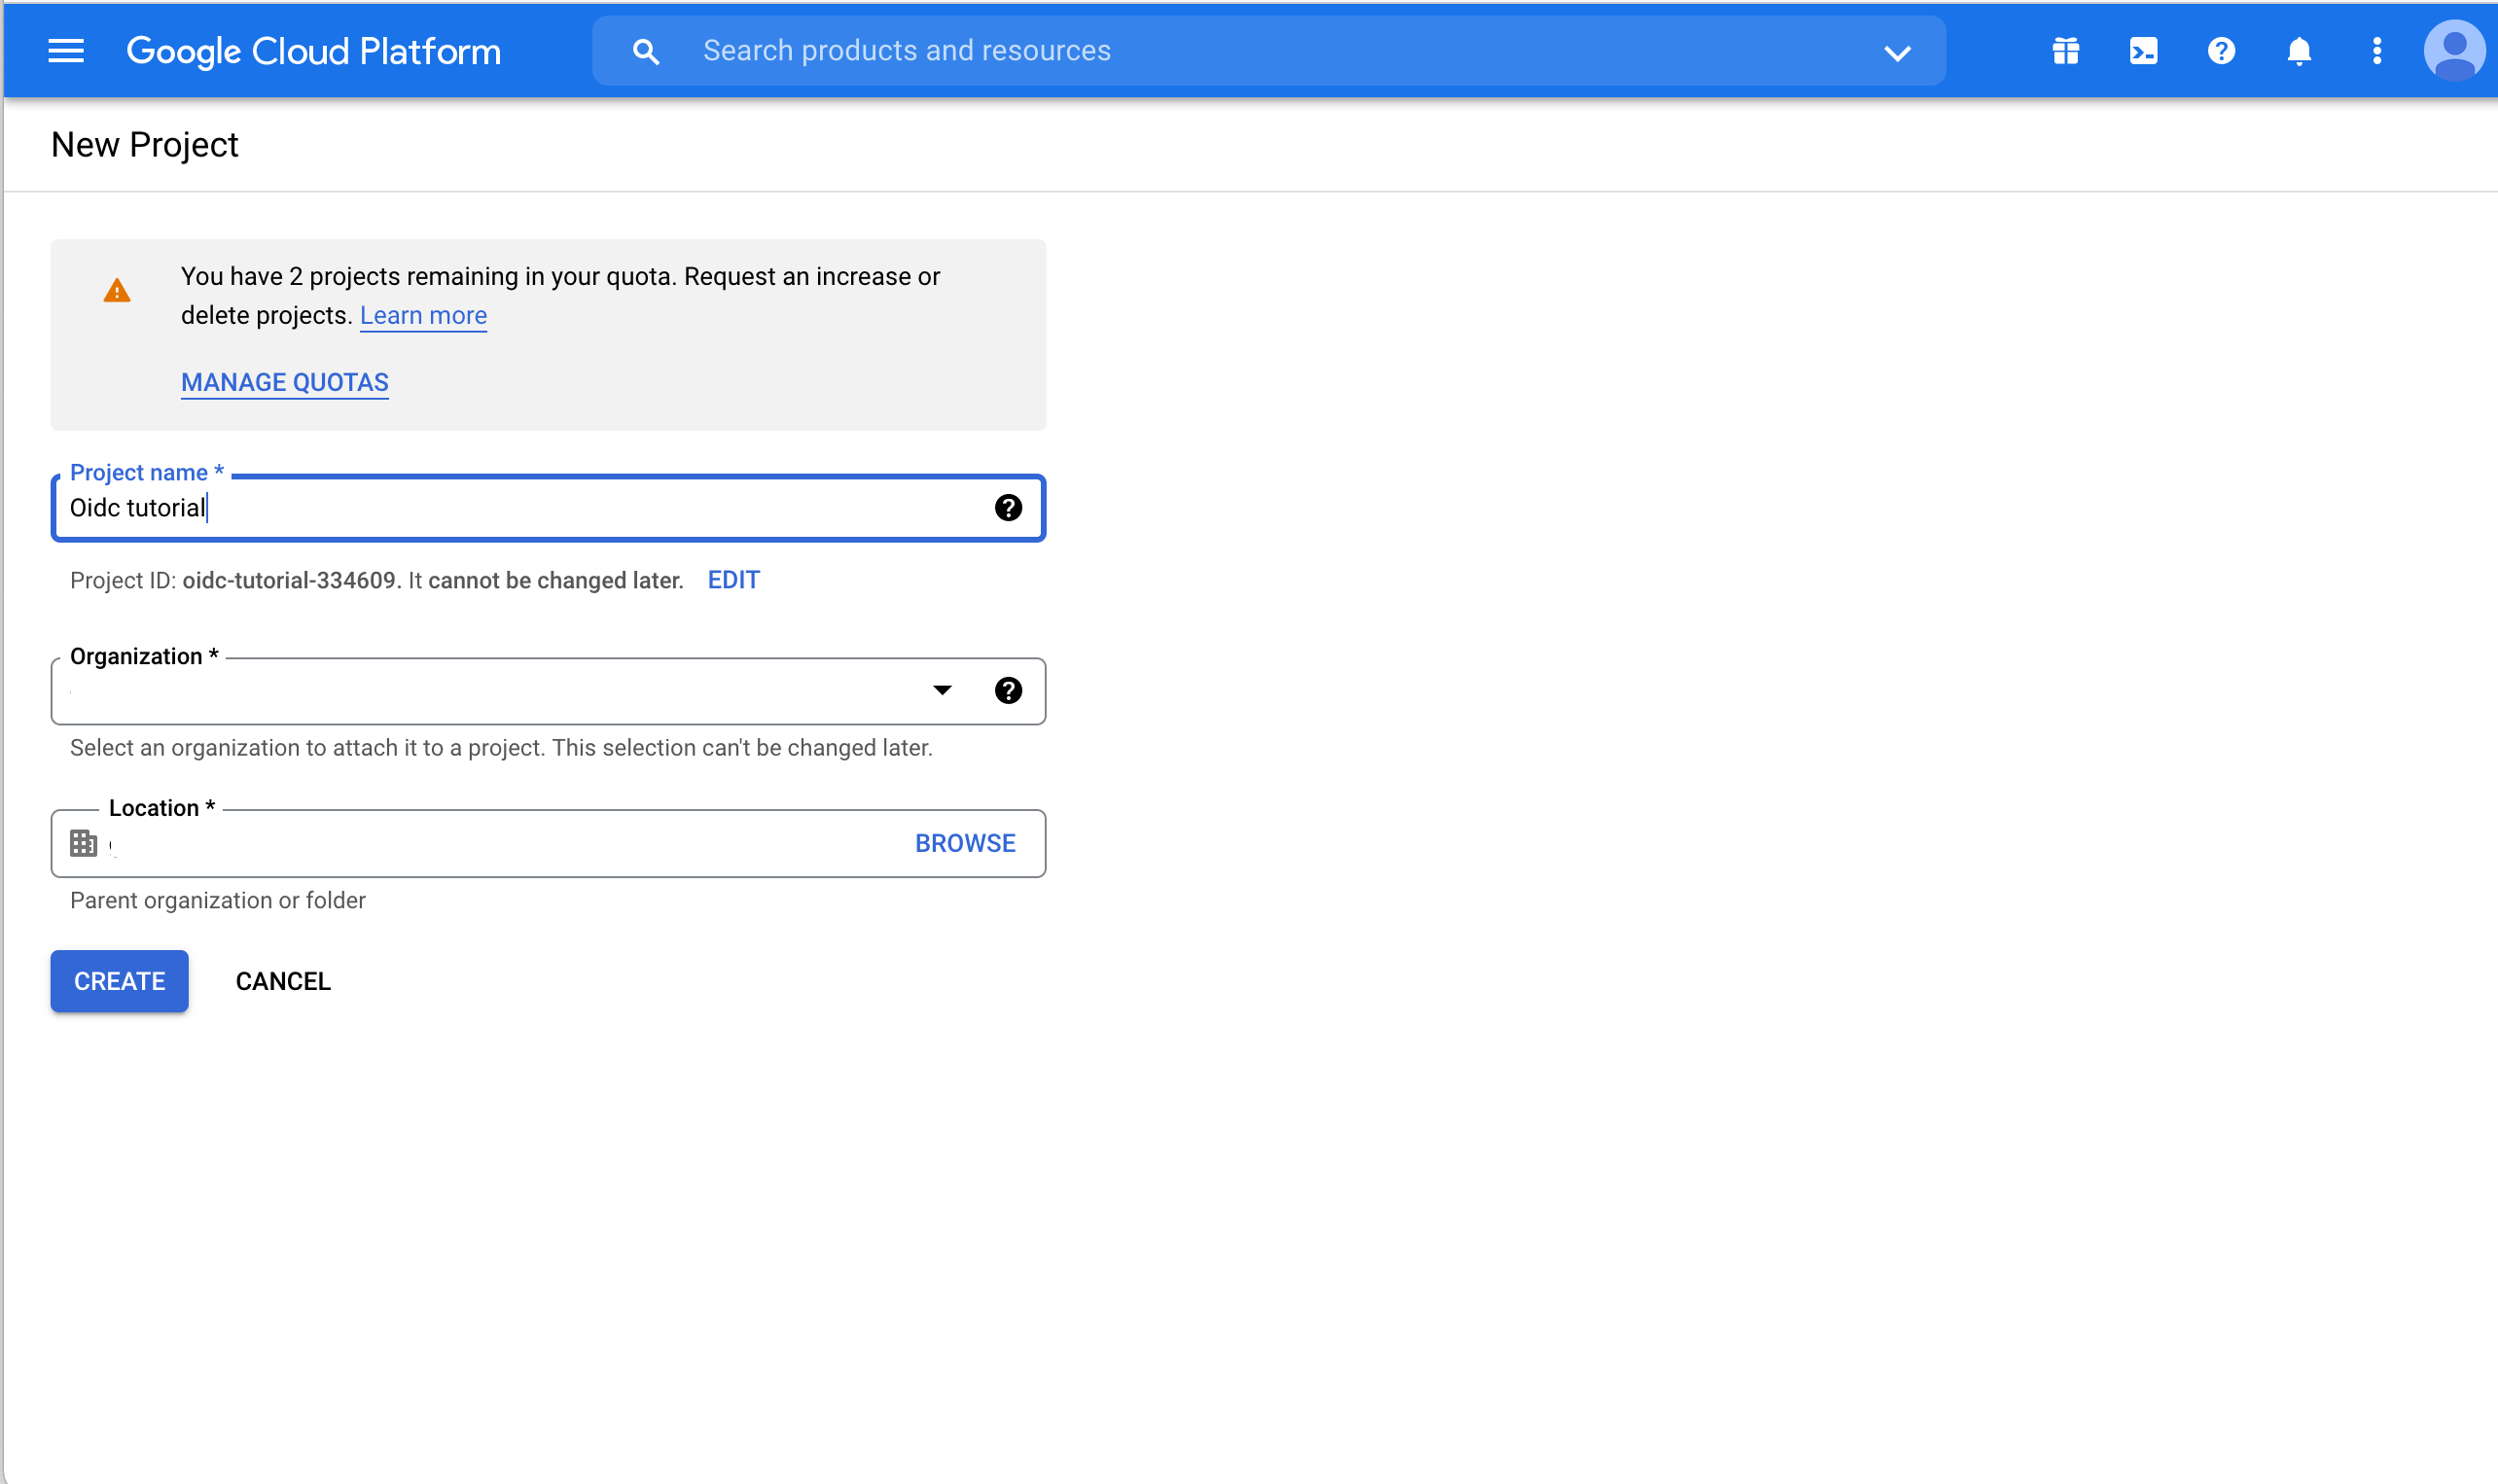
Enter a Project name and adjust the Organzization or Location options if needed.
Creating the project can take some seconds. When done, a notification popup will appear. Click SELECT PROJECT to switch to the just created project.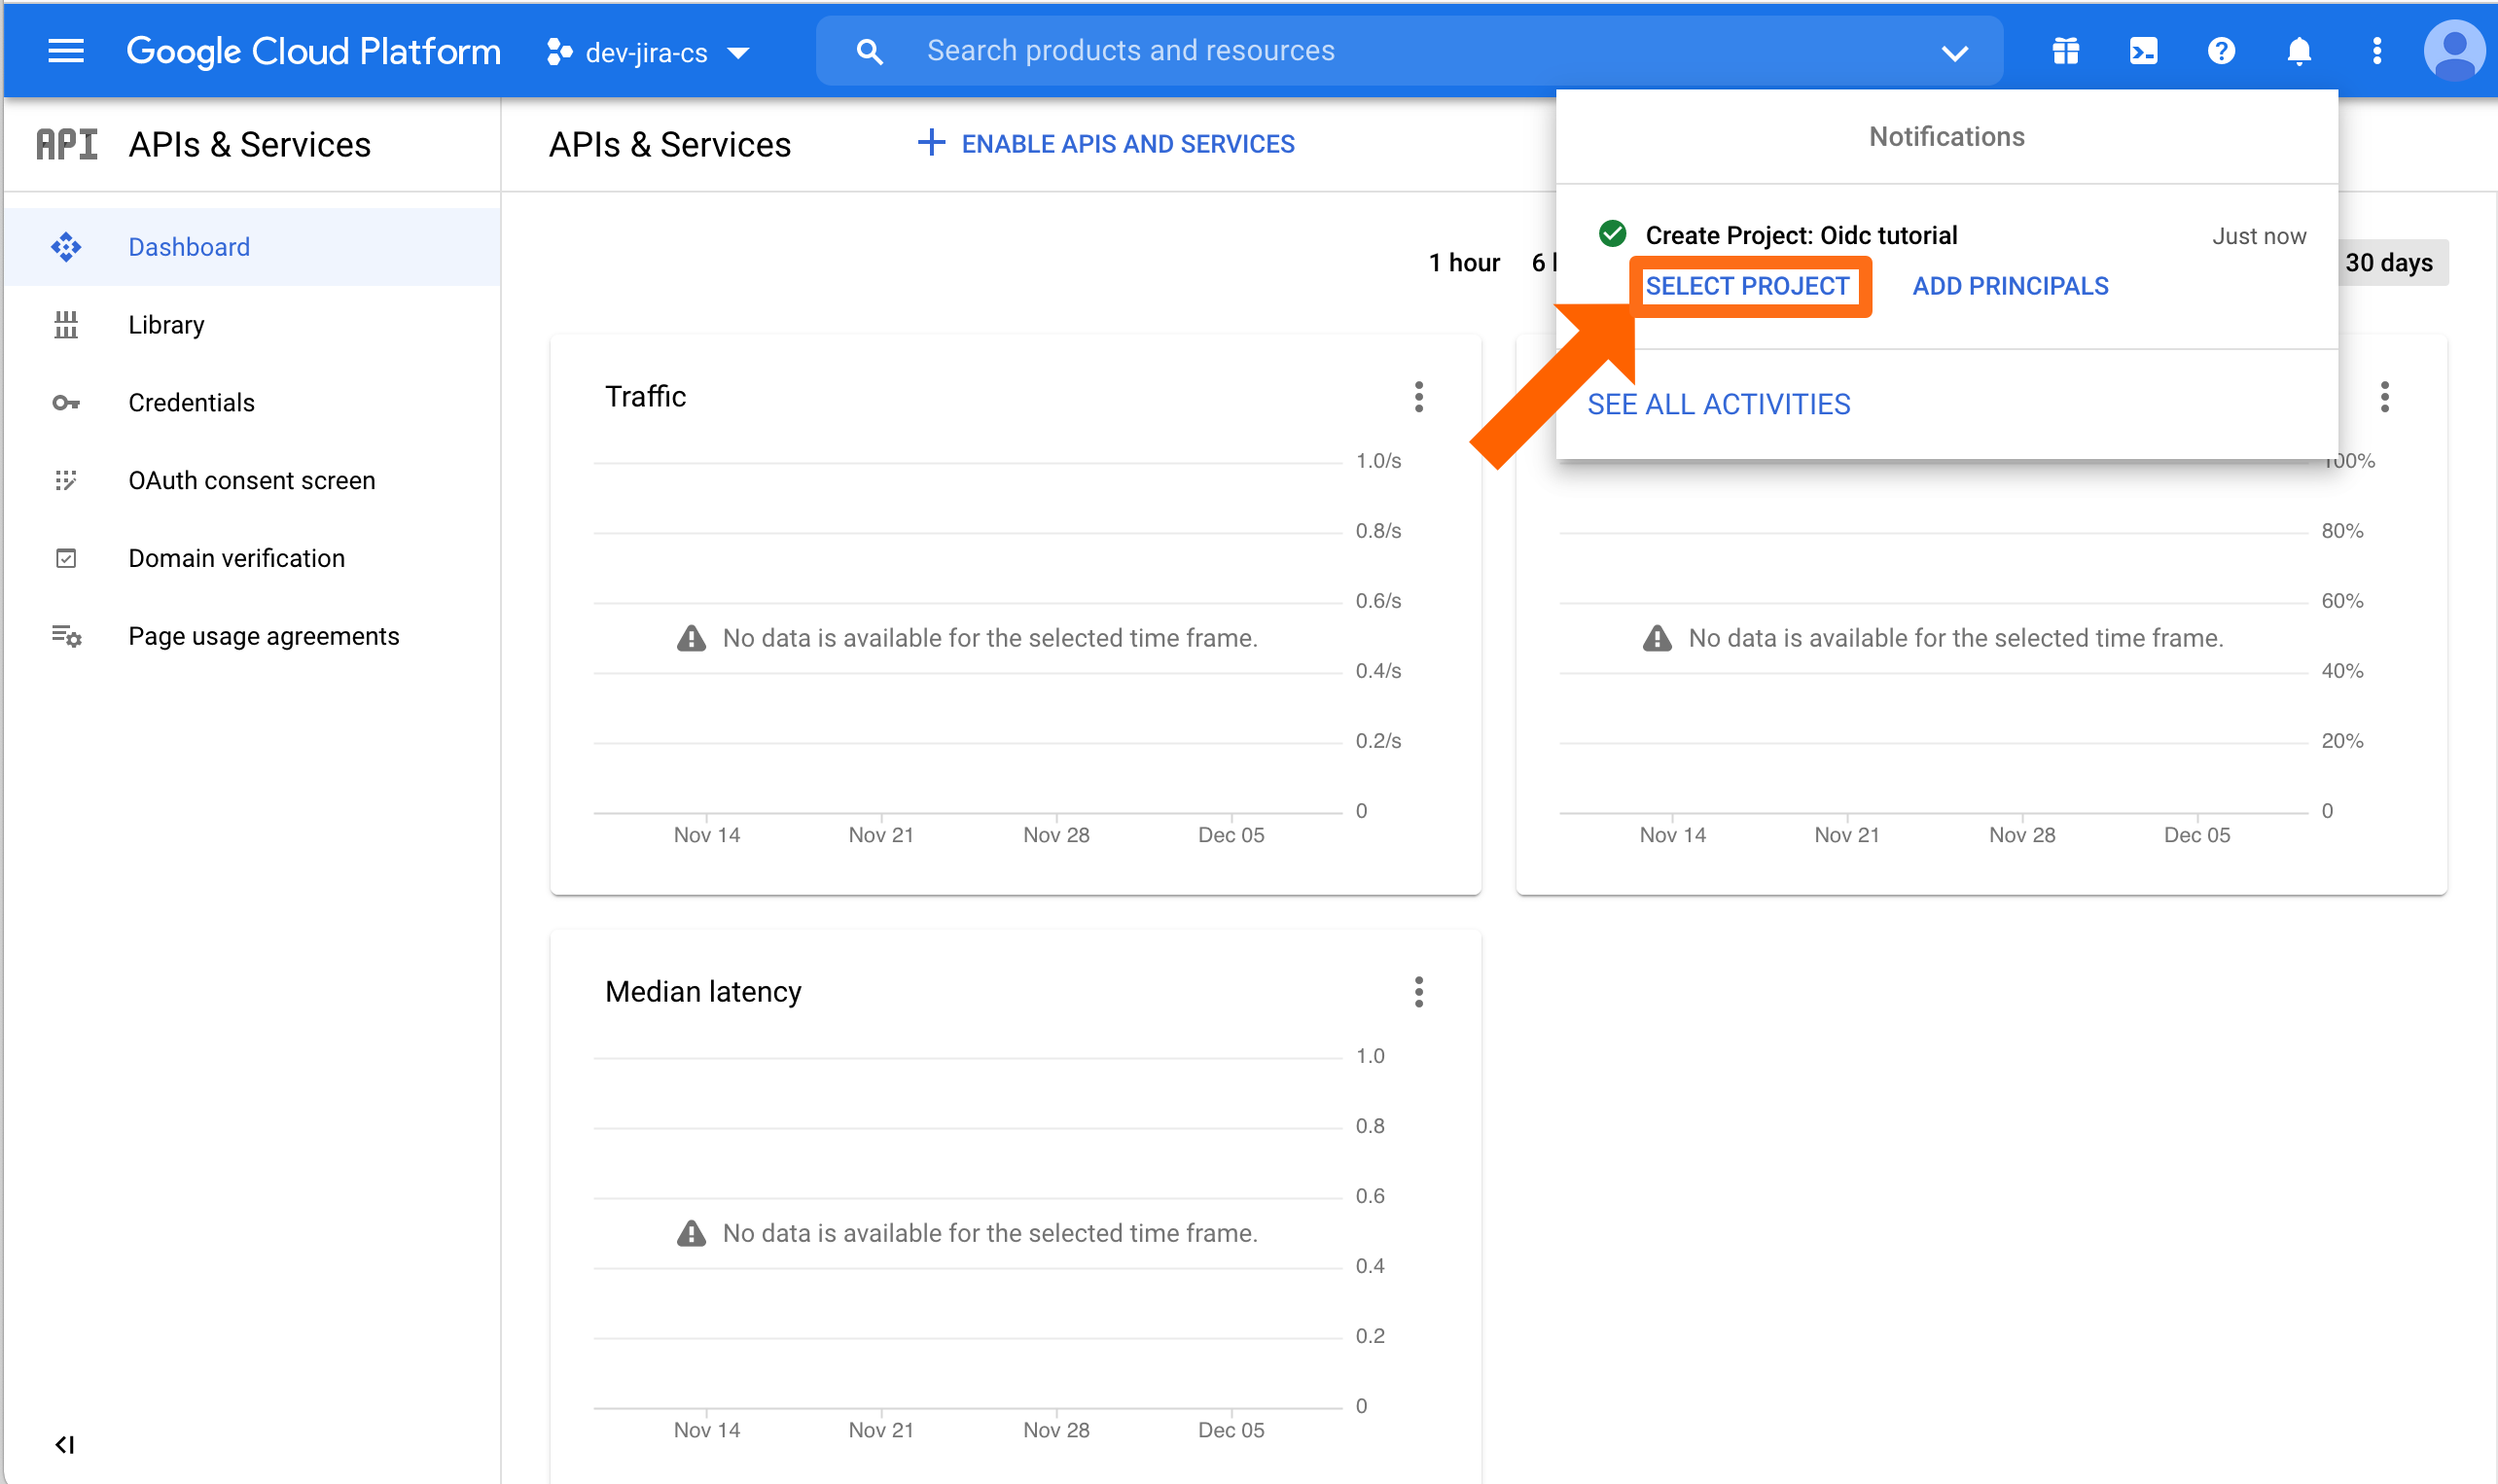
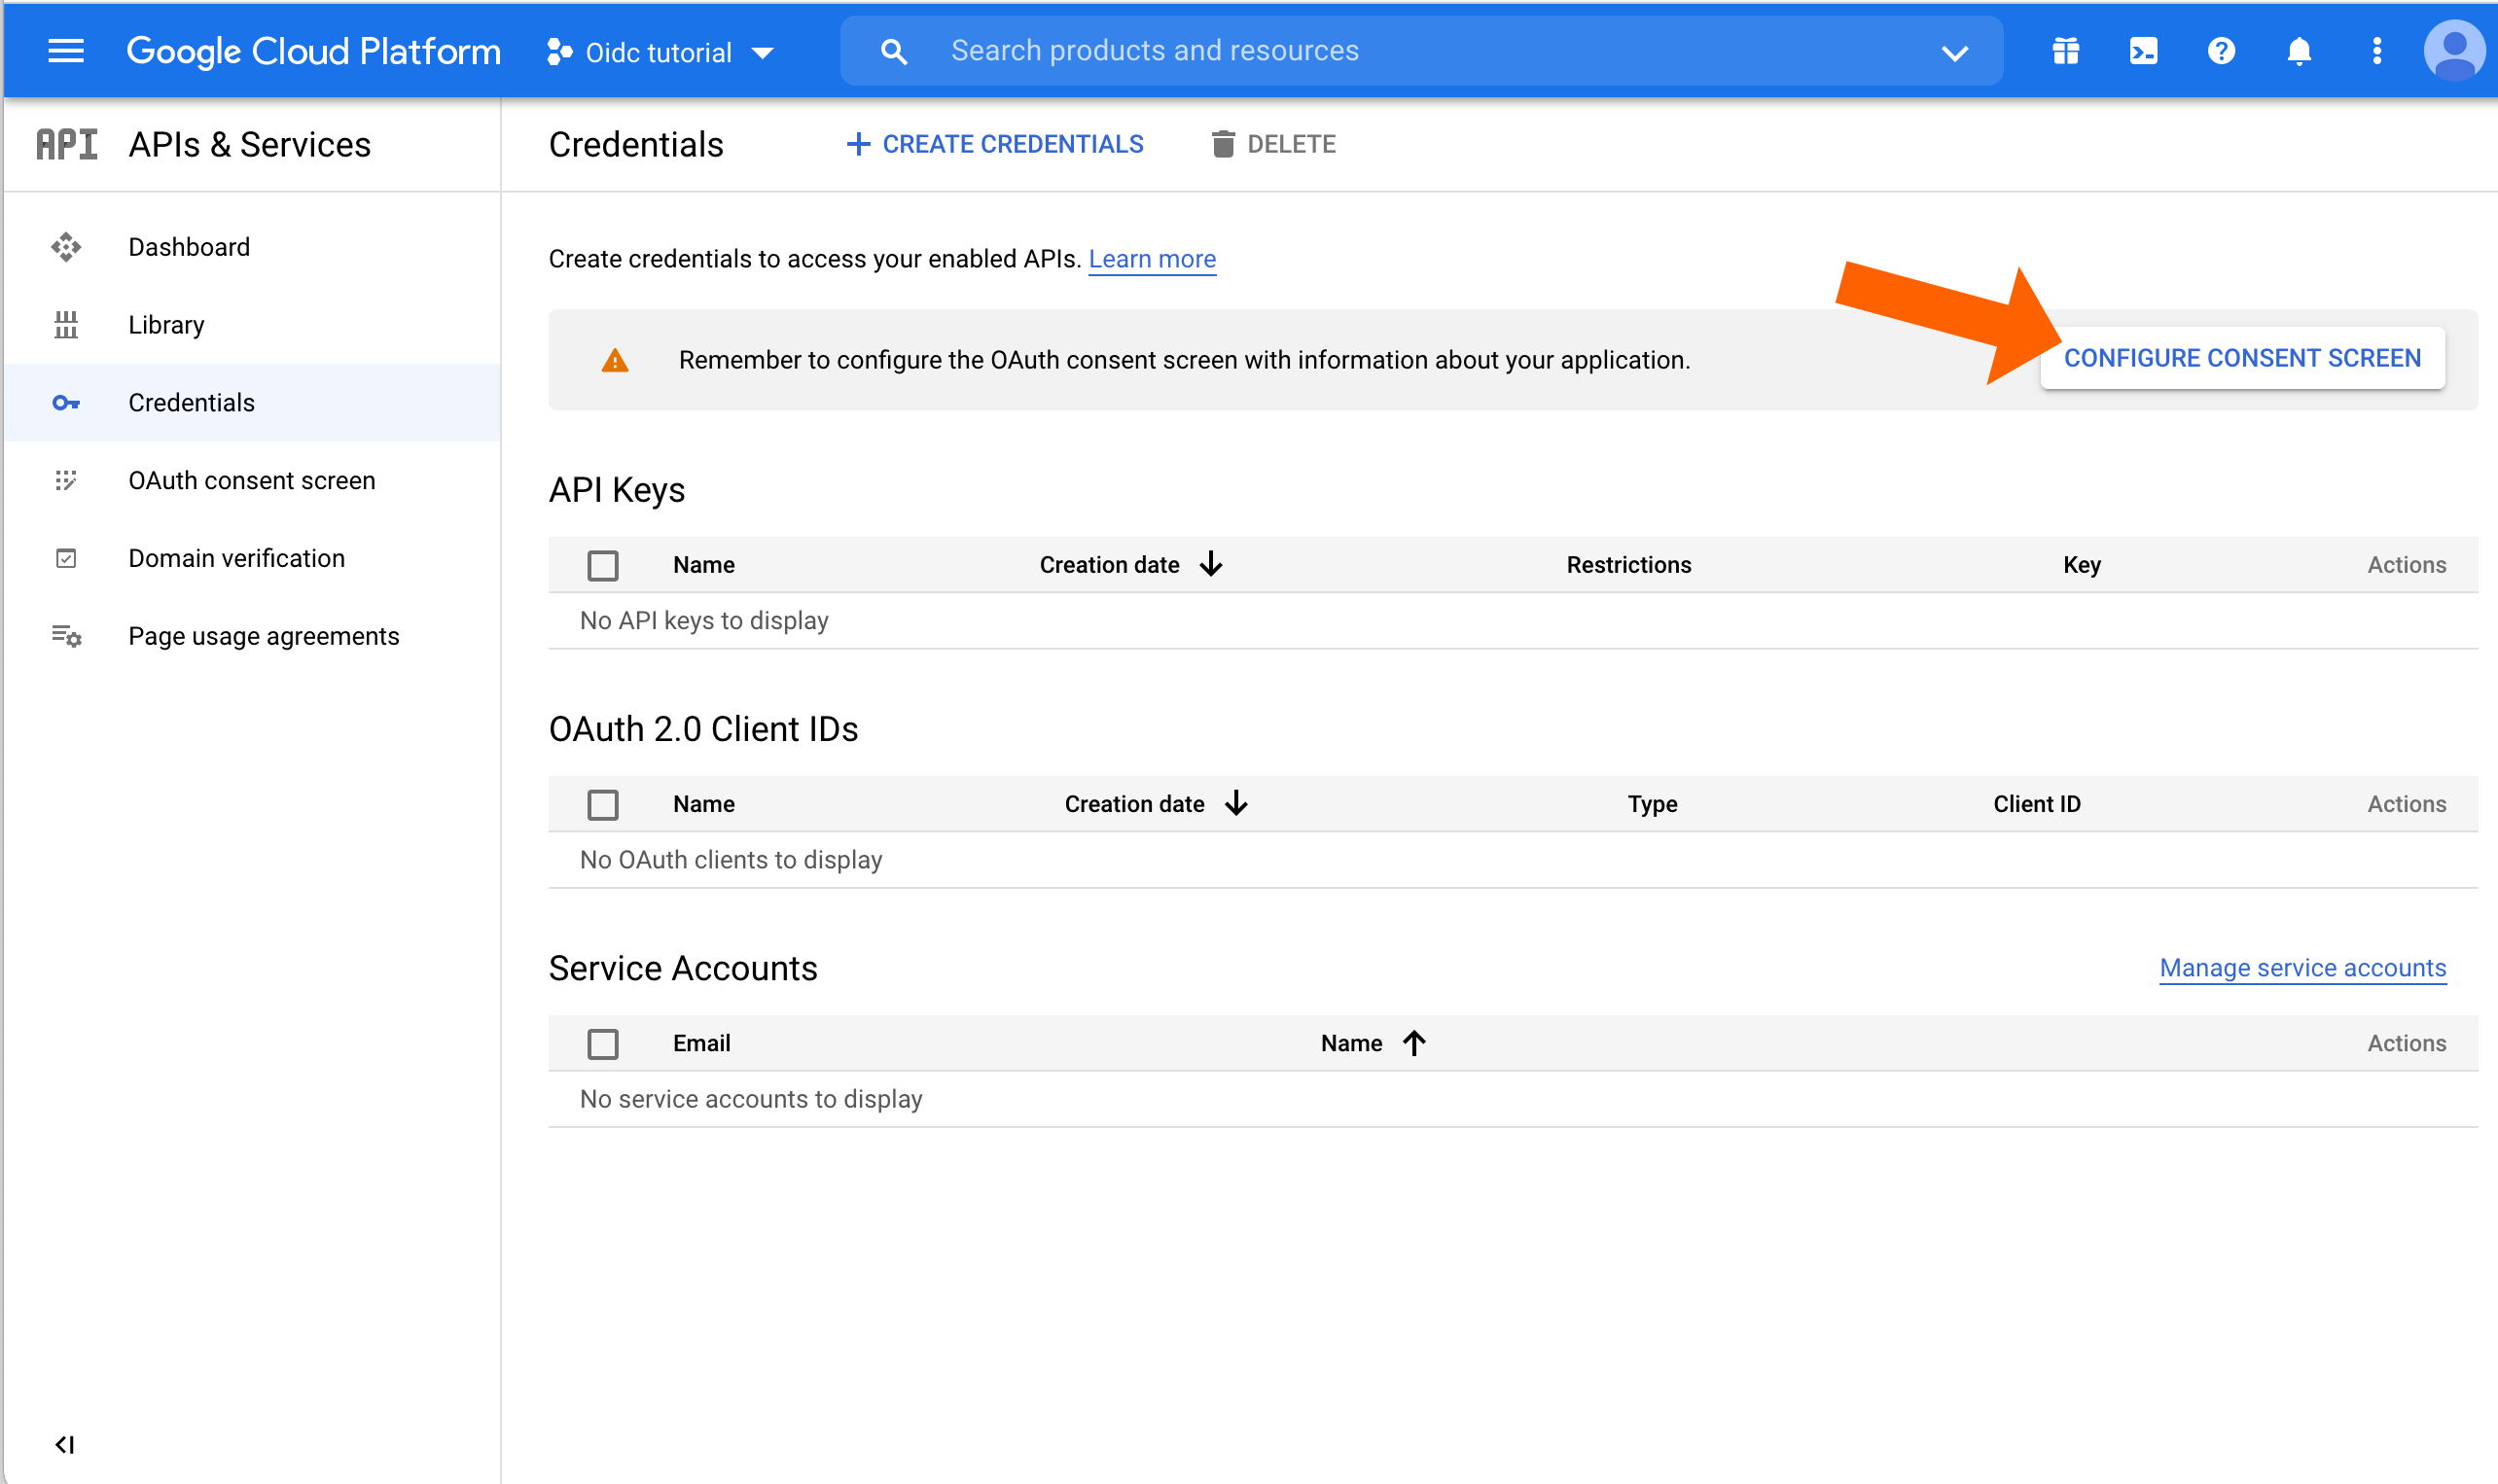
Now, we need to configure credentials and the consent screen. Click Credentials.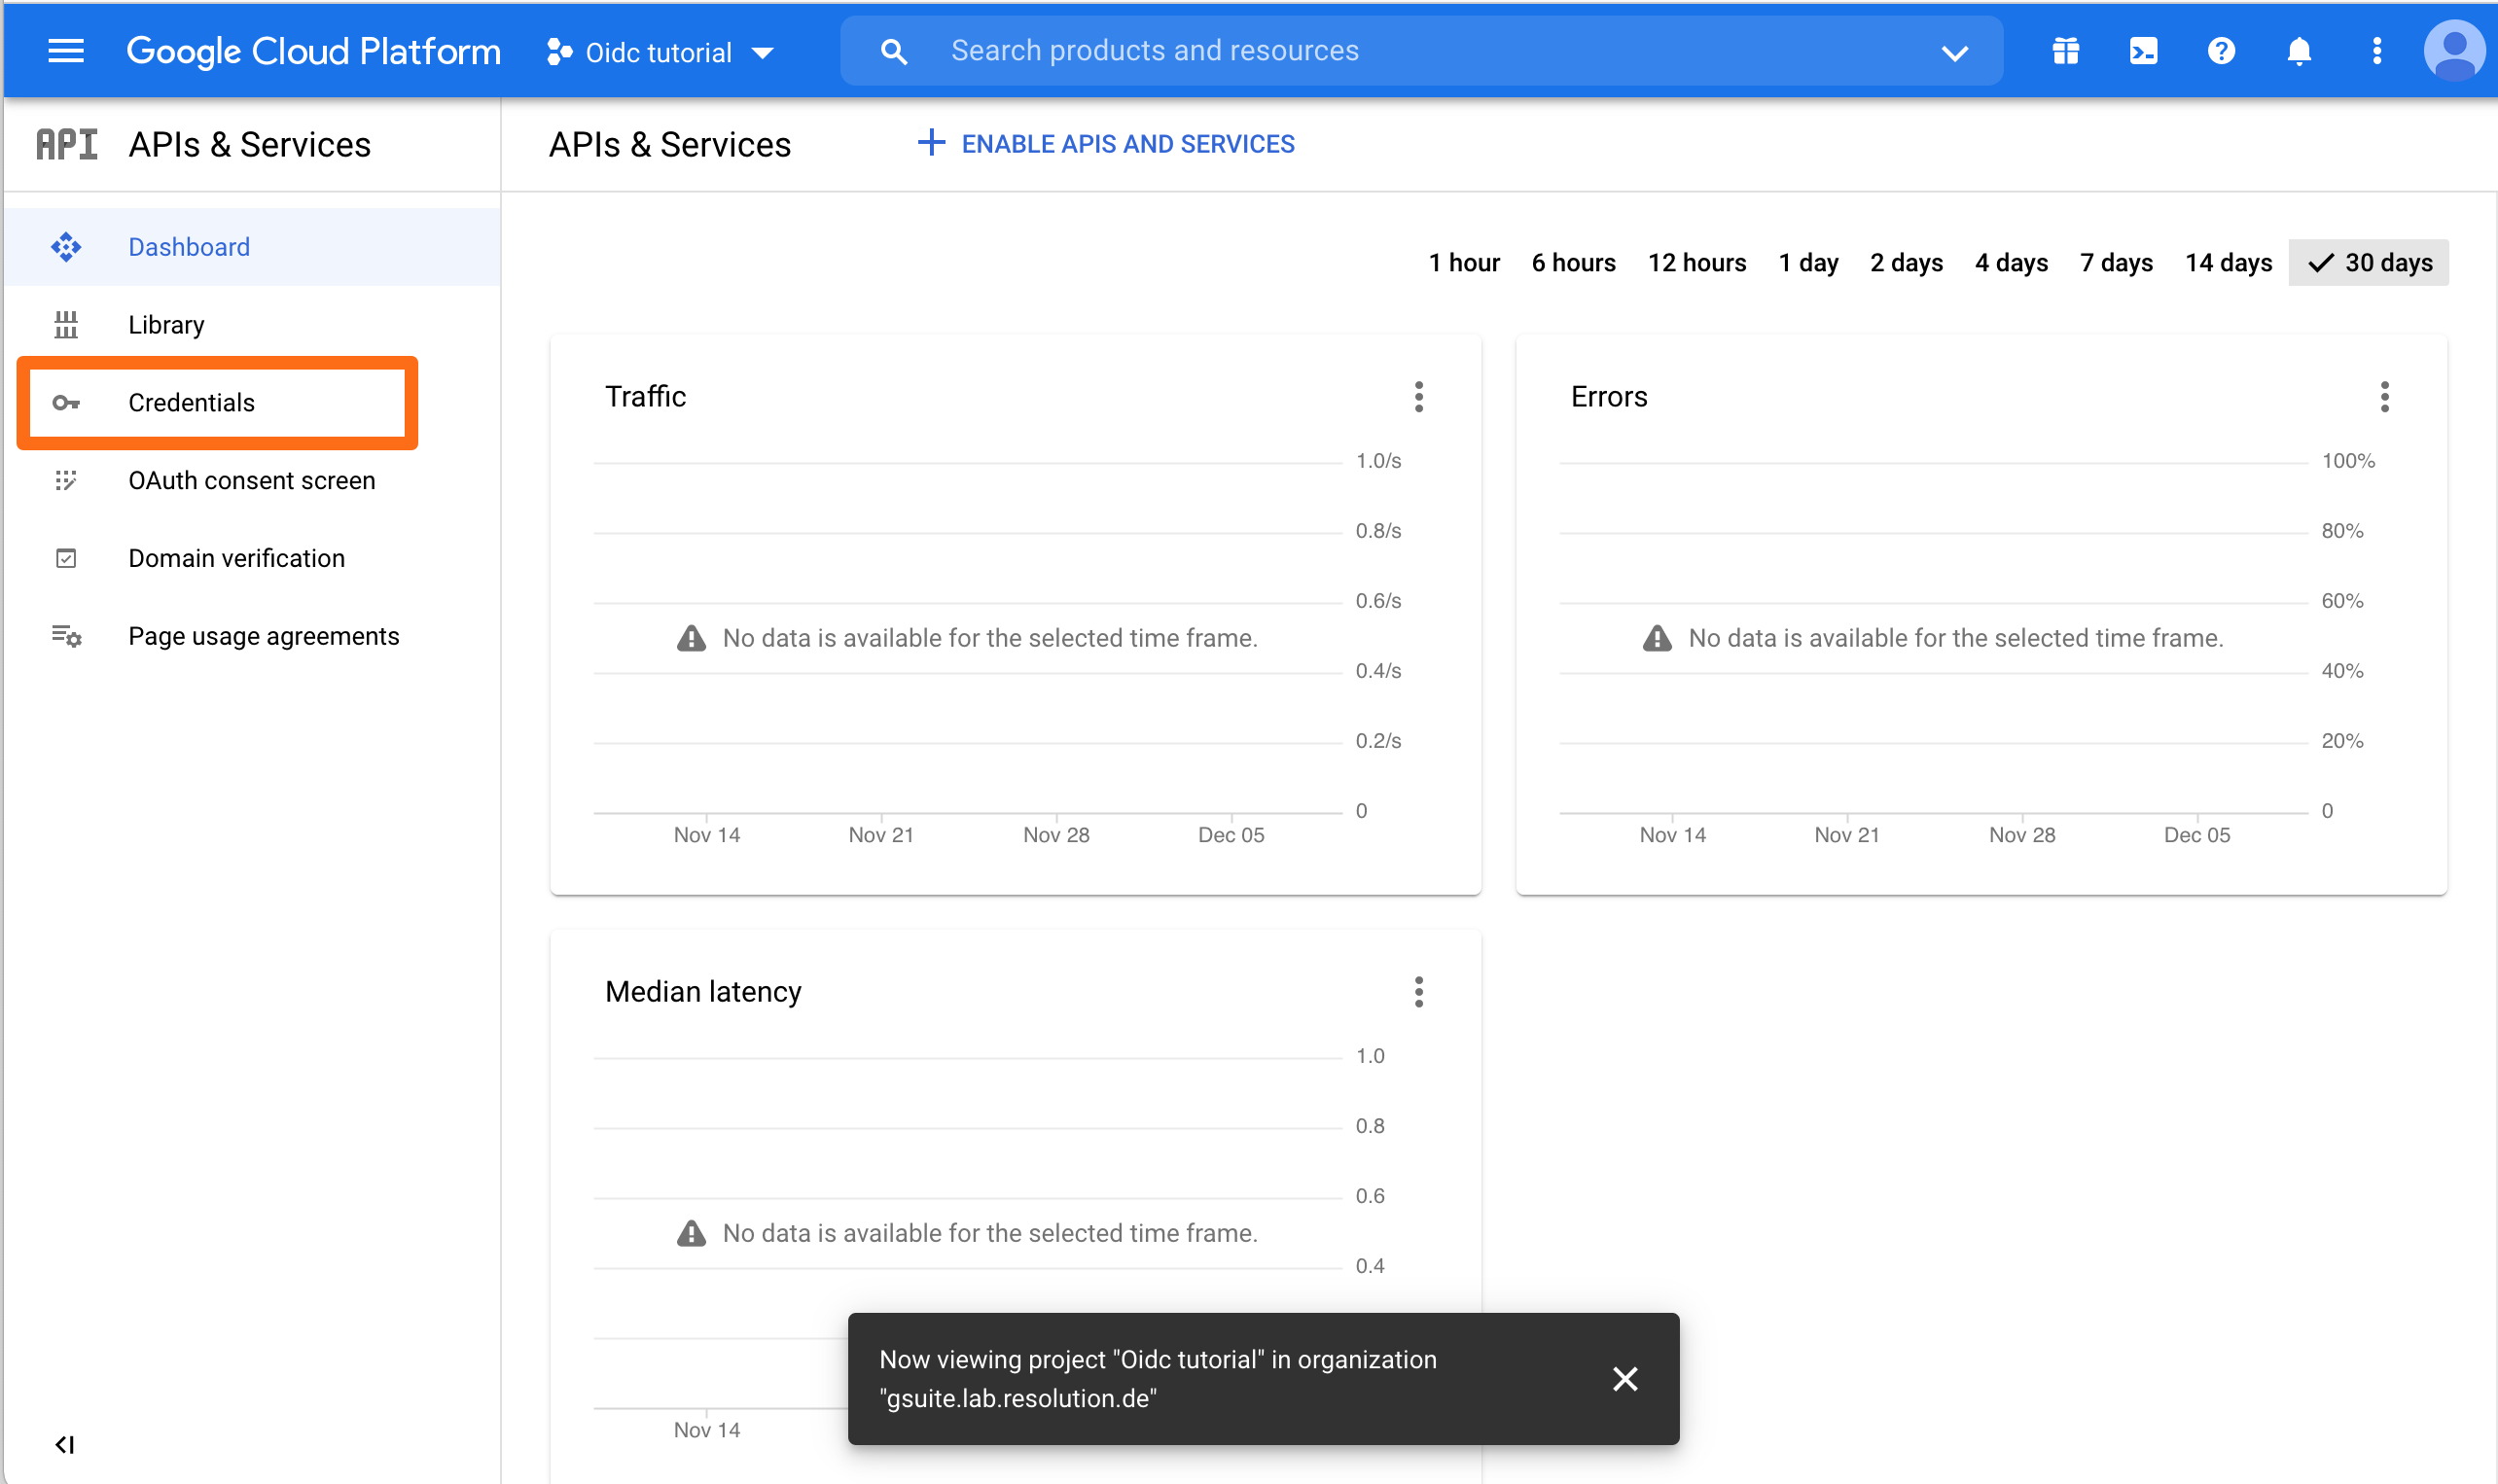
Click CONFIGURE CONSENT SCREEN.
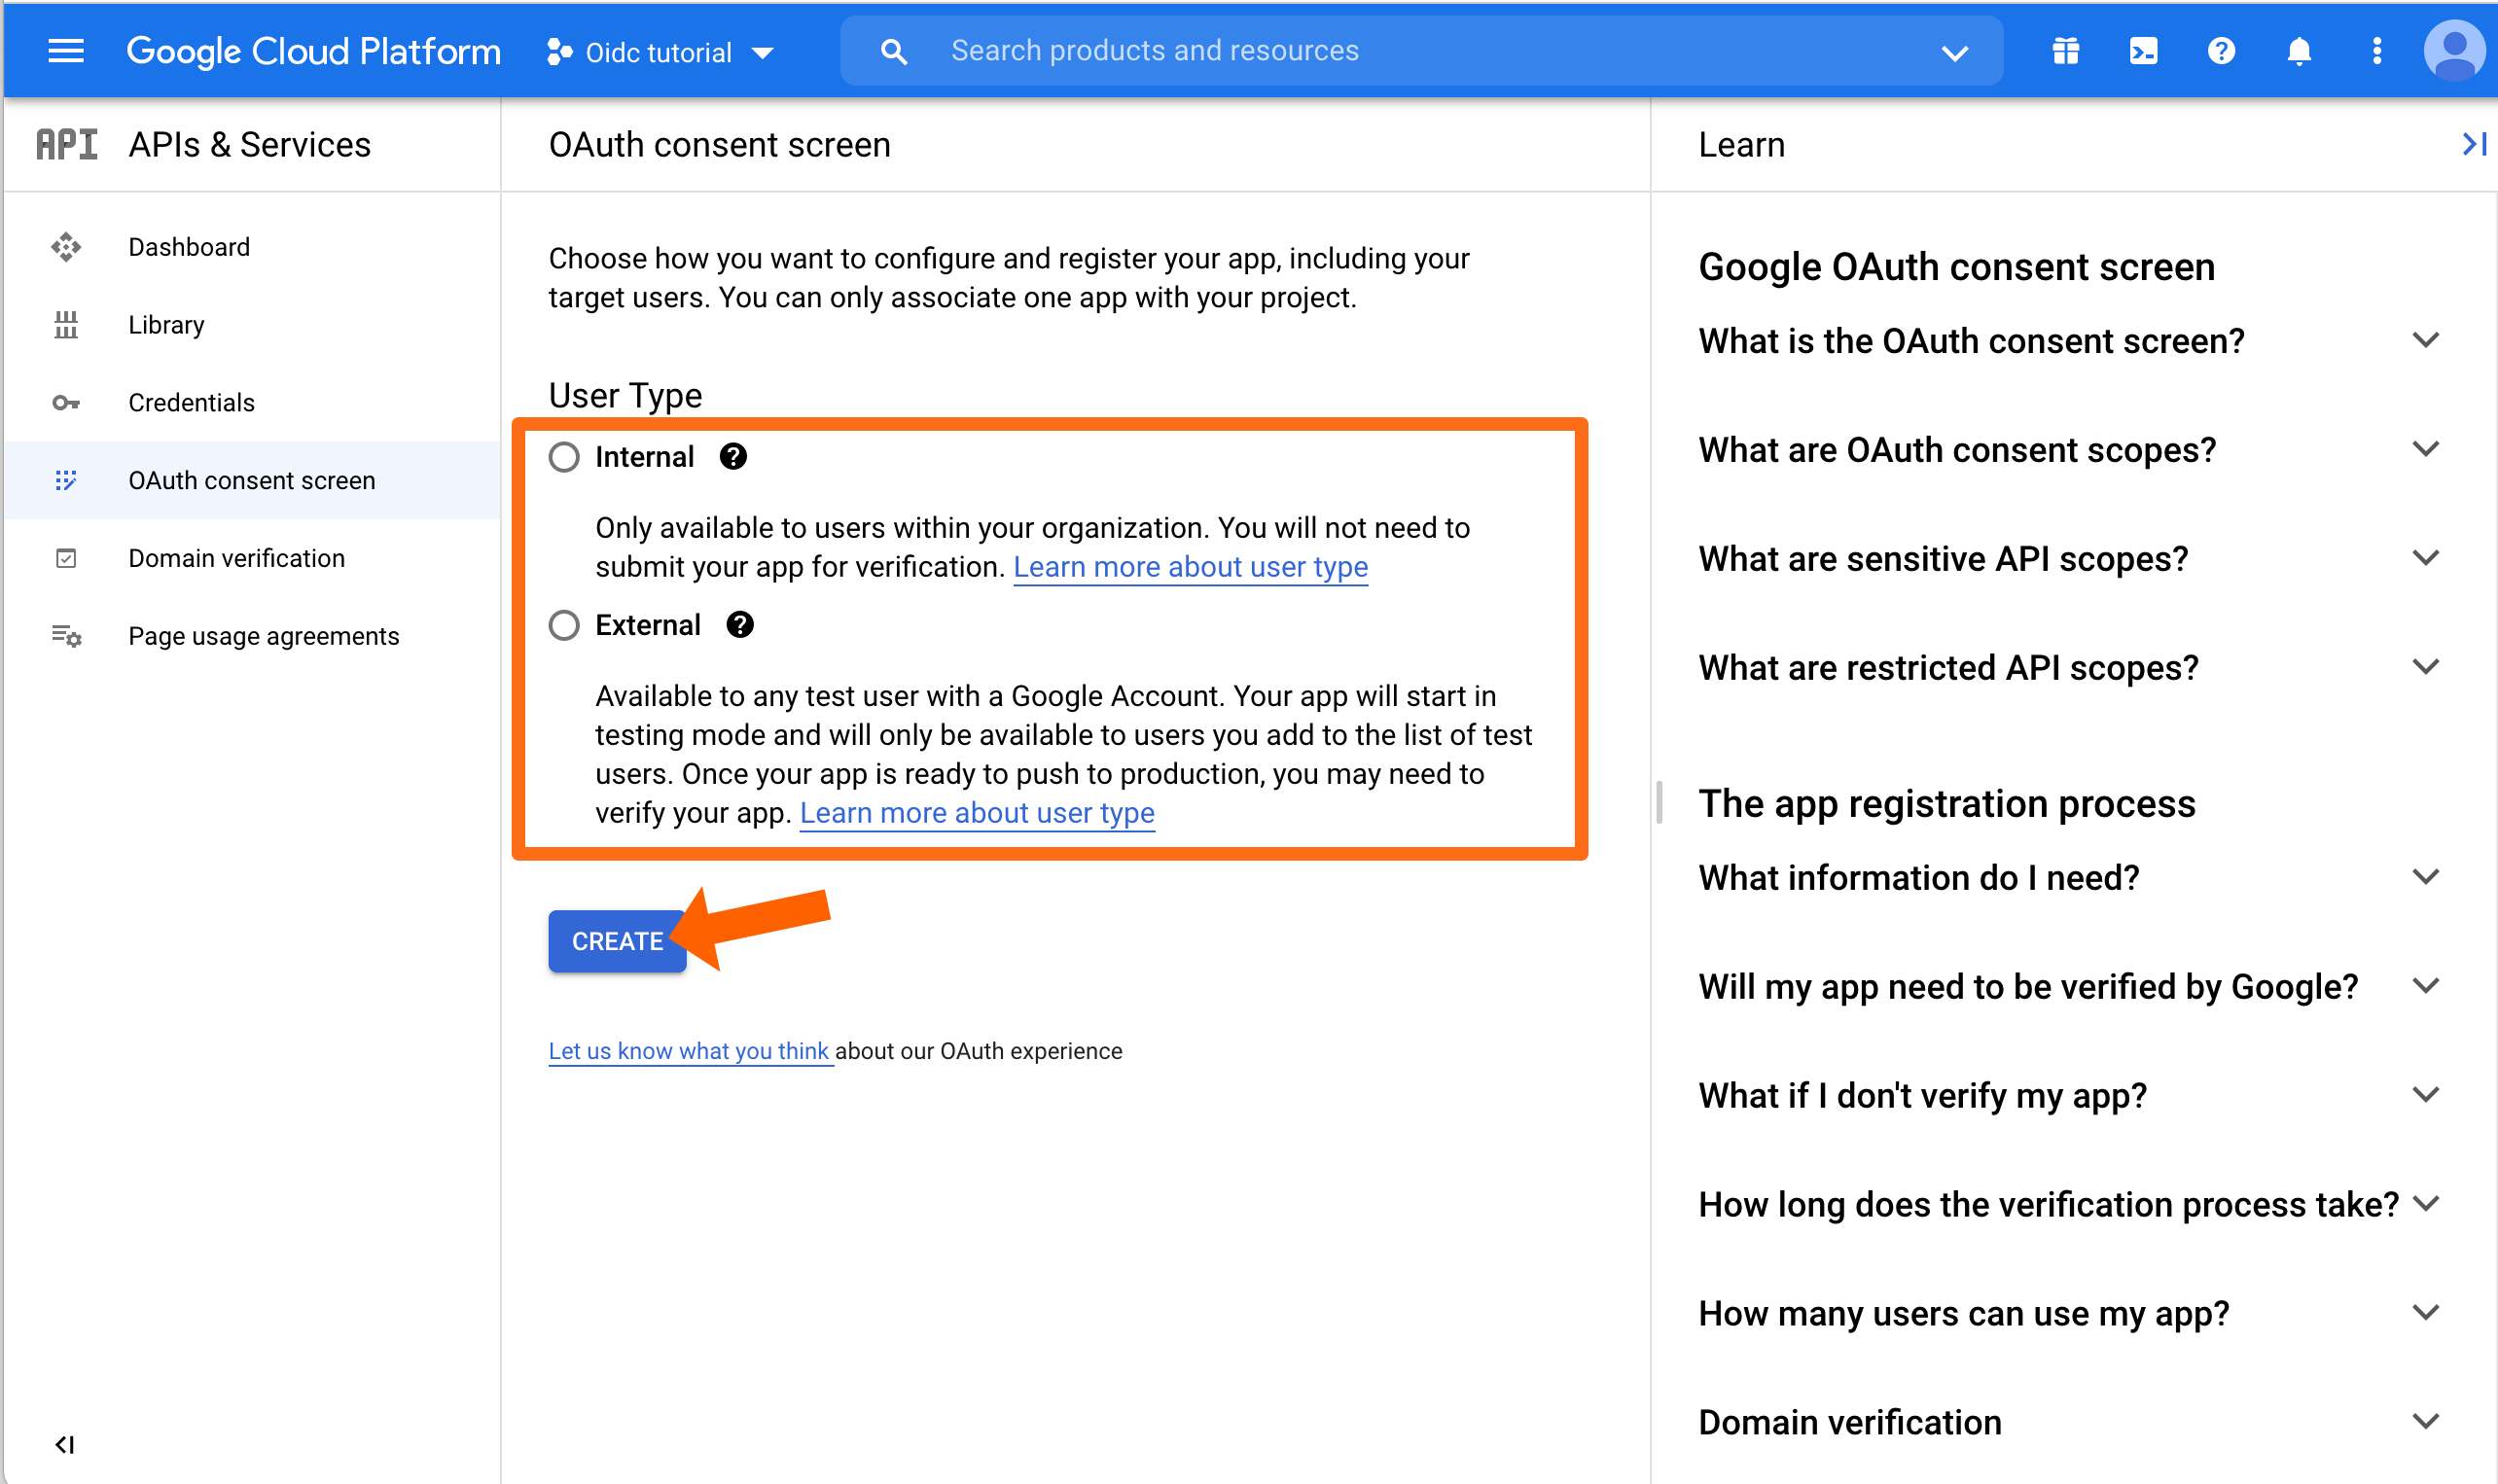
Select the User Type that is appropriate for your needs. Usually this will be Internal. Afterwards, click CREATE to continue.
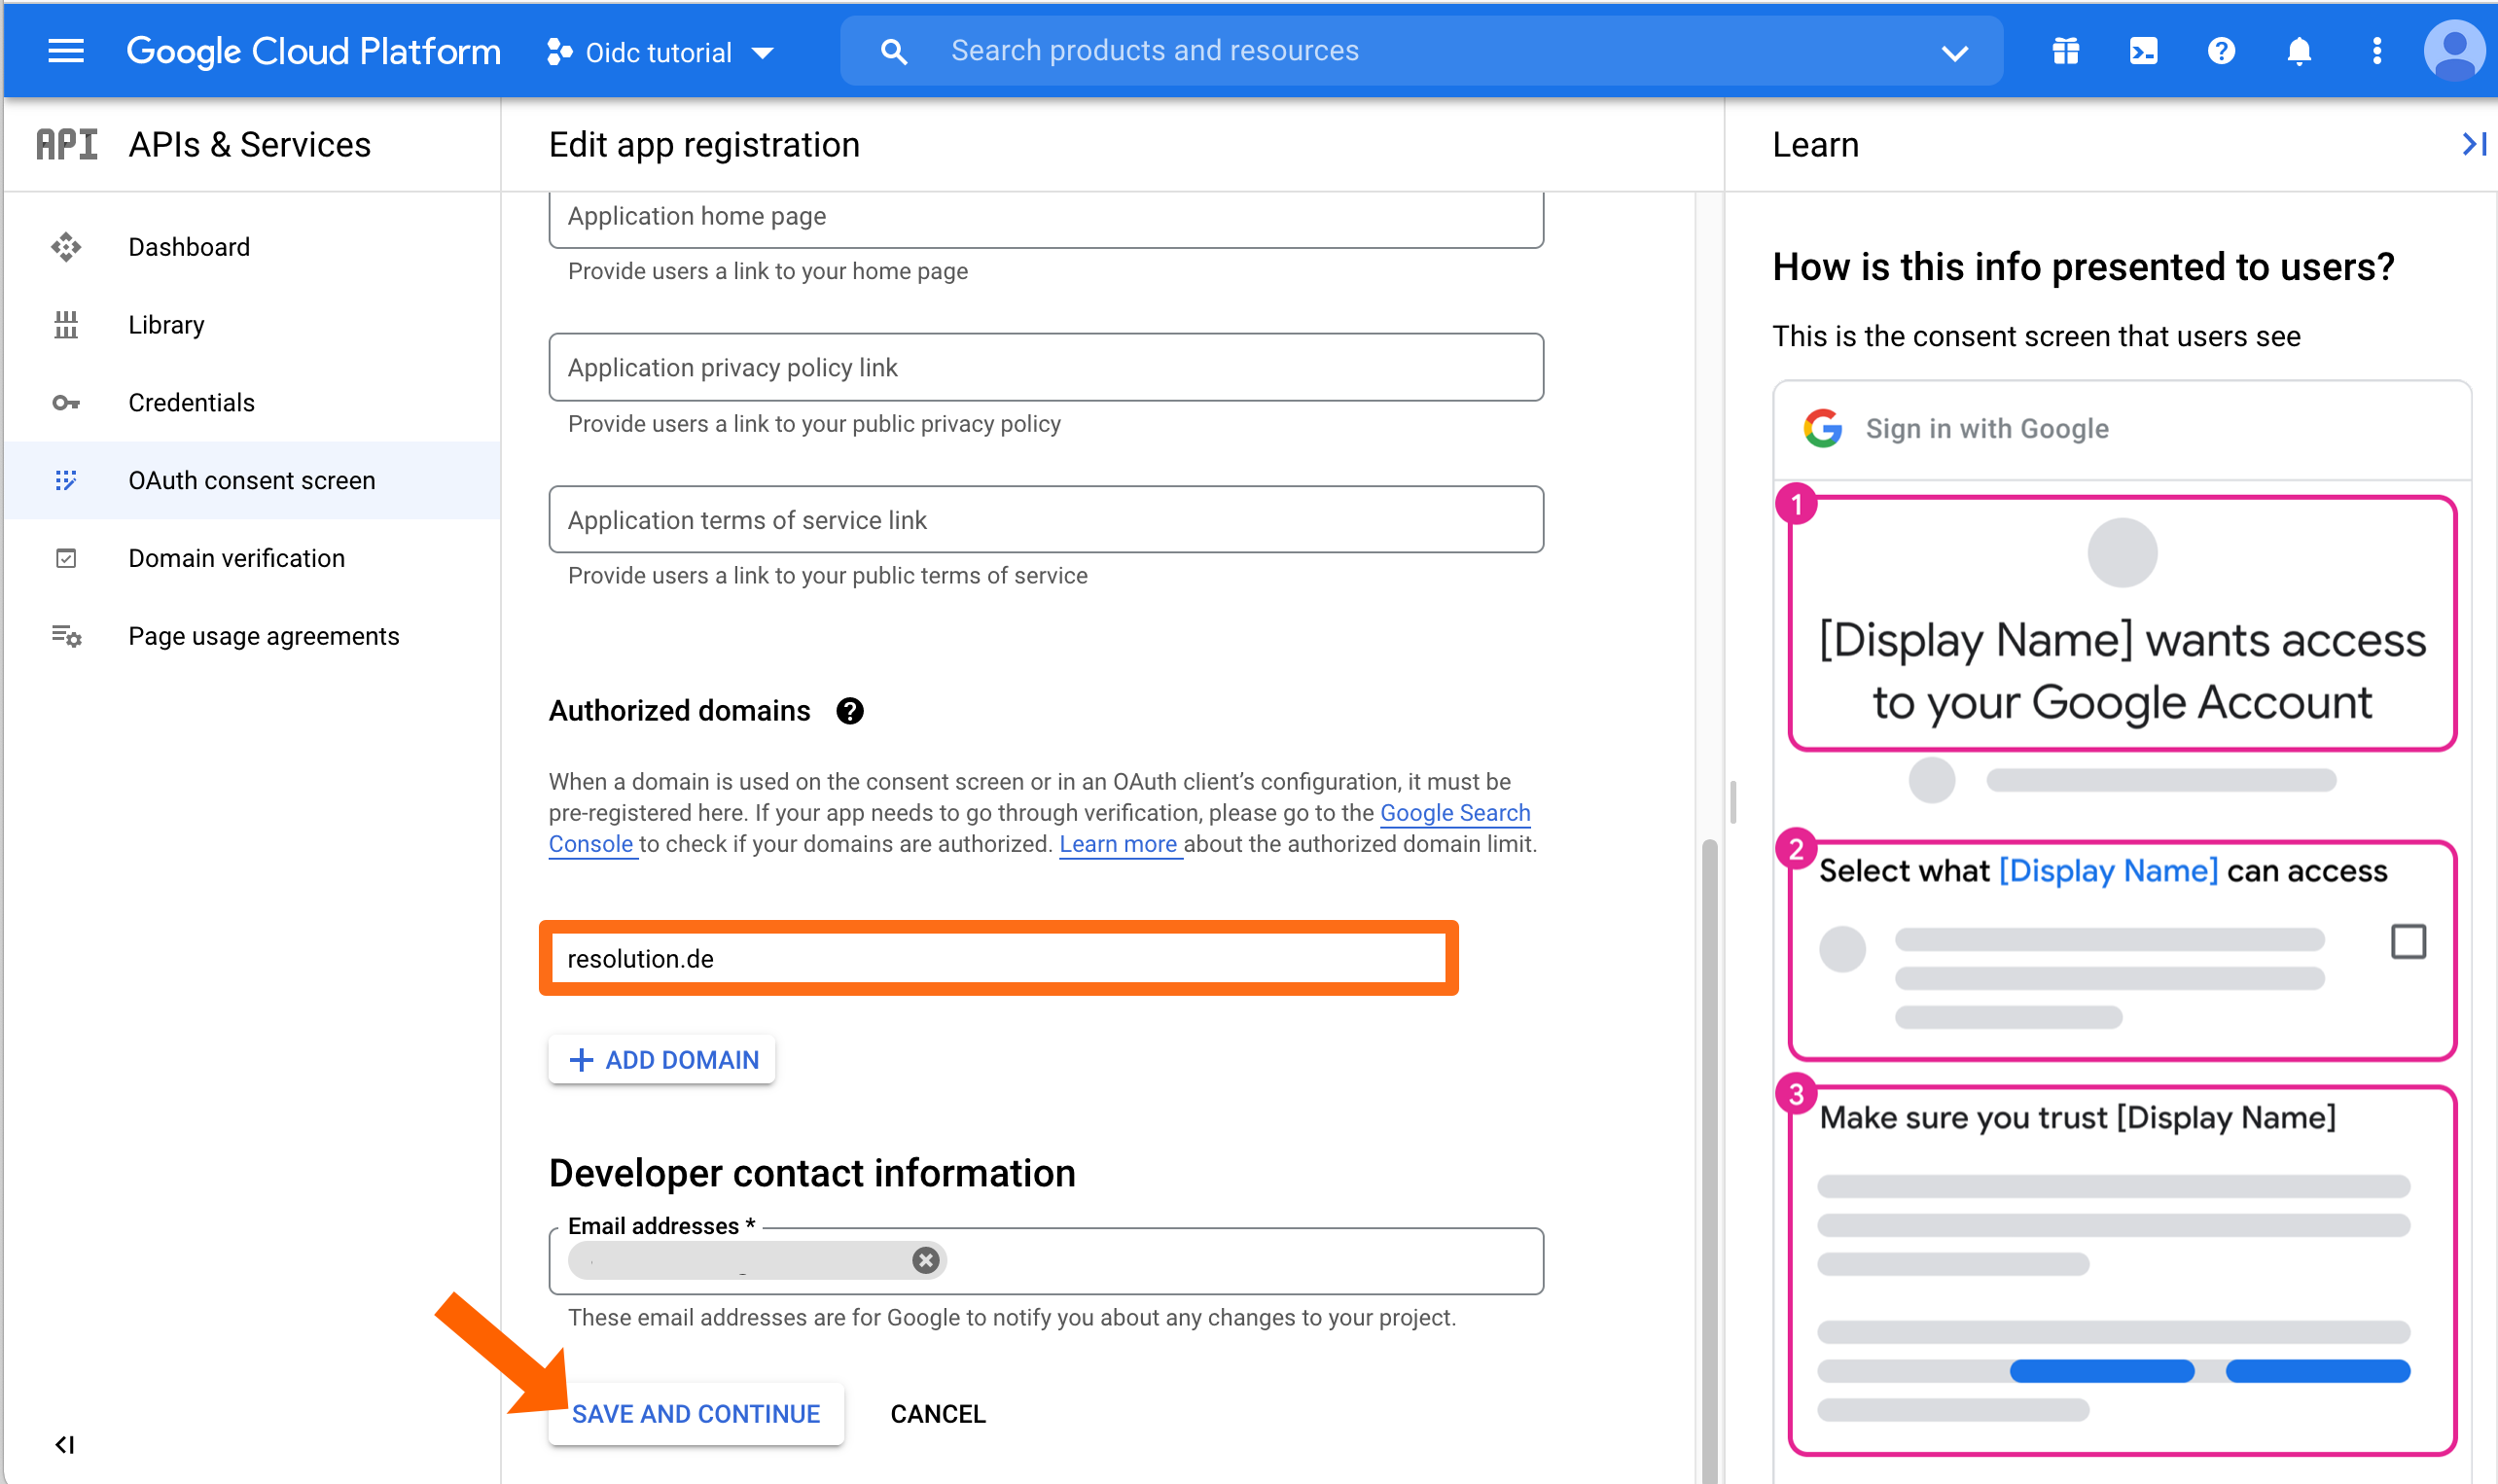
On the next screen, fill out what's needed. Make sure to scroll down and add the Authorized domain(s). This is the domain of your Atlassian application, e.g. for bitbucket.resolution.de, the domain is resolution.de
Click SAVE AND CONTINUE.
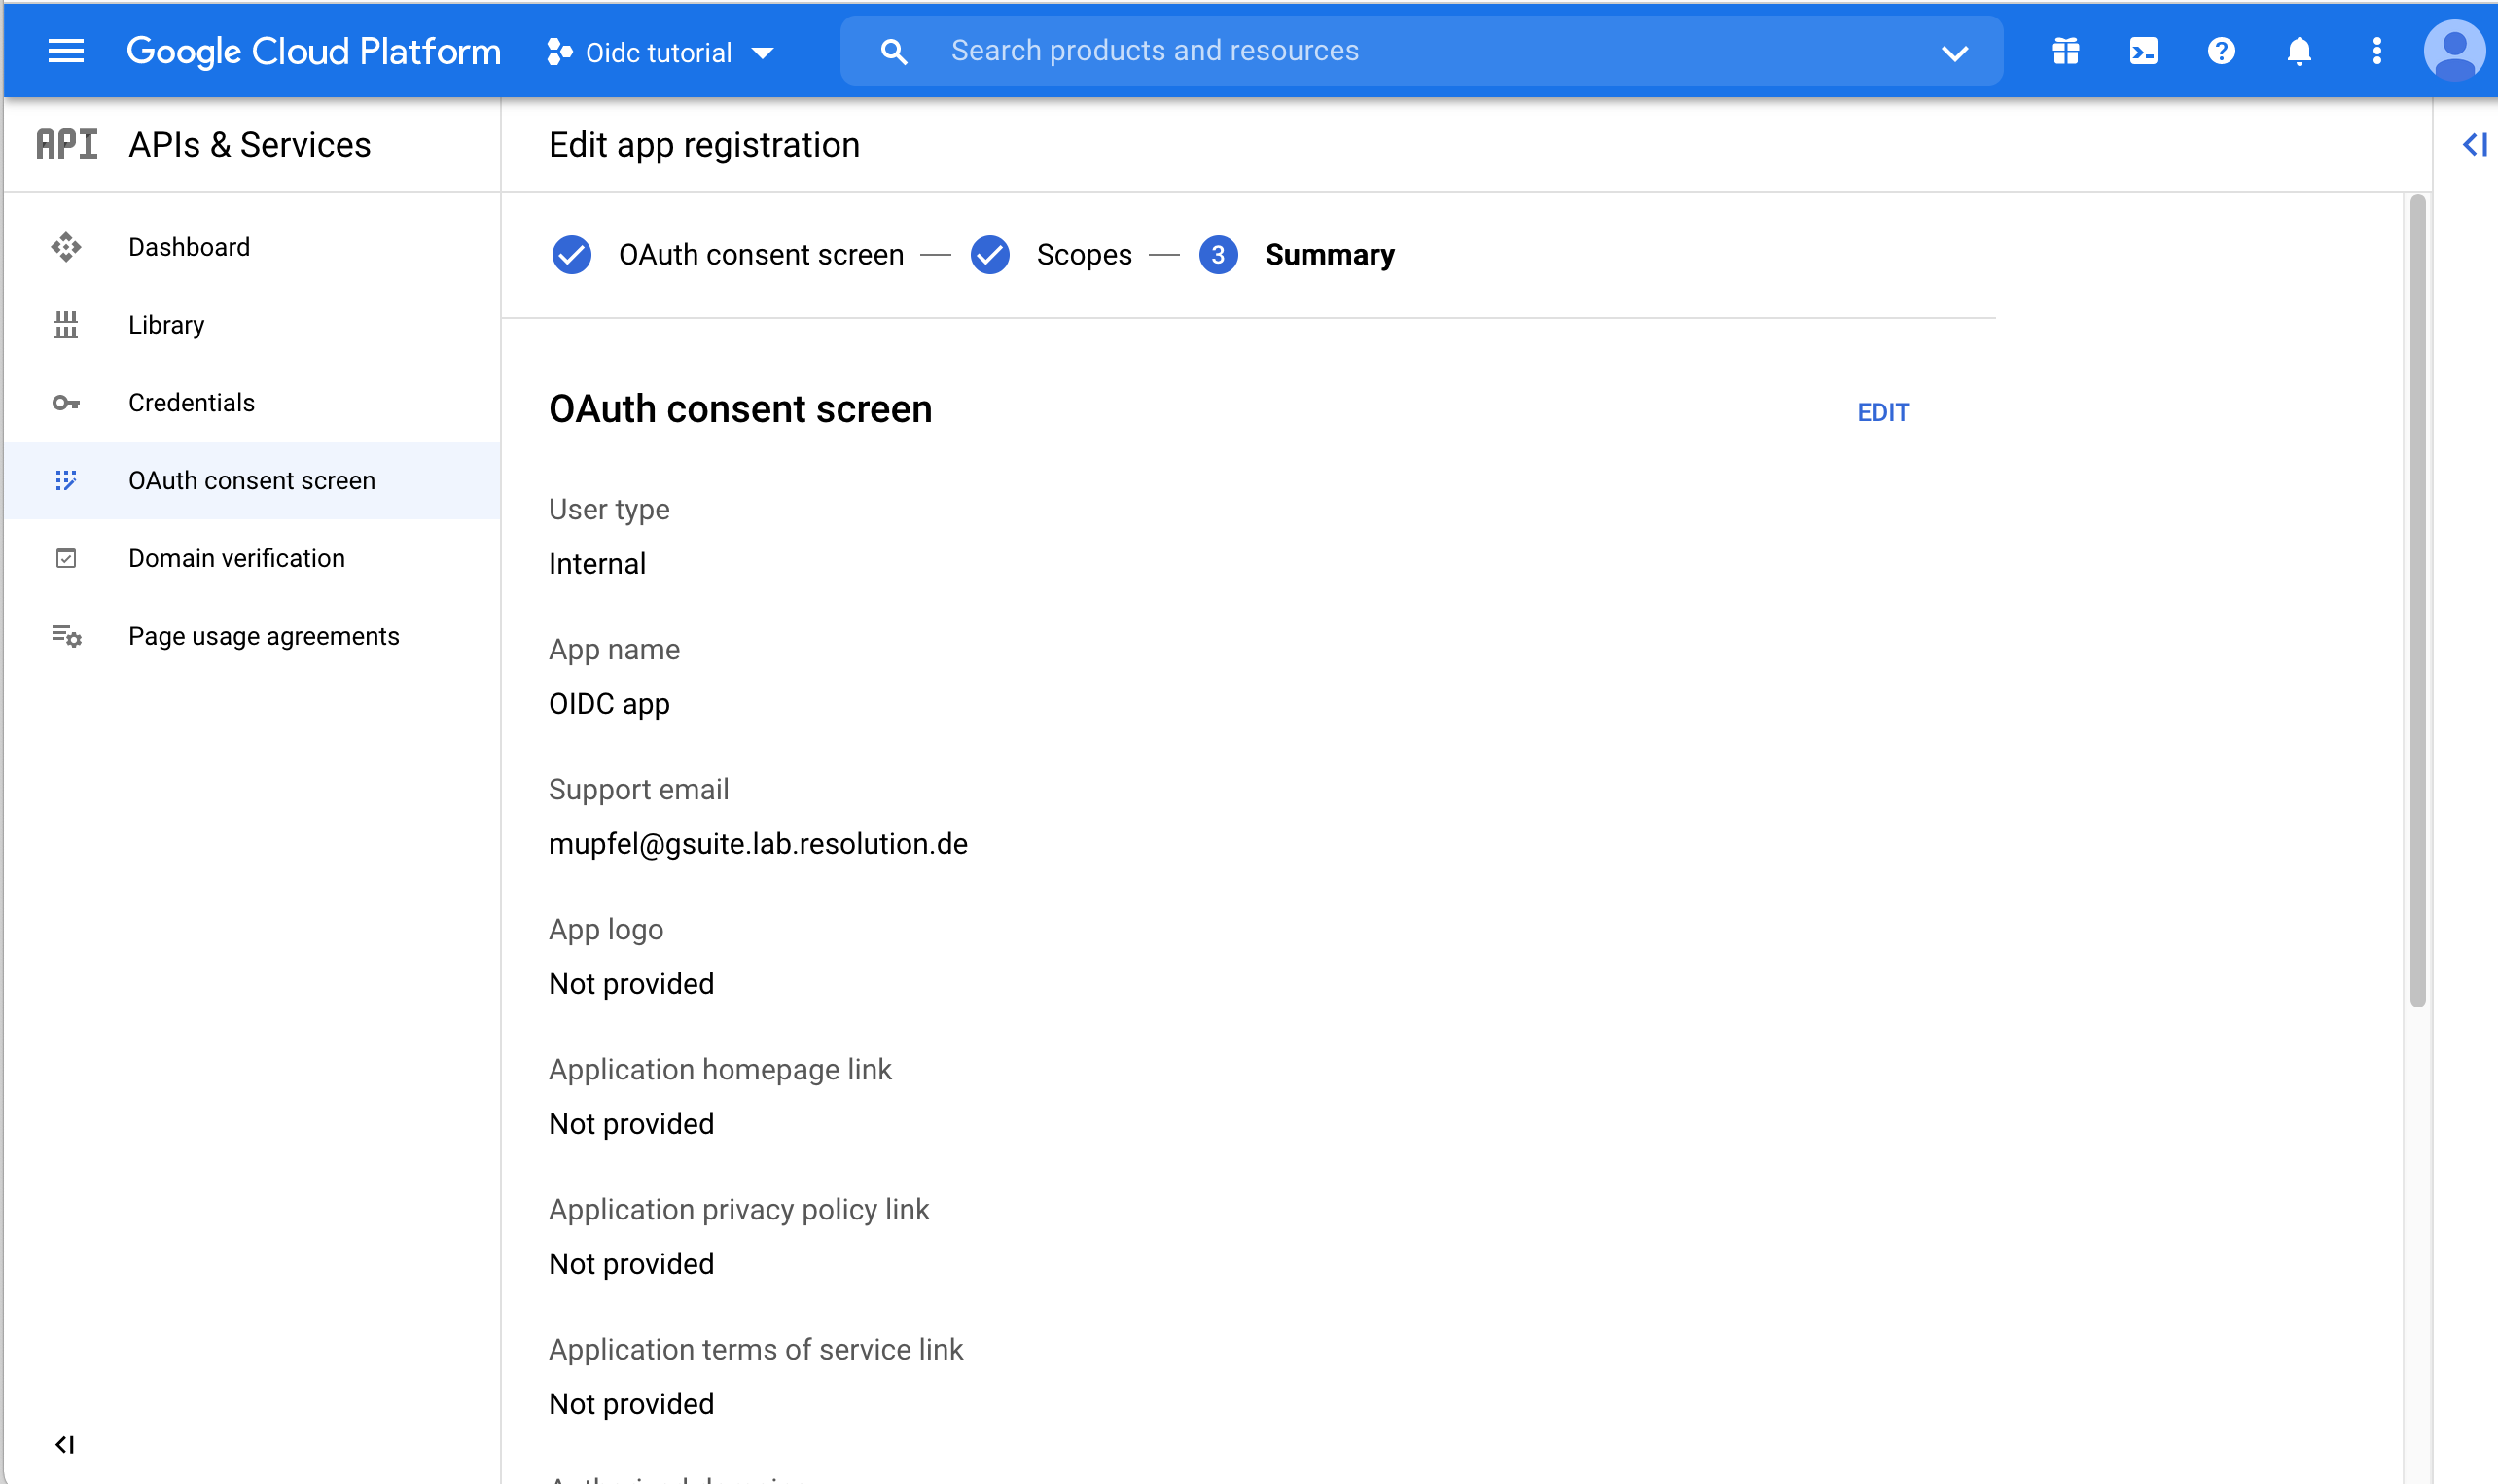
As a last step, Google will display an overview upon the consent screen that you must acknowledge.
Next, go back to the Credentials.
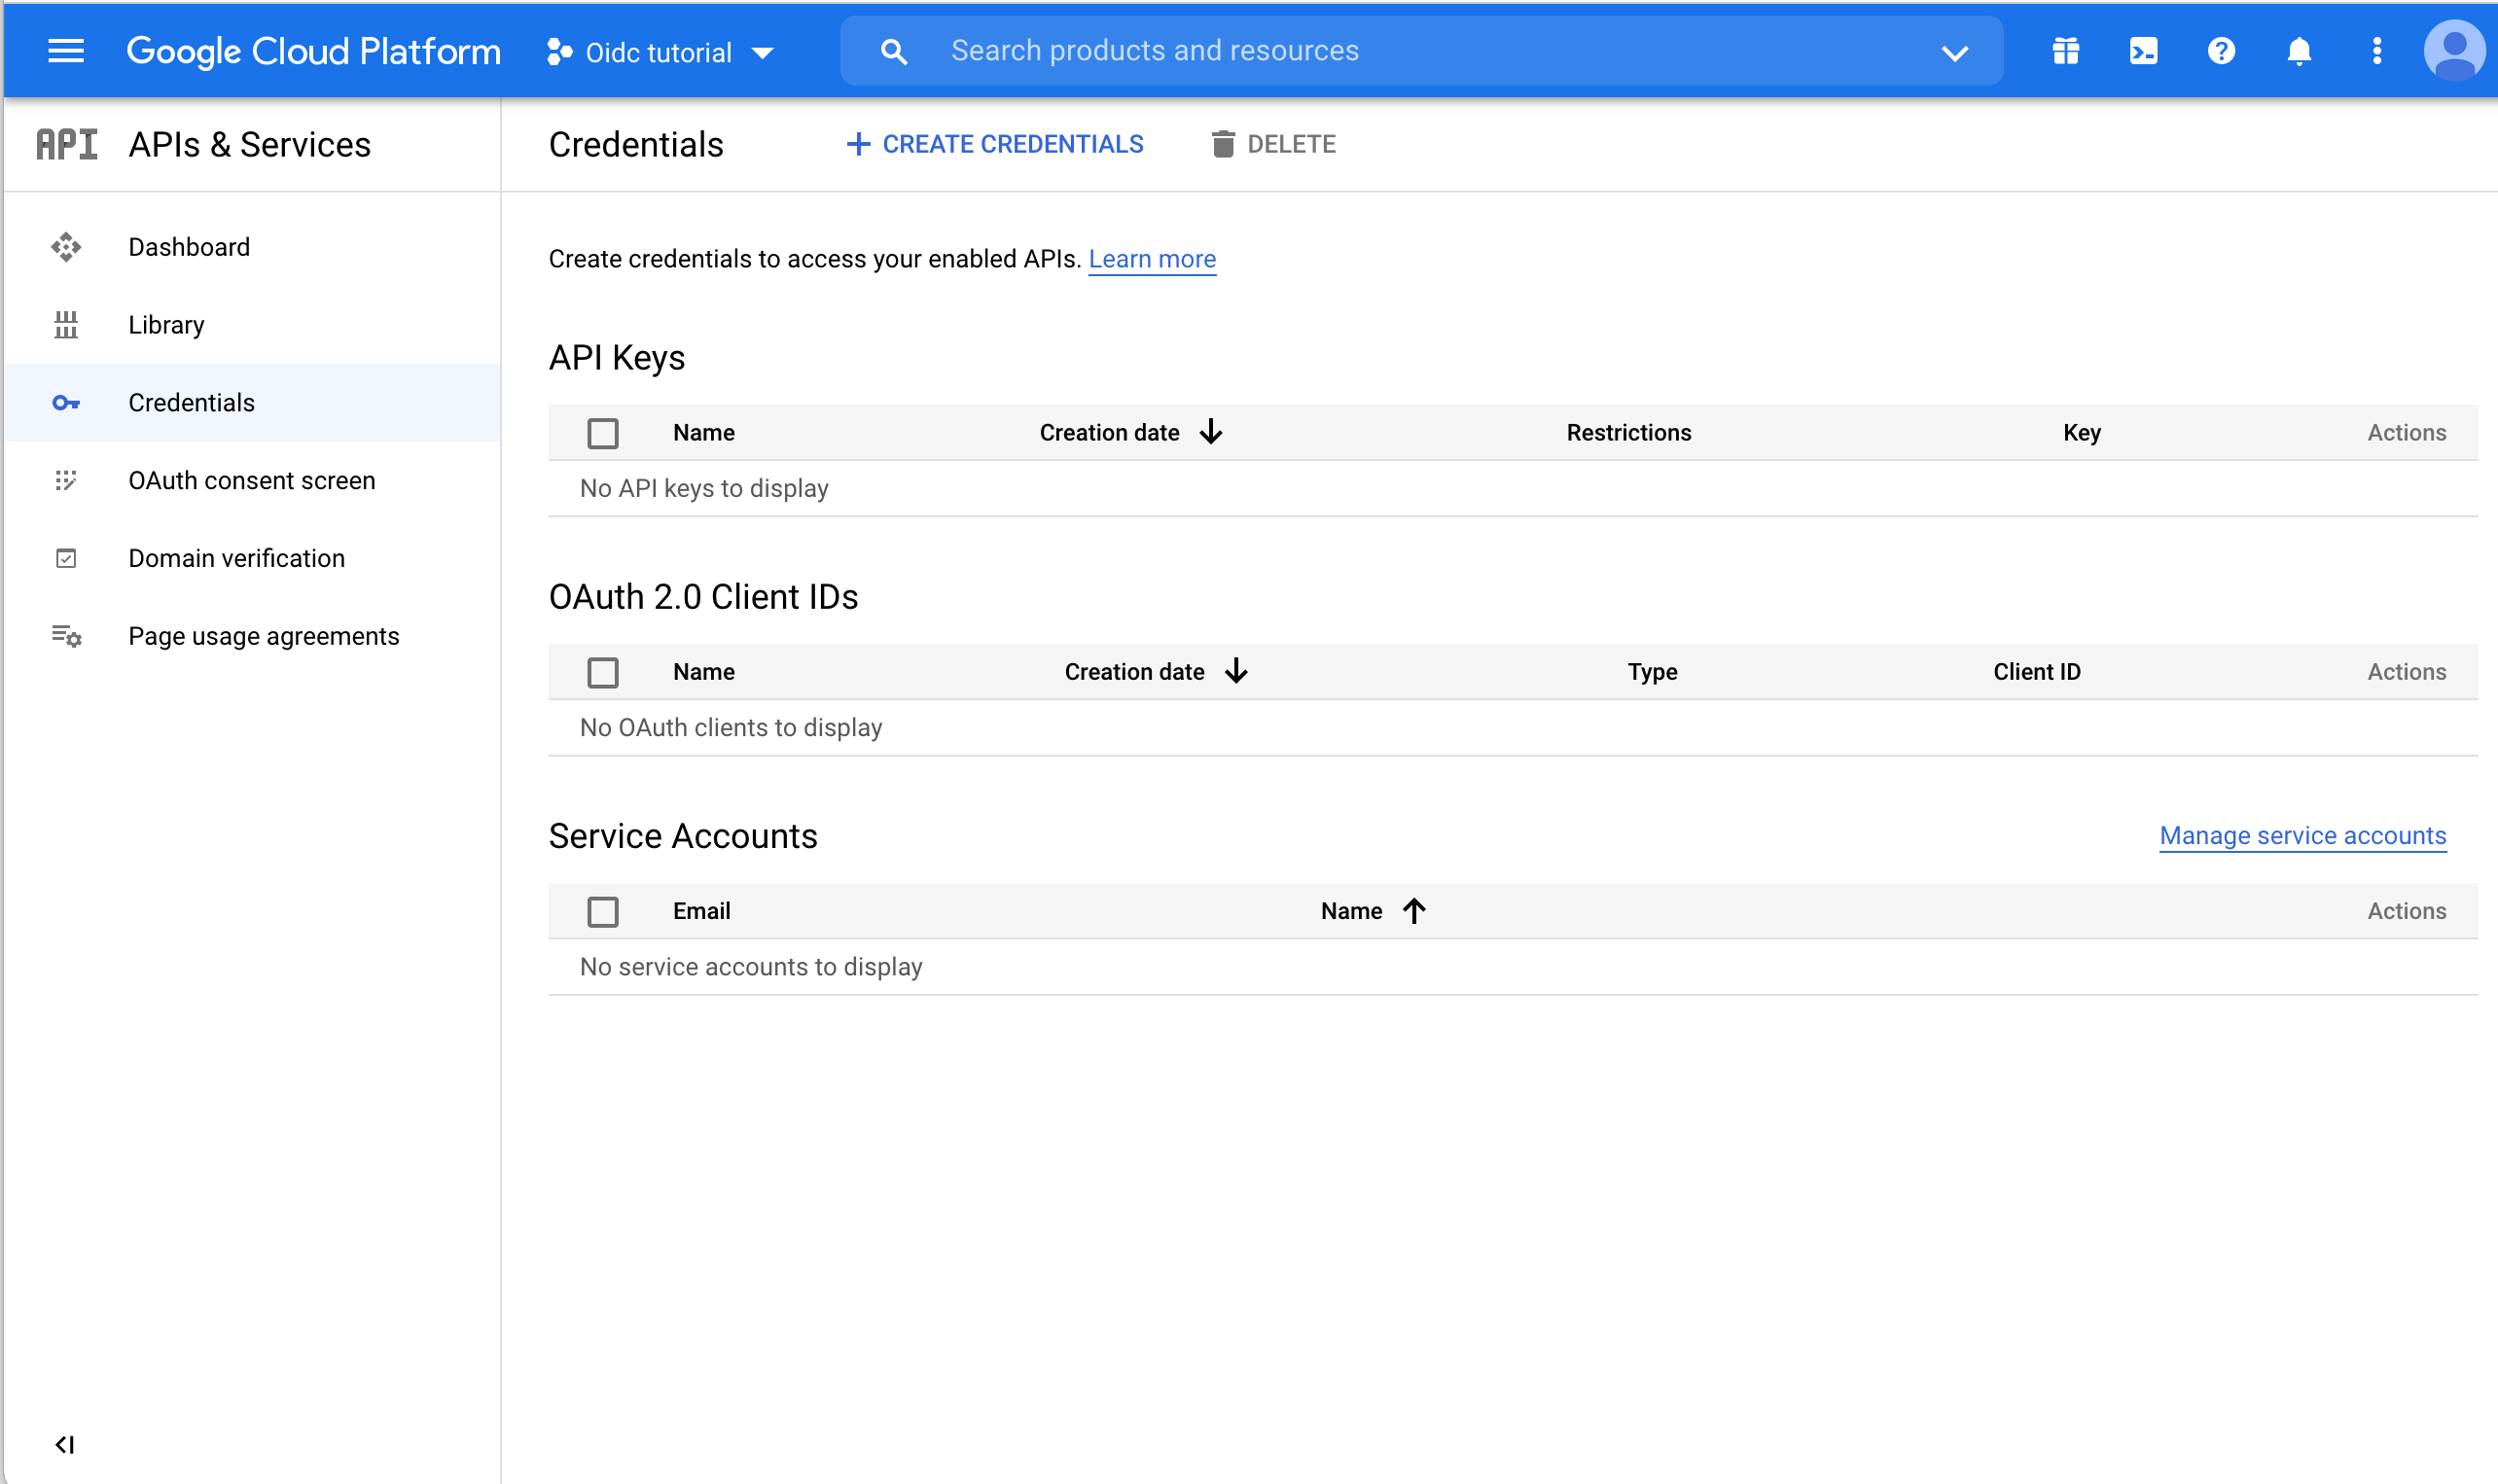
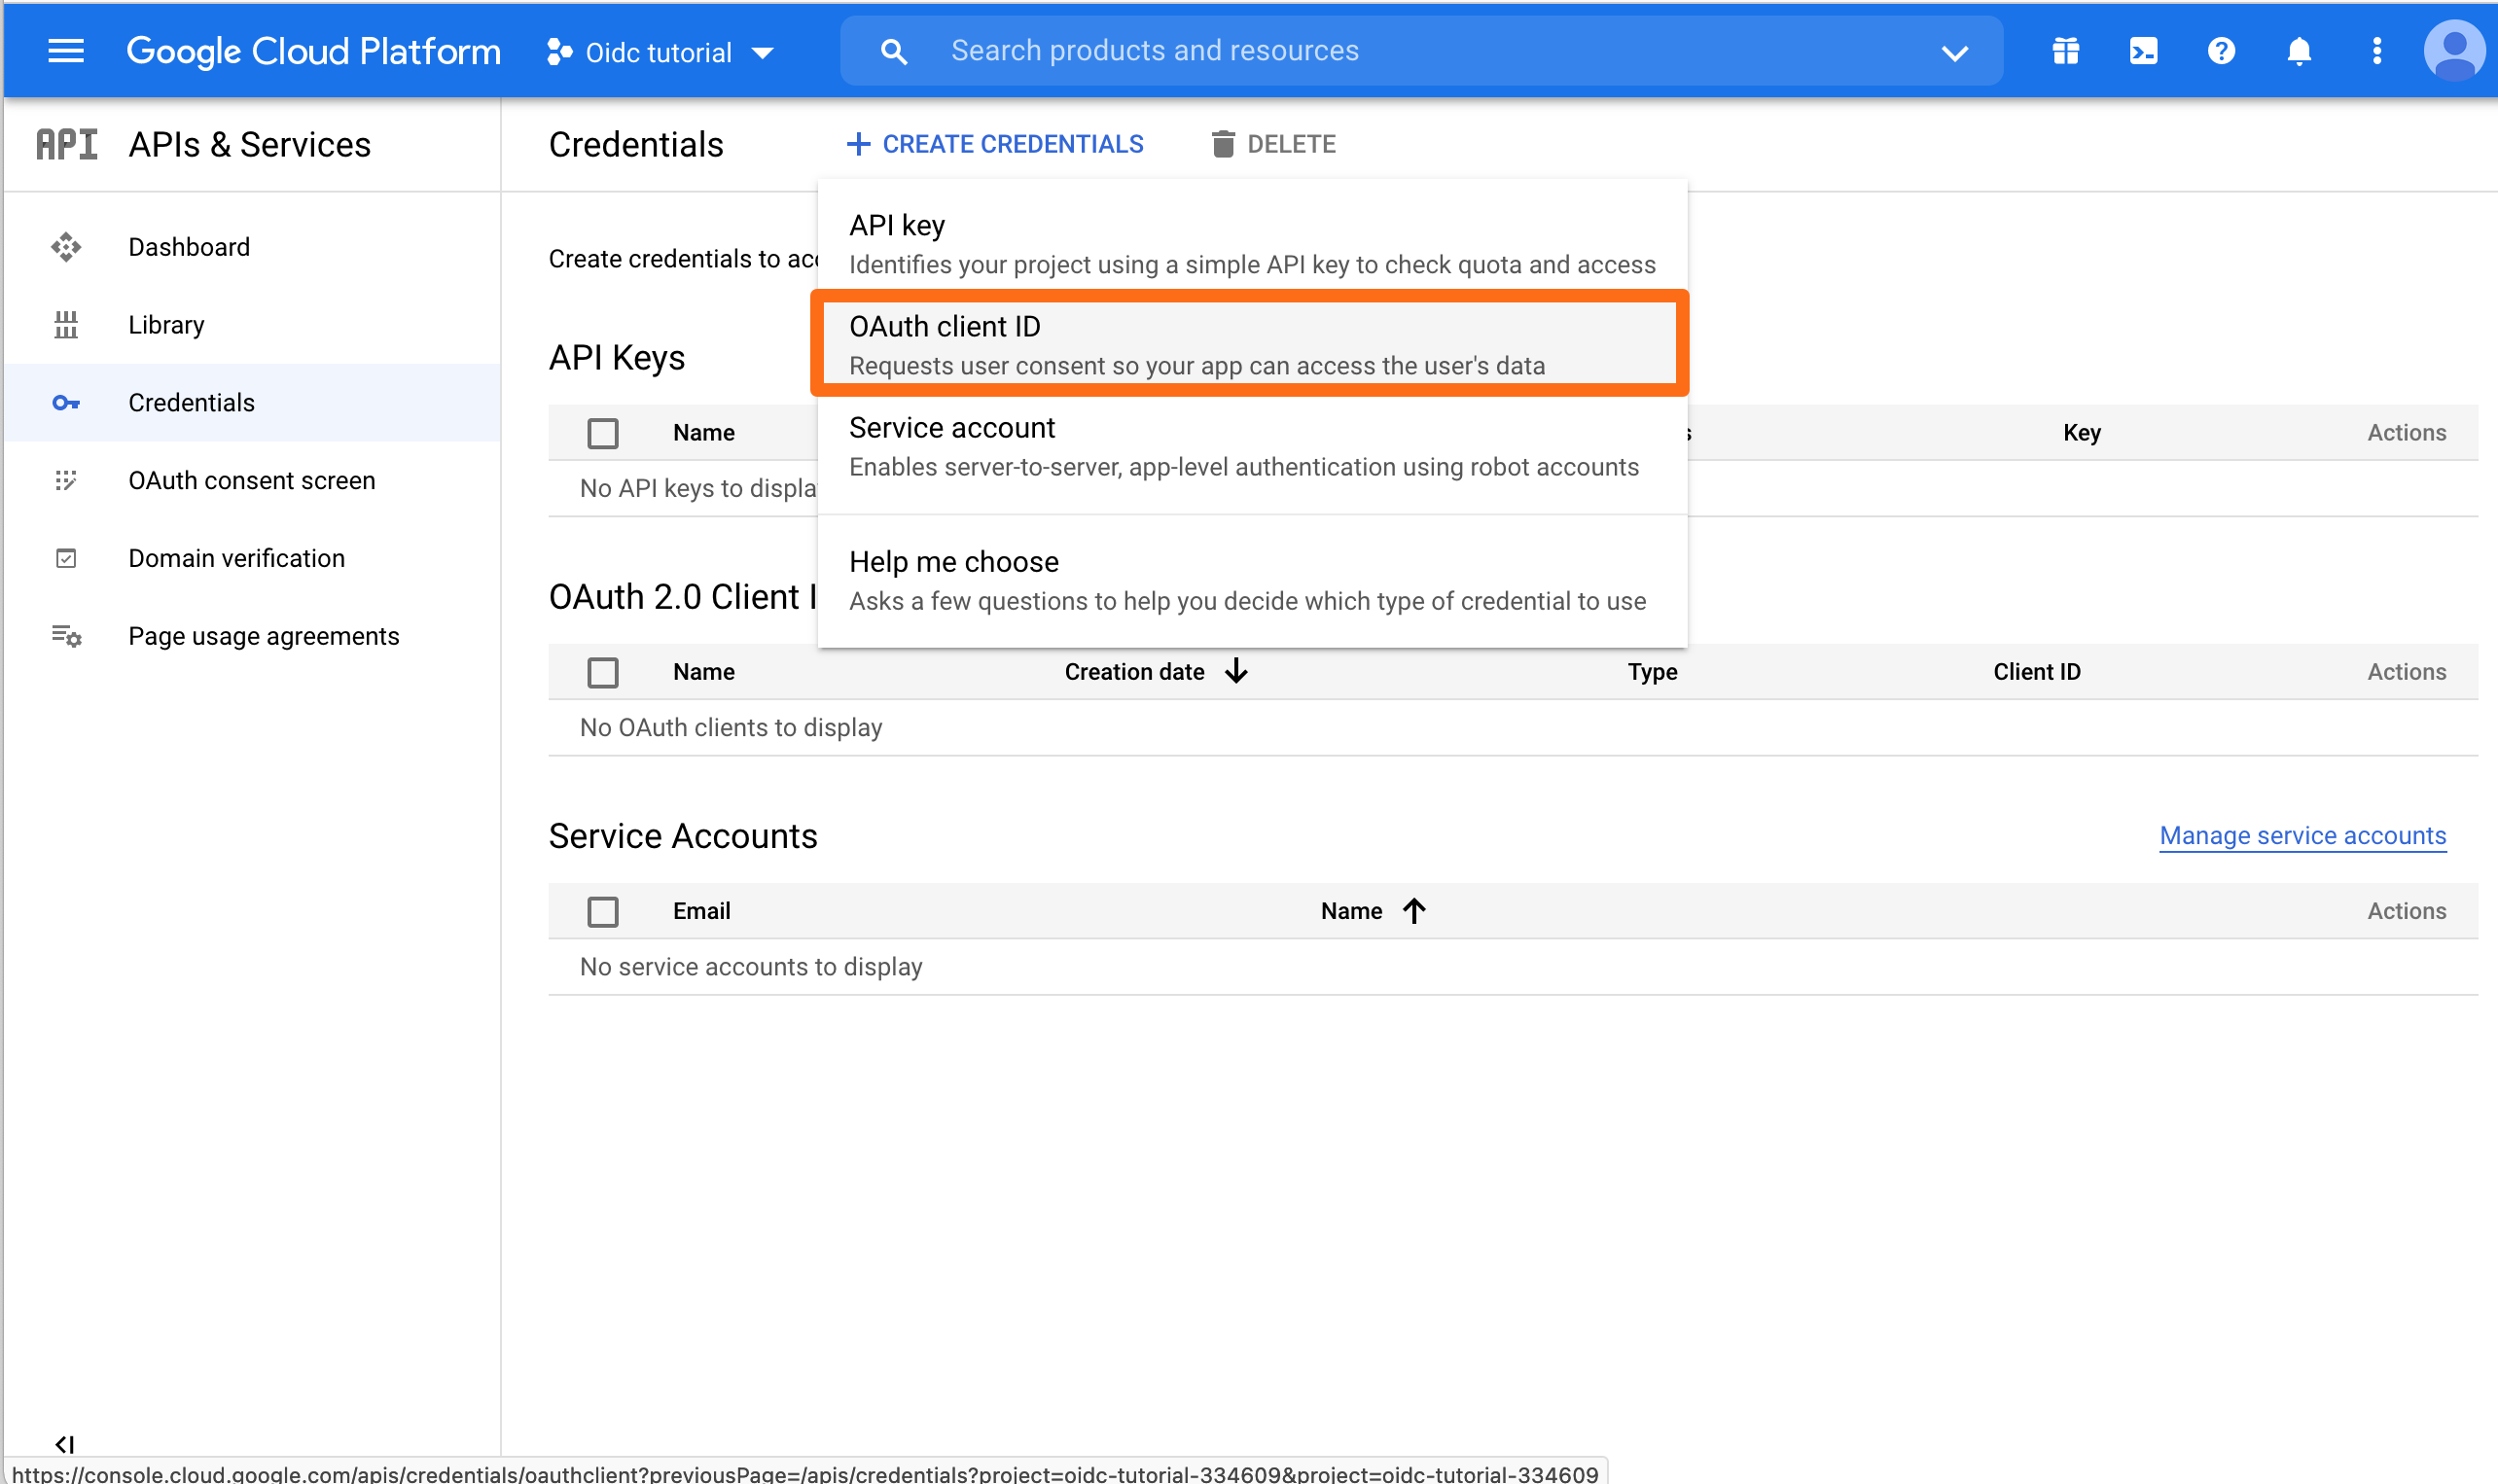
Click CREATE CREDENTIALS and choose OAuth client ID.
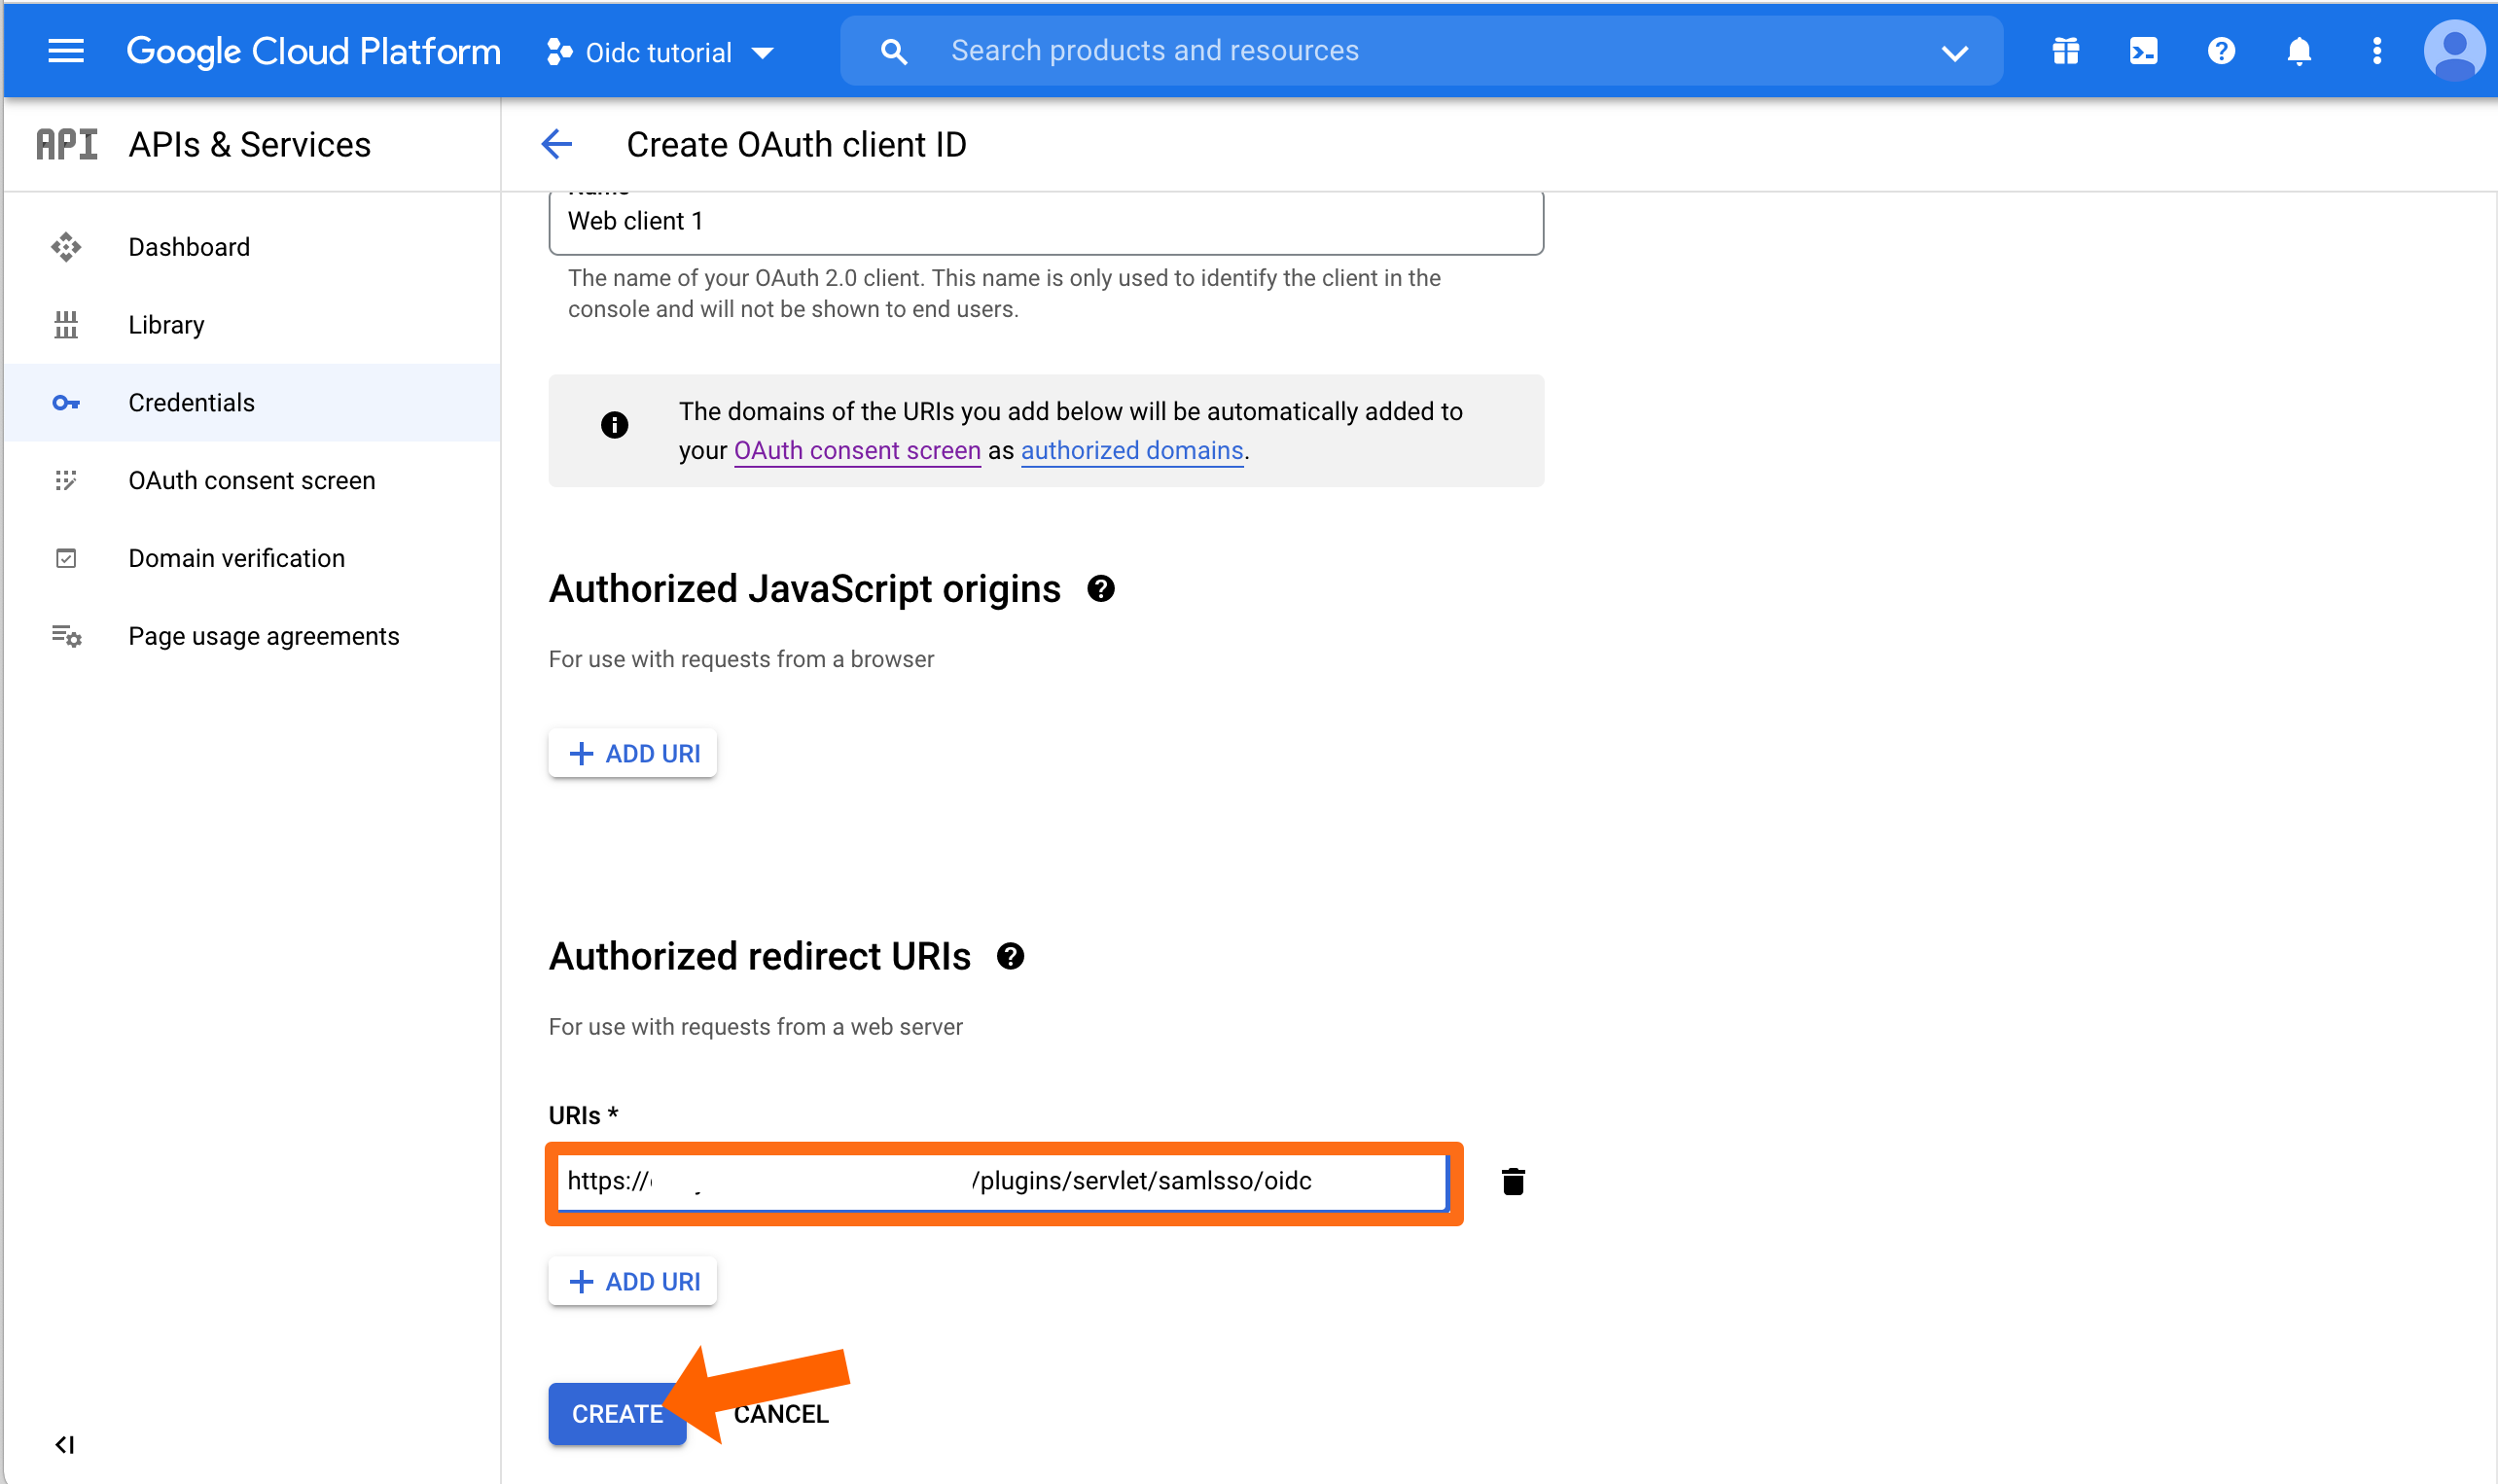
Choose Web Application for the Application Type.

You can enter a name for Web client, but you do not need to. Important is to add the callback URL to the Authorized redirect URIs. Then click CREATE.
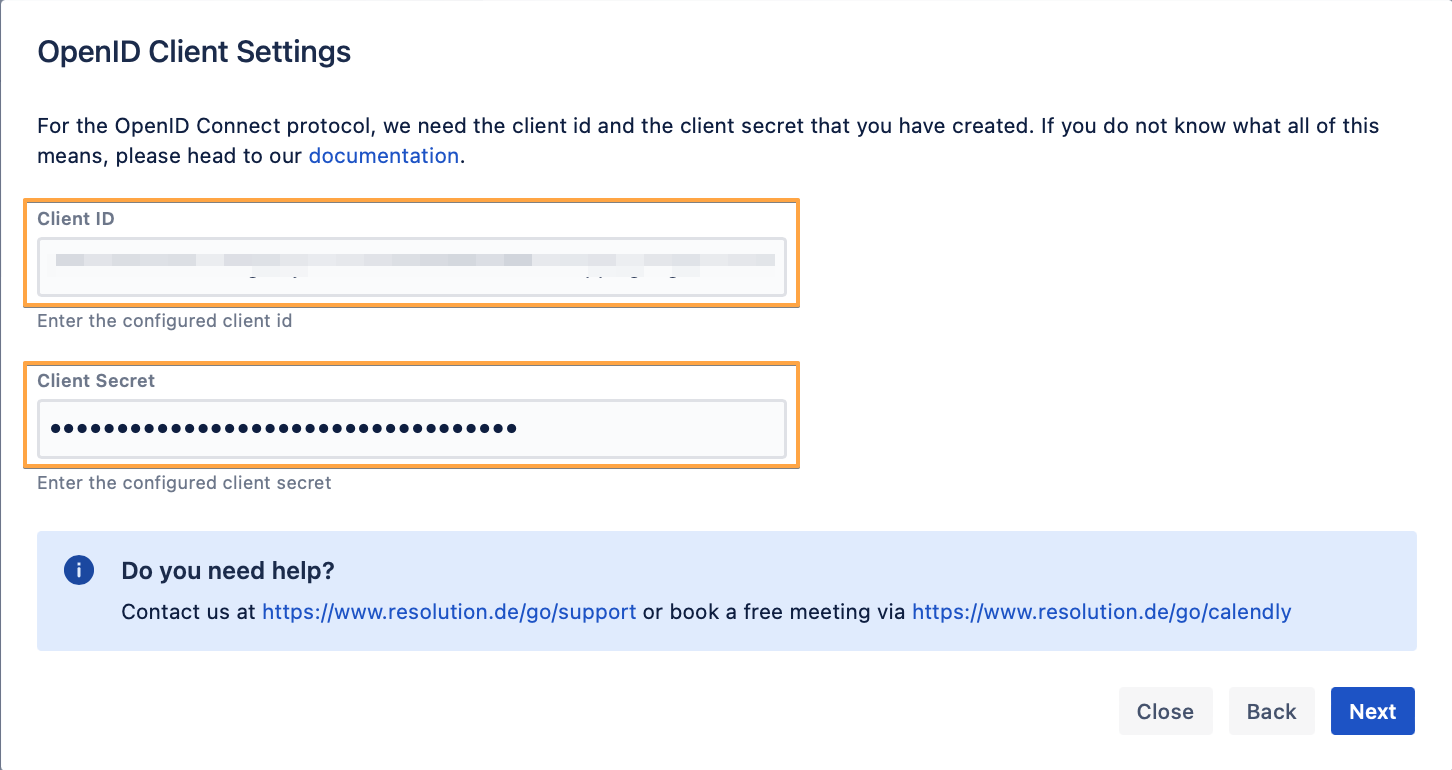
Google will now display both Client ID and Client Secret. Copy both into a text editor of your choice because we need again soon.

Back to the wizard in the Atlassian product, enter both the Client ID and the Client Secret that you've just created and copied, and click on Next.
Click Import Metadata.
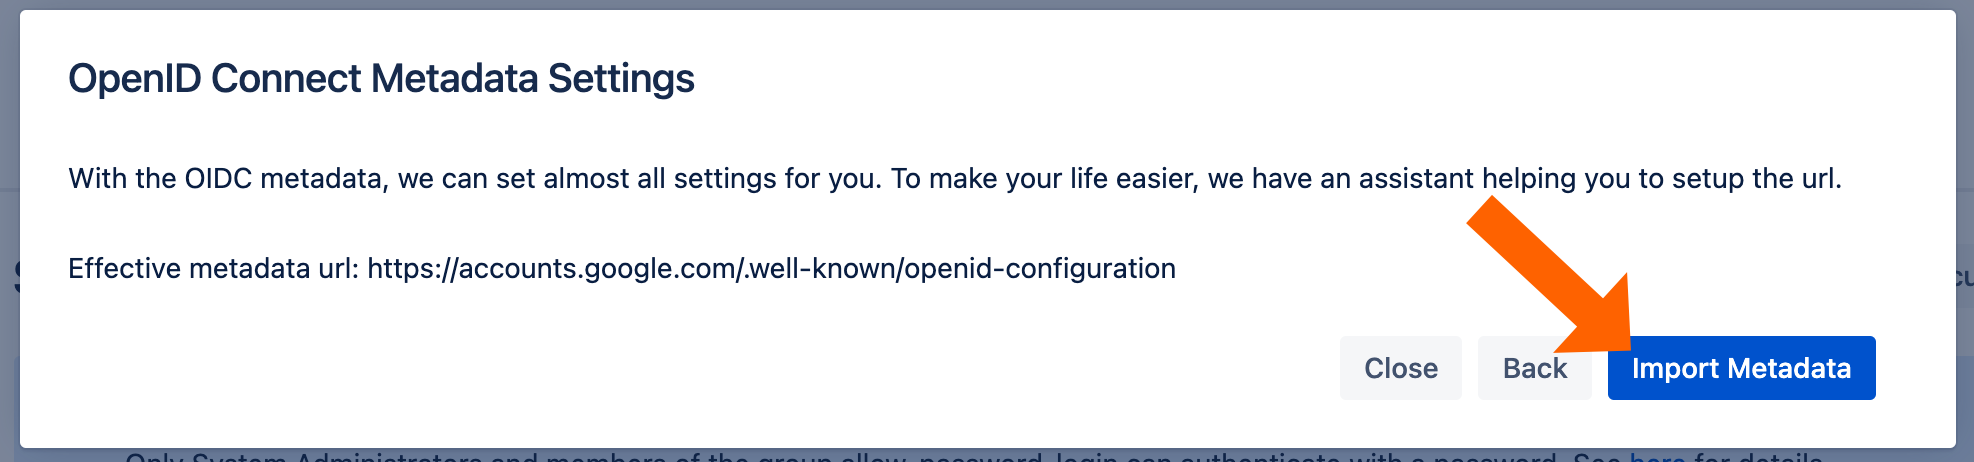
You will see this message if the import was successful.
To finish the wizard, click Save and Close.

To Configure Just-In-Time provisioning, go to UserSync.
Click Create Connector and choose Just-In-Time.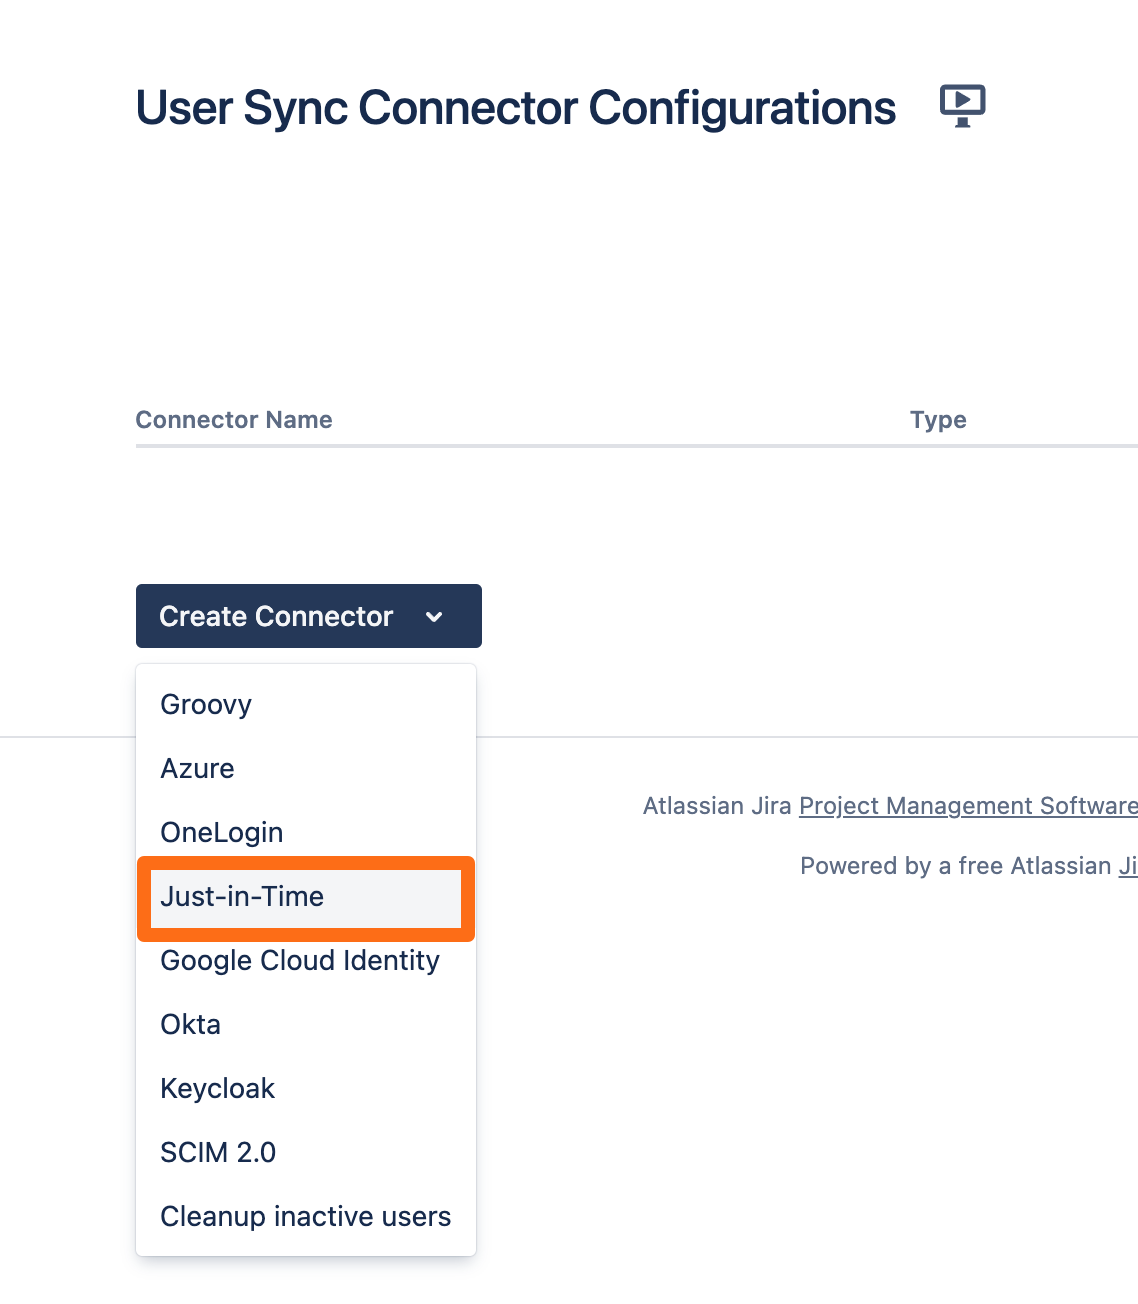
On the next screen, you must either choose an existing directory or click the Create new empty directory... button.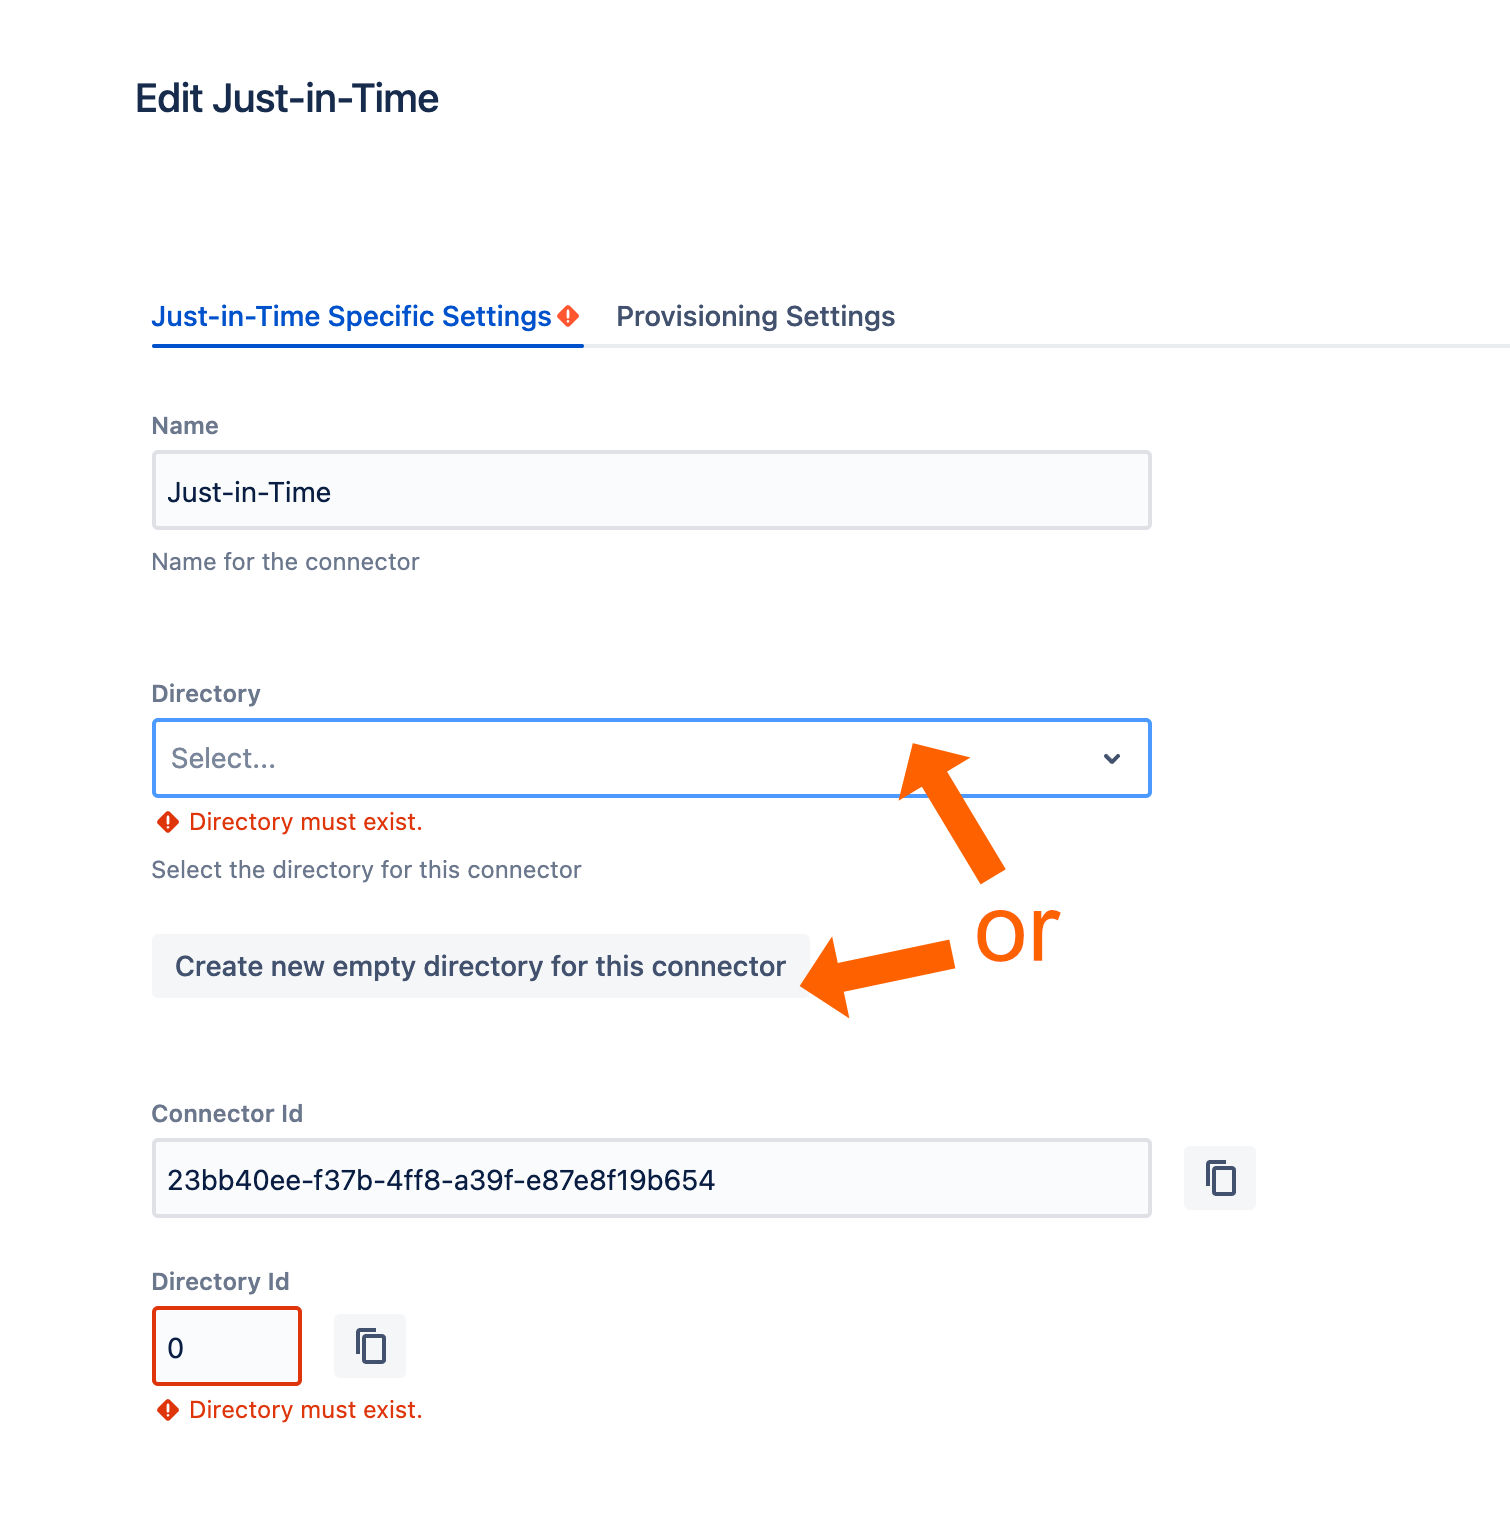
Next, go to the Provisioning Settings. In order for our app to create new users, you must map the Username, Full Name and Email. Additionally, you may also want to assign users automatically on creation to groups. You can use Always Assign Users to Certain Groups for this.
For Google Cloud, you need the following mappings. For this tutorial, we show how to map the username as an example.
Attribute | Value |
|---|---|
Username | |
Full Name | name |
E-Mail Address |
Click Map on the Username row and enter upn as the attribute. If you need to transform the value, you can do this here. Click Apply to finish.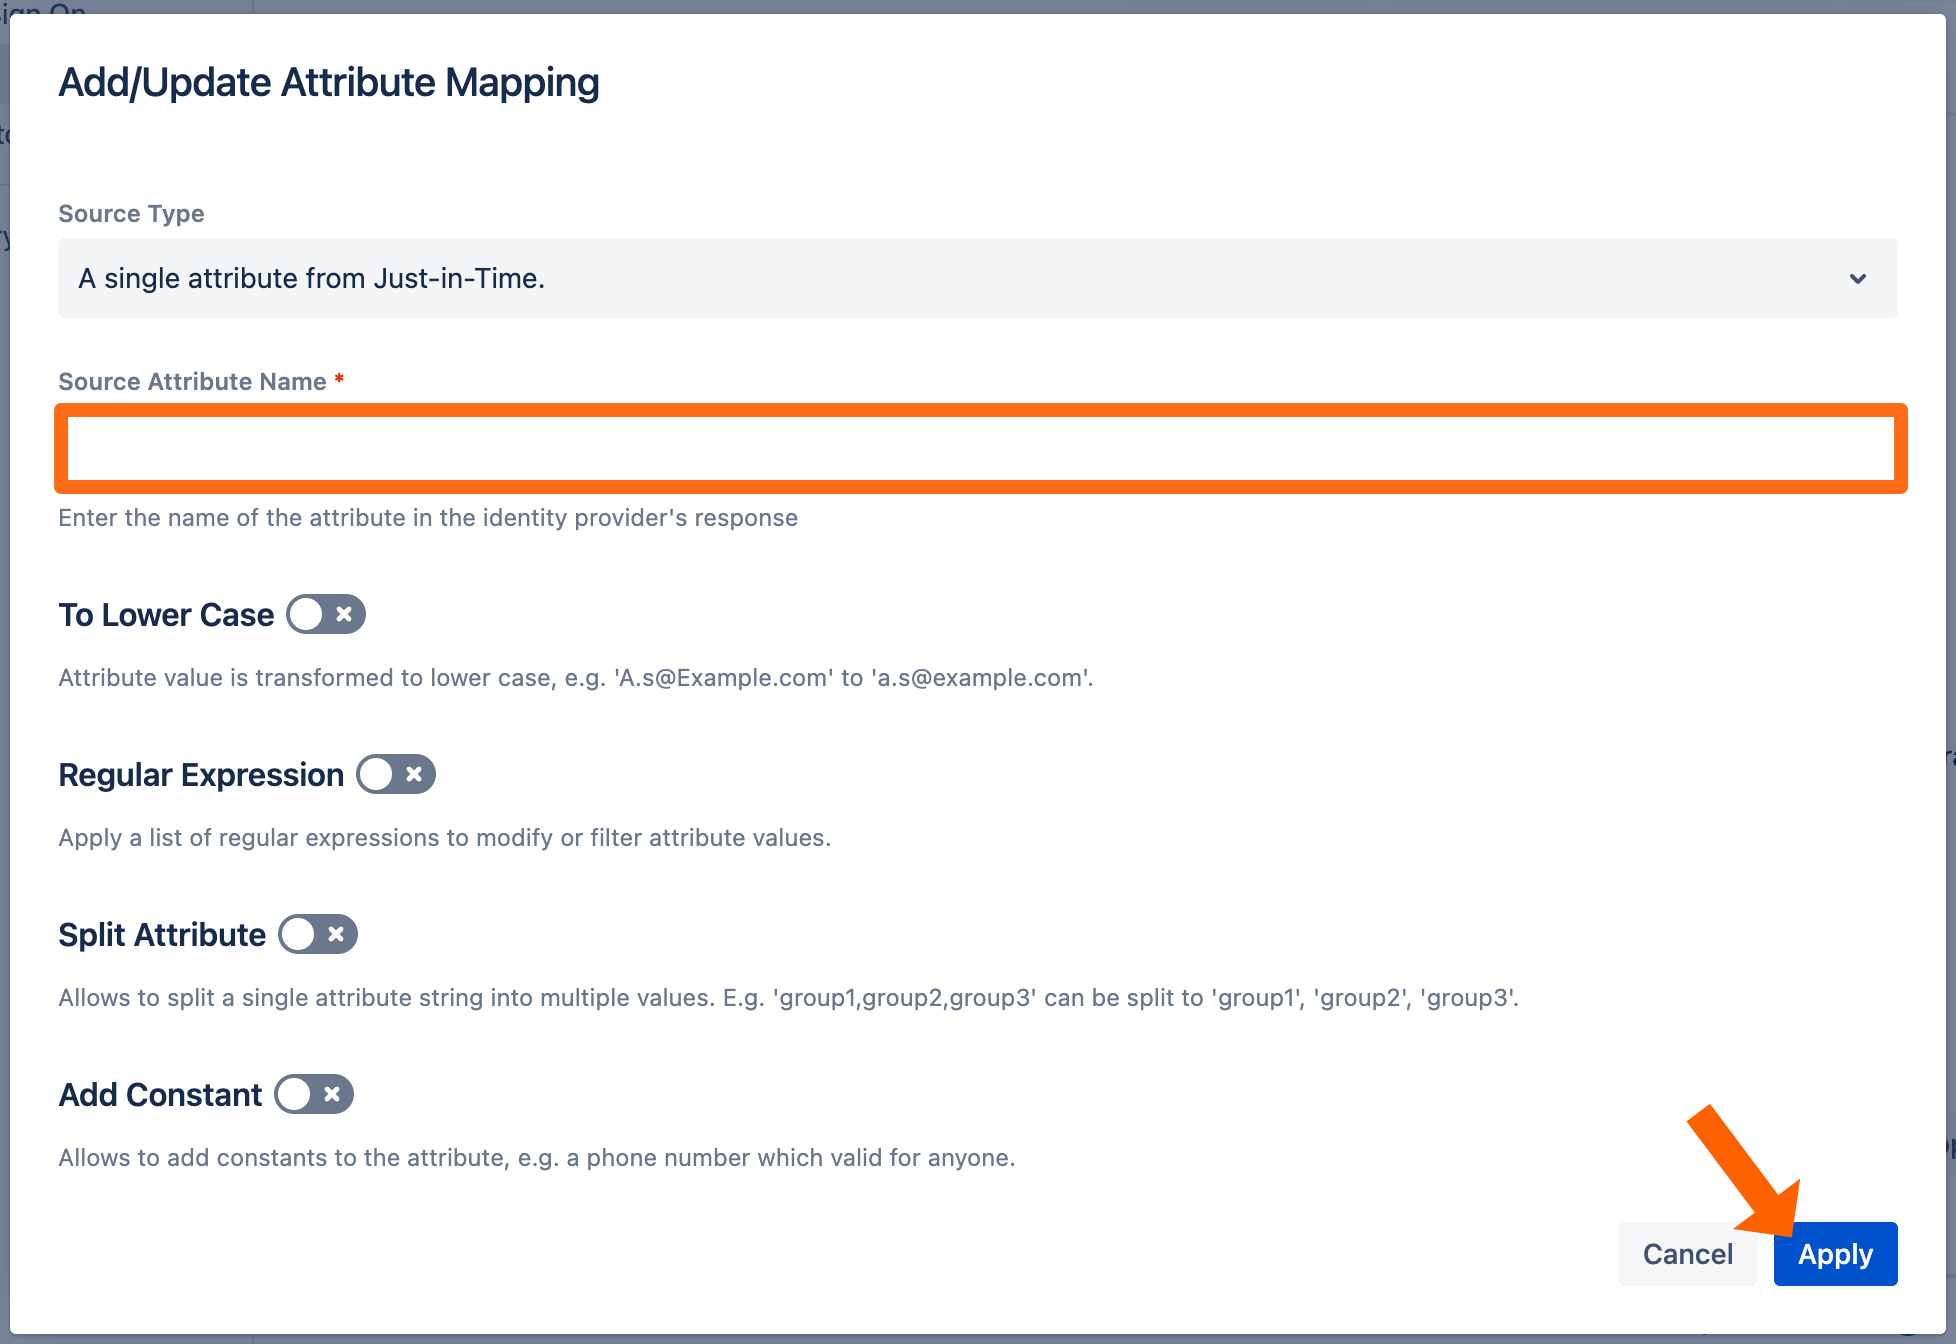
After mapping all necessary attributes, your view should look like this: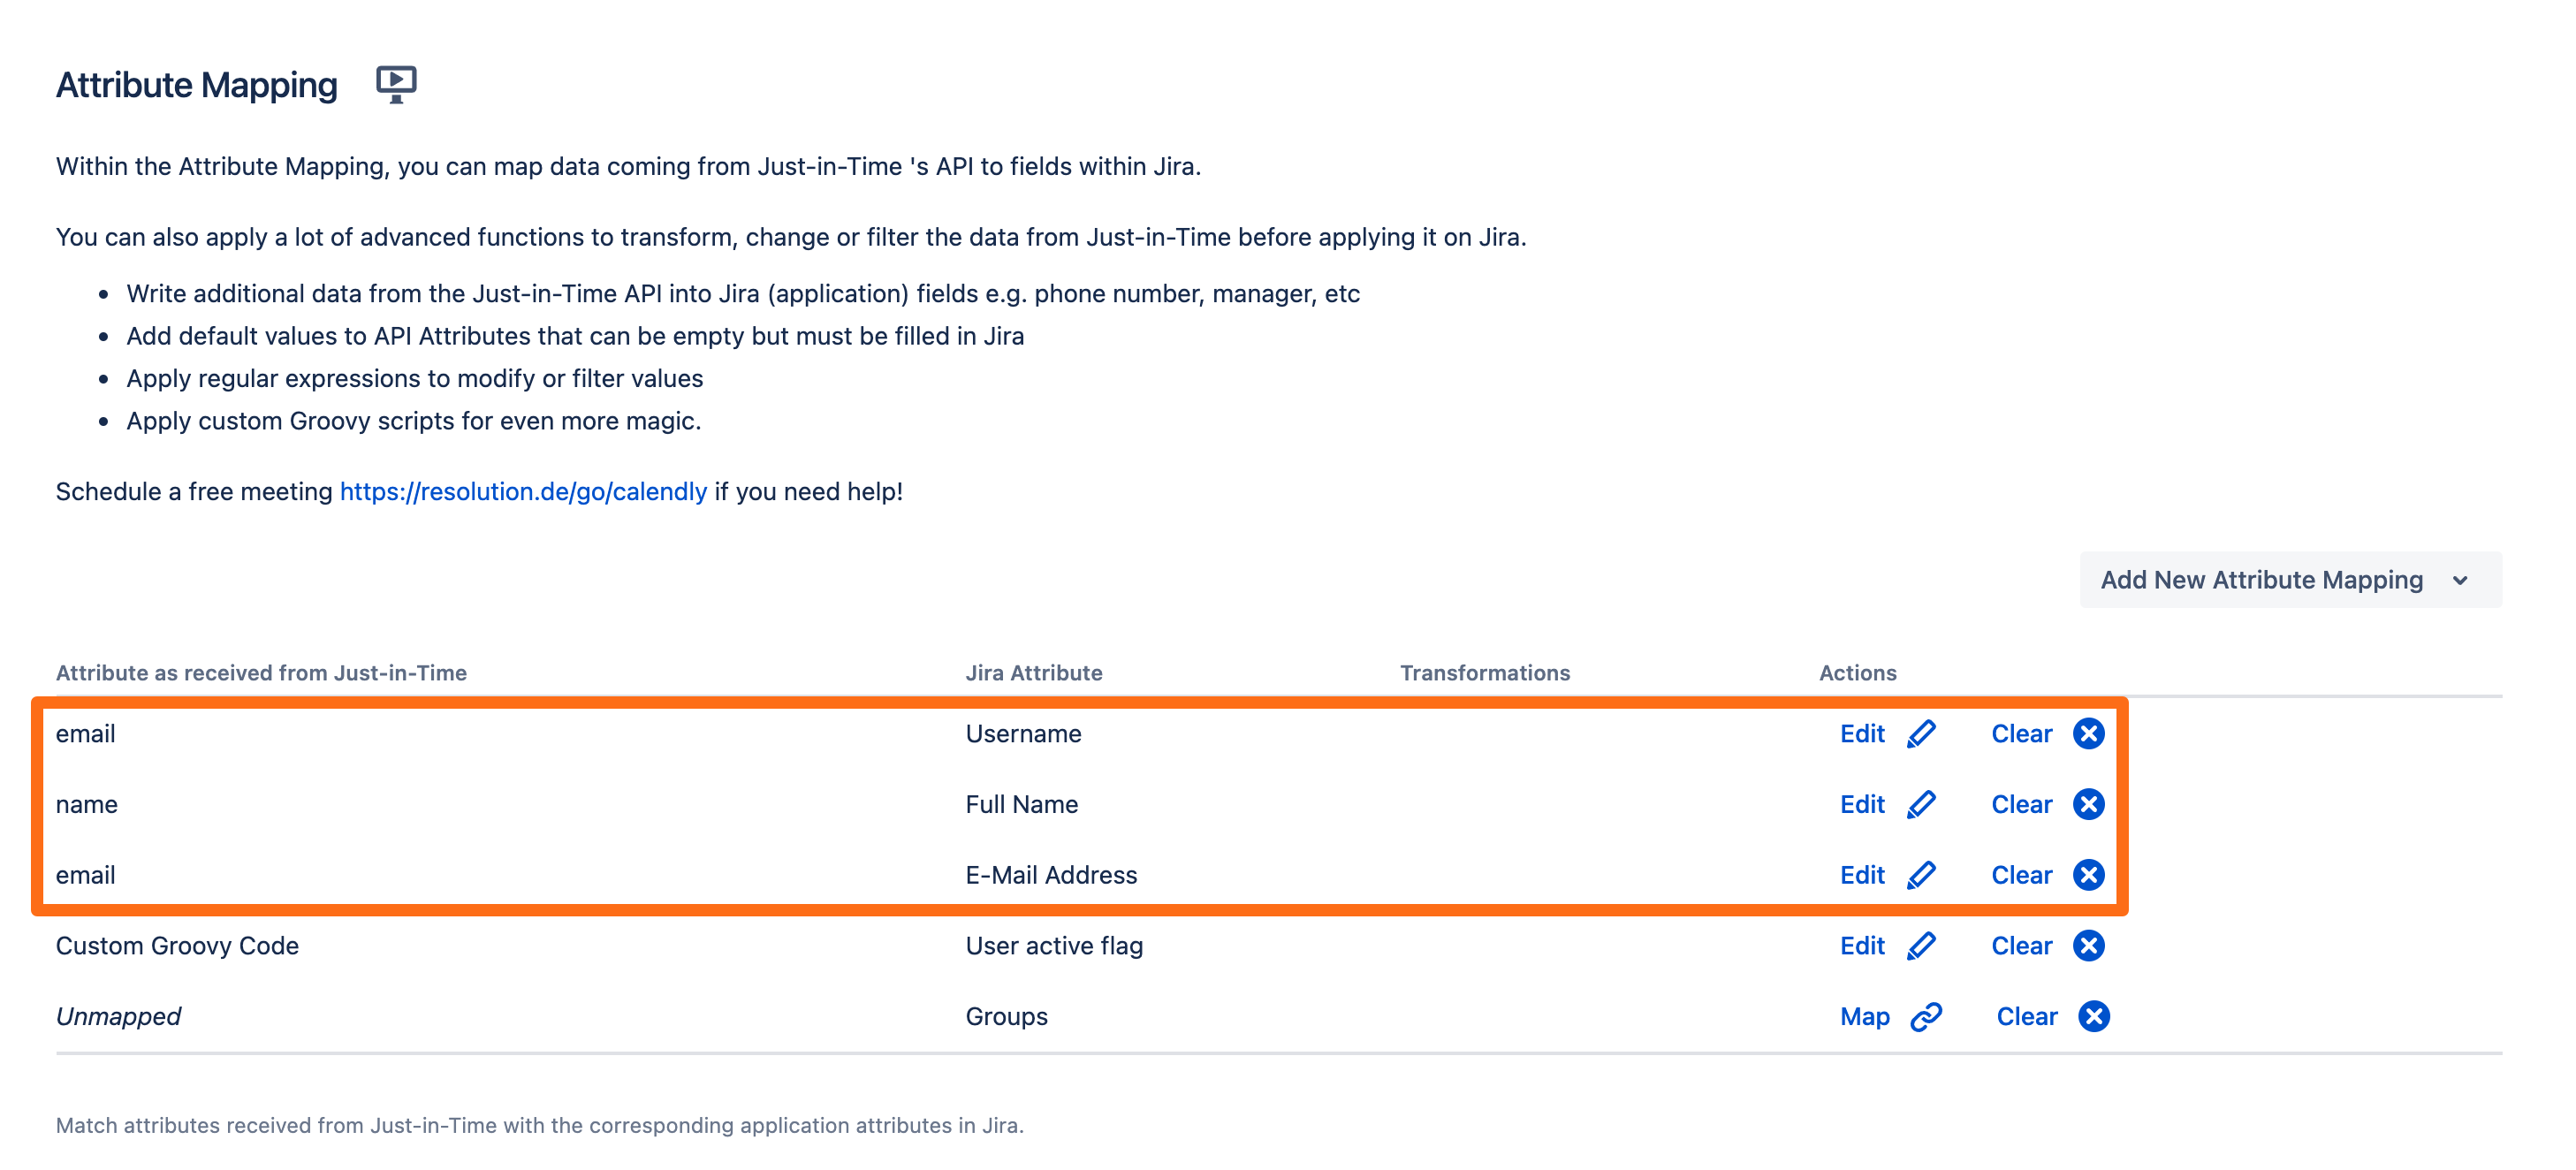
Click Save and Return to finish the configuration.
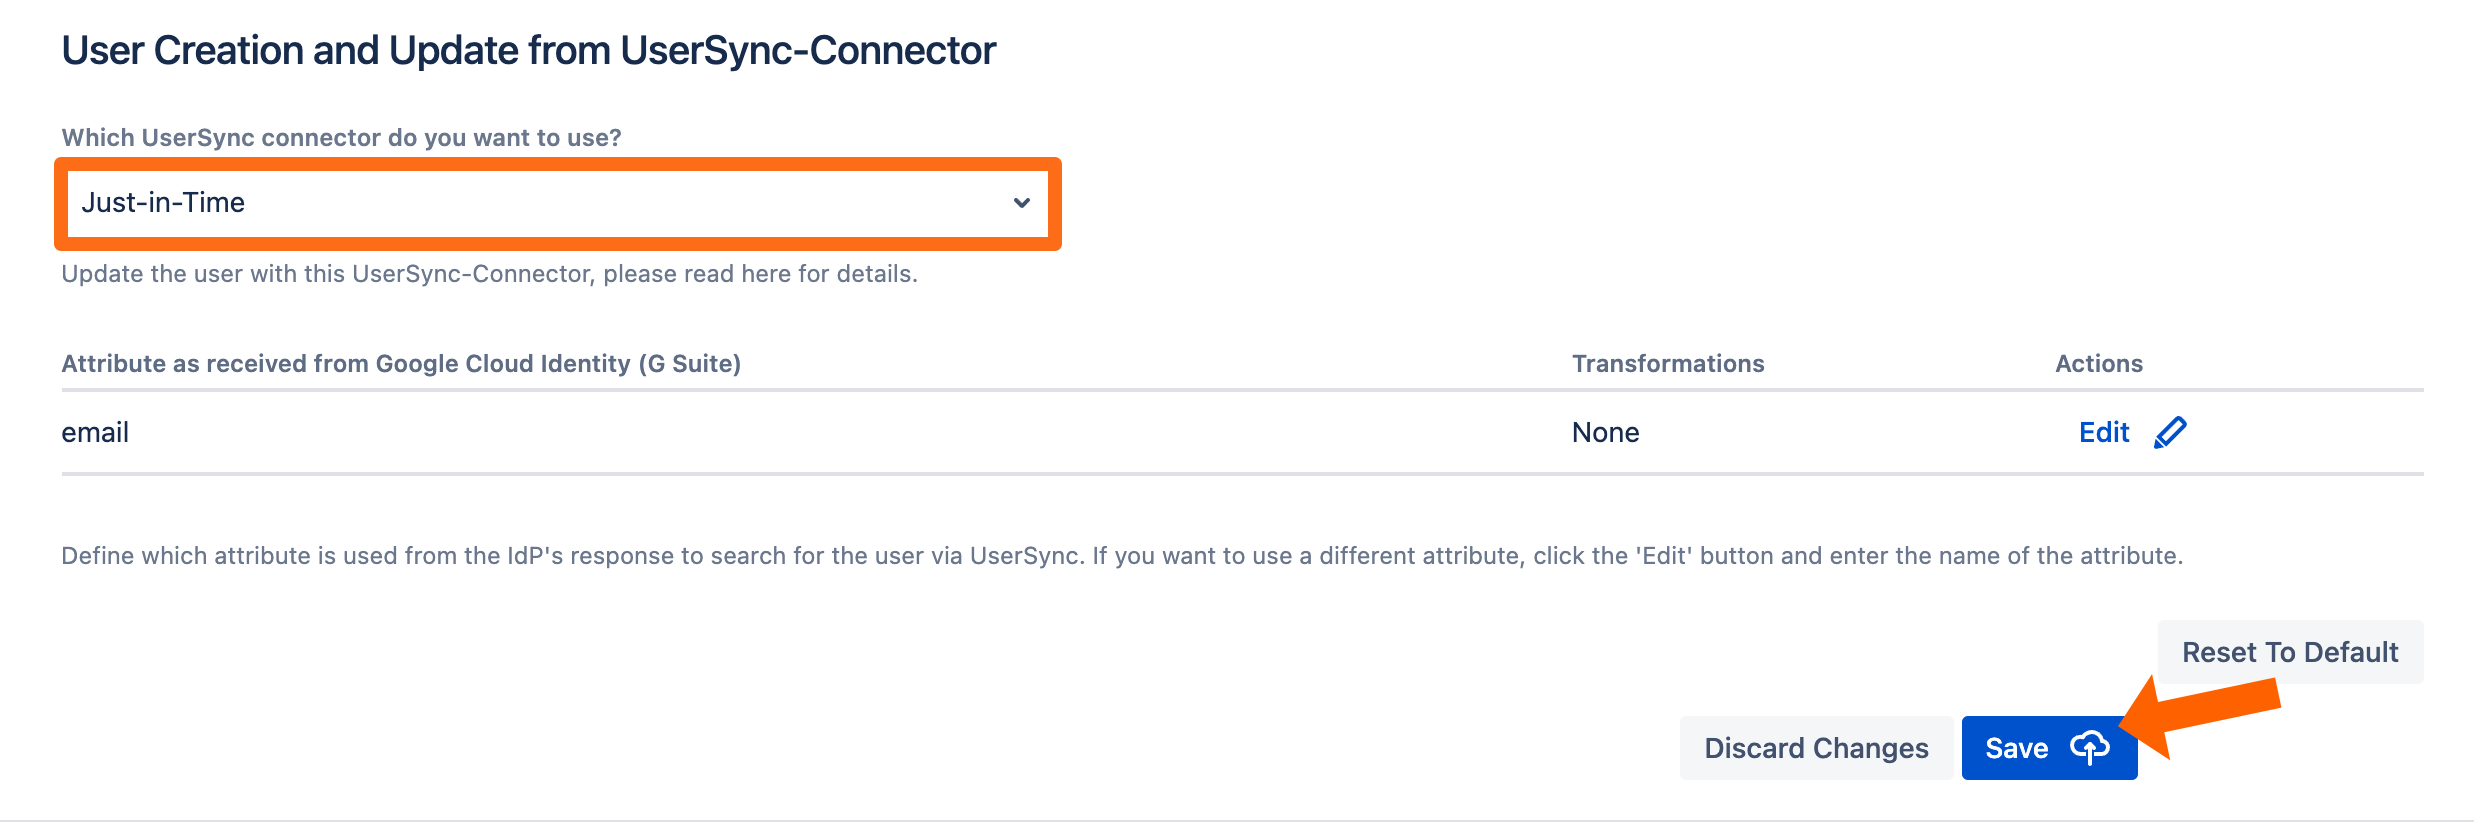
Next, we need to assign this connector in the OpenID Connect configuration. Go back to the SAML SSO configuration.
Scroll down to the User Creation and Update section. Choose Update with UserSync for the User Update Method.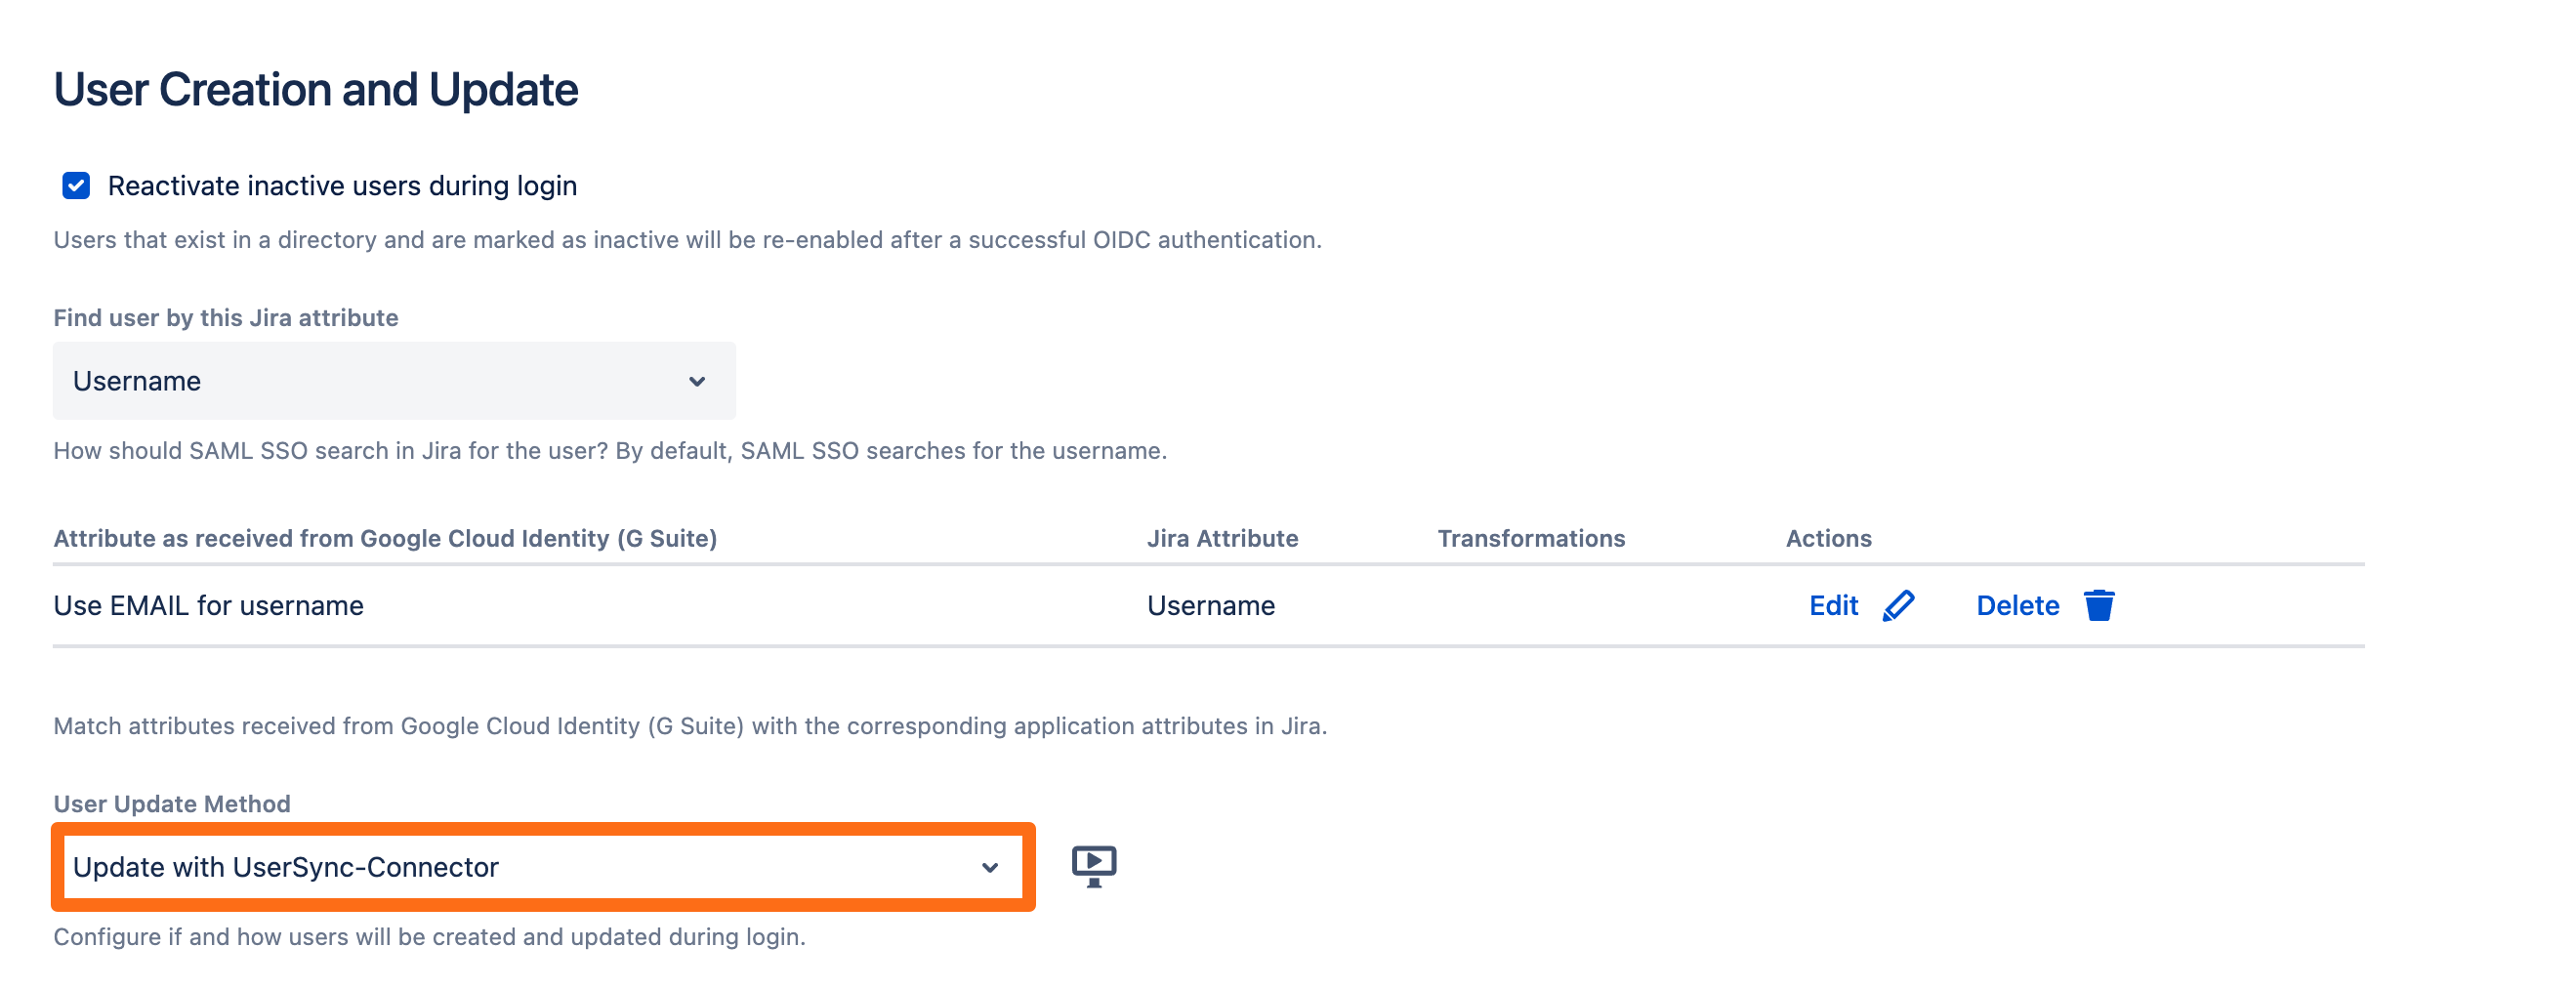
Now, select the Just-In-Time connector that was created before and click Save to finish the configuration.