
Installation and Setup Guide
This guide provides step-by-step instructions for installing and configuring the Out of Office Assistant app in your Jira Cloud instance. The app enables automated absence management and work delegation through rules that reassign issues when team members are away.
Prerequisites
System Requirements
Jira Cloud Environment
Jira Cloud instance (not available for Server/Data Center)
Active Atlassian subscription with administrative access
Minimum Jira version: Current Cloud version (automatically maintained)
User Requirements
Jira Administrator permissions for installation, can create Rules and Templates on behalf of other users
Project Administrator permissions for Rules on behalf of other users (Project Level)
Browse Projects permission for end users (Jira Permissions)
Permission Requirements
Installation Permissions
Jira Administrator role to install from Atlassian Marketplace
Manage Apps permission in Jira administration
System Administrator access for global configuration
User Access Levels
Role | Permissions Required | Capabilities |
|---|---|---|
End User | Browse Projects | Create personal rules and Templates, view own rules, set up own integrations |
Out of Office Admins | Browse Projects | Same as End User + can create Rules and Templates on behalf of other users |
Project Admin | Project Administration | Manage rules for project members, can create Rules and Templates on behalf of Project Members, perfect for Team Leads |
Jira Admin | System Administration | Global settings, user administration, edit all integrations after initial User Setups |
Service Desk Agent | Agent access to JSM projects | Create personal rules and Templates, view own rules, set up own integrations, Approval delegation |
Pricing Information
The Out of Office Assistant operates on a per-user pricing model:
Out of Office Assistant Pricing: https://marketplace.atlassian.com/apps/1218305/out-of-office-for-jira-team-calendar-absence-automation?hosting=cloud&tab=pricing
Free trial: 30 days for evaluation
Billing: Monthly or Yearly subscription through Atlassian Marketplace
Inclusions: All features including Integration at no additional cost
Installation Steps
Step 1: Access Atlassian Marketplace
Log in to your Jira Cloud instance as a Jira Administrator
Navigate to Apps menu in the top navigation bar
Click "Find new apps" from the dropdown menu
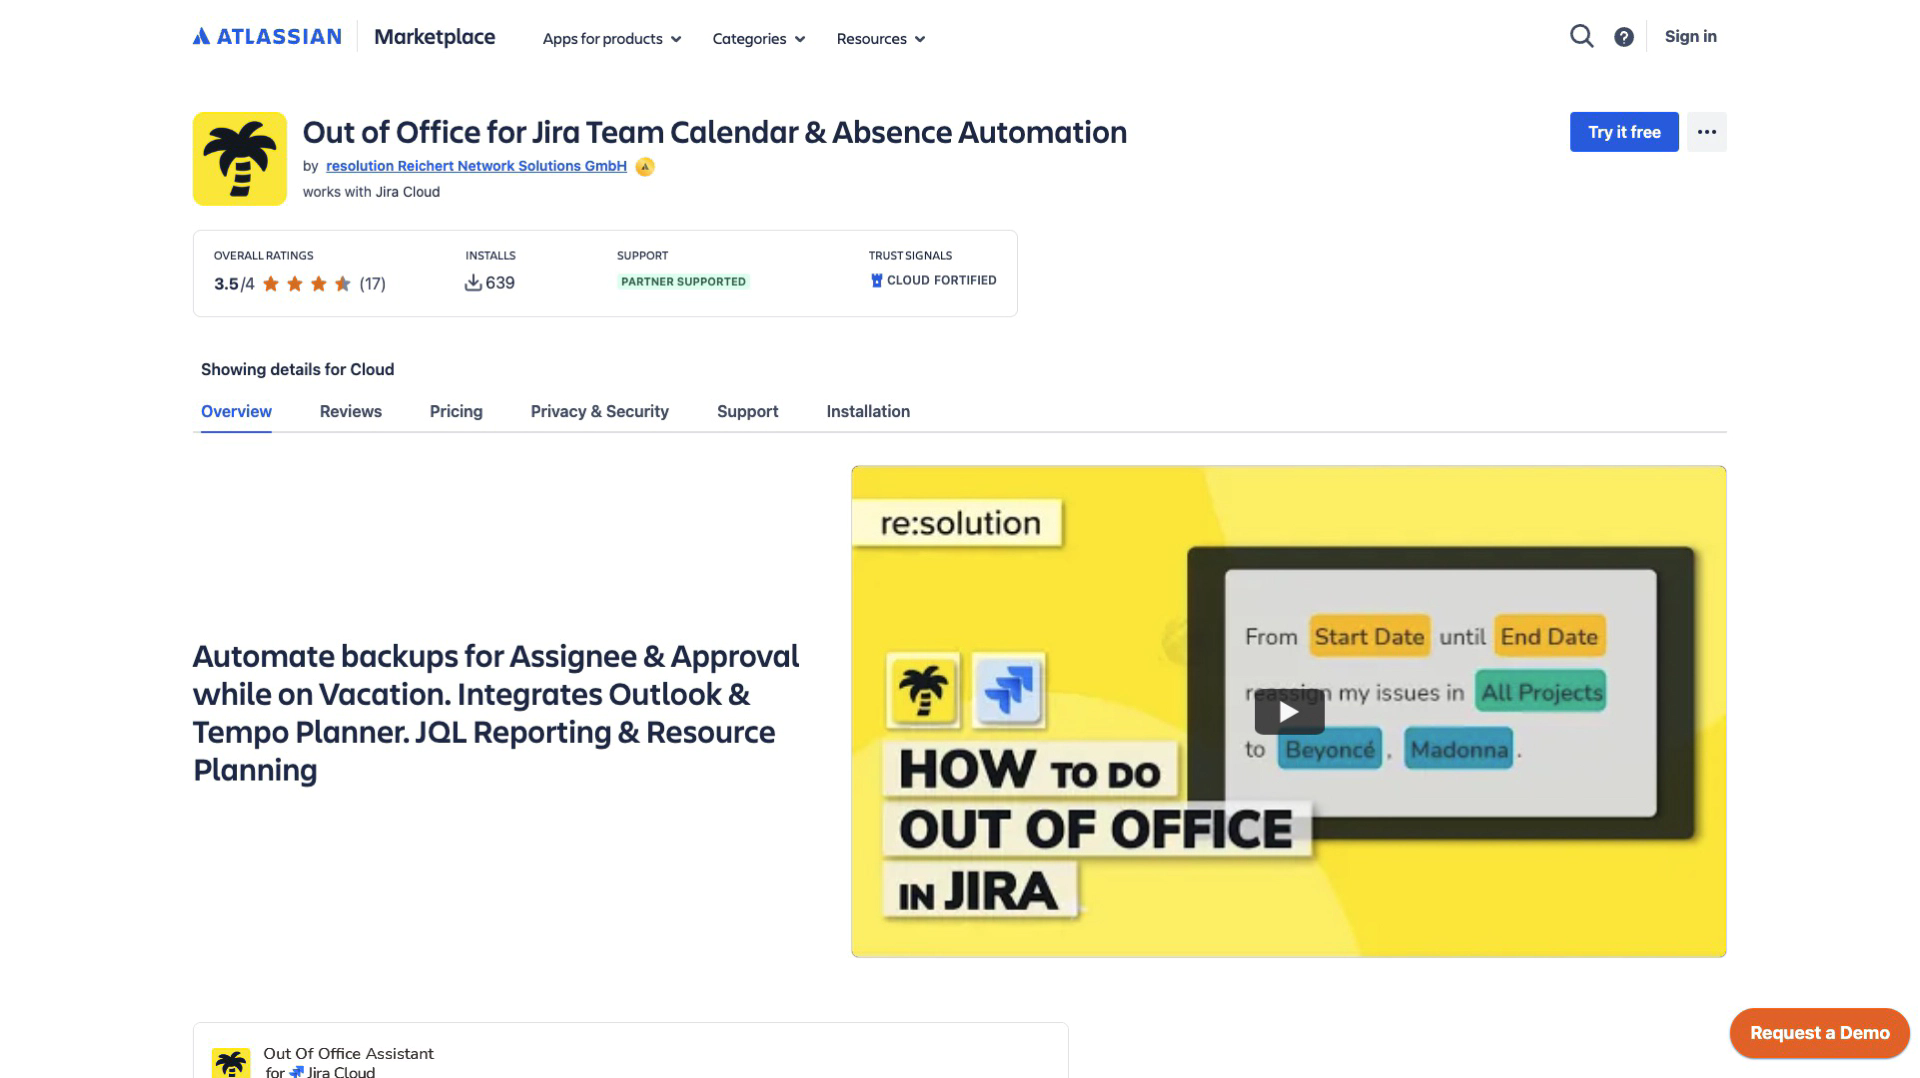
Step 2: Search for Out of Office Assistant
Search for "Out of Office Assistant" in the Marketplace search bar
Locate the app by Resolution Reichert Network Solutions GmbH
Verify the correct app by checking:
Step 3: Install the App
Click on the Out of Office Assistant app from search results
Review app details including:
Features and capabilities
Pricing information
User reviews and ratings
Data privacy information
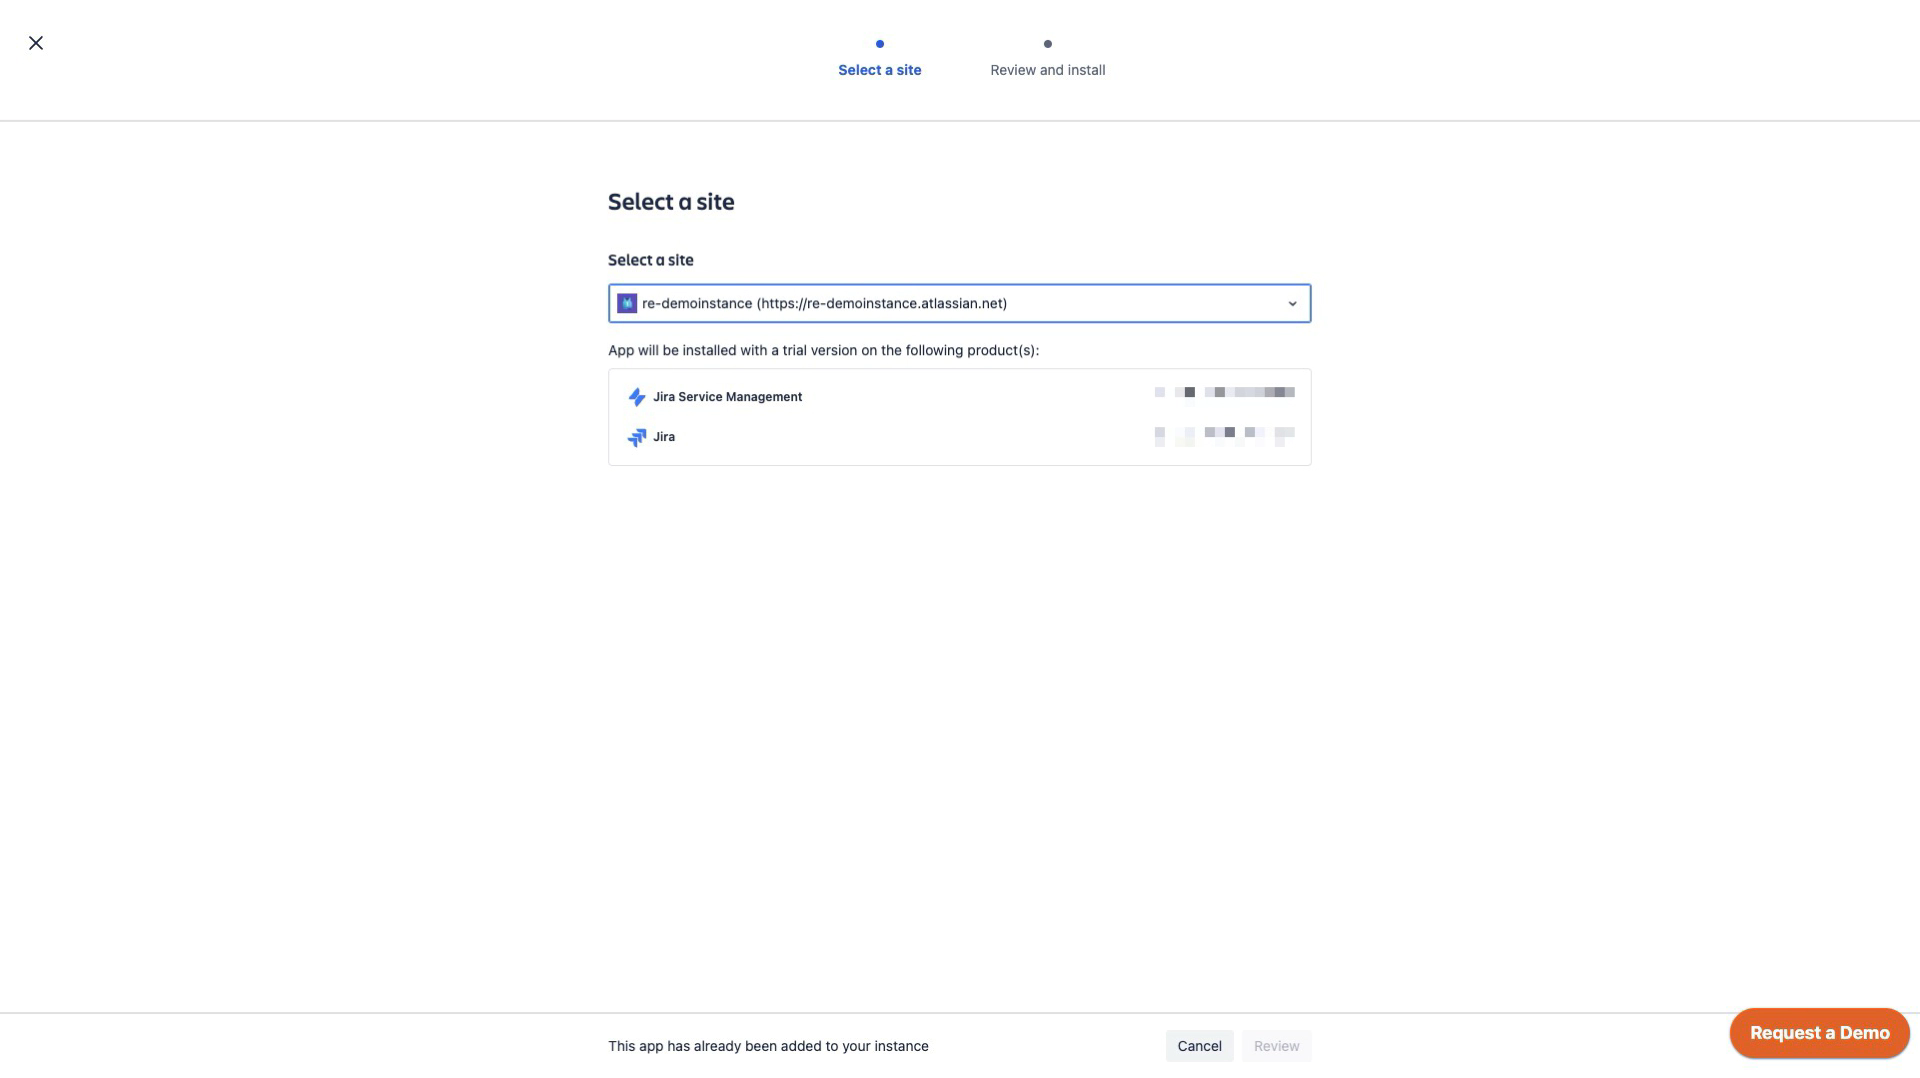
Click “Try it free” to start the 30-day trial
Review permissions requested by the app
Click “Accept & install” to proceed with installation
Step 4: Verify Installation
Wait for installation confirmation (typically 1–2 minutes)
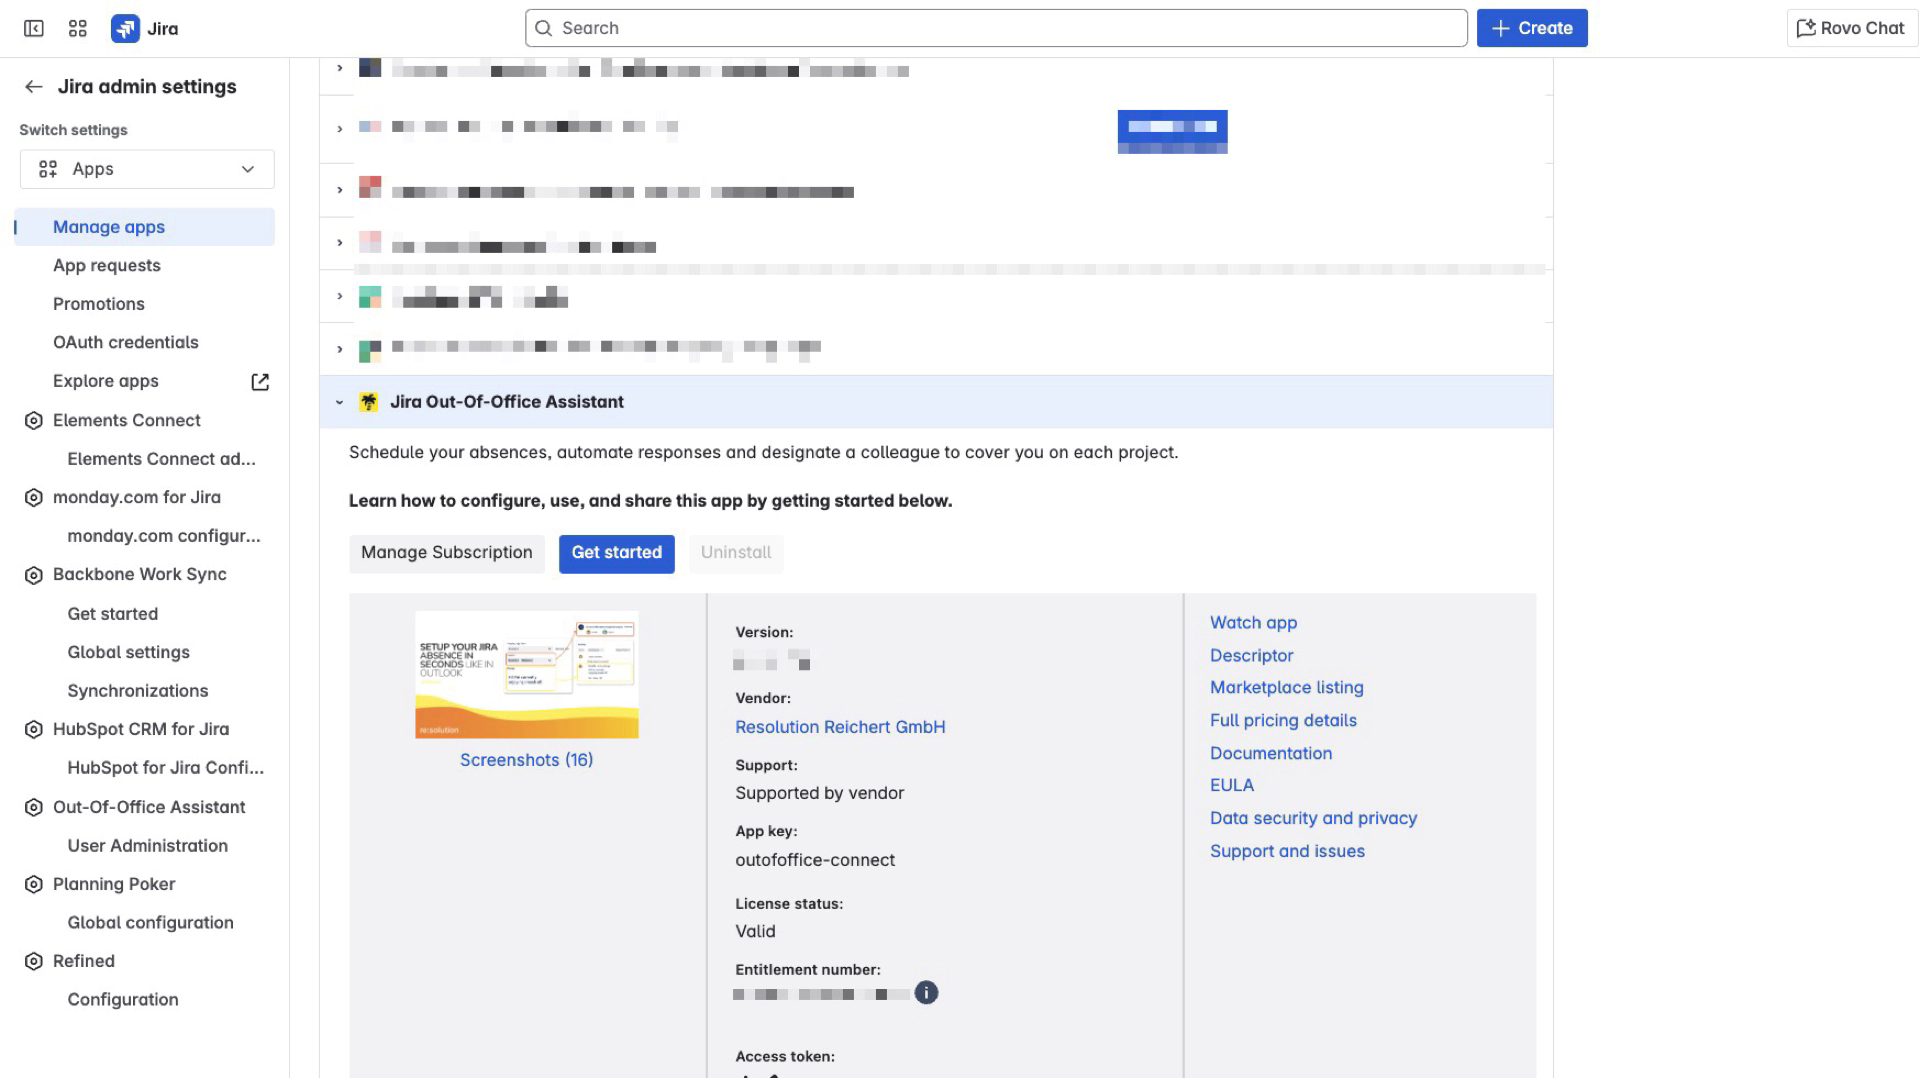
Navigate to Apps > Manage apps to confirm installation
Verify the app appears in the User-installed apps section
Check app status shows as “Enabled”
Initial Configuration
Step 1: Access Out of Office Assistant
Navigate to Apps menu in navigation
Select “Out of Office Assistant” from the Apps dropdown
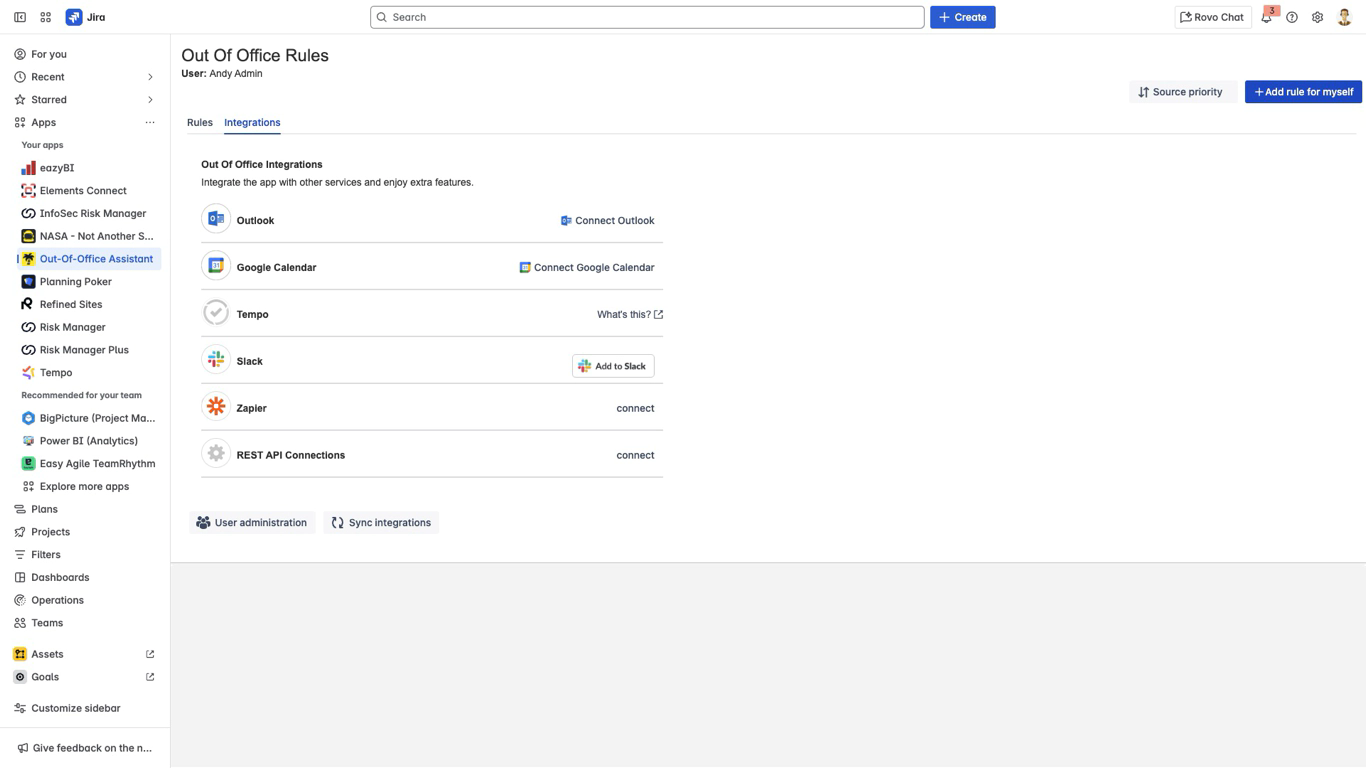
Verify the main interface loads with:
“Out Of Office Rules” heading
User profile display (e.g., “User: Andy Admin”)
Rules and Integrations tabs
“Add rule for myself” button
Step 2: Configure Global Settings (Admin Only)
Click on the Apps menu and select “Apps”
Navigate to the sidebar and find “Out-Of-Office Assistant”
Click “User Administration” to access admin interface
Click “Global Settings” button in the top right
Configure global settings including:
Mentions in Comments
Jira Service Management
Rest API
Permissions
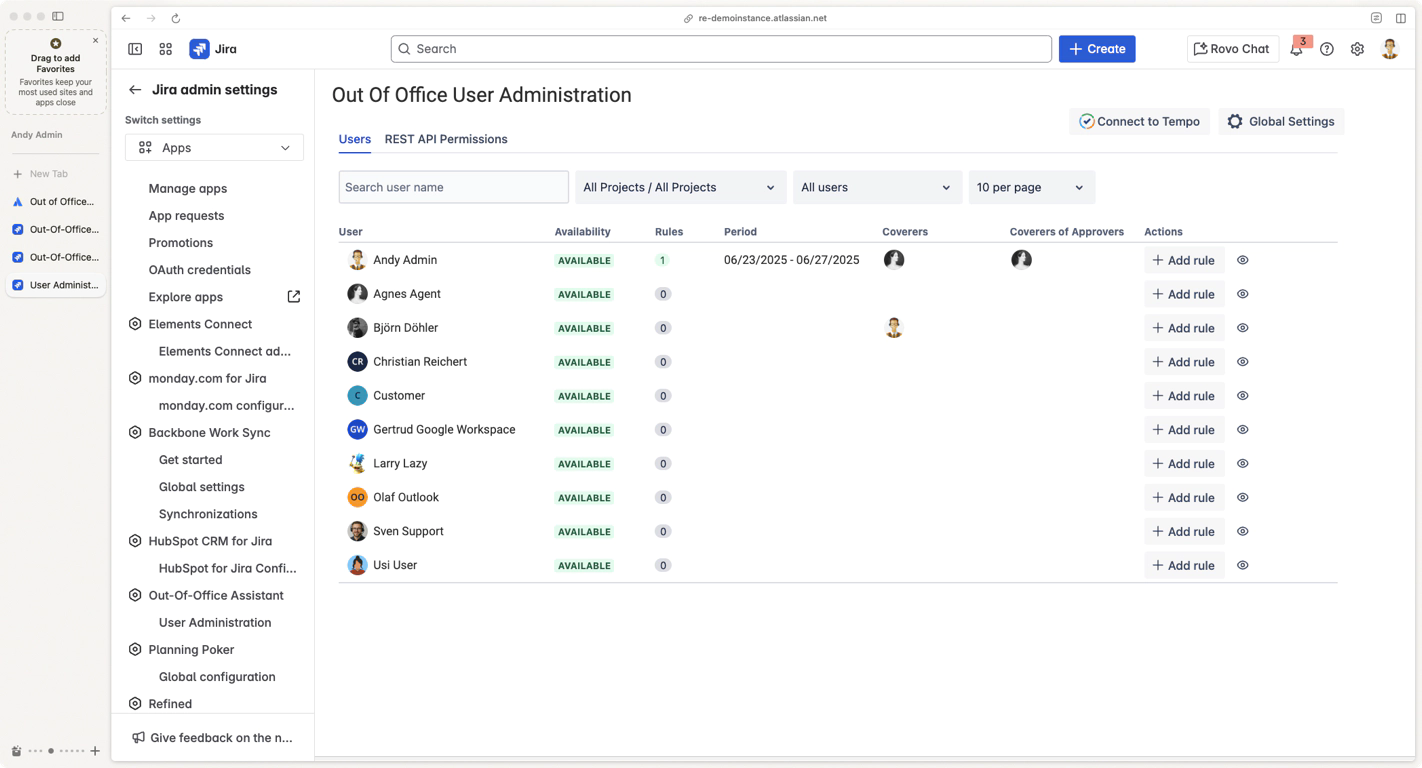
Step 3: Set Up User Administration Access
From the User Administration interface, review:
User list with availability status
Search and filter controls (project filter, user filter, pagination)
Rule management options for each user
Verify admin capabilities:
Add rules for other users
View all user rules and status
Manage permissions and access
Step 4: Configure Basic App Settings
Return to main interface (Apps > Out of Office Assistant)
Click the Integrations tab to review available integrations:
Microsoft Outlook: Calendar sync (status shows “Connected” if configured)
Google Calendar: Calendar integration (status shows “Connected” if configured)
Slack: Mobile activation for rule management
Tempo: Timesheet and planner integration
Zapier: Automation workflows and external integrations
REST API Connection: if enabled for User
Review sync settings:
Automatic sync occurs every 15 minutes
Manual sync available via “Sync integrations” button
Individual integration configuration via “Configure” buttons (when connected)
Configuration Options Reference
Integration Configuration Settings
Microsoft Outlook Integration
Purpose: Sync absence rules with Outlook Absence Message (Automatic Replies)
Configuration: Click “Configure” to set up OAuth authentication
Status Indicators:
“Connected” (green checkmark) = Successfully configured
“Configure” button = Needs setup
Actions Available: Configure, Disconnect
Google Calendar Integration
Purpose: Sync absence rules with Google Workspace Calendar
Configuration: Click “Configure” to authenticate with Google
Status Indicators:
“Connected” (green checkmark) = Successfully configured
“Configure” button = Needs setup
Actions Available: Configure, Disconnect
Slack Integration
Purpose: Mobile rule activation
Configuration: Click “Add to Slack” to install Slack app
Features: Remote rule activation via Slack commands
Setup Requirements: Slack workspace admin permissions
Tempo Integration
Purpose: Integration with Tempo Timesheets and Planner
Configuration: API token setup required
Documentation: “What’s this?” link provides detailed setup instructions
Use Cases: Timesheet absence tracking, resource planning
Zapier Integration
Purpose: Automation workflows with external services
Configuration: Click “connect” to set up Zapier integration
Capabilities: Trigger actions in other apps when rules activate
Administrative Configuration Settings
User Administration Controls
Search and Filter Options:
User name search
Project filter (All Projects or specific projects)
User filter (All users or filtered view)
User Management Functions:
View user availability status (AVAILABLE, LEAVING SOON)
Count of active rules per user
Rule periods display (start date - end date or ∞)
Coverer assignments visible
Add/Show rules for any user (admin capability)
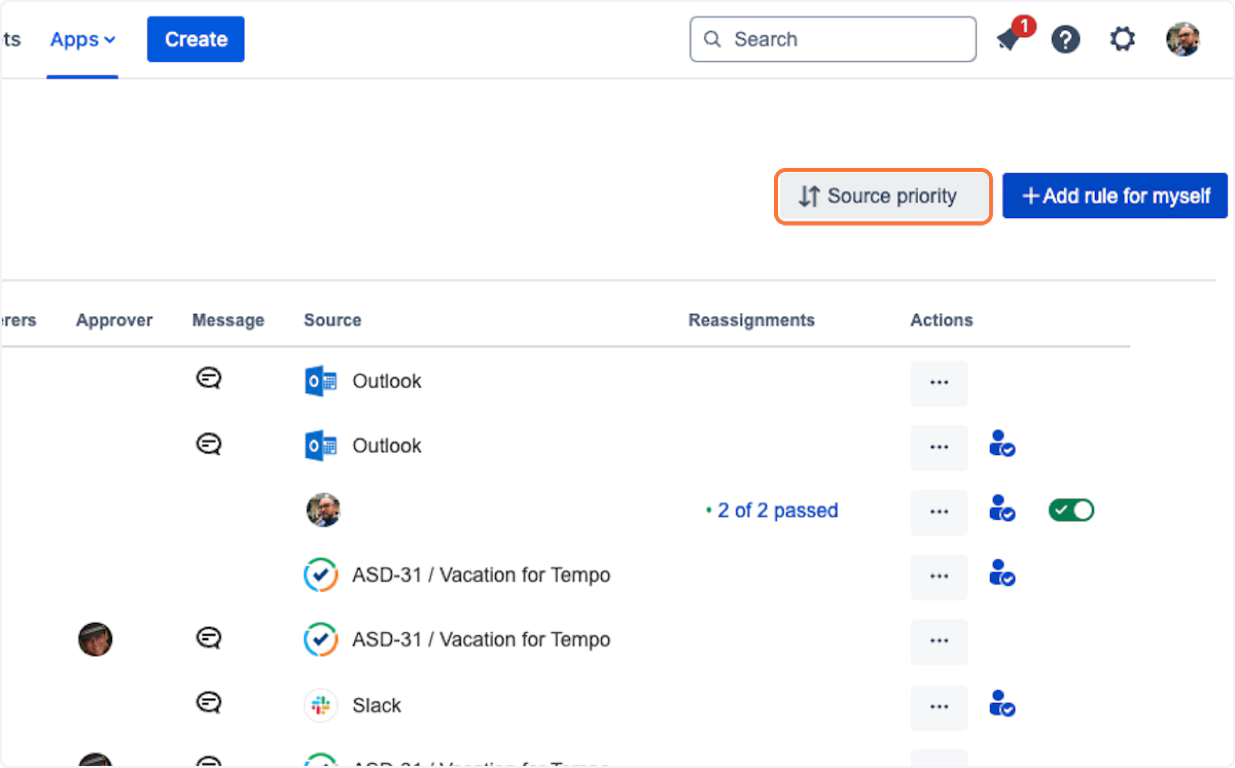
Source Priority Configuration
Priority Settings
Purpose: Determine which integration takes precedence when conflicts occur
Access: “Source priority” button in main interface
Options: Set priority order for multiple integration sources
Impact: Affects which absence data is used when multiple sources provide conflicting information
Verification Steps
Verify App Functionality
Test rule creation access:
Click “Add rule for myself” button
Verify rule creation form loads with all fields:
Start Date (required)
End Date (optional)
Scope (Projects or JQL)
Coverer selection
Message configuration
Click “Cancel” to return to main interface
Test User Access
Log in as different user types to verify access:
End User: Can access main interface and create personal rules
Project Admin: Can access project-level management features
Service Desk Agent: Can access approval delegation features
Verify feature availability matches user role permissions
Troubleshooting Common Installation Issues
Installation Problems
App Not Appearing in Apps Menu
Symptoms:
Out of Office Assistant doesn’t appear in Apps dropdown after installation
Apps menu shows other apps but not Out of Office Assistant
User reports “Cannot find the app”
Diagnostic Steps:
Check Apps > Manage apps to verify installation status
Verify user has appropriate permissions
Test with different user account (preferably Jira Admin)
Causes & Solutions:
Permission Issue:
Symptoms: App appears for admins but not regular users
Solution: Verify user has “App Acces” permission at minimum
Check: User Administration interface for correct role assignments
Resolution: Add user to appropriate Jira groups or adjust App Access permissions
Installation Incomplete:
Verification: Navigate to Apps > Manage apps
Check Status: App should appear in “User-installed apps” section with “License Status valid” status
If Missing: Reinstall the app from Atlassian Marketplace
If Disabled: Please contact our Support https://resolution.atlassian.net/servicedesk/customer/portal/4/group/4/create/108
Installation Fails or Times Out
Symptoms:
Installation process hangs at “Installing…” screen
Error message: “Installation failed” or “Request timed out”
Marketplace page becomes unresponsive
Diagnostic Steps:
Check Atlassian status page for service issues
Verify network connectivity and firewall settings
Causes & Solutions:
Marketplace Service Issues:
Check: Visit status.atlassian.com for service disruptions
Wait Time: 10–15 minutes before retry
Alternative: Try installation during off-peak hours
Monitor: Atlassian community forums for widespread issues
Permission Restrictions:
Verify: User has “Jira Administrator” or “Manage Apps” permission
Check: System Administration > User management > User roles
Solution: Have a Jira Administrator perform the installation
Corporate Policy: Verify organization allows third-party app installations
Next Steps
Set Up User Permissions:
Review and configure project-level permissions
Set up user roles and access levels
Configure approval workflows for JSM projects
Create First Rules:
Follow the Quick Start Guide to create initial absence rules
Test end-to-end workflows with test accounts
Train team members on app usage
User Training:
Share End User Guide with team members
Provide role-specific guides for different user types
Schedule training sessions for complex workflows
Support and Additional Resources
Getting Help
Documentation: Complete guides available at Out of Office Documentation
Support Portal: resolution.atlassian.net/servicedesk
Feature Requests: Submit requests through support portal with specific summary
Monitoring Tools:
Atlassian Status: status.atlassian.com
resolution Status: https://status.resolution.de/
Data Privacy and Security
Privacy Policy: Review data collection and handling practices
Security: App follows Atlassian security standards
Data Storage: Information about data storage on Resolution servers
Version Updates
Automatic Updates: App updates automatically in Jira Cloud
Release Notes: Check Release Notes for new features and changes
Compatibility: Updates maintain backward compatibility
Installation Status: ✅ Ready for use
Next Step: Quick Start Guide
Support: Contact Resolution support for installation assistance