
Getting Started
With "HubSpot Jira Integration, Report, Issue Link & Collaboration" you will have native HubSpot CRM data without moving away from Jira! Follow this quick guide to get started.
4. Creating the HubSpot Connection
The first step after installation is to connect your HubSpot account to Jira.
Open the HubSpot for Jira App Settings
Navigate to Apps > Manage Your Apps > HubSpot for Jira Configuration.
Select ‘Create Connection’
Complete the connection between HubSpot and Jira.
Authenticate with HubSpot
Authenticate the connection via the HubSpot OAuth. (You’ll be redirected to HubSpot to grant permission. Ensure you log into the correct HubSpot account)
Successful Connection
A success message will confirm whether your connection between Jira and HubSpot was completed successfully.
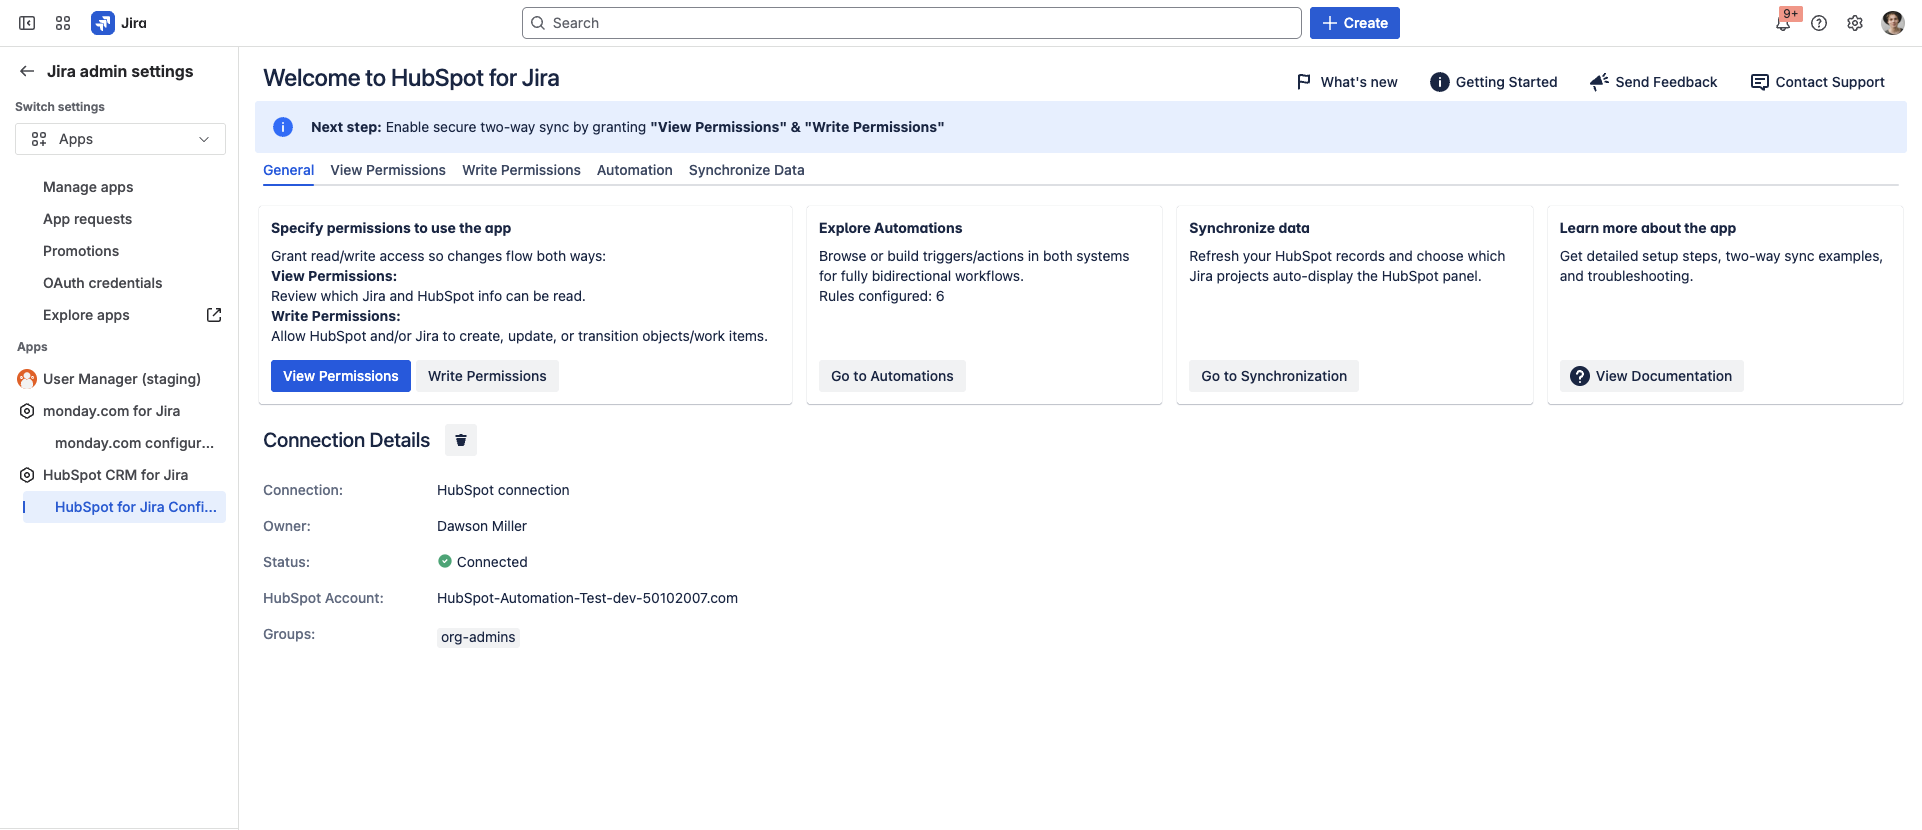
The app includes a guided setup to help you quickly configure the required permissions.
At the top of the screen, you’ll see an information banner prompting you to enable secure two-way sync by granting “View Permissions” and “Write Permissions.”
Step 1: Configure View Permissions
Click View Permissions.
This allows you to review which Jira and HubSpot data can be read by the integration.
Step 2: Configure Write Permissions
Click Write Permissions.
This enables HubSpot and Jira to create, update, or transition objects and work items across both systems.
Completion of Setup
Once both View and Write Permissions are granted, the guided setup banner (infobox at the top) will automatically disappear.
This indicates that your permission configuration is complete, and the integration is ready for full two-way synchronization.
Please note: The setup banner will only disappear once every field within both the View and Write Permissions have been configured (with the exception of the Hide Internal Comments field).