Setting up a Reporting Filter and Dashboard
Follow these steps to create a Jira filter and set up a reporting dashboard for HubSpot object data.
Step 1: Creating a Jira Filter
Click on Filters in the main menu of Jira.
From the Filters dropdown, select View all filters.
Click Create filter to start a new filter.
Select the JQL option to write a custom query.
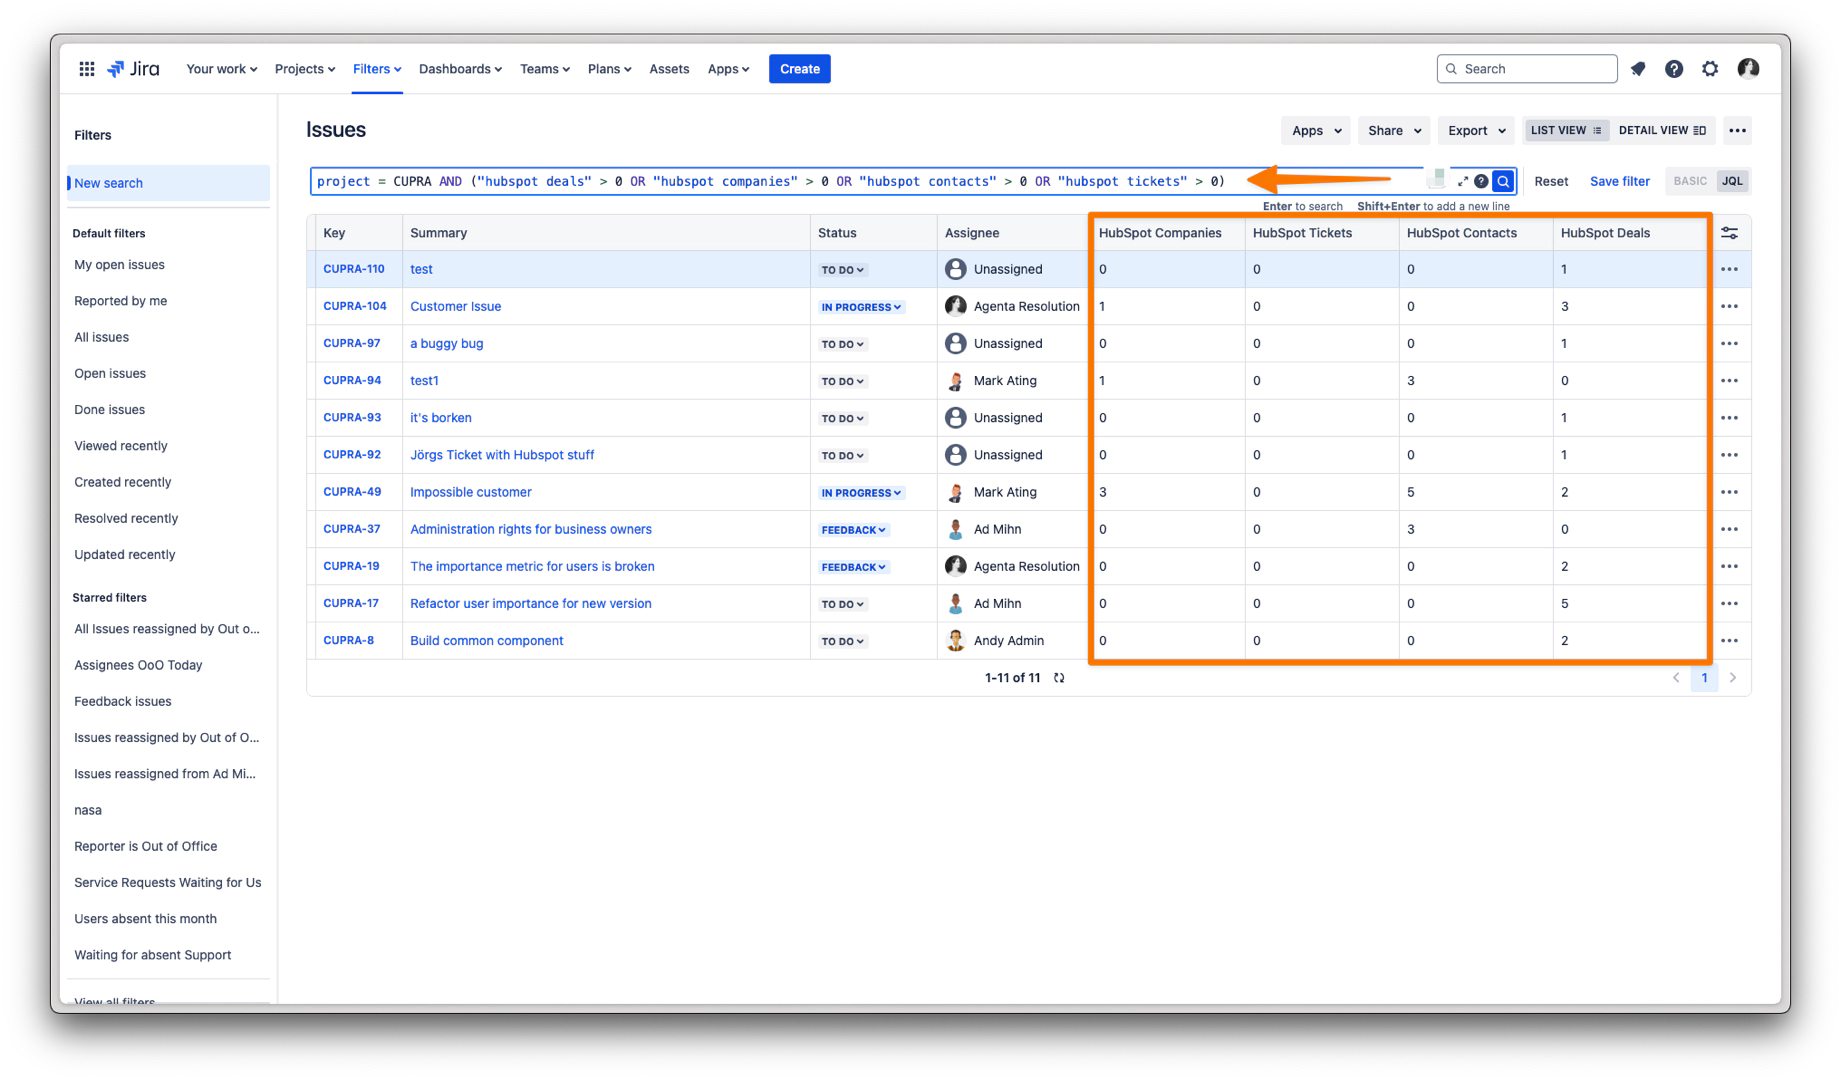
Enter a JQL filter that includes HubSpot object properties, or use the example below:
project = "MAR" AND ("hubspot deals" > 0 OR "hubspot companies" > 0 OR "hubspot contacts" > 0 OR "hubspot tickets" > 0)Click the Magnifying Glass icon to test if the JQL query is working correctly.
Click Save filter to store your filter.
When prompted, enter a name for your filter.
Set the necessary permissions to control filter access.
Finalize by clicking Save.
Step 2: Creating a Dashboard
Click Dashboards in the main menu.
Select View all dashboards.
Click Create dashboard to start a new one.
Enter a name for your dashboard.
Set the required permissions to control access.
Click Save to create the dashboard.
Step 3: Adding a Widget to the Dashboard
Open the newly created dashboard.
Click Add under the required widget section.
When configuring the widget, select the filter you just created.
Adjust the widget’s settings based on your project’s reporting needs.
Click Save to add the widget to the dashboard.