
Linking and engaging with Jira issues from monday.com
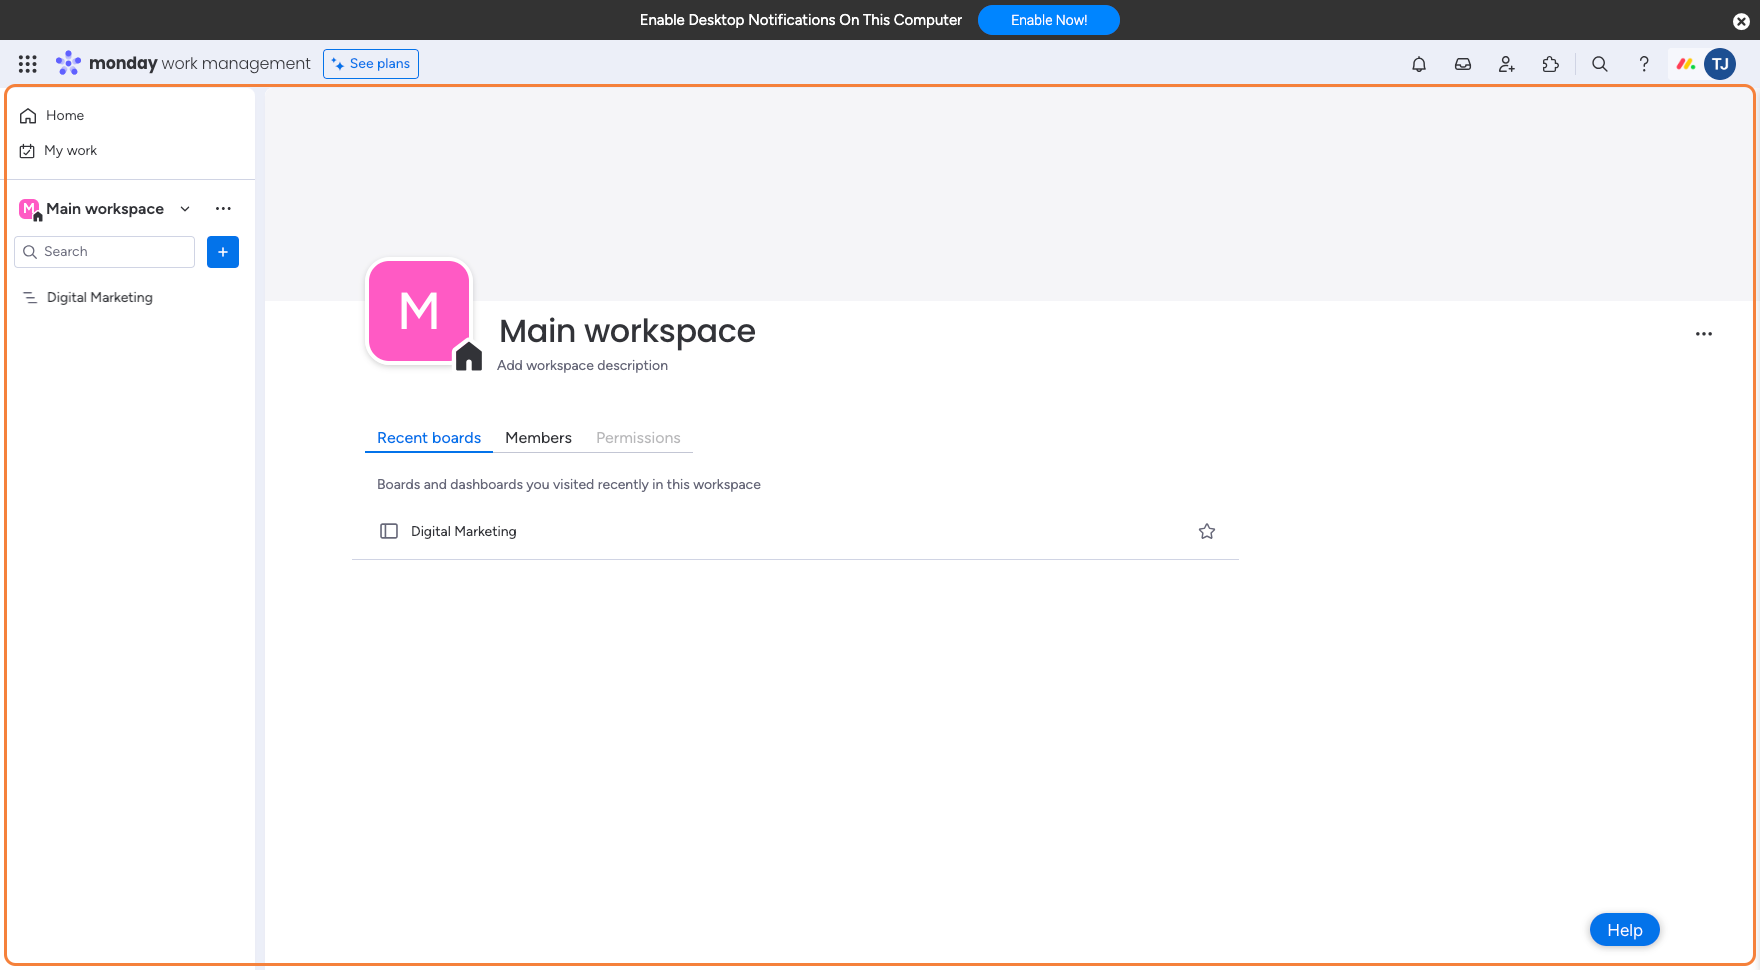
From the desired monday.com instance, open the relevant workspace.
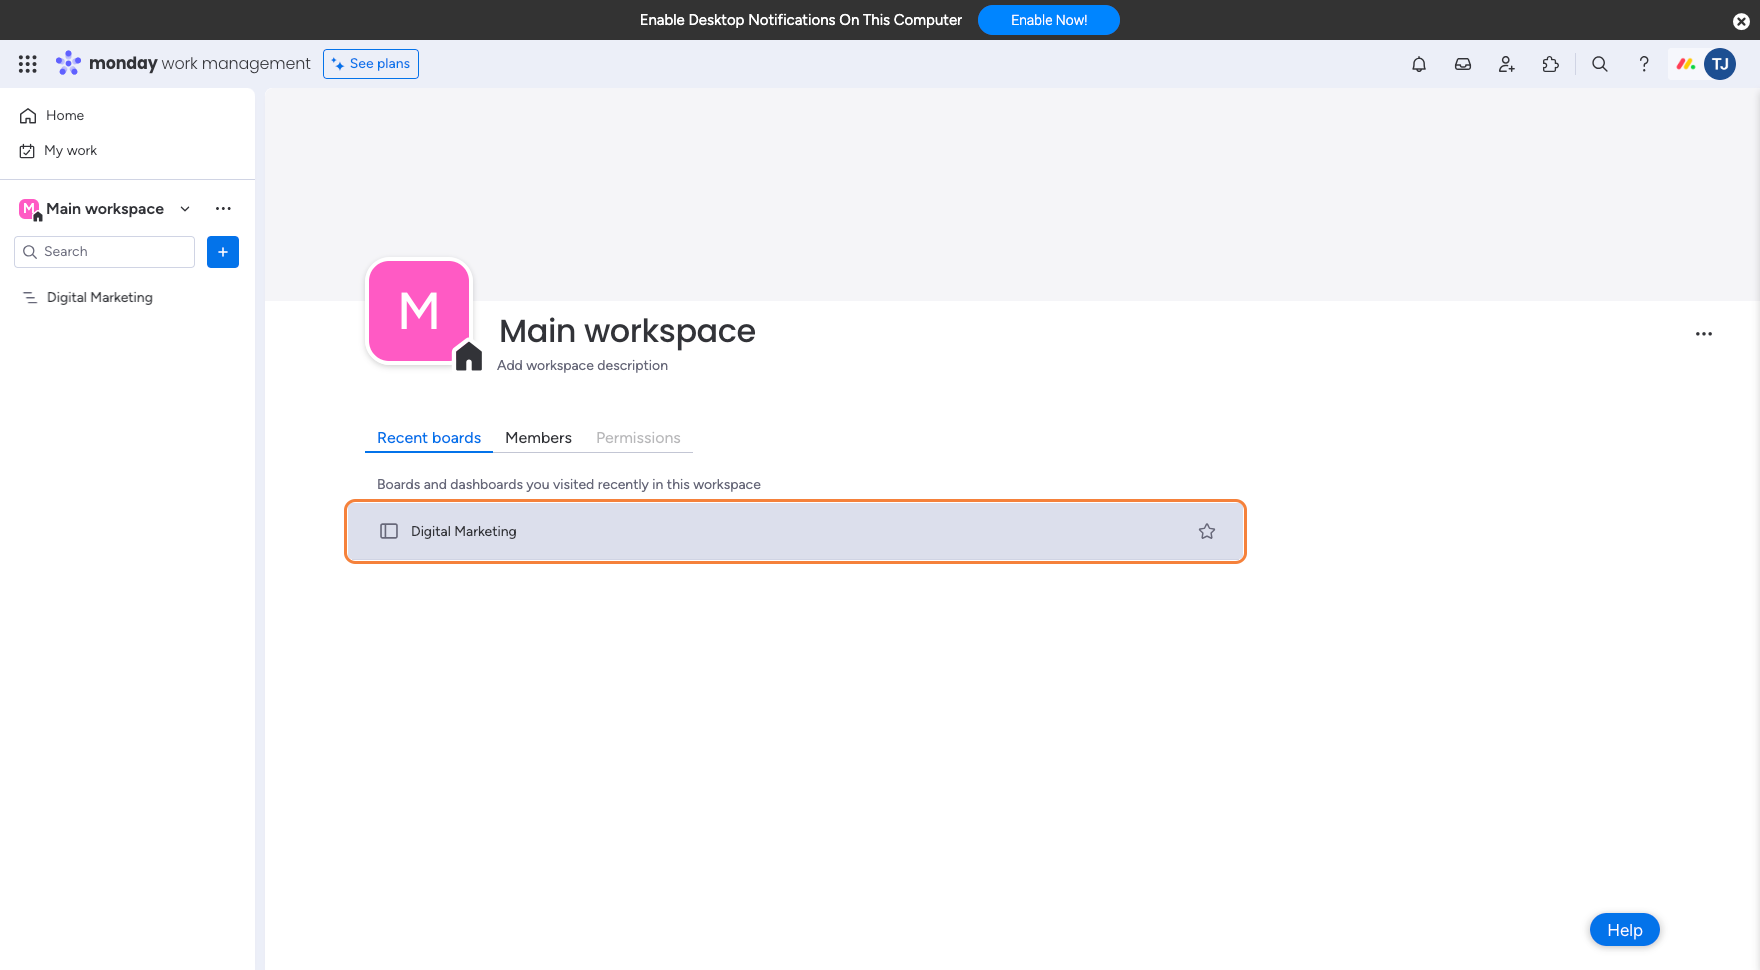
Head over to the desired monday.com board by clicking on its name.
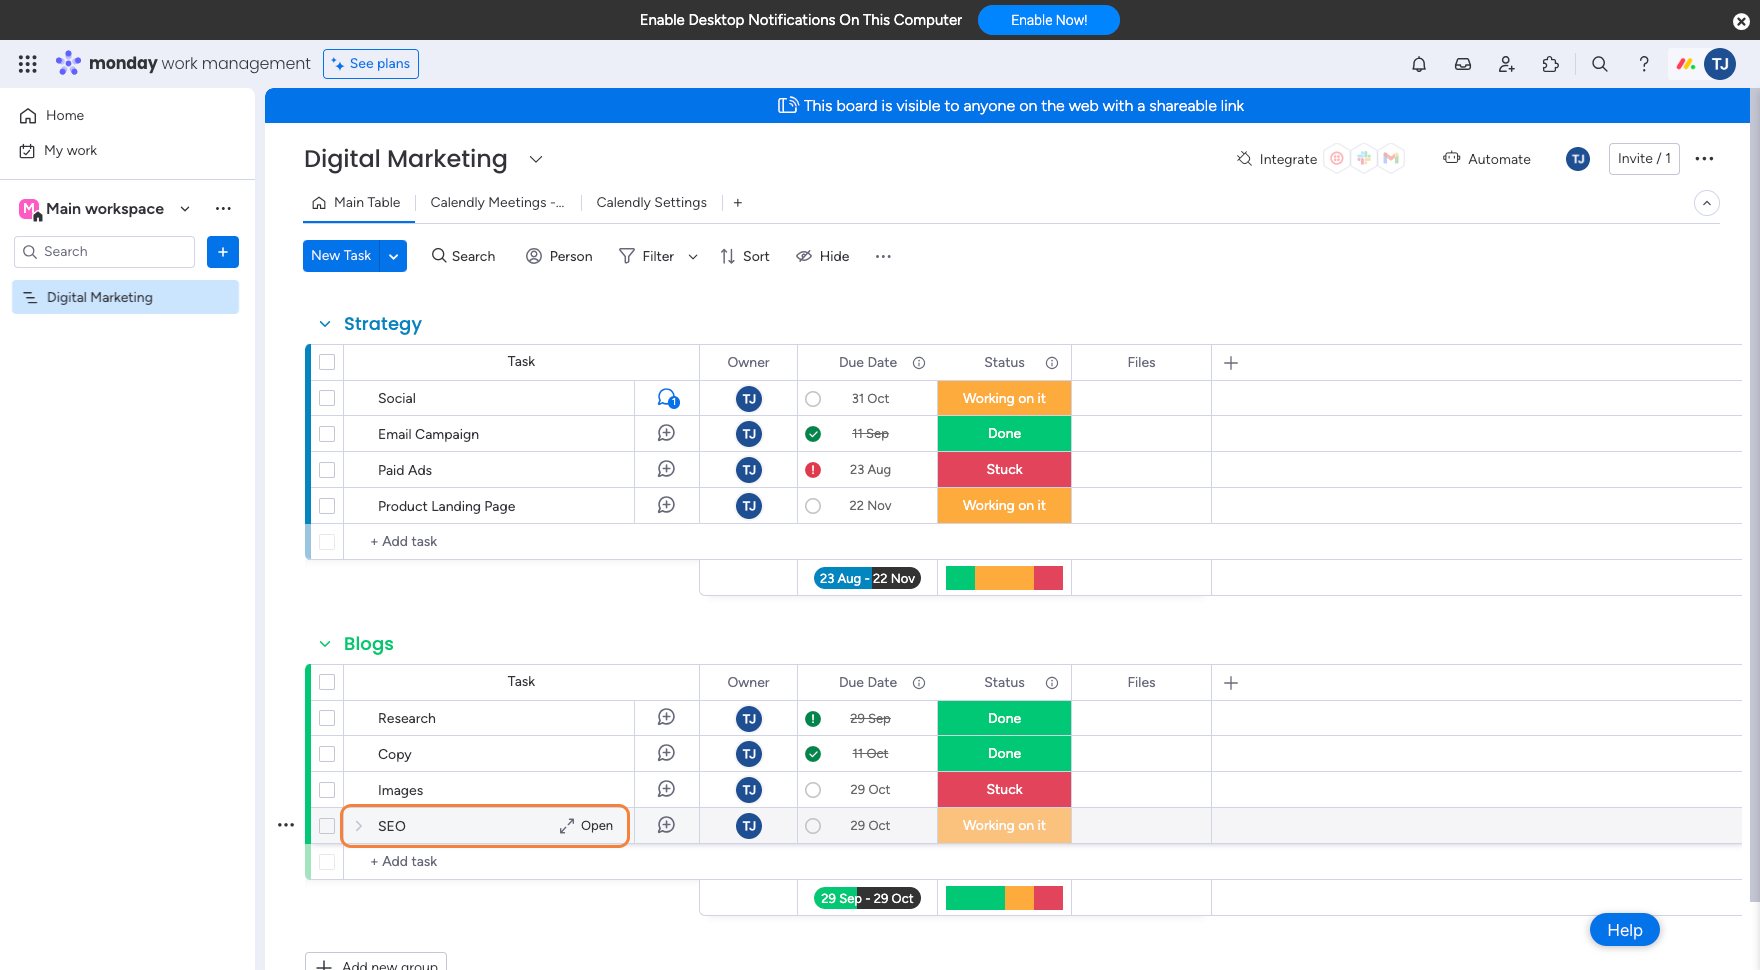
Once the desired board is open, click on the item that needs to be linked to the Jira issue.
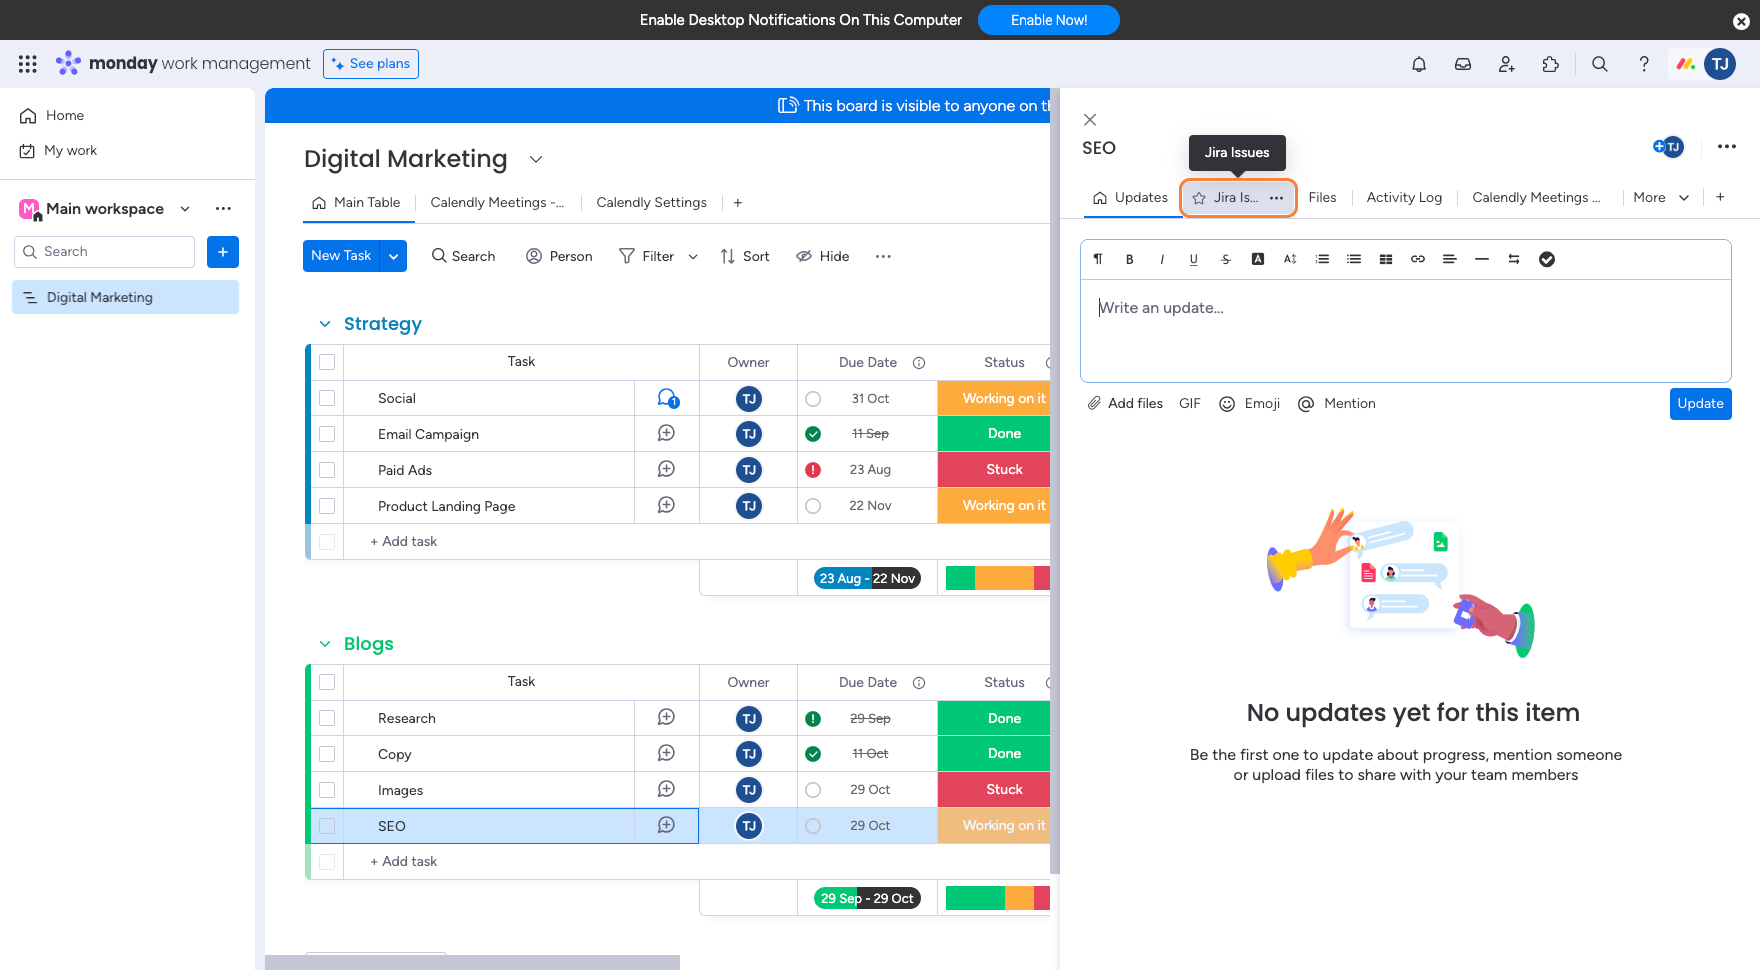
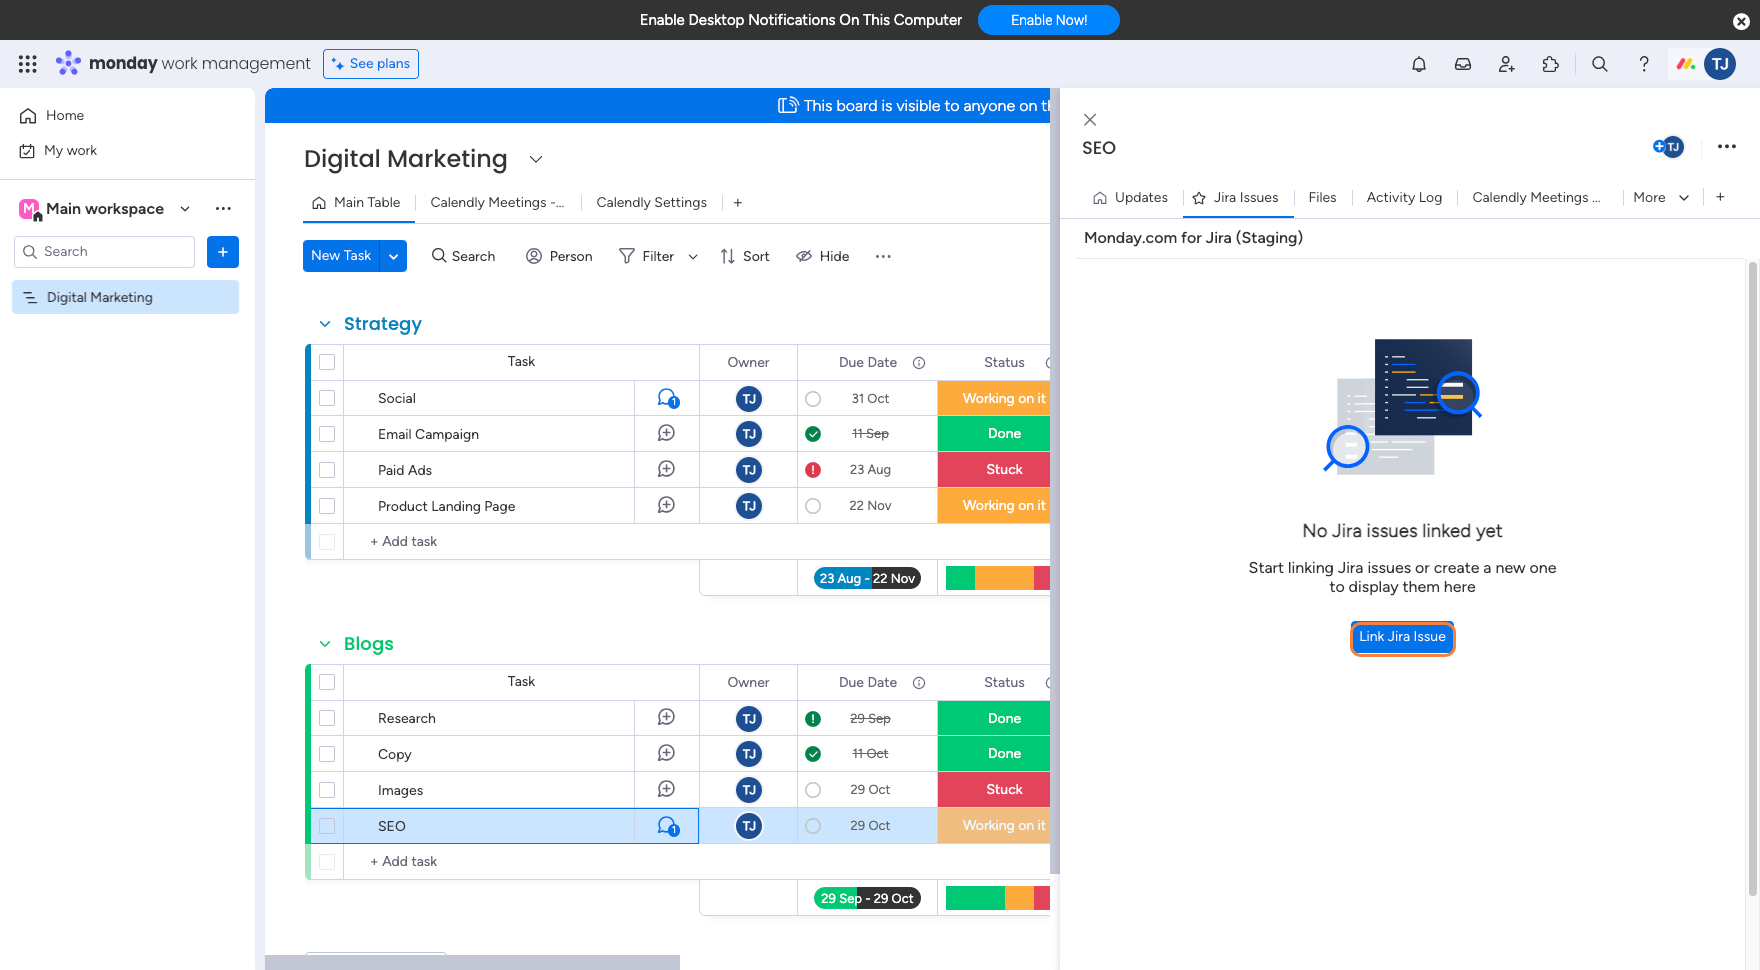
From the item view, click on the “Jira Issues“ tab. If you do not have the Jira issues tab, remember to add it to your item view. See how to add it here.
Click on the “Link Jira Issue“ button to link the first Jira issue to the item.
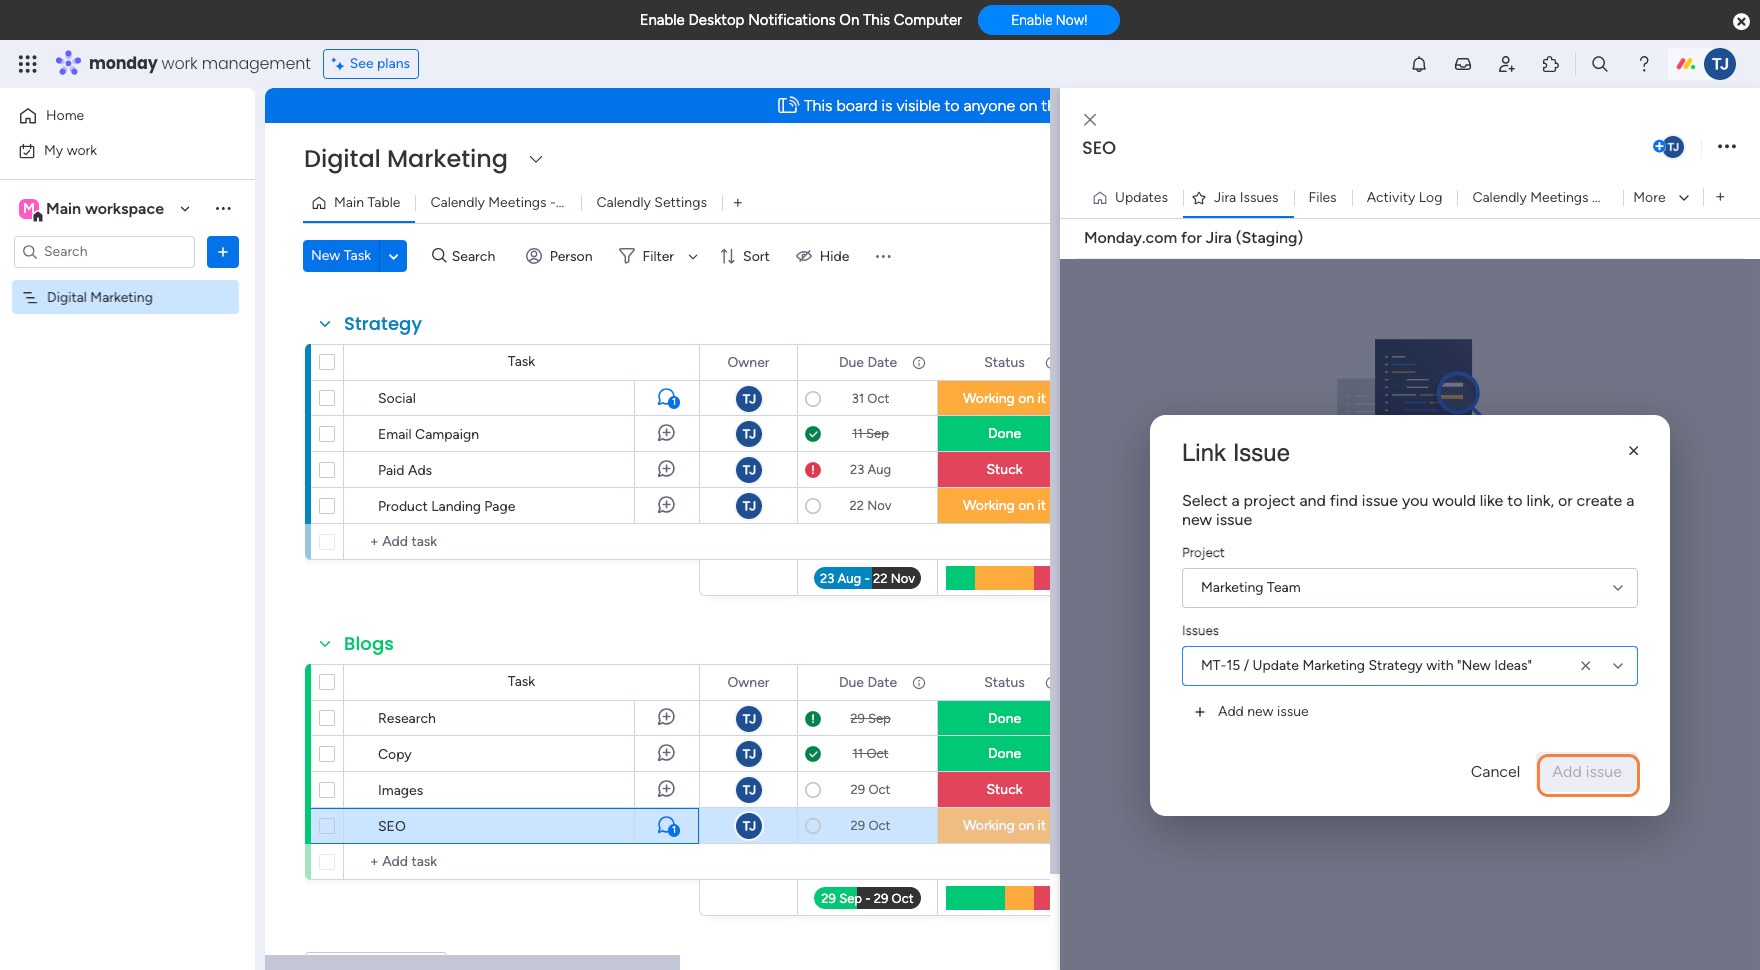
Select the relevant Jira Project in which the Jira issue can be found.

Select the Jira issue that needs to be linked to the item.

Click on “Add issue“ to add it to the item.
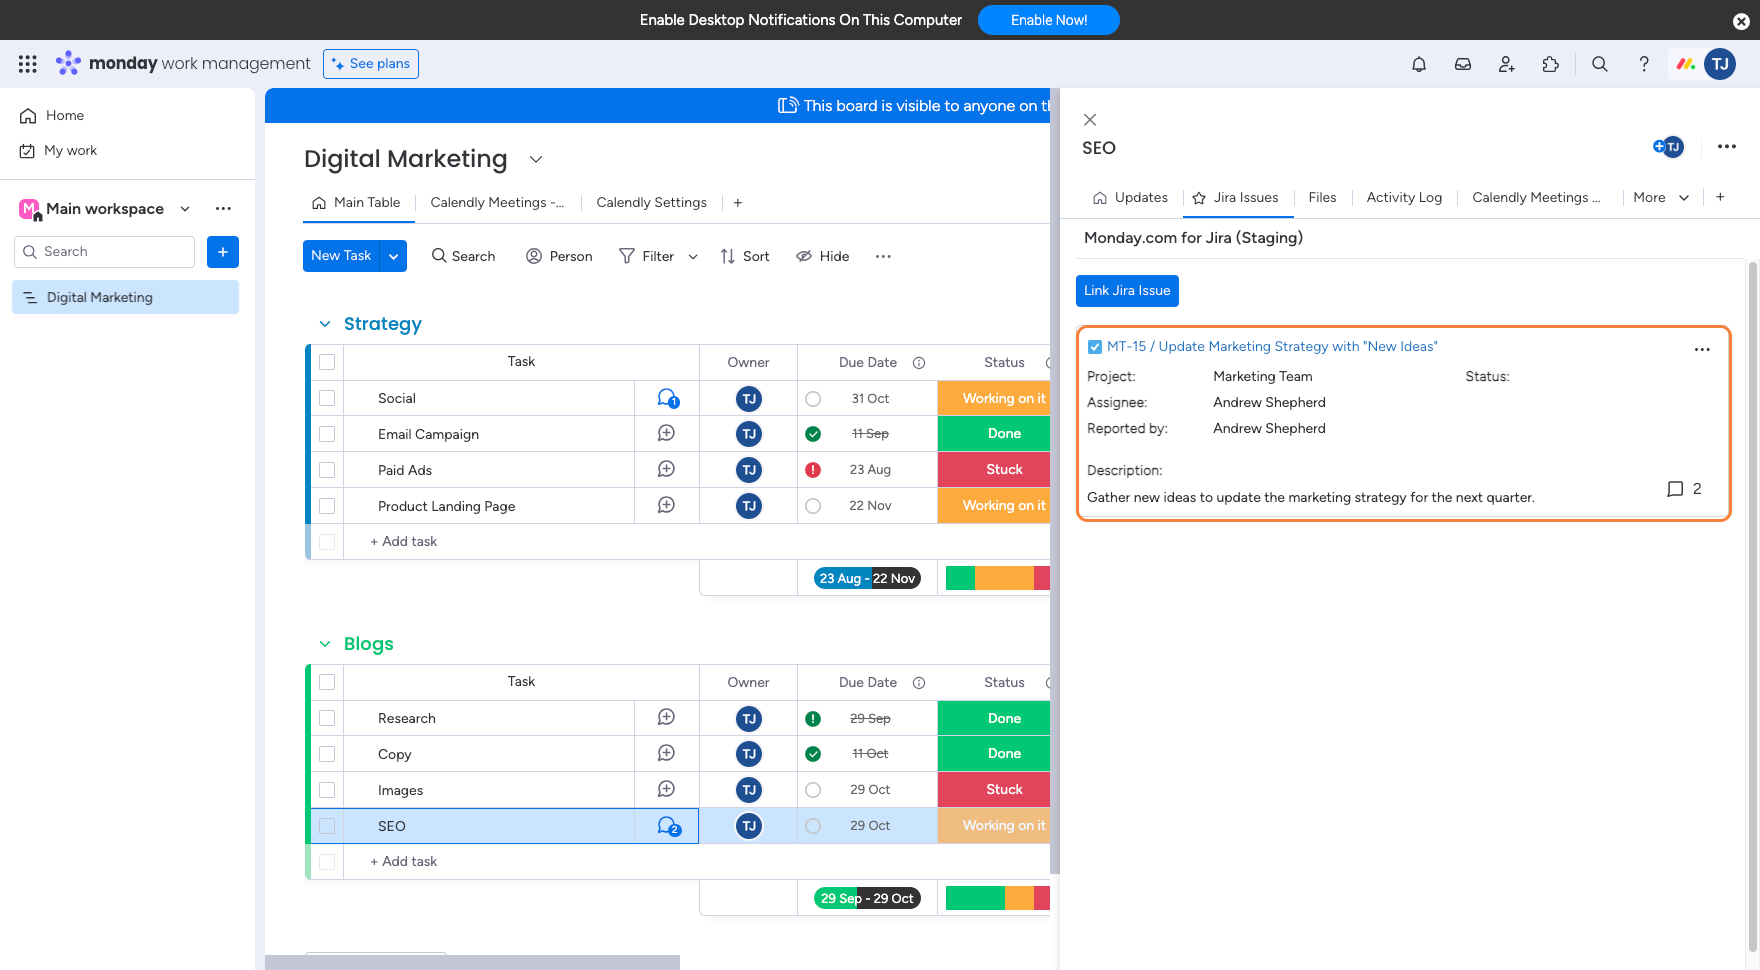
If the Jira issues were successfully linked, it will be shown within the item view.
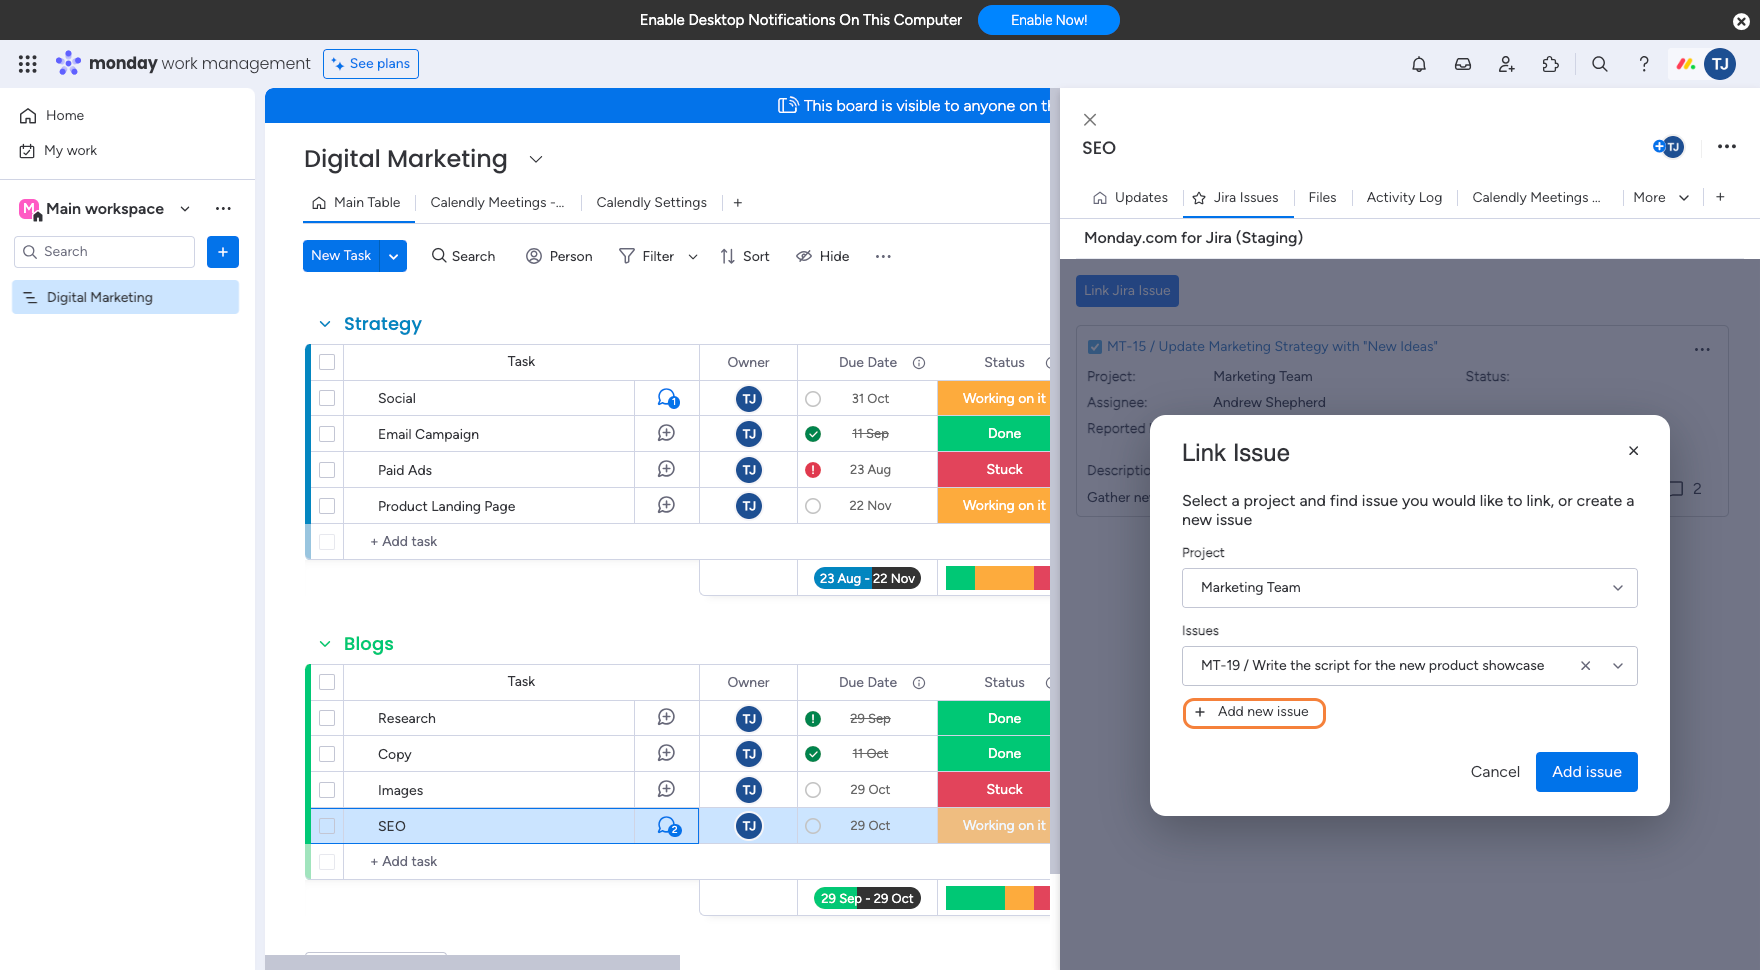
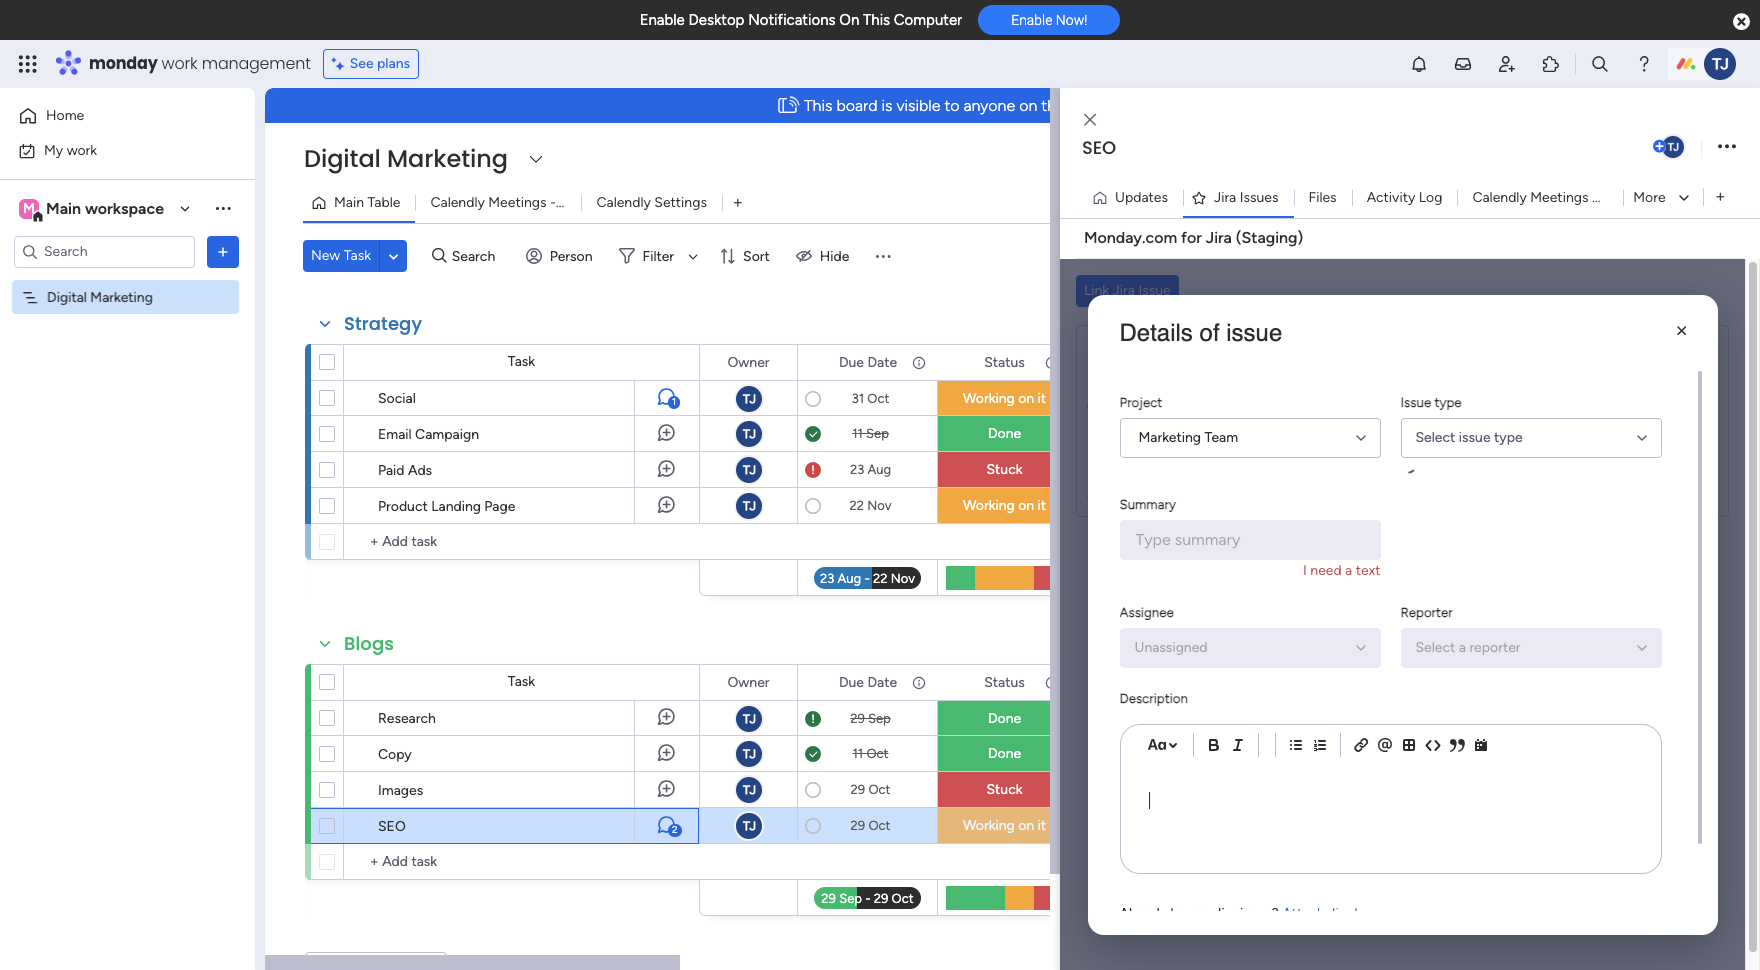
If the Jira issue does not exist, create a new one by following the same steps, but instead of selecting the issue from the dropdown, click on the “Add new issue“ button to create a new Jira issue.
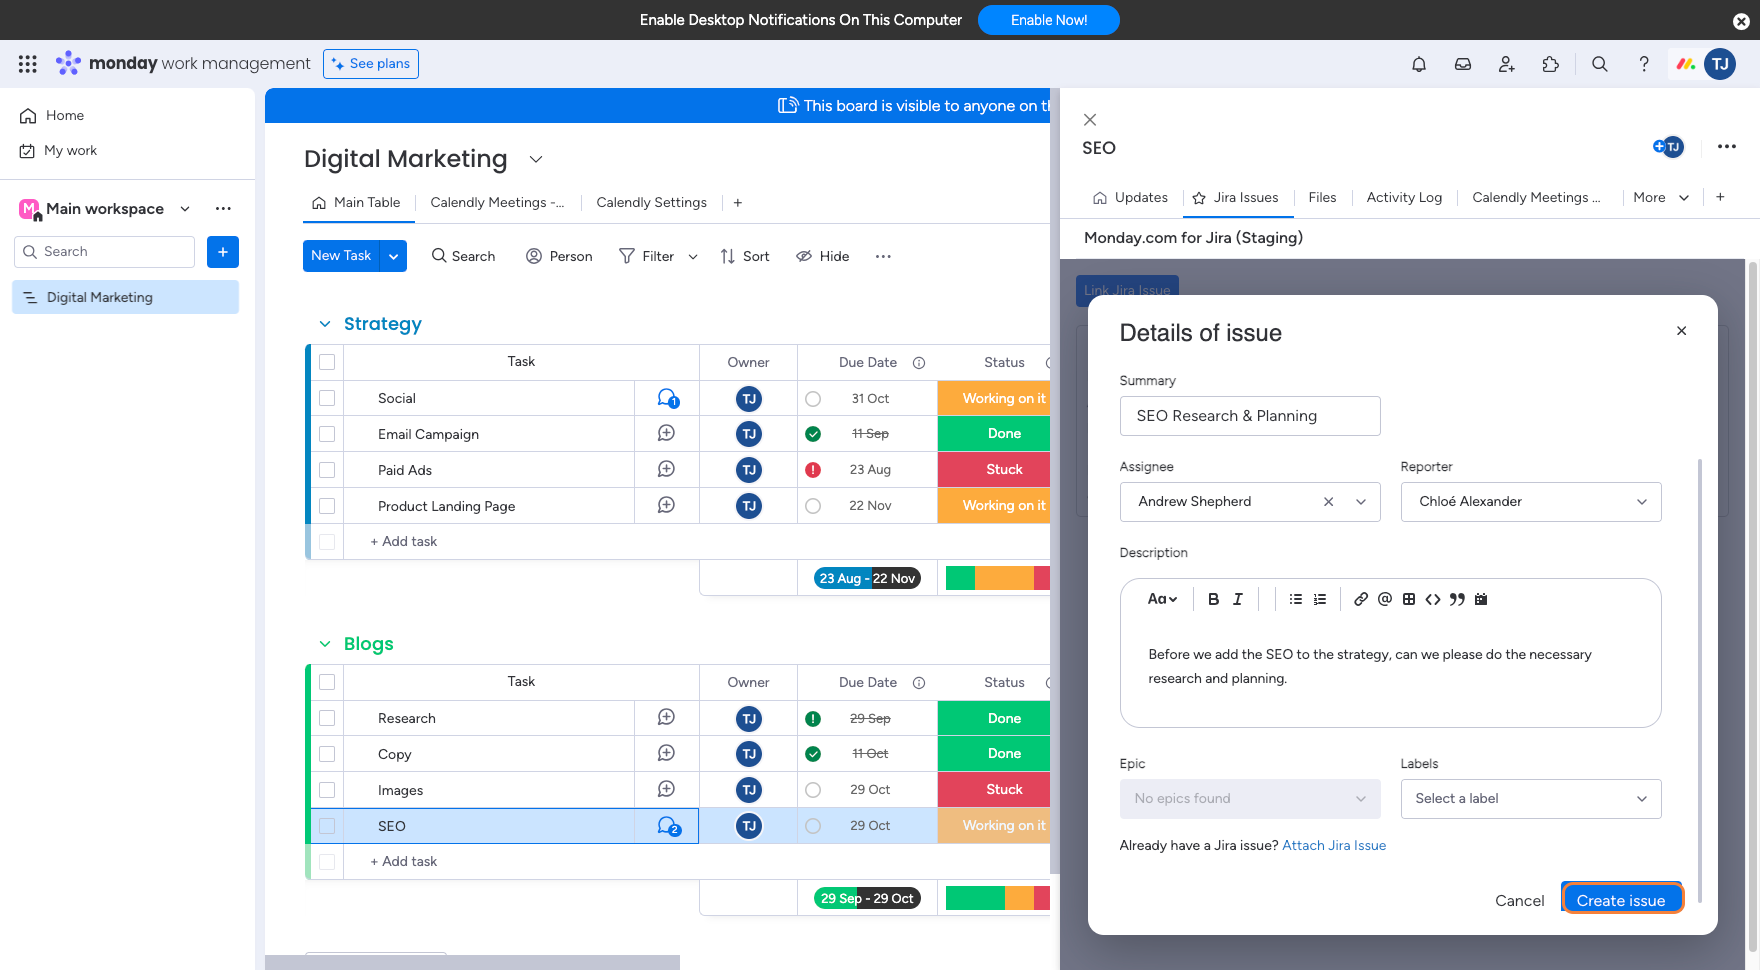
Fill out the issue form with as much detail as possible for each field.
Click on “Create issue“ to save the issue and link it to the selected item.
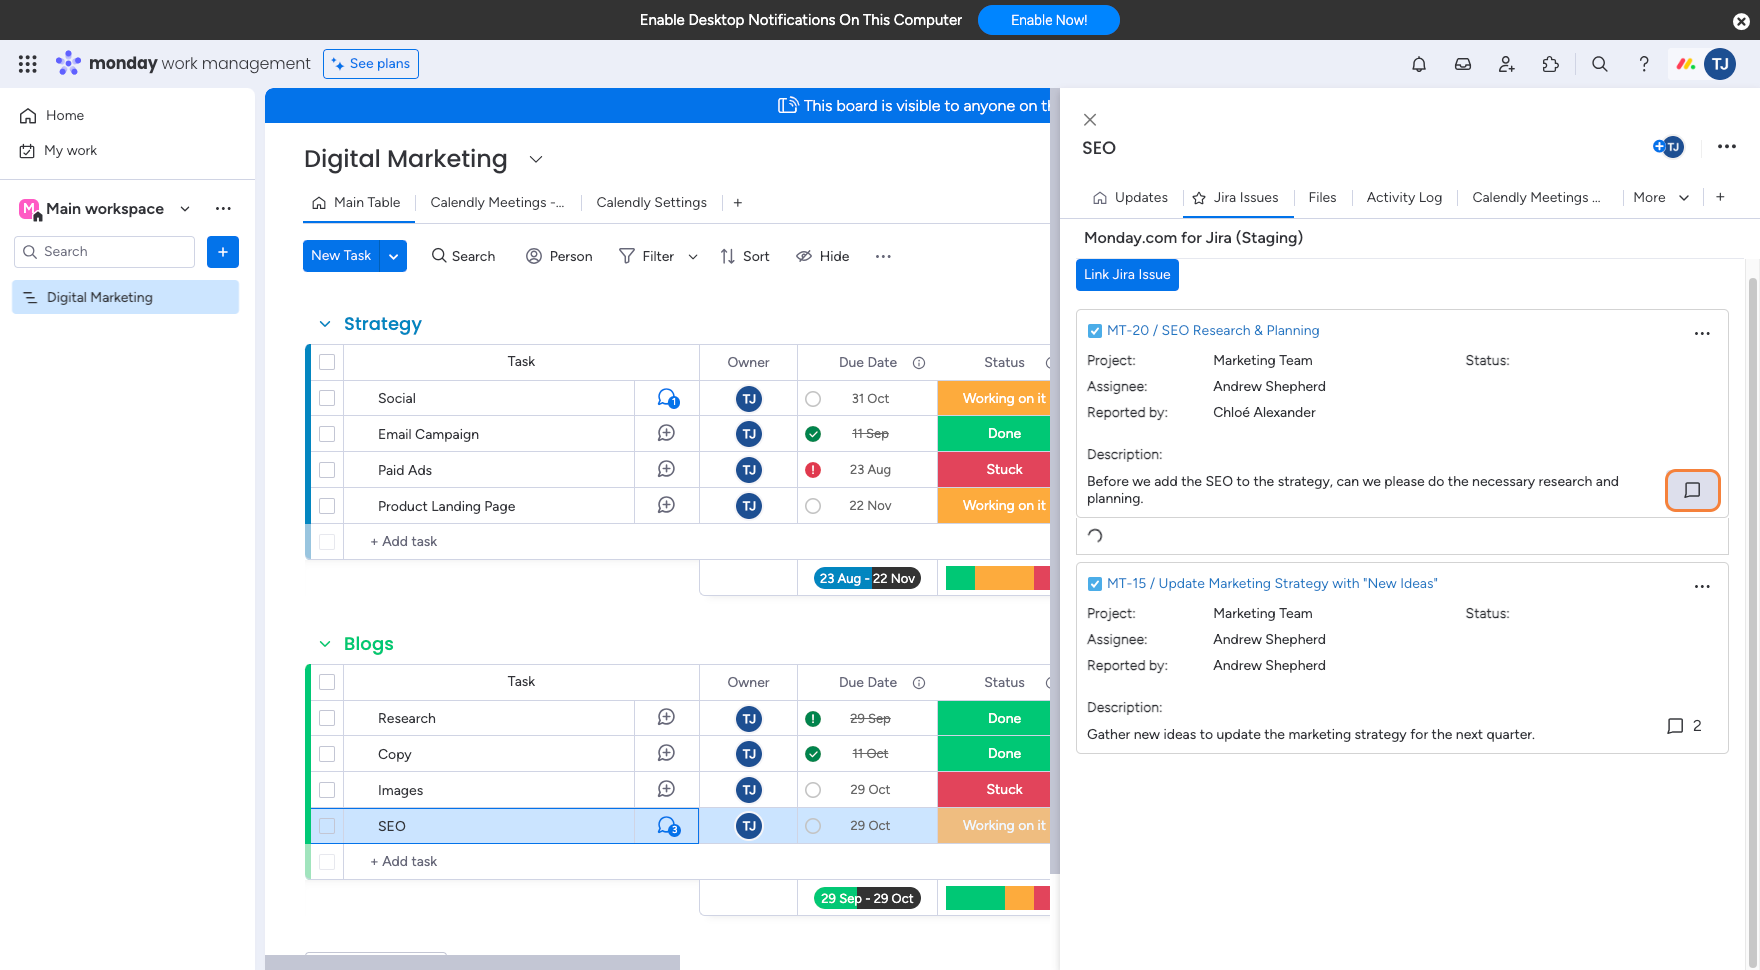
Once the issue has been successfully created and linked, it will appear in the monday.com item view.

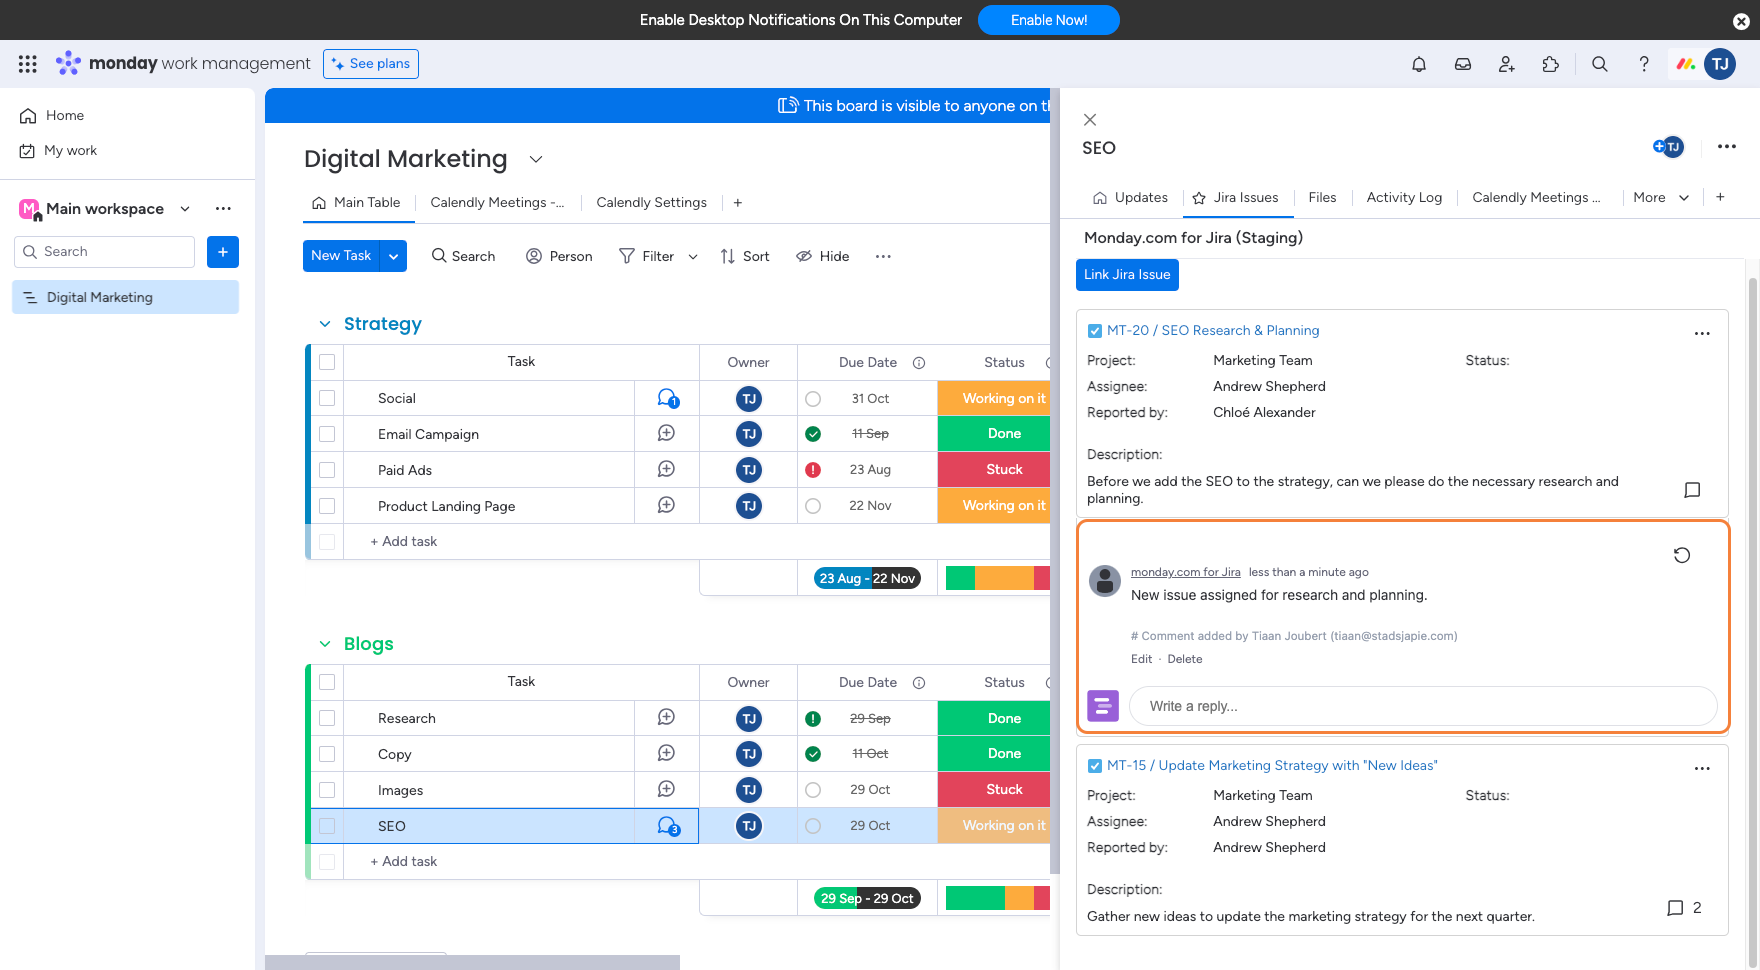
Click on the “Comment“ button to add new comments or view existing comments.
To add a new comment, write the comment in the text field and click “Reply“ to publish it.
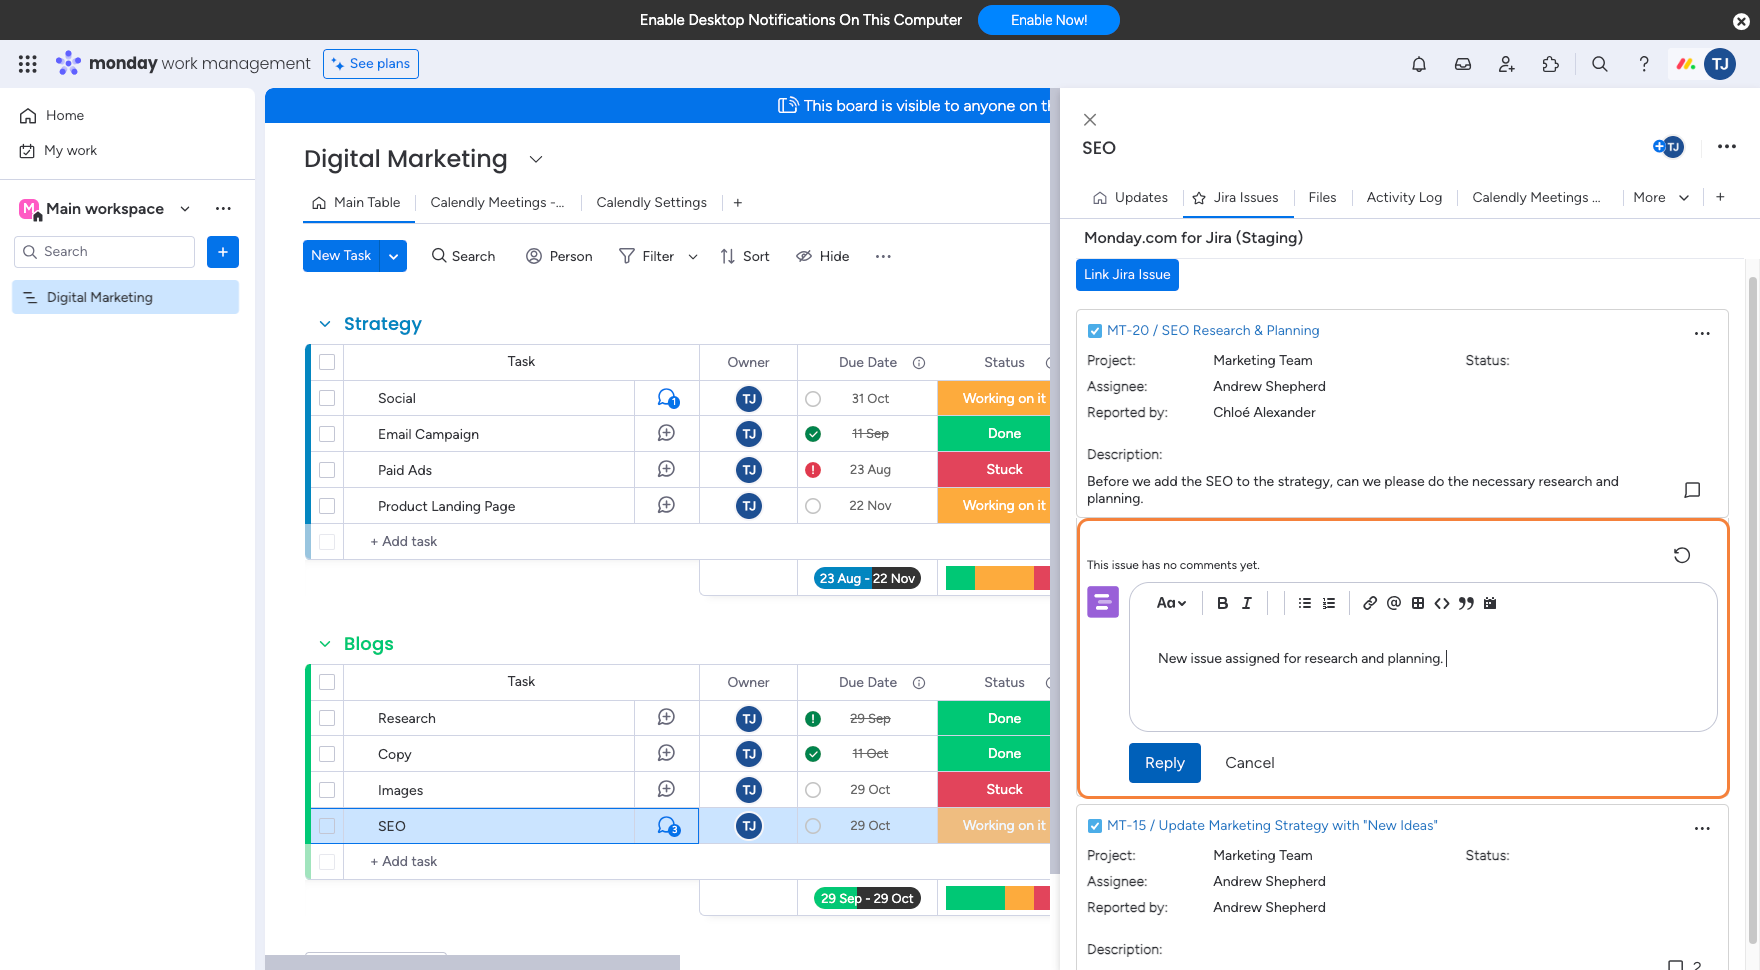
Once the comment has been published it will be shown directly under the linked Jira issue, as well as in the Jira issue itself (for the Jira user to see and respond to).
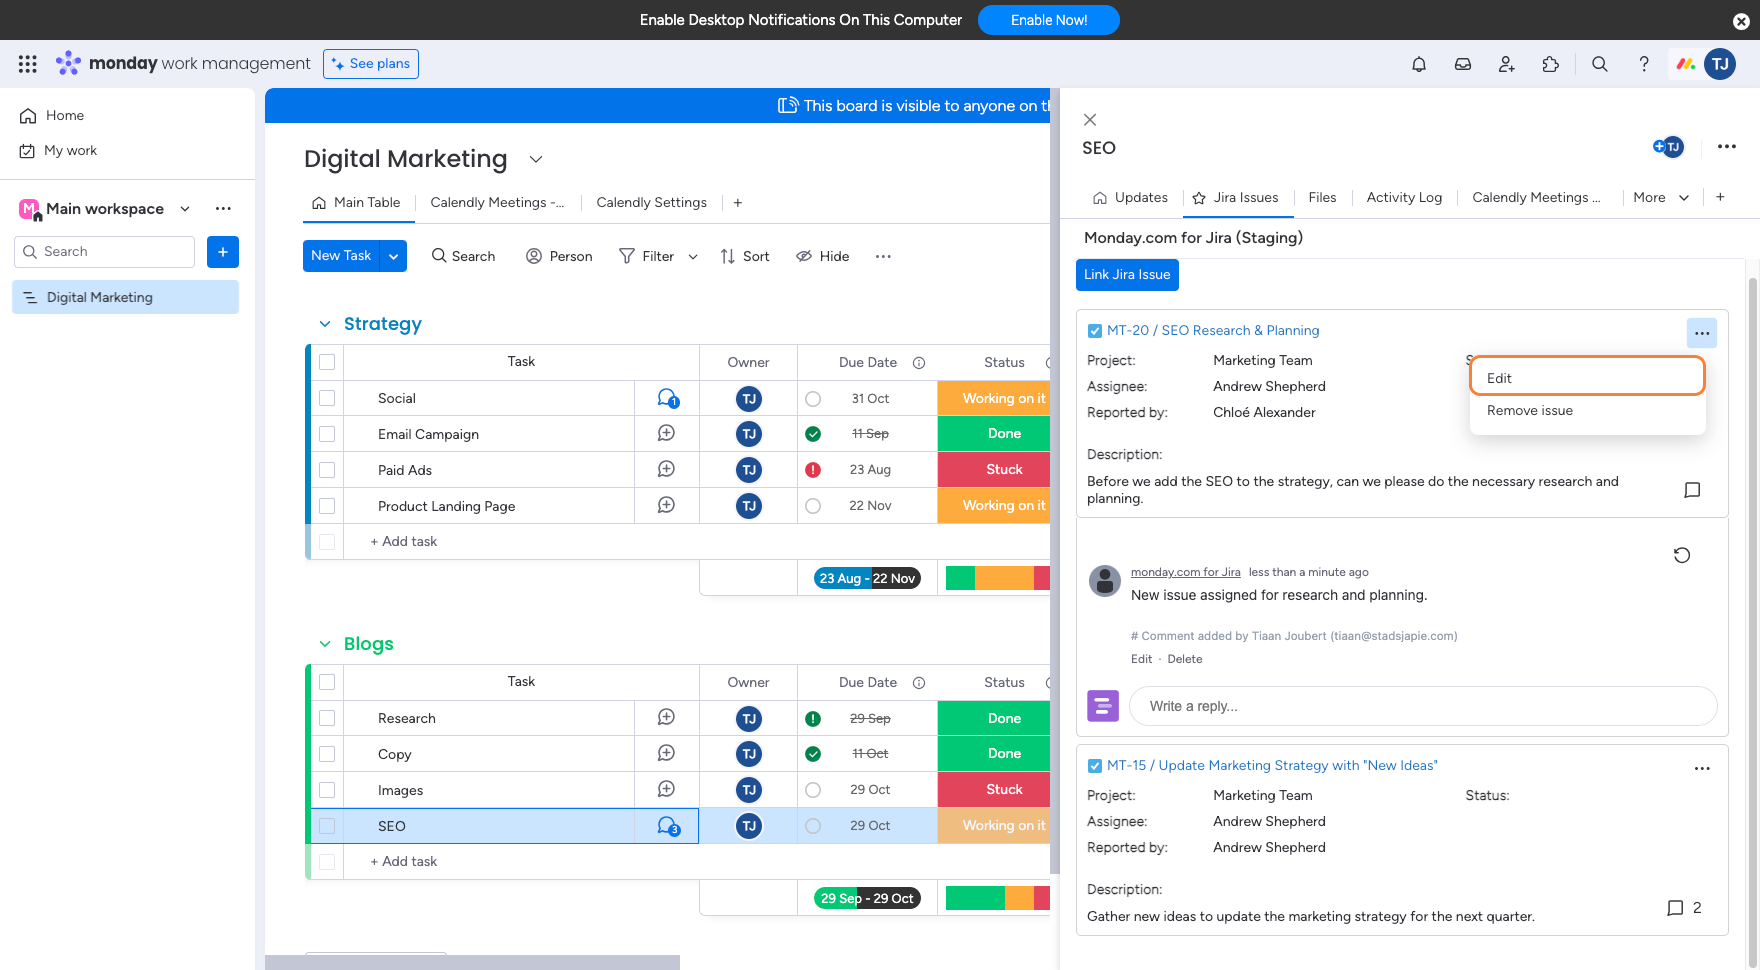
To make changes to linked Jira issues, click on the “More options“ button, followed by the “Edit“ button.
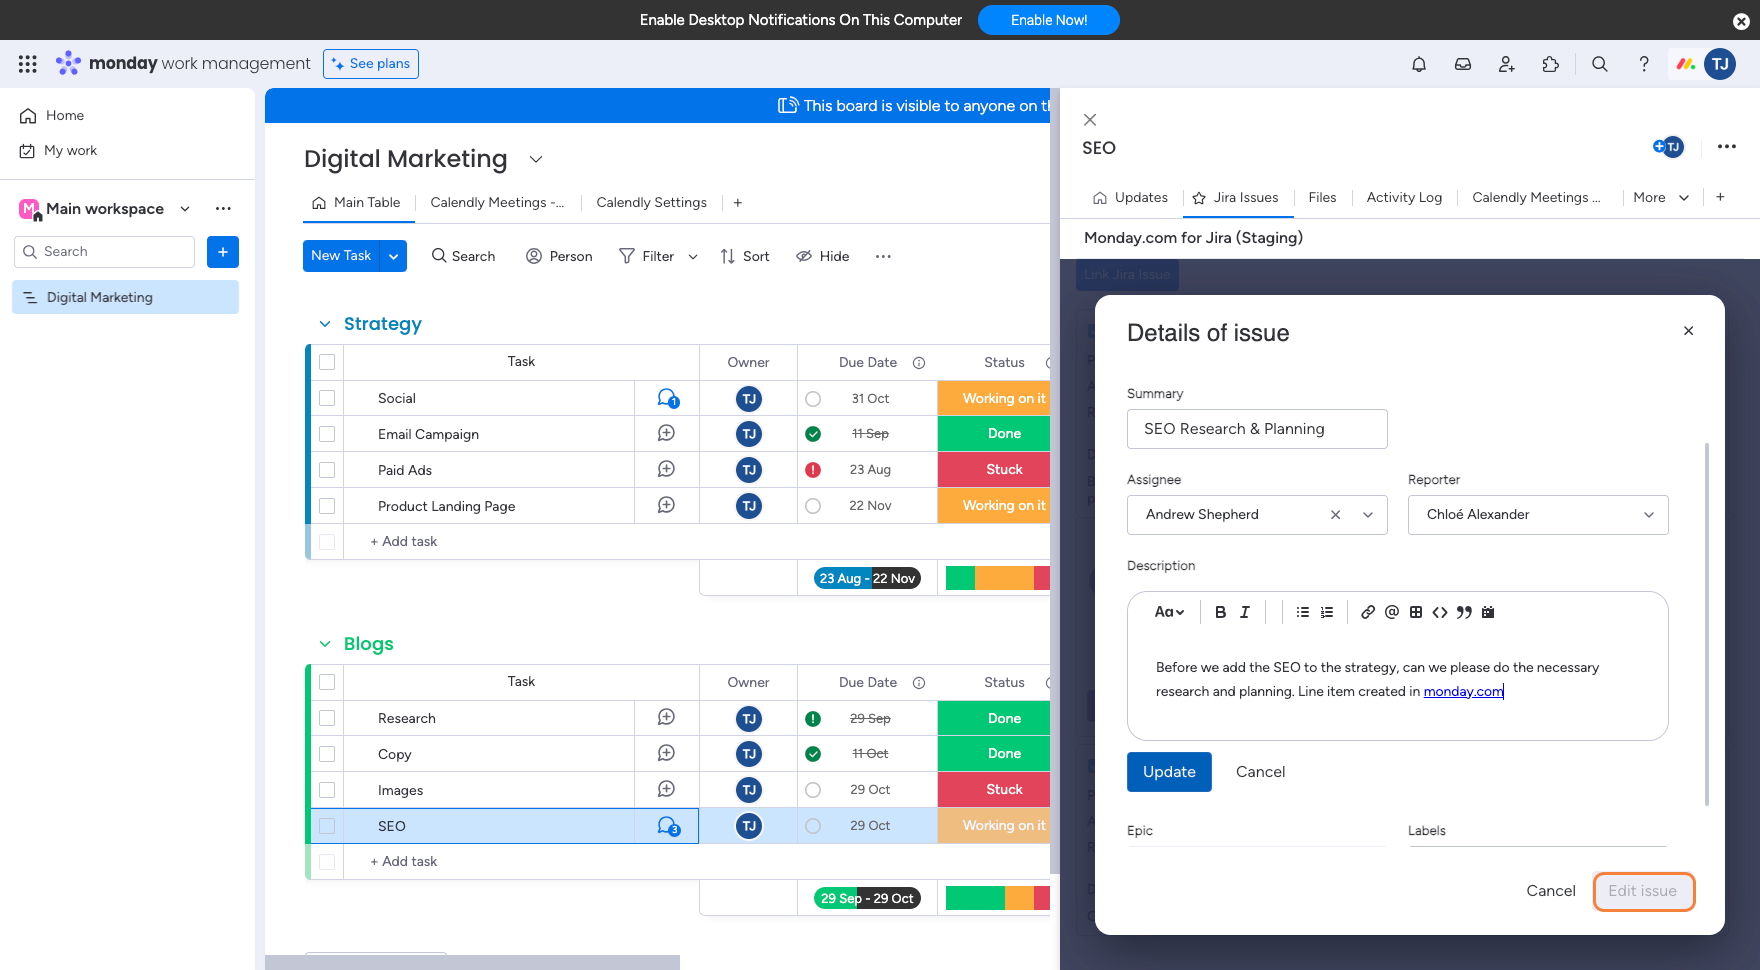
From the edit window, monday.com users can make changes to the linked Jira issues.
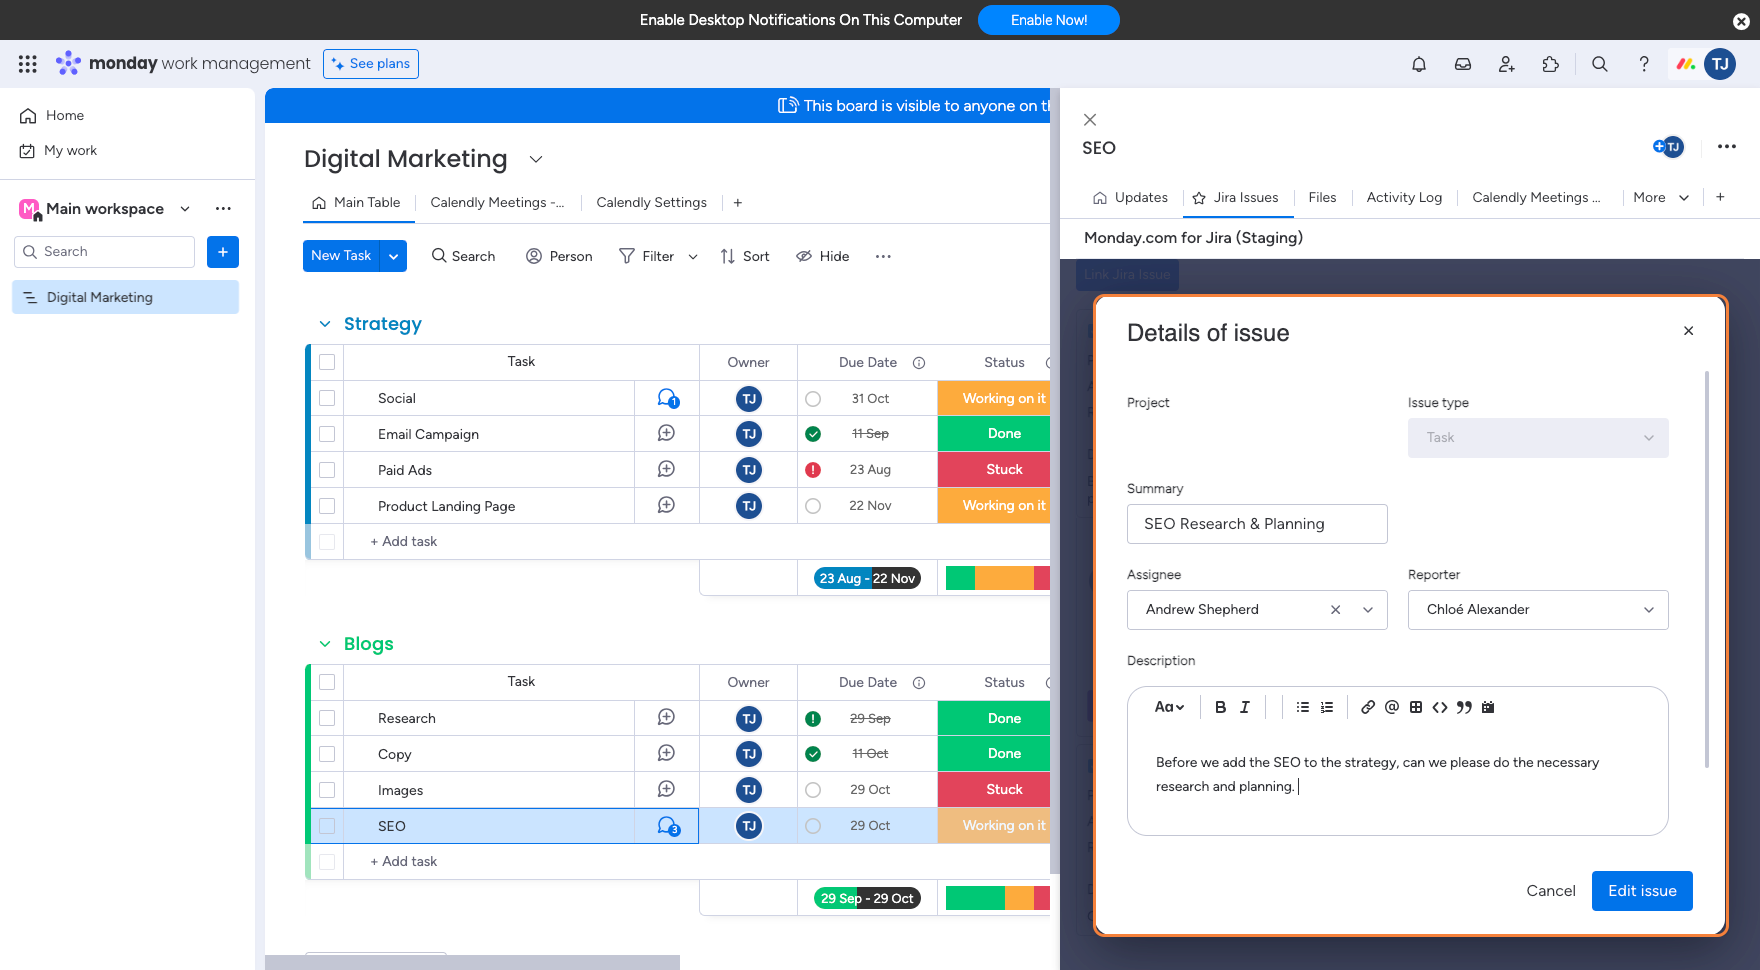
Once the changes have been made, click on “Edit issue“ to save the changes.
To remove a linked Jira issue from the monday.com item, click on the “More options“ button, followed by the “Remove issue“ button.

Confirm the action by clicking on the “Remove issue“ button.
