
Creating Out of Office Rules for JSM Customers
Overview
Out of Office Assistant enables administrators to create delegation rules for Jira Service Management (JSM) customers, ensuring critical approval workflows continue uninterrupted when customers are unavailable. This feature is particularly valuable for change management processes where customers serve as approvers, preventing bottlenecks when they're out of office.
Understanding Customer Rules
What Are Customer Rules?
Customer rules are specialized Out of Office configurations that apply to JSM customers (users without agent licenses) who participate in approval workflows. These rules:
🎯 Target non-agent users who act as approvers in service requests
🔄 Delegate approval rights to designated colleagues during absences
✅ Maintain workflow continuity by preventing approval bottlenecks
📊 Support change management and other approval-dependent processes
How Customer Rules Work
- Customer Absent → Rule Activated → Approval Delegated → Workflow Continues
- │ │ │ │
- └─────────────────┴───────────────────┴────────────────────┘
- Automatic Process Flow
When a JSM customer with an active rule is set as an approver:
The system detects the absence through the active rule
Approval rights are automatically transferred to the designated coverer
The workflow continues without manual intervention
Original approver is restored when the rule expires
Enabling Customer Rules
Prerequisites
Before creating customer rules, ensure you have:
OoO Admin permissions in Out of Office Assistant
Jira Administrator or equivalent permissions
JSM projects with approval workflows configured
Customer accounts registered in your Jira instance
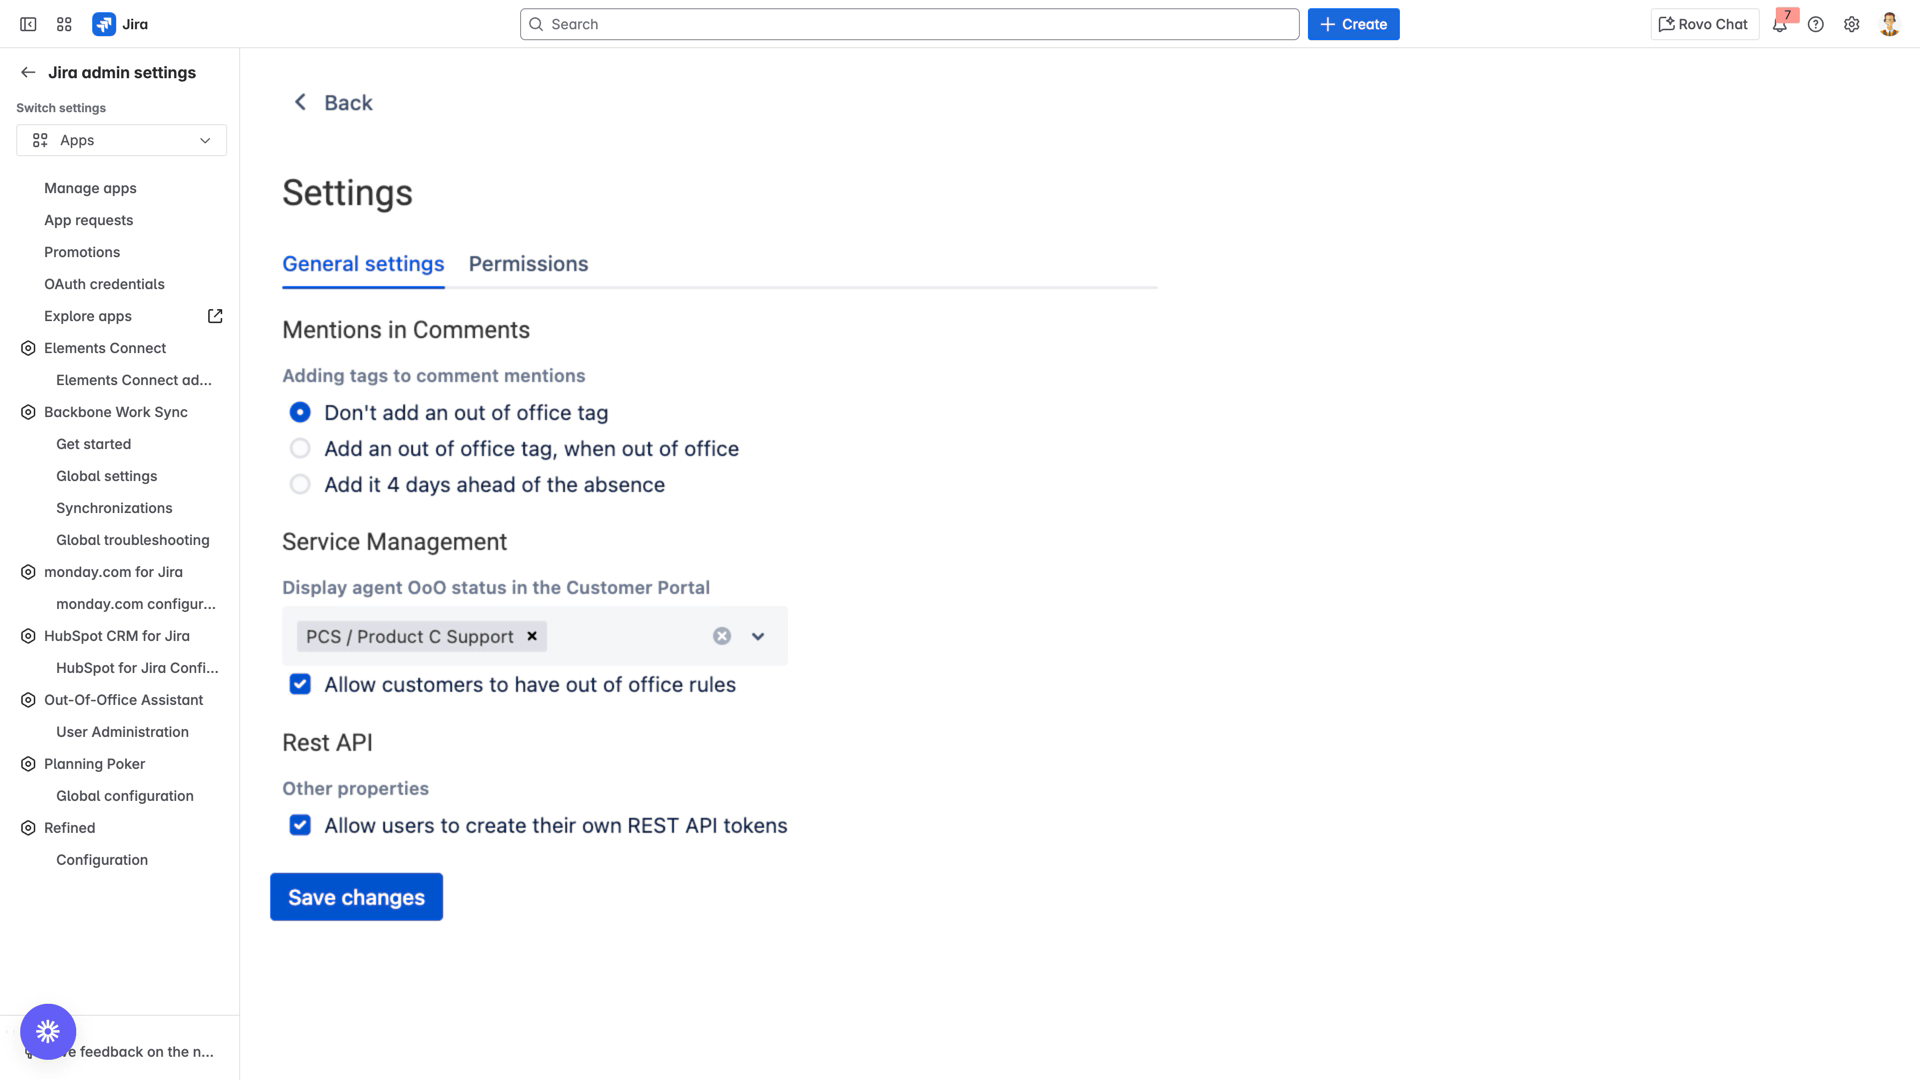
Step 1: Access Global Settings
Navigate to Apps → Out-Of-Office Assistant
Click on User Administration in the main interface
Select Global Settings from the administration menu
Screenshot Placeholder: [Global Settings Navigation - 800x400px]
Step 2: Enable Customer Rules Feature
Locate the Customer Rules section in Global Settings
Toggle the Enable customer rules switch to ON position
Review the confirmation message about feature activation
Click Save to apply the configuration
💡 Tip: Enabling customer rules adds a new "Customers" Switch to the User View interface, separate from regular user management.
Creating Customer Out of Office Rules
Step 3: Navigate to Customer Management
Return to the main User View interface
Notice the two tabs now available:
Users: For managing agent/licensed user rules
Customers: For managing JSM customer rules
Click on the Customers tab
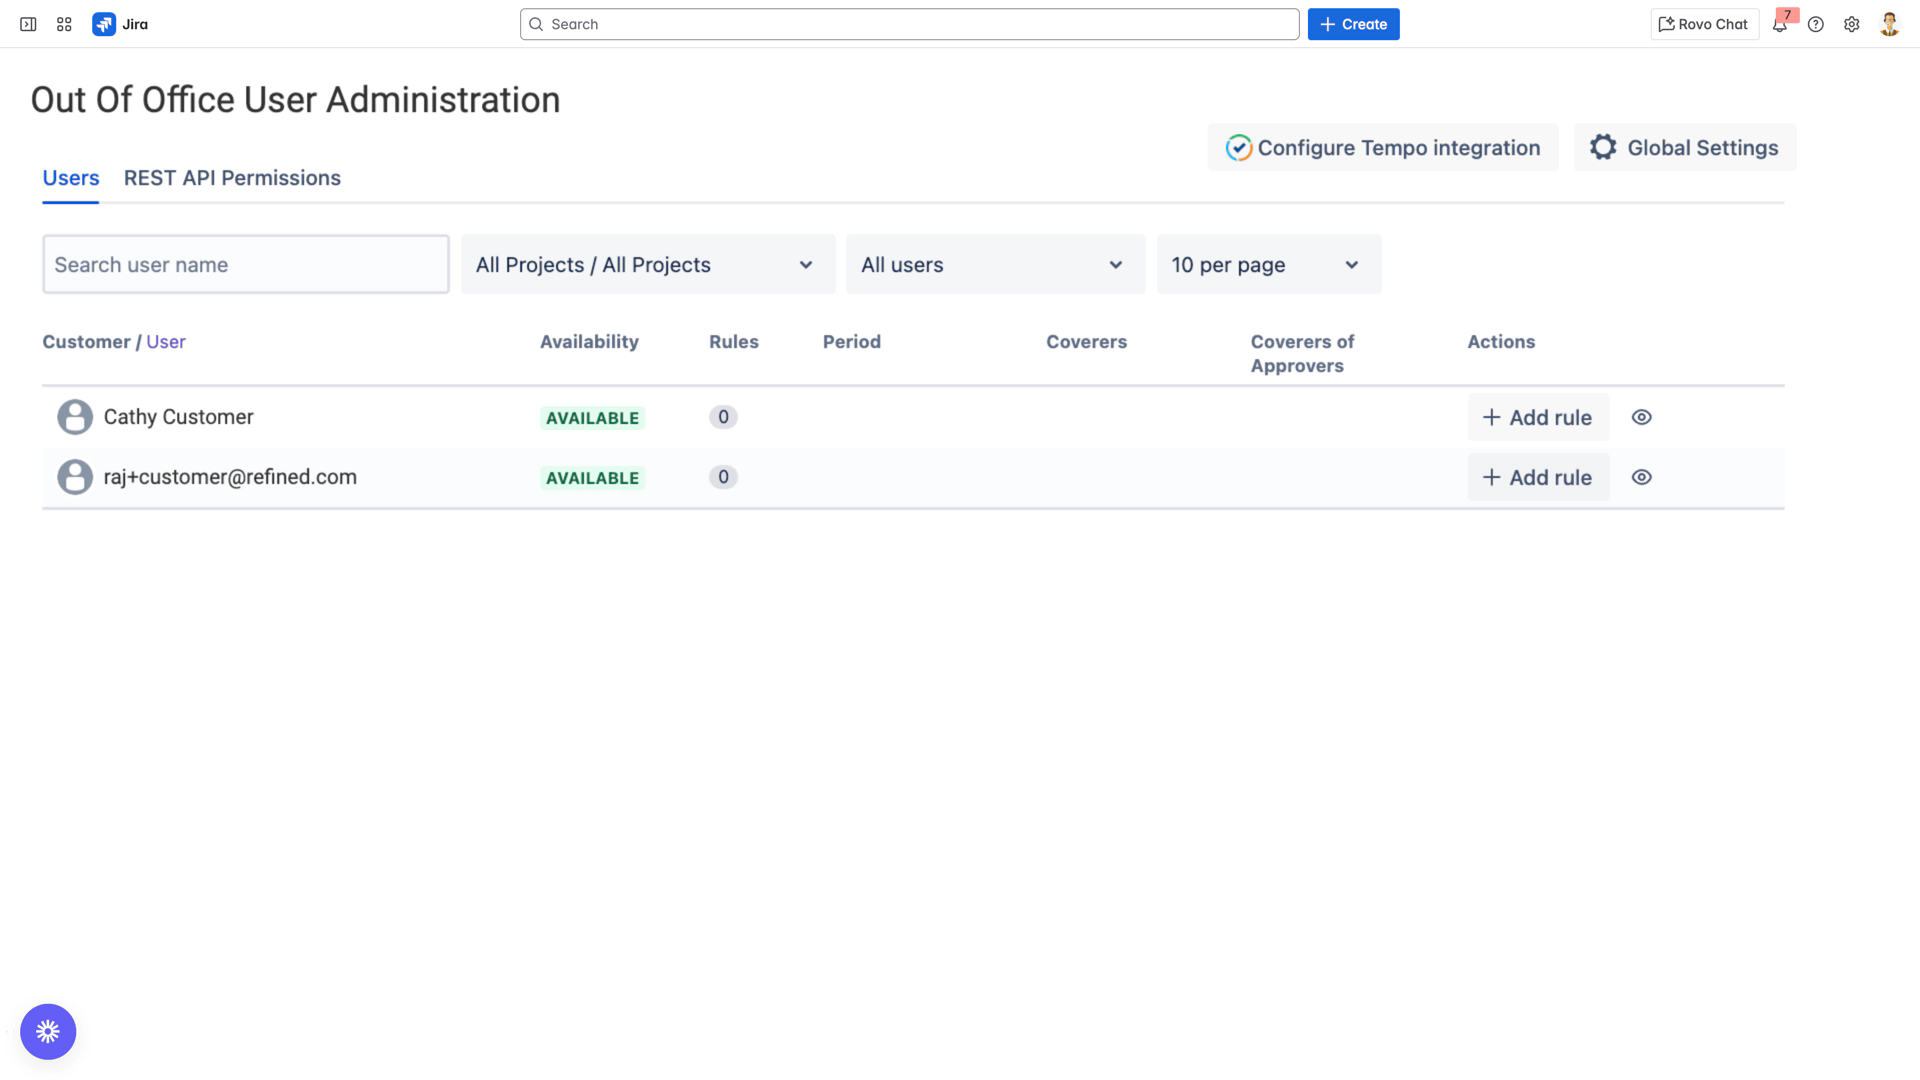
Step 4: View Available Customers
The customer list displays:
Customer Name: Display name of the JSM customer
Email: Customer's registered email address
Active Rules: Number of currently active rules
Actions: Available management options
Step 5: Create a New Rule
Locate the customer who needs coverage
Click Add Rule next to their name
Configure the rule parameters:
Basic Configuration
- Rule Name: [Descriptive name for the rule]
- Start Date: [When coverage begins]
- End Date: [When coverage ends]
- Time Zone: [Customer's time zone]
Coverage Configuration
- Approval Coverer: [Select colleague to handle approvals]
- Add as Watcher: [✓] Include coverer as issue watcher
- Auto-Reply: [✓] Send out of office notifications
Scope Configuration
- Projects: [Select applicable JSM projects]
- - OR -
- JQL Filter: [Custom query for complex scenarios]
Customer Rules Status: ✅ COMPLETE
Next Step: Configure Agent Availability Display in JSM Customer Portal