
How to fix the 'User exists already' Error
Problem
When running a User Sync, you receive an error message very similar to the one below:
- "ATTR_ID : 2cebde31-4a06-4d06-8793-580bd2093f9a : 12438 exists already"
Cause
This can happen when a user was deleted and later created again with the same name on the IdP side.
User Sync tries to create a new user again and this fails, because the old one is still existing in Jira, Confluence, Bamboo or Bitbucket.
Resolution
To get rid of the error, please perform the following steps:
Navigate to the User Sync configuration page, and click on Edit of the connector showing that error message
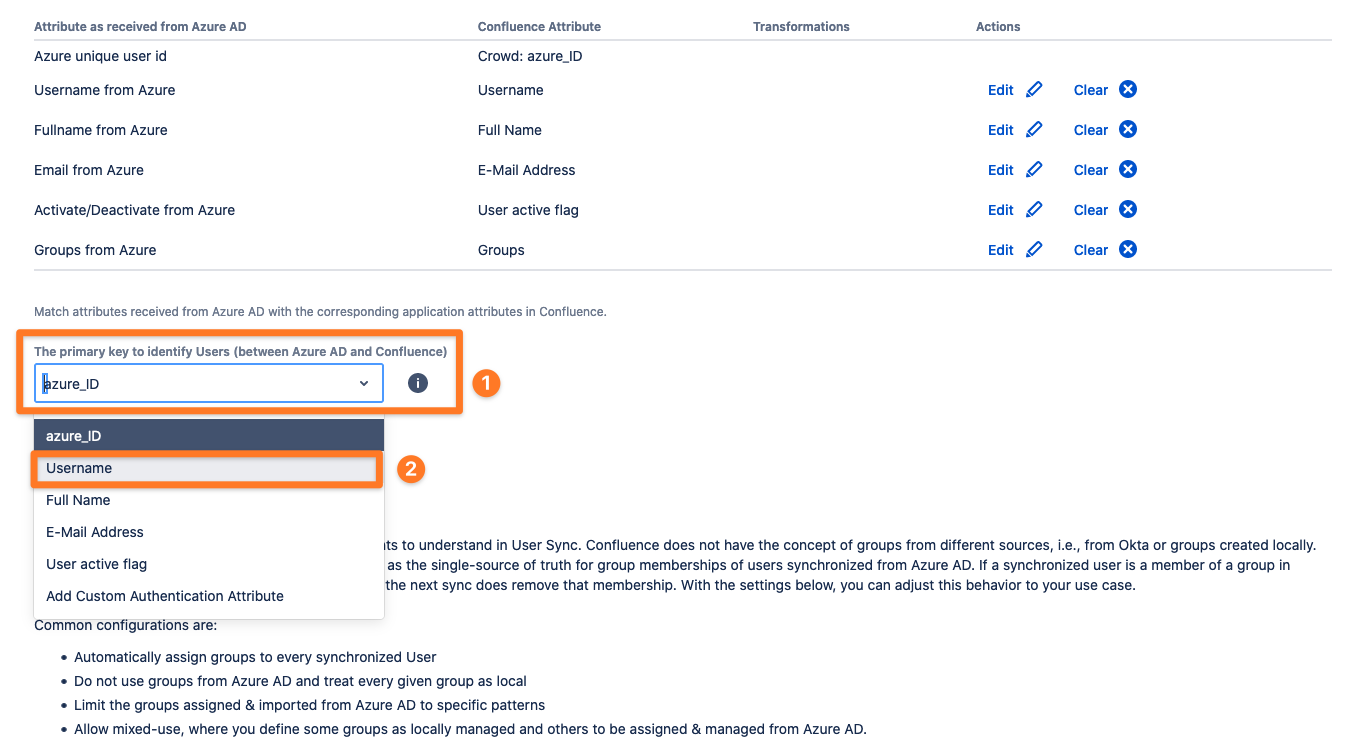
Choose Provisioning Settings and scroll down to Attribute Mapping

In the Attribute Mappings section, temporarily change the primary attribute to Username (the default should always be <IdP-Type>_ID, i.e. azure_ID)
Please switch to Sync Settings and scroll down to Scheduled Synchronization
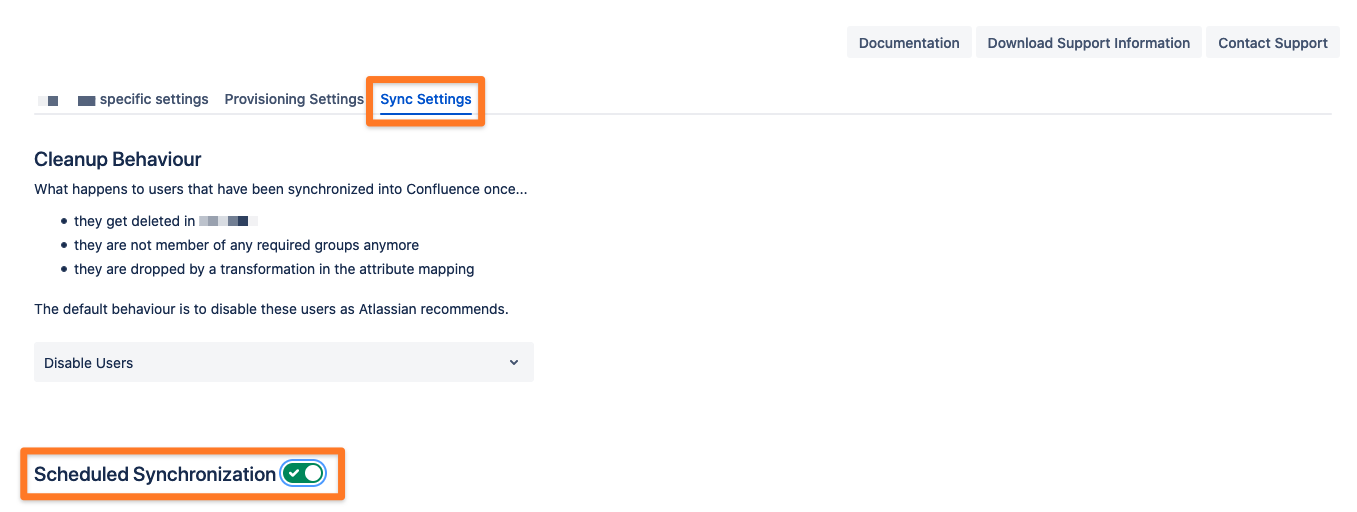
Temporarily disable the Scheduled Synchronization to ensure no sync runs while applying the fix. Just use the toggle switch to disable the scheduled synchronization.

Save and Return the configuration
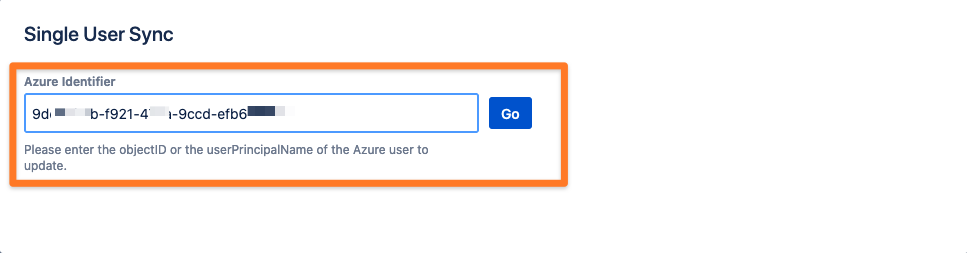
Perform a Sync Single User operation for each user that has the issue, one by one
as identifier, use the username in the format on your IdP, i.e. the full Azure username or the unique user-Id
The existing users should now be updated with the new/ correct unique ID from the new user record on the IdP
Revert the connector settings and switch back to the default <IdP-Type>_ID field as the primary attribute
Enable the Scheduled Synchronization again
Save the configuration
If the steps above don't solve the issue, please contact our support team and provide the following details/ files:
At your User Sync page, click on the History link for the connector in the Action's column of the connector list
Find the last sync with errors and click on Details
Scroll down to the bottom of the page and click at Download results for all users
Head over to our support portal, open a ticket and attach the file downloaded