
Nested Groups via ADFS/SAML
SAML SSO for Atlassian Data Center / Server supports nested groups in principle, but there is something special to note when working together with ADFS.
ADFS will always "flatten" any nested group relationships.
Example Scenario with ADFS and SAML SSO for Atlassian Data Center
Let's assume the user "ExampleUser" is part of the following groups:
"Domain Users", "Domain Admins", "childgroup"
There is also a group hierarchy as follows:
"grandfathergroup" contains "fathergroup" which contains "childgroup"
So ultimately the user belongs to all 5 groups but he is part of "grandfathergroup" & "fathergroup" by a nested relationship.
Groups claims from ADFS
ADFS will transmit only "flattened" relationship to the Atlassian Data Center / Server plugin via SAML, so the message from ADFS will look like this:
"http://schemas.xmlsoap.org/claims/Group": [
      "Domain Admins",
      "Domain Users",
      "childgroup",
      "fathergroup",
      "grandfathergroup"
    ],
In this message the plugin cannot determine the nested relationship.
So it would mean that in Confluence/ Jira the plugin will make the user to a direct member of all the five groups:
"Domain Admins",
"Domain Users",
"childgroup",
"fathergroup",
"grandfathergroup"
Consequences
From a security- and rights management point of view, this is usually not an Issue.
It's still possible to assign rights and roles to any of these groups and as the user is part of each of them, hence getting the correct rights.
If the user is getting removed from the "childgroup" for example, in the next SAML message there will only be the following groups:
"http://schemas.xmlsoap.org/claims/Group": [
      "Domain Admins",
      "Domain Users"
    ],
So the Plugin will remove the User from the 3 groups he no longer is part of:
"childgroup",
"fathergroup",
"grandfathergroup"
Removing nested groups from the SAML message completely
It is also possible to remove any nested group names from the SAML message completely, using a custom claim rule.
Please follow the steps below to do that.
ADFS Configuration
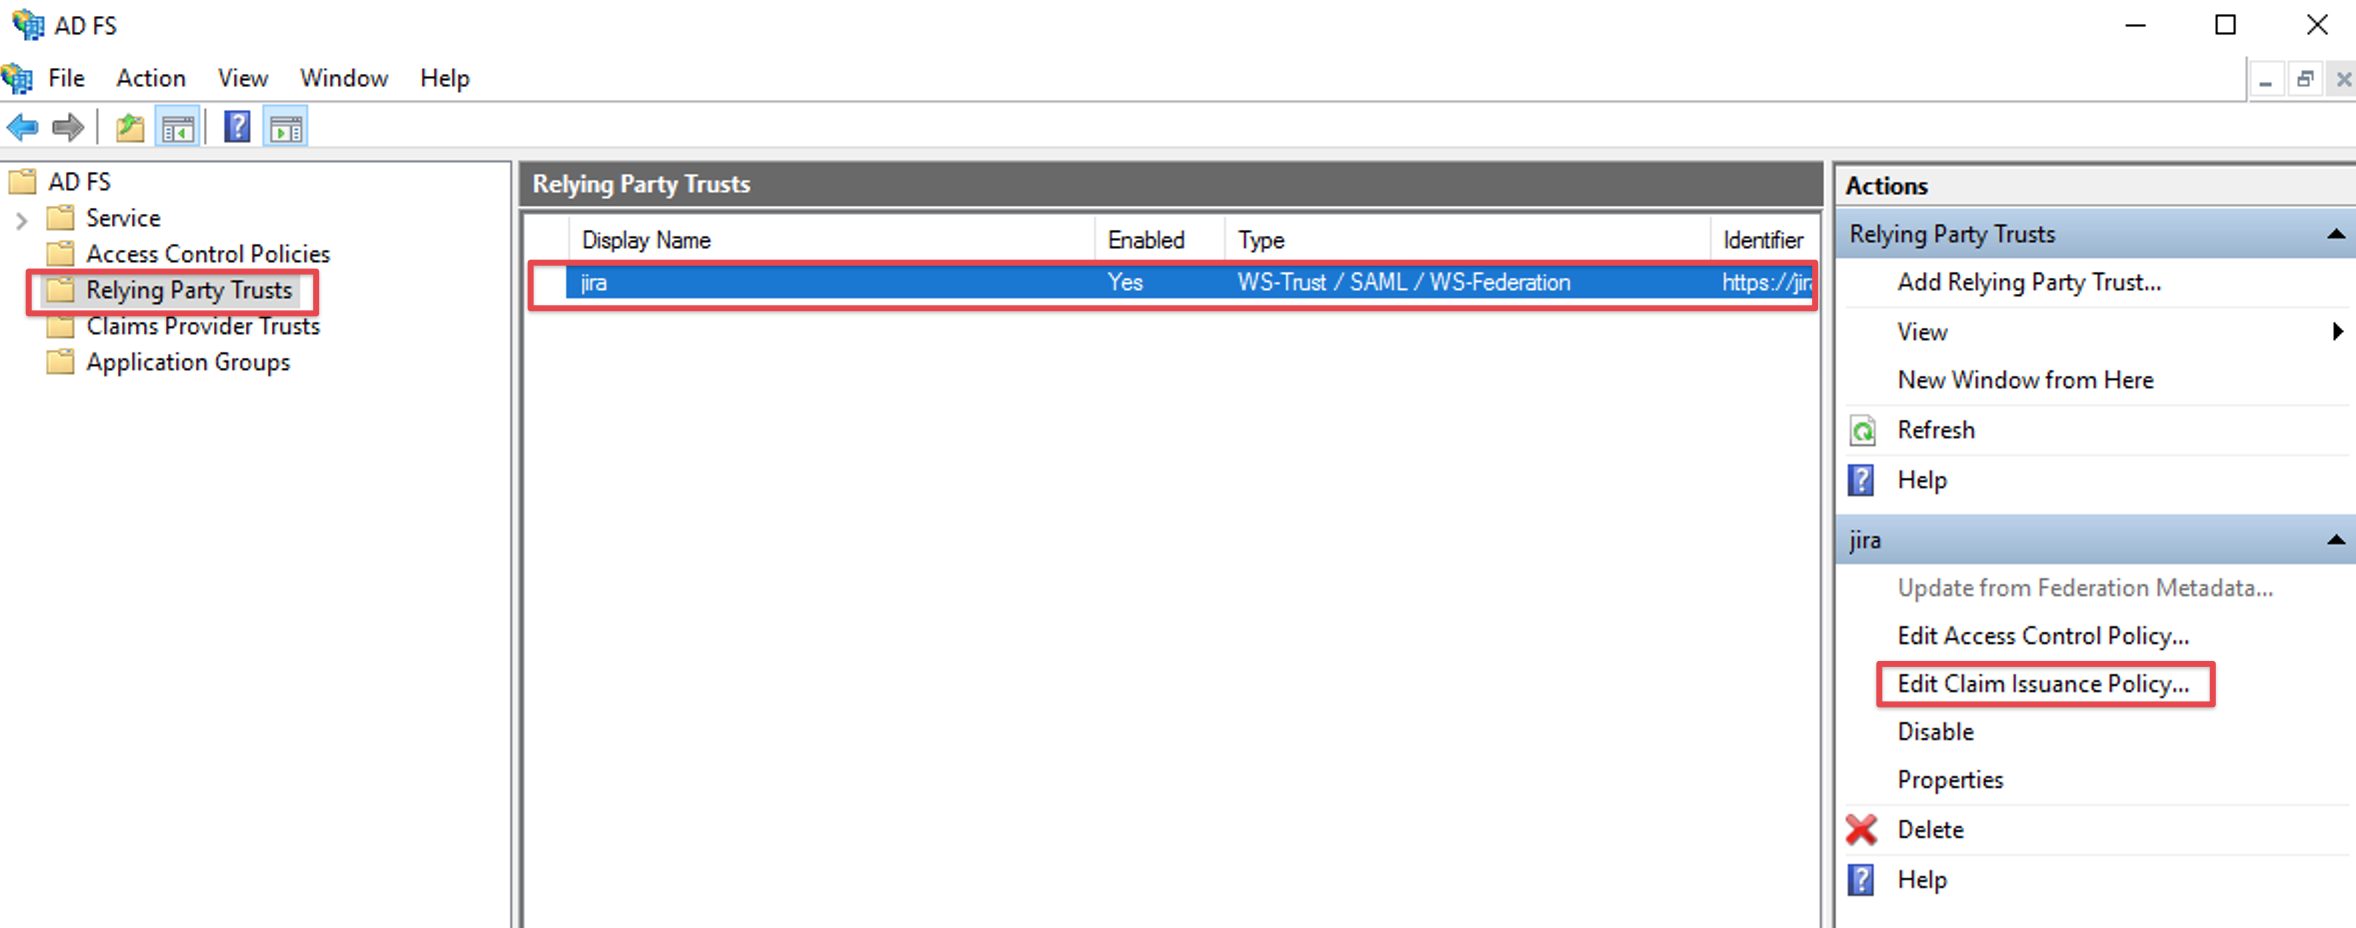
in your AD FS console's left hand panel, navigate to the Relying Party Trusts section and select the record for the instance you are using SAML SSO with
click on Edit Claim Issuance Policy
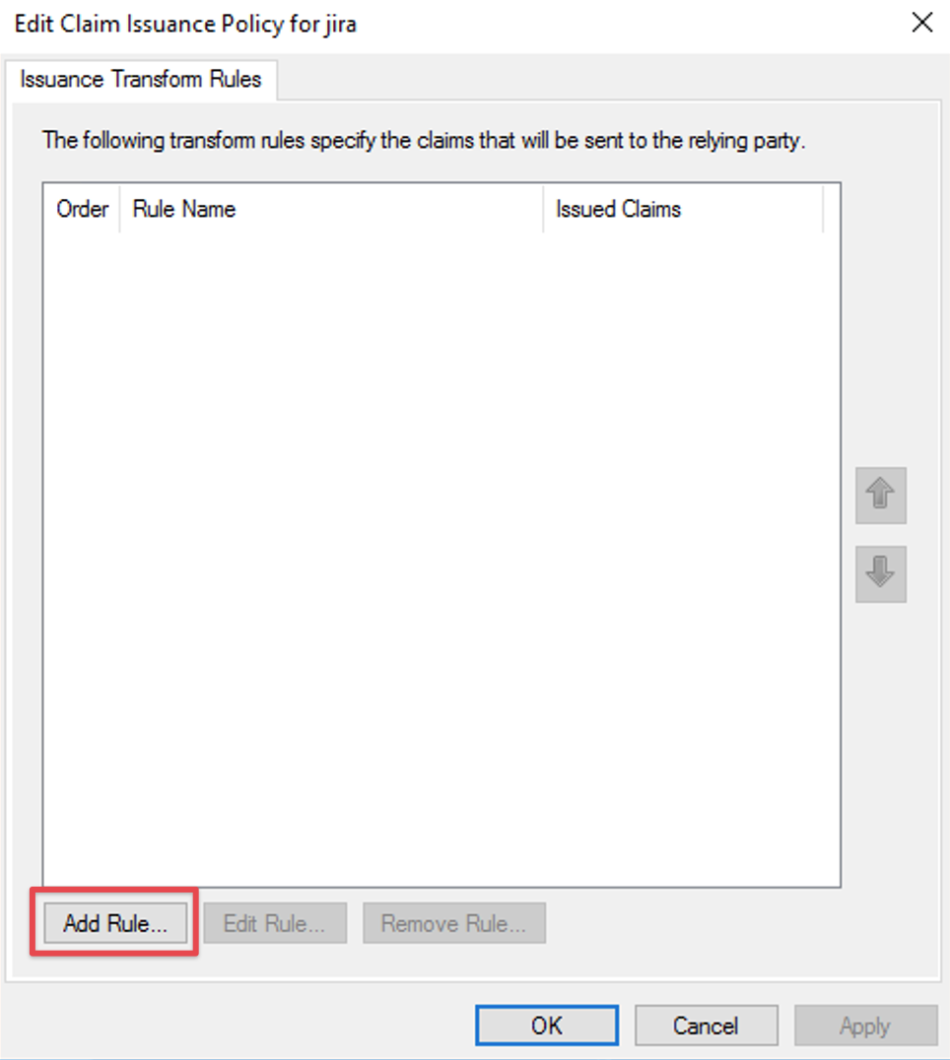
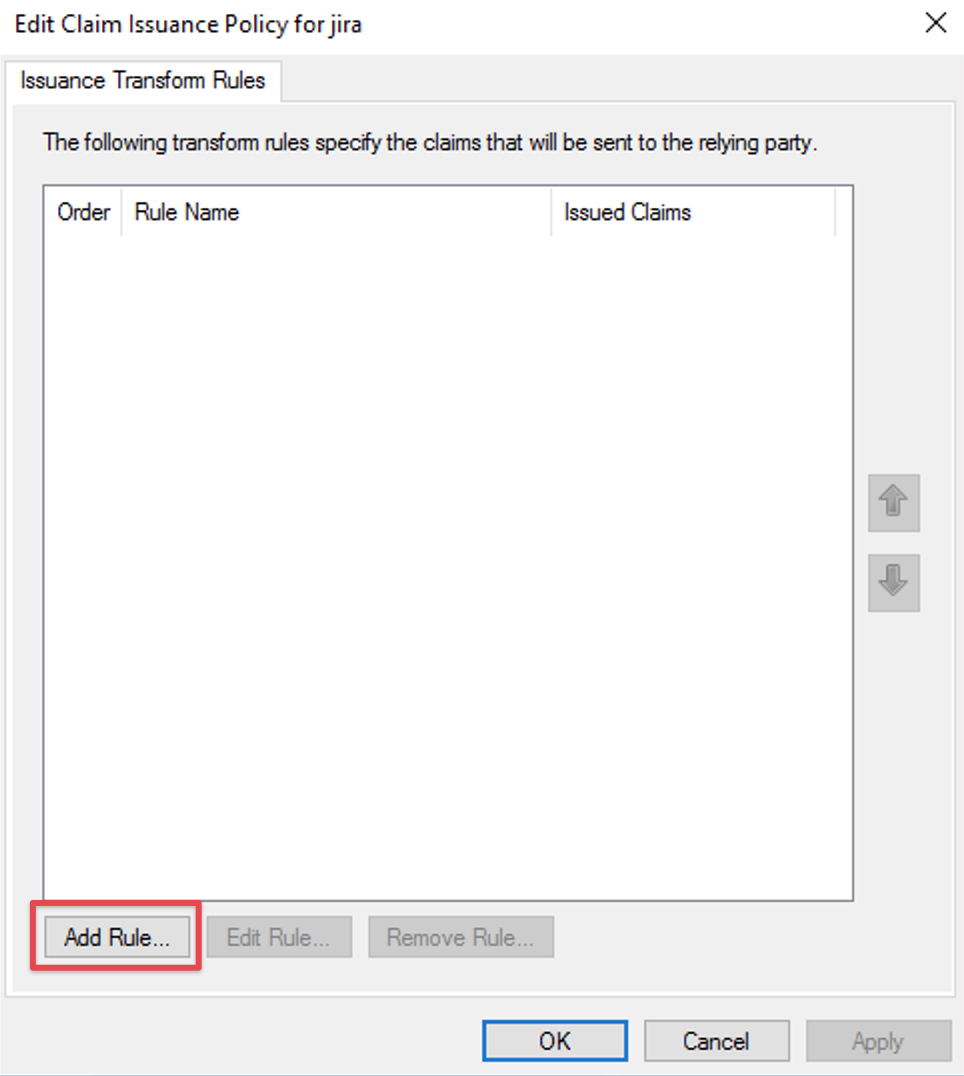
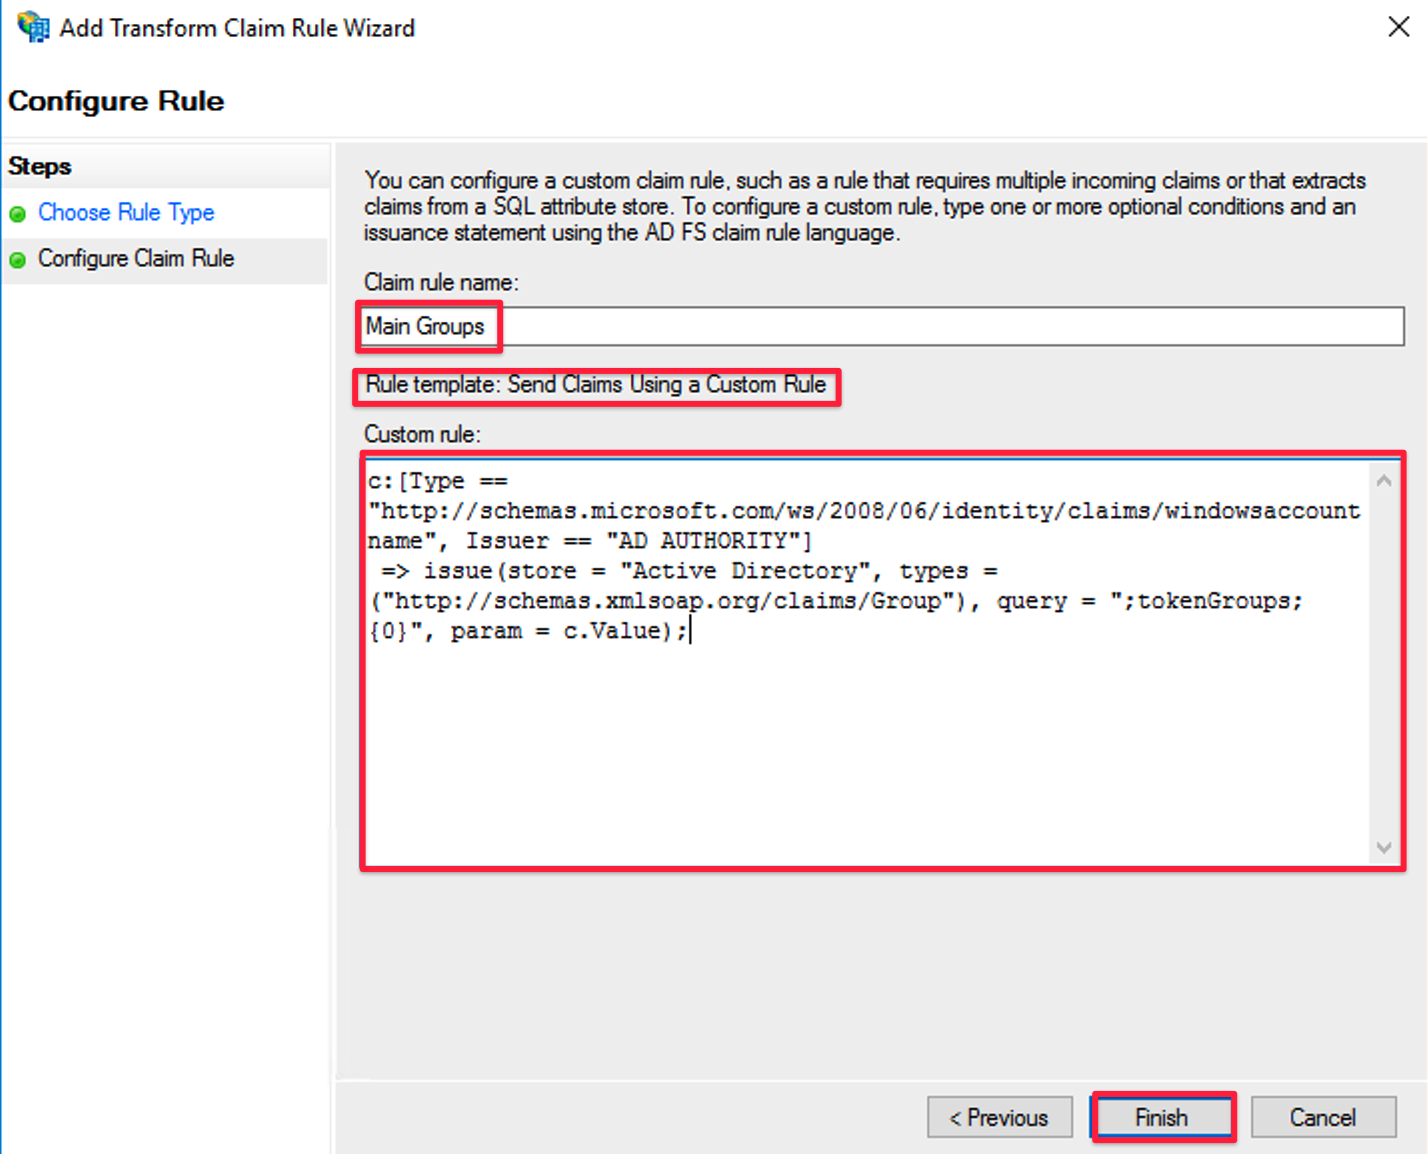
Click the Add Rule... button to open the Add Transform Claim Rule Wizard:
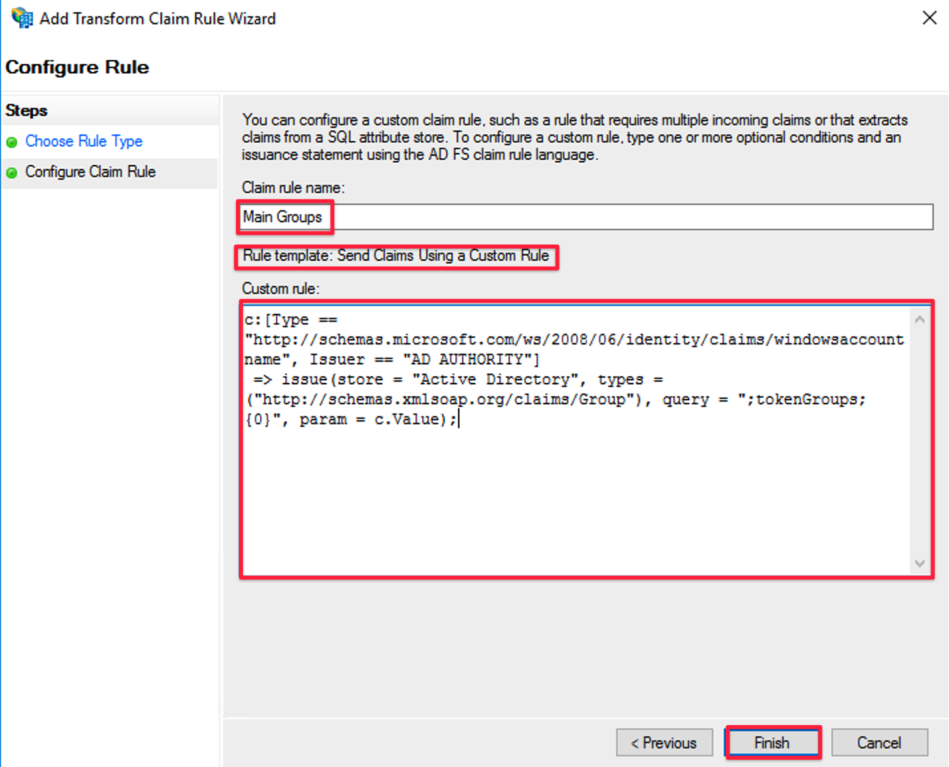
Select Send Claims Using a custom rule in the Claim rule template drop-down list.
Click Next.

Provide a Claim rule name of your choice
As custom rule, paste the following text
- c:[Type == "http://schemas.microsoft.com/ws/2008/06/identity/claims/windowsaccountname", Issuer == "AD AUTHORITY"]
- => issue(store = "Active Directory", types = ("http://schemas.xmlsoap.org/claims/Group"), query = ";tokenGroups;{0}", param = c.Value);
Click Finish to complete the Add Transform Claim Rule Wizard and then click OK to exit the claim rule editor
SAML SSO for Atlassian Data Center / Server configuration
In case you didn't set the following up already:
In order to let the SAML SSO app for Atlassian Server or Data Center read the groups from the SAML attribute sent by ADFS according to the new custom rule,
you need to make some changes in the Identity Providers section of the SAML SSO settings page for your AD FS identity provider:
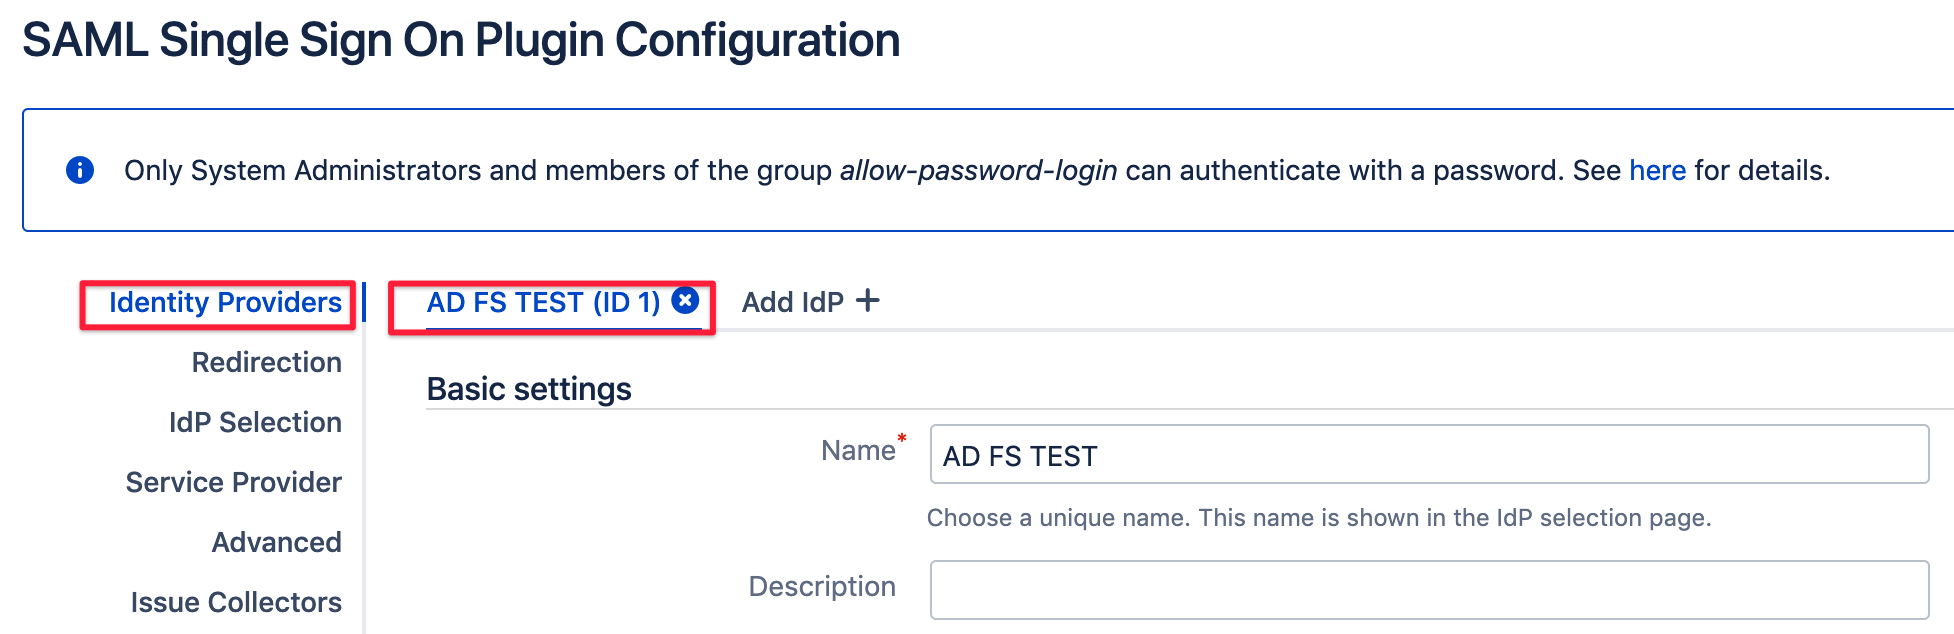
Scroll to User Creation and Update and select Update from SAML-Attributes as User Update Method

This will reveal another section called Group Settings which is part of what is commonly known as Just In-Time provisioning.
Choose Group as the Group Attribute from the select list:

You can of course also configure User Creation in the upper part of that configuration screen.
You can read more about it in the tutorial for setting up AD FS with Just In-Time provisioning