IdP Initiated SSO for Okta with OpenId Connect
Problem
Instead of using the URL of our Atlassian instance directly, we prefer to use IdP-initiated SSO starting from Okta. How can I achieve this for OpenId Connect?
Prerequistes
A finished Okta configuration - you can only activate this after you configured Okta in the first place.
Solution
OpenId Connect does not do IdP-initiated SSO like with SAML2 protocol. Instead, it simply redirects to a URL (the base URL of your Atlassian instance in) and the SAML SSO app does the standard login flow. In case of multiple SSO configurations, the configured IDP selection method will be used.
To set up IdP-iniated SSO with OpenId Connect for Okta, please follow these steps:
Go to your Okta admin console and log in with your credentials.
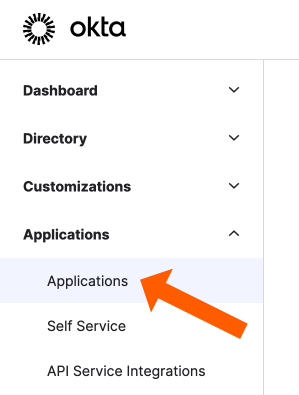
Click Applications in the left panel, and click Applications in the expanded list.
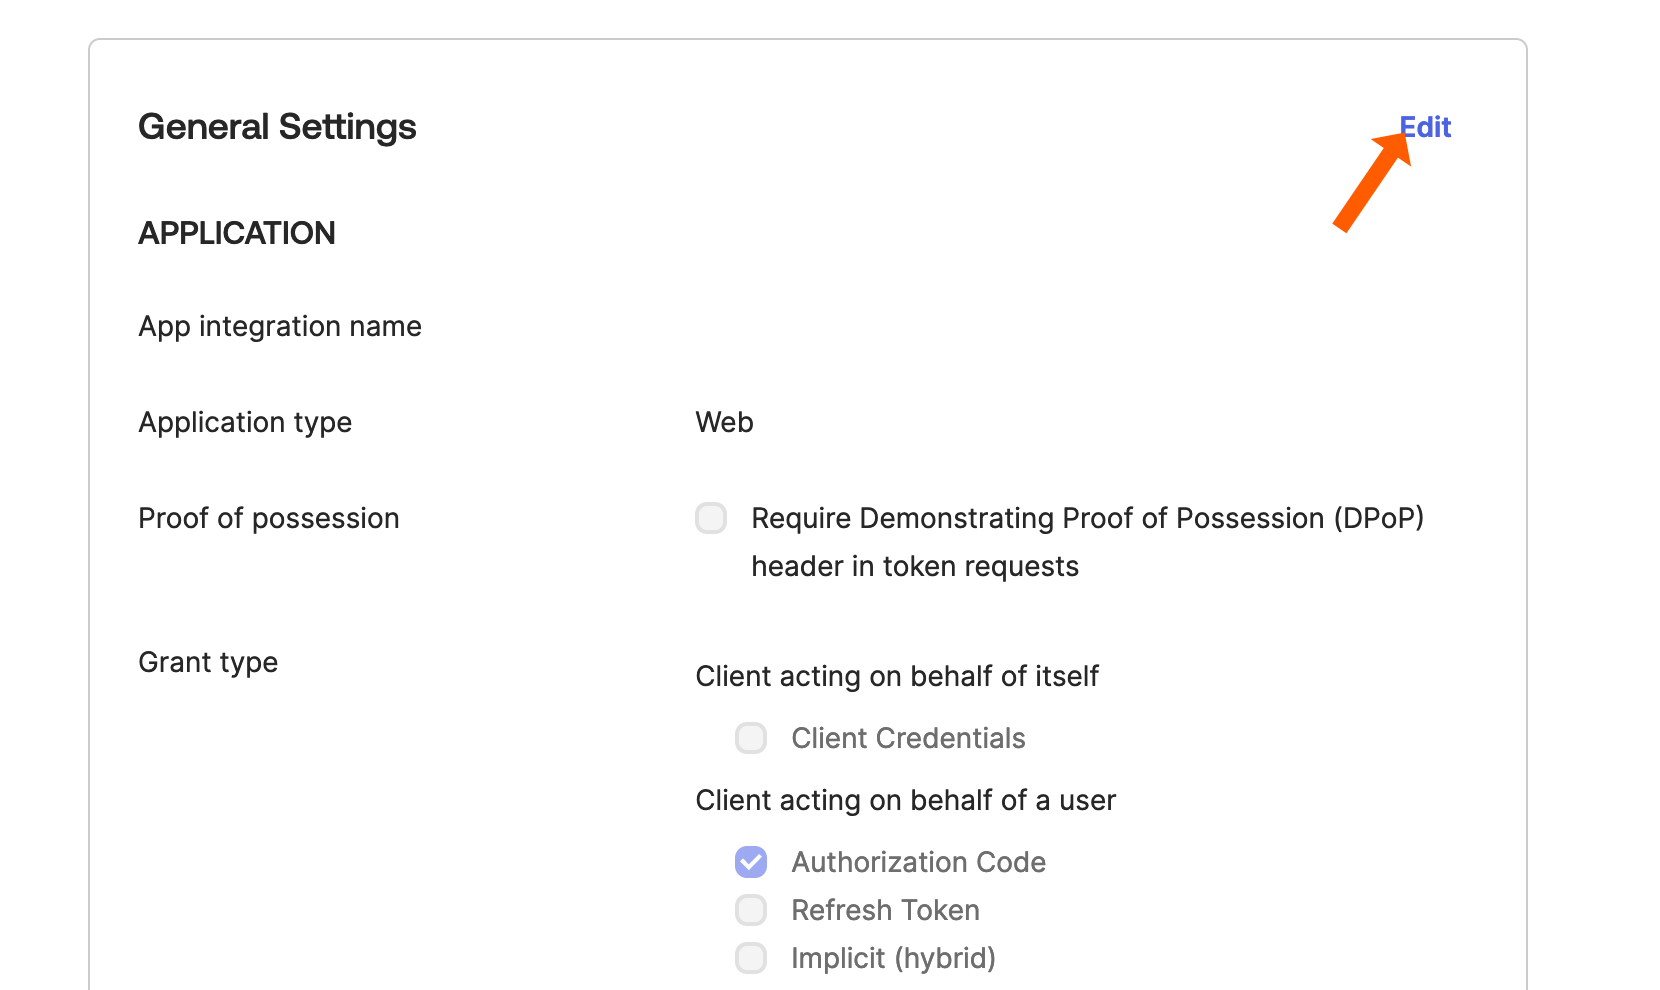
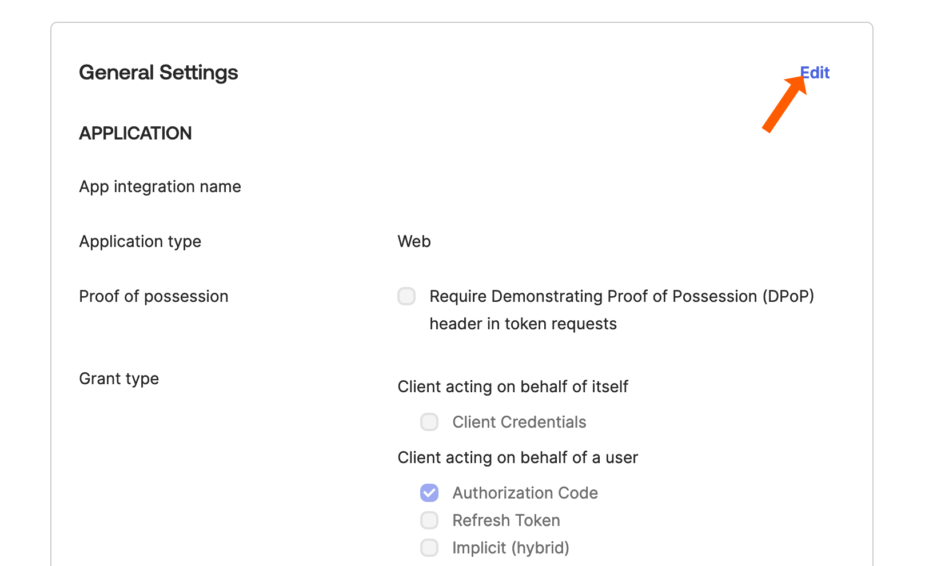
Search for the application you have created during the setup. Click Edit in the General Settings paragraph.
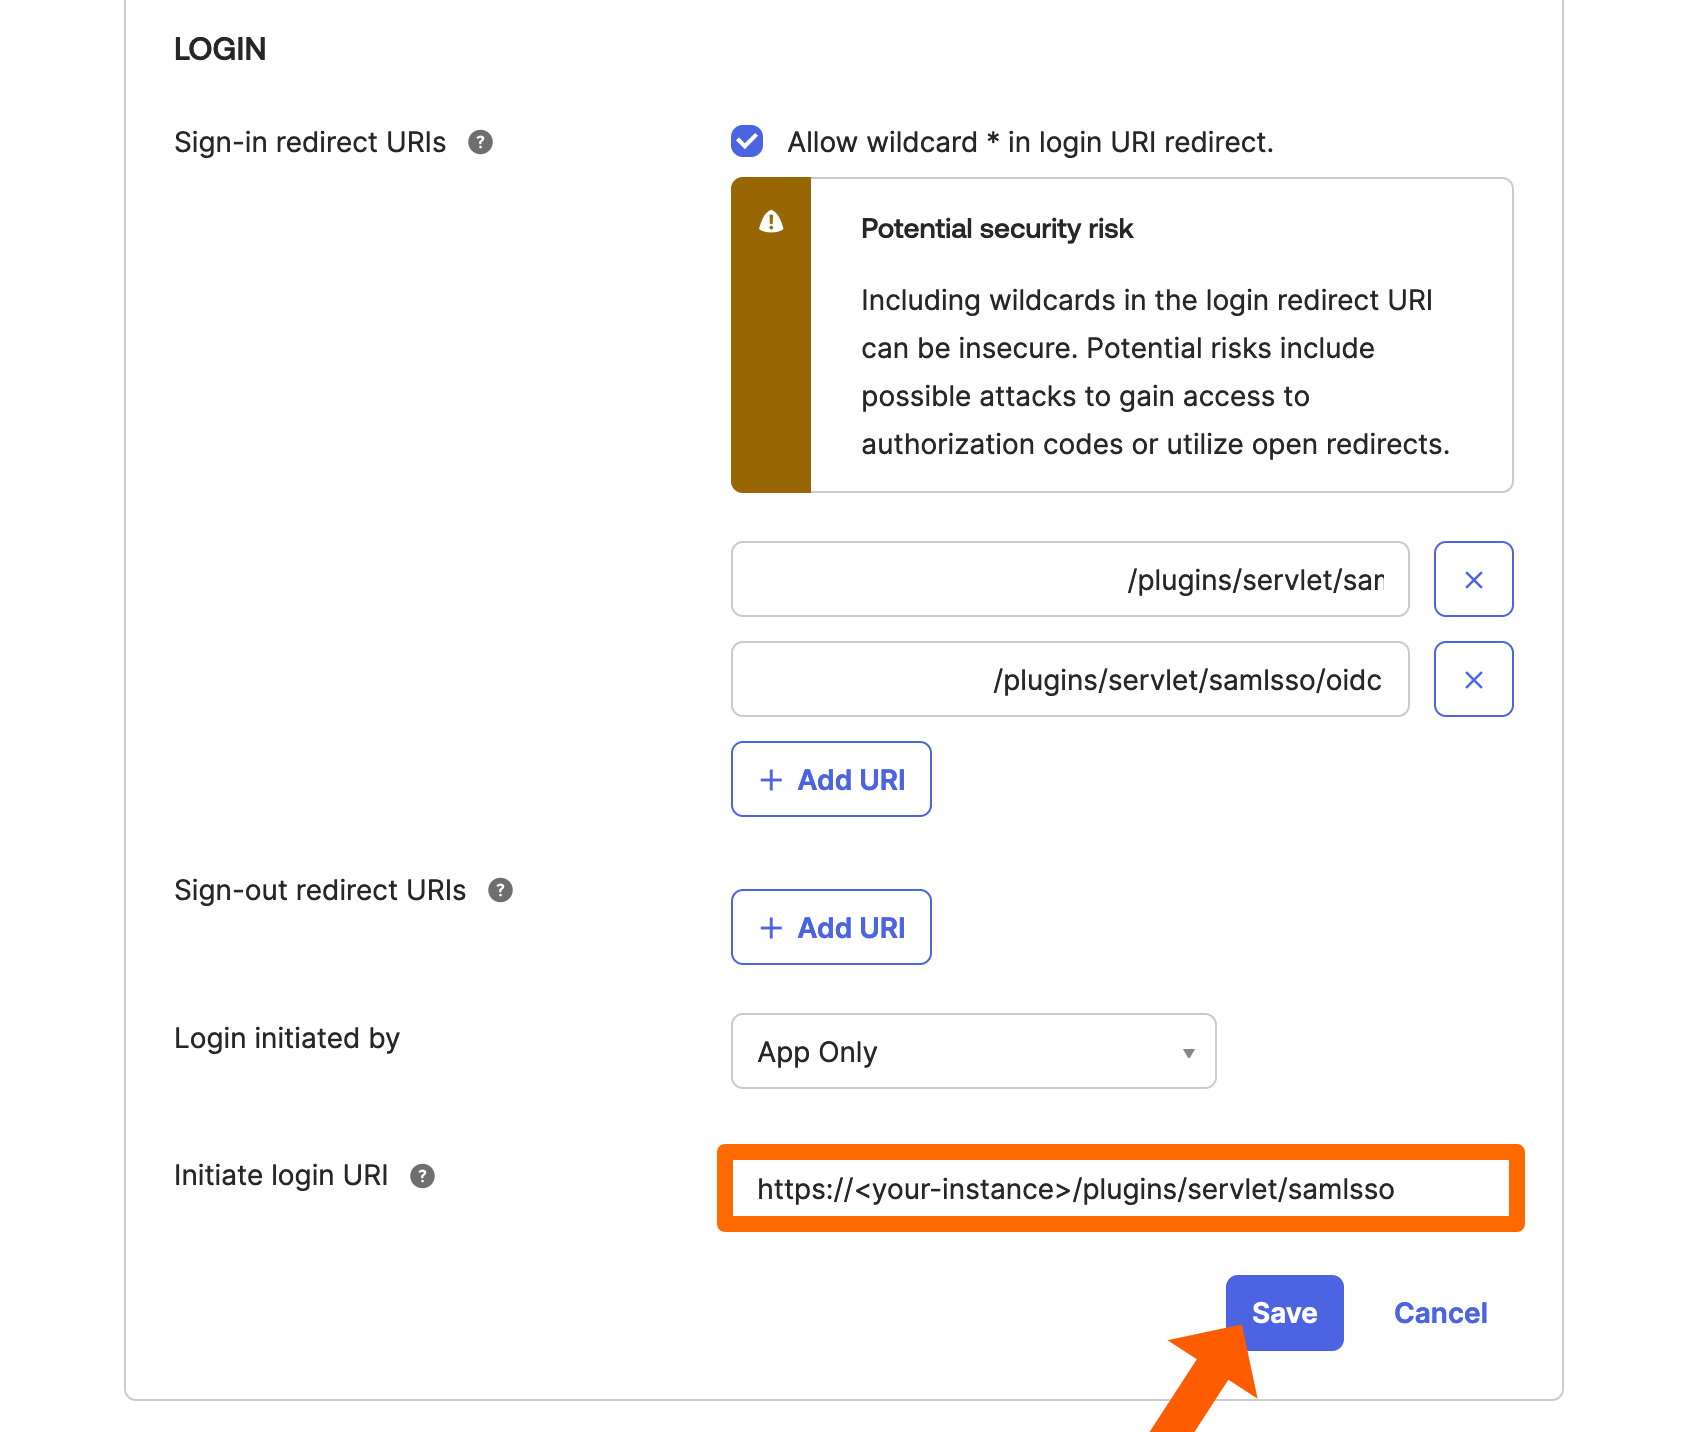
Scroll down to Initiate Login URI. Add https://<your-instance-url>/plugins/servlet/samlsso to the field.
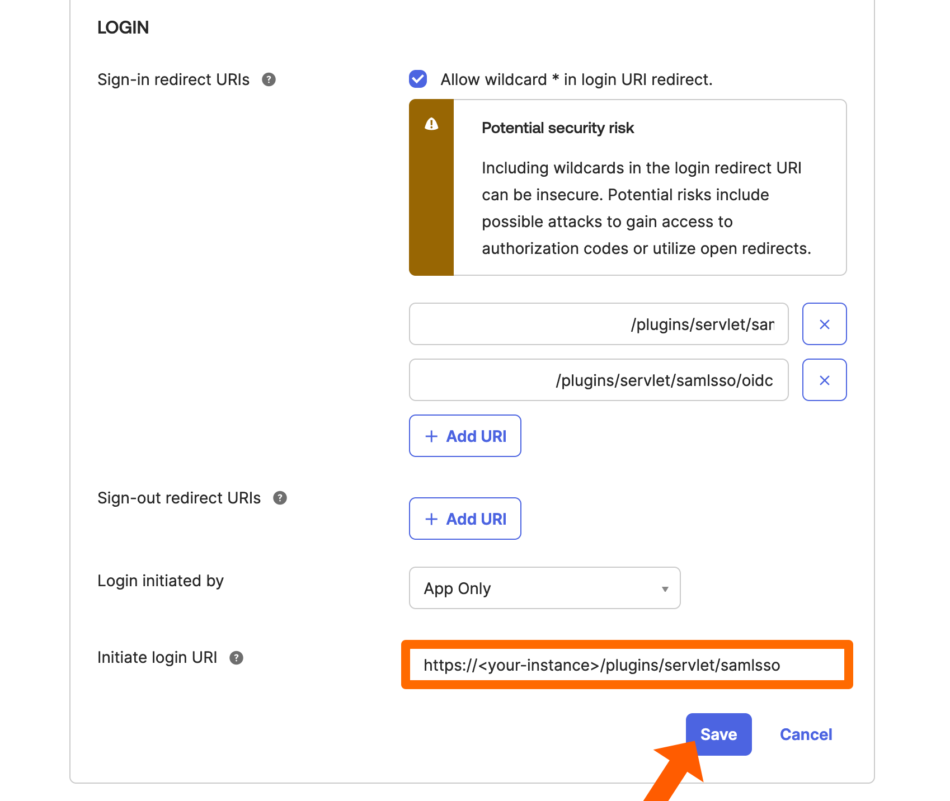
Save the configuration.

