
Getting Started
Install NASA, create your first meeting stream, and run your first meeting.
Before you begin
NASA must be installed on your Jira Cloud instance by a Jira administrator. You need an active Jira Cloud account with the NASA Standup App Use Permission.
Installation
In Jira, go to Apps → Explore more apps (or open the Atlassian Marketplace listing).
Search for NASA – Not Another Standup App.
Click Get app or Free trial.
Confirm the requested permissions and complete the installation.
You need Site Admin privileges to install Marketplace apps.
Post-Installation Checks
Verify the app – Open Apps in the Jira top bar. The NASA icon should be visible.
Check permissions – If access is restricted by user group, verify your team is included.
Create a test stream – Add one or two teammates to confirm everything works.
Create Your First Stream
Open NASA from the Jira Apps menu, then click Add New Stream. The setup wizard guides you through six steps.
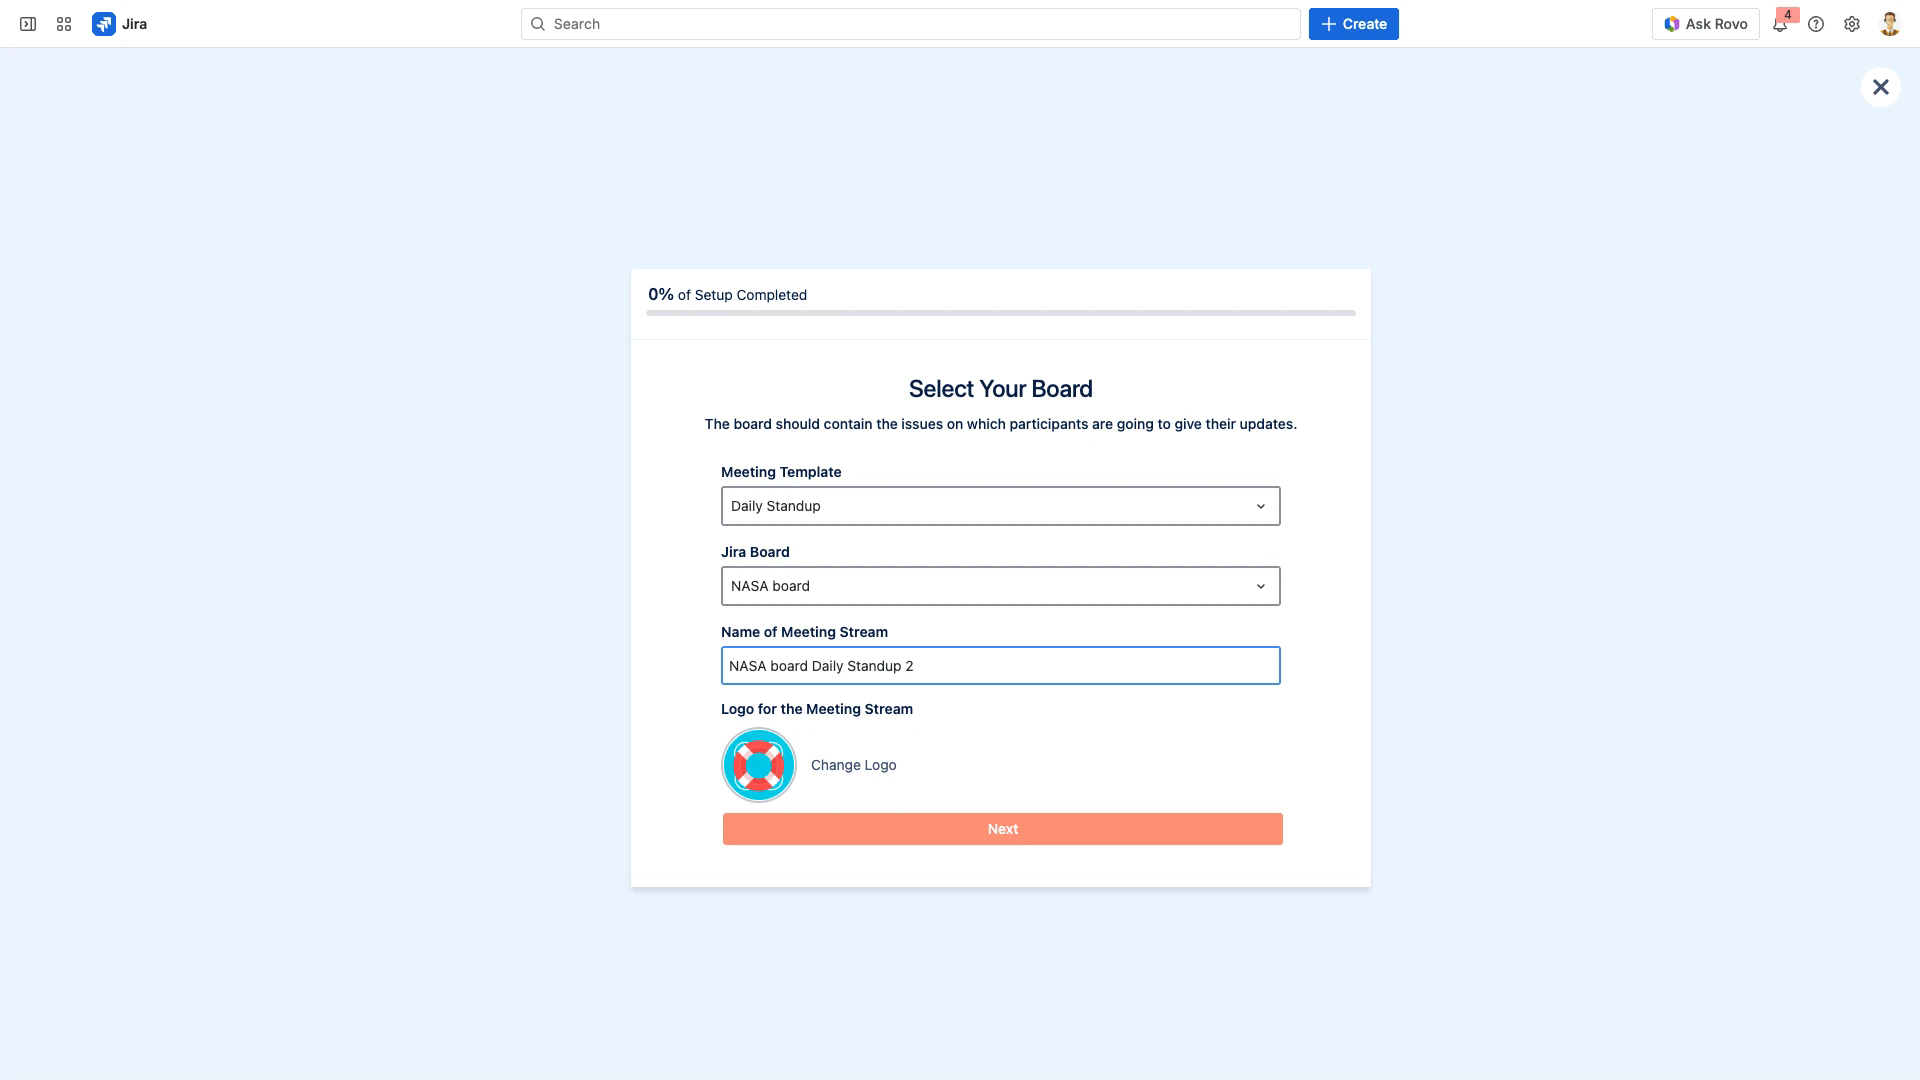
Step 1 – Select Board and Template
Choose a Meeting Template from the dropdown. Each template pre-configures questions, meeting type, and recommended durations.
Template | Description |
|---|---|
Blank Team Meeting | Custom questions and durations for each agenda item |
Daily Standup | Short daily check-in to share updates and remove blockers |
Strategic Planning | Analyse project progress and define strategic next steps |
One-on-One | Private discussion to review progress and challenges |
Release Planning | Define release goals, features, timelines, and risks |
Project Kickoff | Establish objectives, roles, and timelines for a new project |
Sprint Retrospective | Reflect on the sprint: what went well, what to improve |
Sprint Planning | Define sprint goals, tasks, and priorities |
Sprint Review | Demo completed work and collect stakeholder feedback |
Backlog Refinement | Prioritize and clarify backlog items for sprint readiness |
Brainstorming | Generate creative ideas and solutions collaboratively |
Tip
Not sure which template to pick? Start with Daily Standup for regular team sync-ups. See Meeting Templates for a full comparison.
Select a Jira Board to connect your stream. The stream name is auto-generated from the template and board – edit it if you want a custom name. Optionally, click Change Logo to upload a stream icon.
Board selection tips
The dropdown shows boards accessible to the current user.
The board determines which Jira issues appear in the app.
Team members from the board's project(s) are prepopulated as participants.
For Jira Service Management projects, use a Kanban board stored in a Jira Software project.
Click Next to continue.
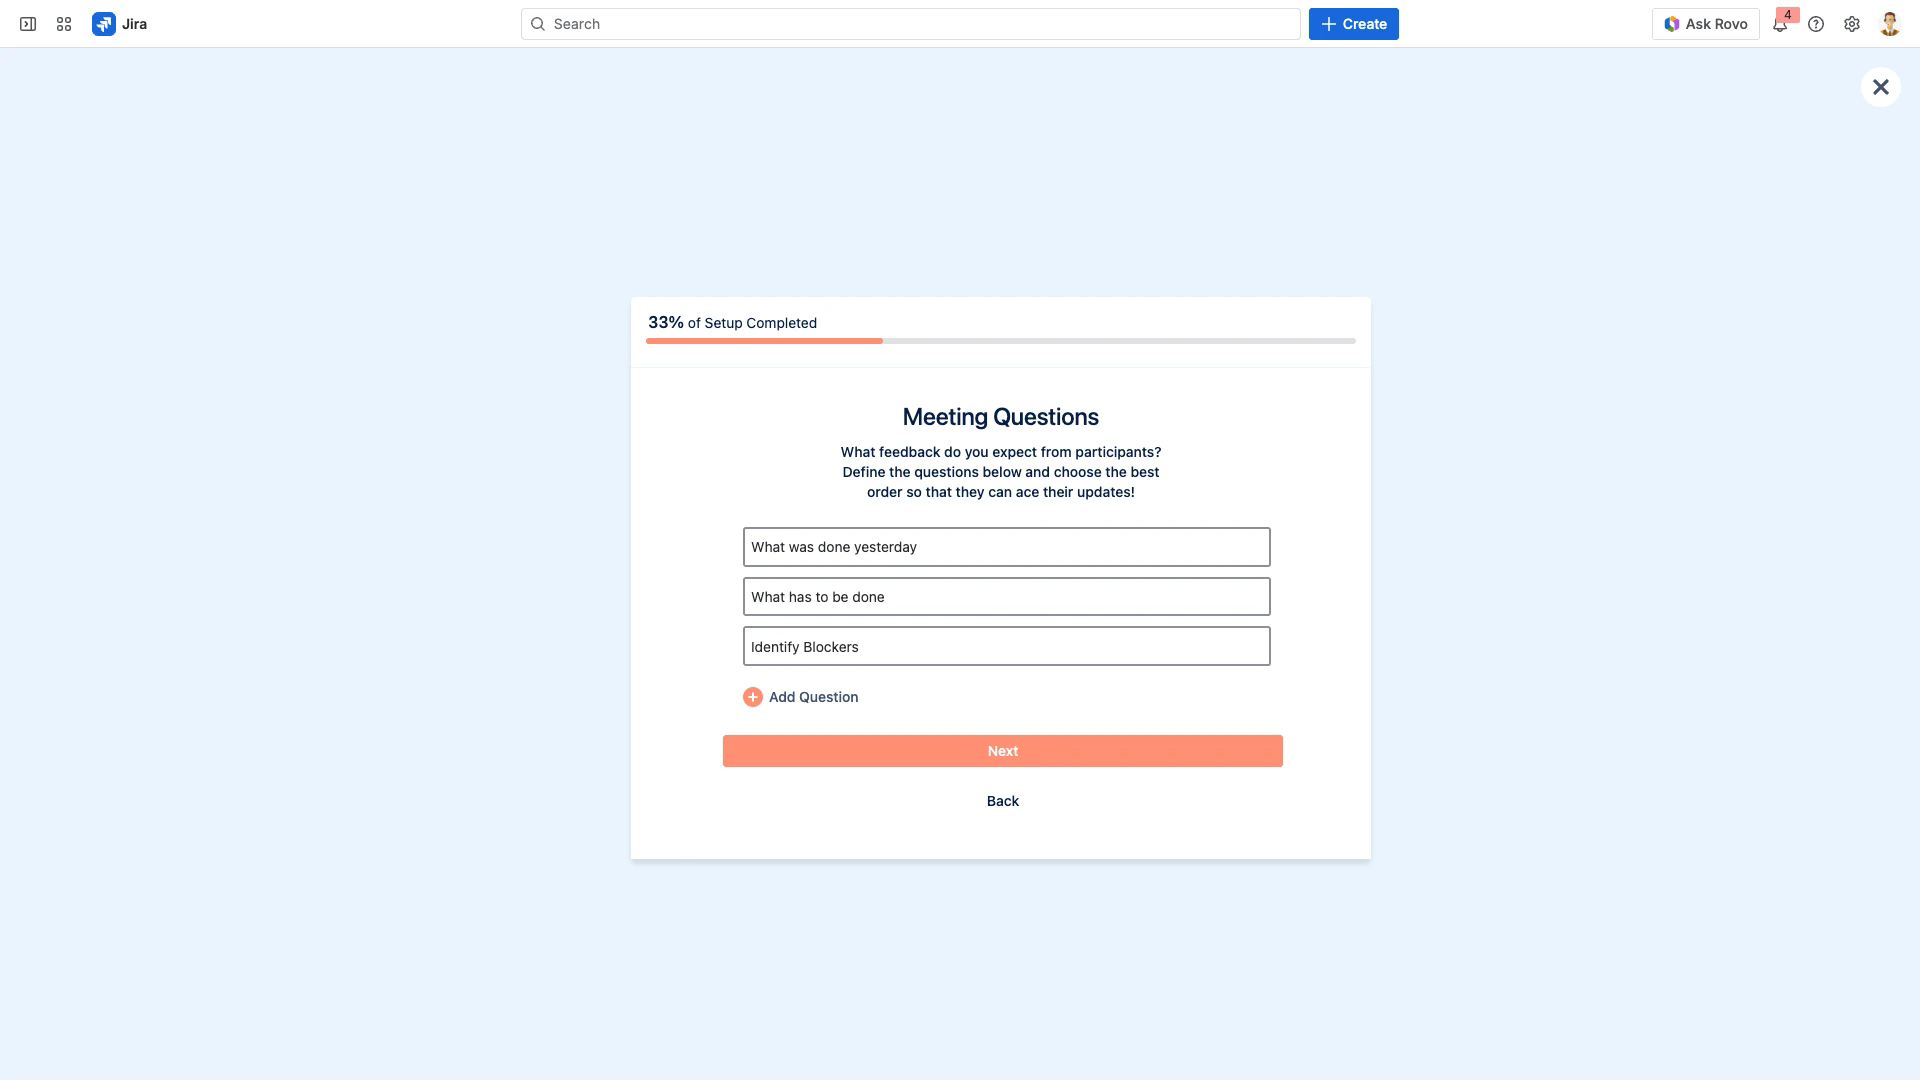
Step 2 – Meeting Questions
The template pre-fills questions for your meeting type. For example, a Daily Standup includes “What was done yesterday”, “What has to be done”, and “Identify Blockers”.
You can edit, delete, reorder, or add questions. Click Next when done.
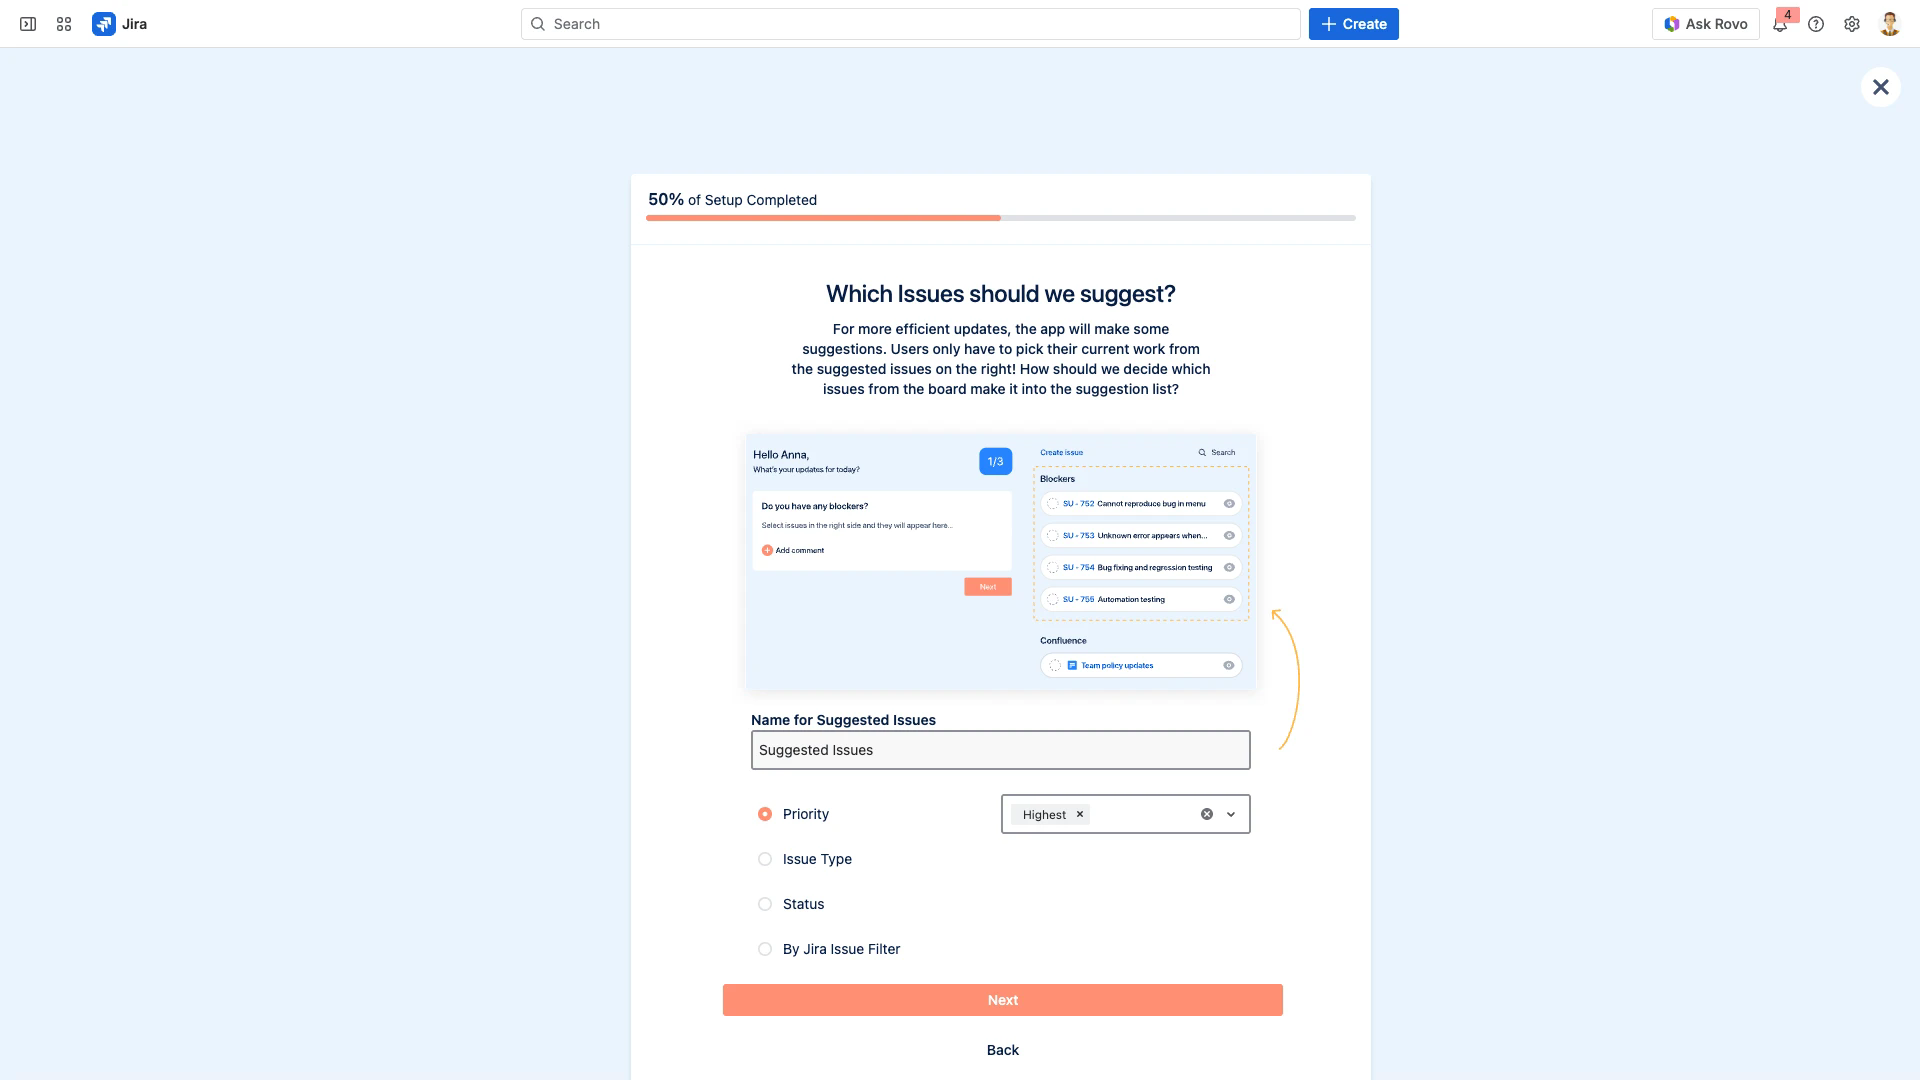
Step 3 – Suggested Issues
Configure which Jira issues the app suggests to participants during preparation. Filter by:
Priority – e.g. only Highest
Issue Type – e.g. only Tasks
Status – e.g. only In Progress
Jira Issue Filter – use a saved JQL filter
For details on each filter type, see Suggested Jira Issue Selection.
Click Next to continue.
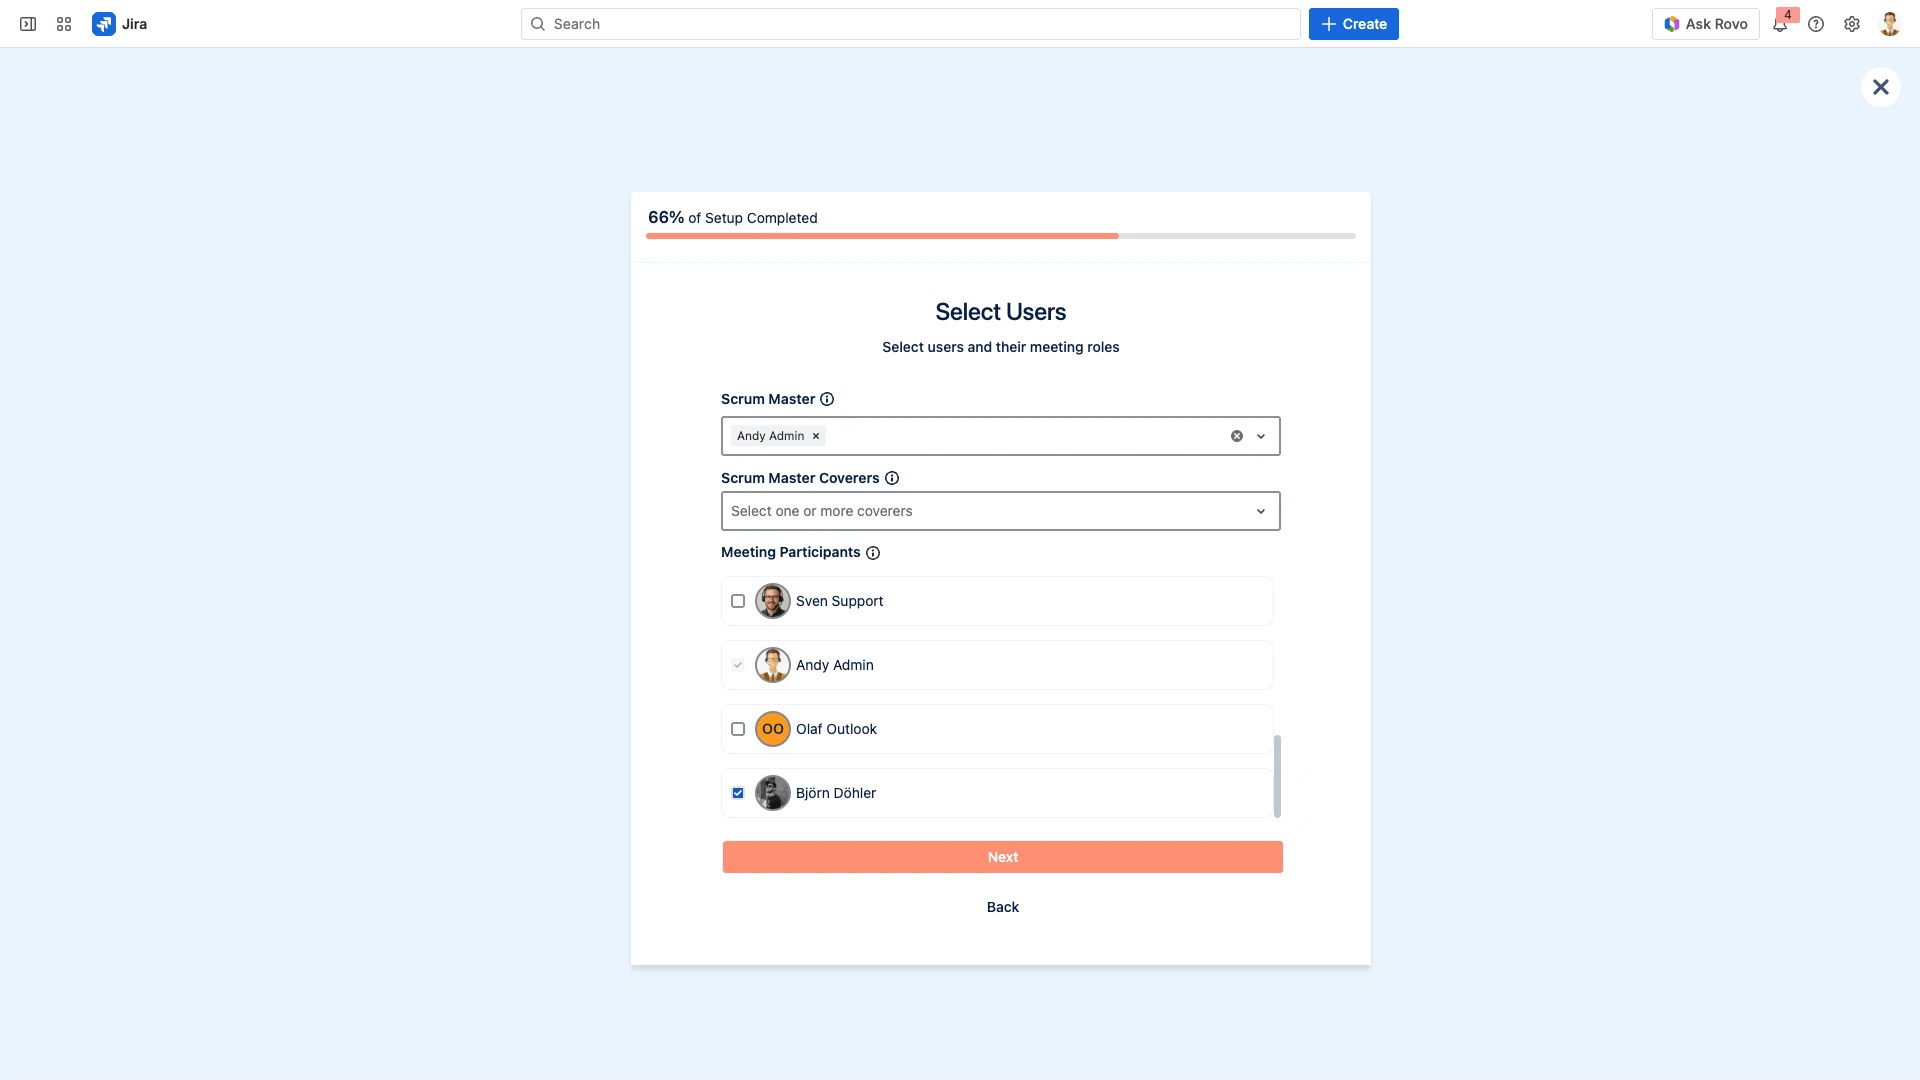
Step 4 – Users and Roles
Assign meeting roles:
Scrum Master – leads the meeting, starts/ends sessions. Defaults to the stream creator.
Coverer – backup with the same live-meeting rights as the Scrum Master.
Participants – check the boxes next to team members to add them.
Click Next to continue.
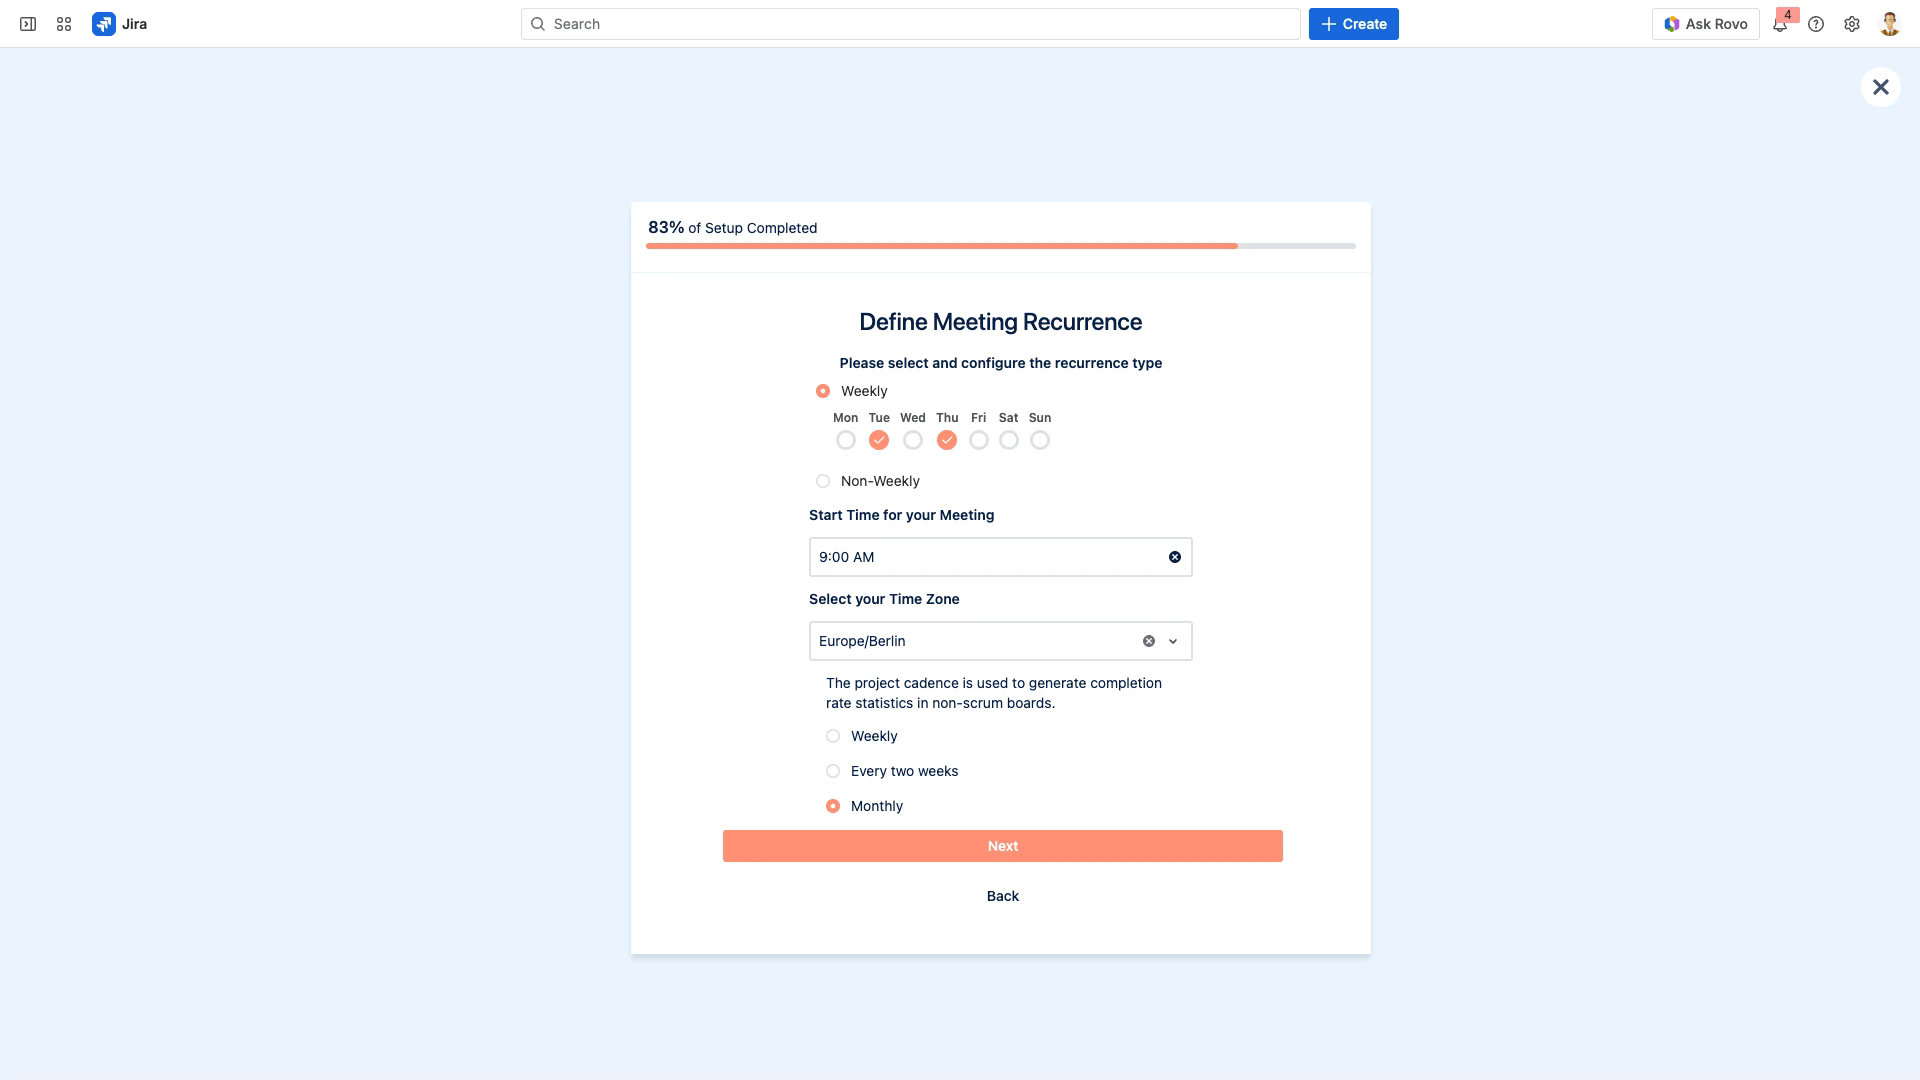
Step 5 – Schedule
Set the meeting recurrence:
Weekly – select which days of the week.
Non-Weekly – set a custom interval (e.g. every 2 weeks).
Choose a Start Time and Time Zone. For non-Scrum boards, select a Project Cadence (Weekly, Every two weeks, or Monthly) – this drives completion rate statistics. Scrum boards use the sprint length automatically.
Click Next to continue.
Step 6 – Duration
Choose how the meeting timer works:
Total Length – fixed duration for the entire meeting (e.g. 15 minutes for standups).
Time per Participant – allocate time per person (e.g. 2 minutes each).
Click Finish to create your stream.
Run Your First Meeting
Prepare – Each participant opens My Update before the meeting, adds relevant Jira issues and text items, and answers the configured questions.
Meet – The Scrum Master starts the meeting from the lobby. Each participant shares their update in turn. Flag important items for follow-up.
Review – After the meeting, open the Team Journal to see the complete record and follow up on flagged items.
Next Steps
Core Concepts & Navigation – learn about streams, user roles, and the NASA interface
Jira Administrator Guide – manage global permissions, app configuration, and Jira-level settings
Meeting Templates – all 11 templates and customization options
Meeting Settings – fine-tune schedule, notifications, filters, and automations
Features – Planning Poker, Context Fields, Post-Meeting Automation, and more
User Guides by Role – role-specific guidance for Scrum Masters and Participants