
Data Sources
NASA connects to Confluence to support two capabilities: adding Confluence pages as agenda items, and exporting Team Journal entries. The connection is established once at the site level, then configured per stream in Settings.
Connect Confluence
Confluence connects automatically using Atlassian's Multi-app compatibility support. There is no separate authorization step inside NASA.
Connecting Confluence enables two capabilities for the stream:
Confluence pages as agenda items - participants can add Confluence pages to their updates during meeting preparation.
Team Journal export - export meeting journals to Confluence pages, either manually or automatically.
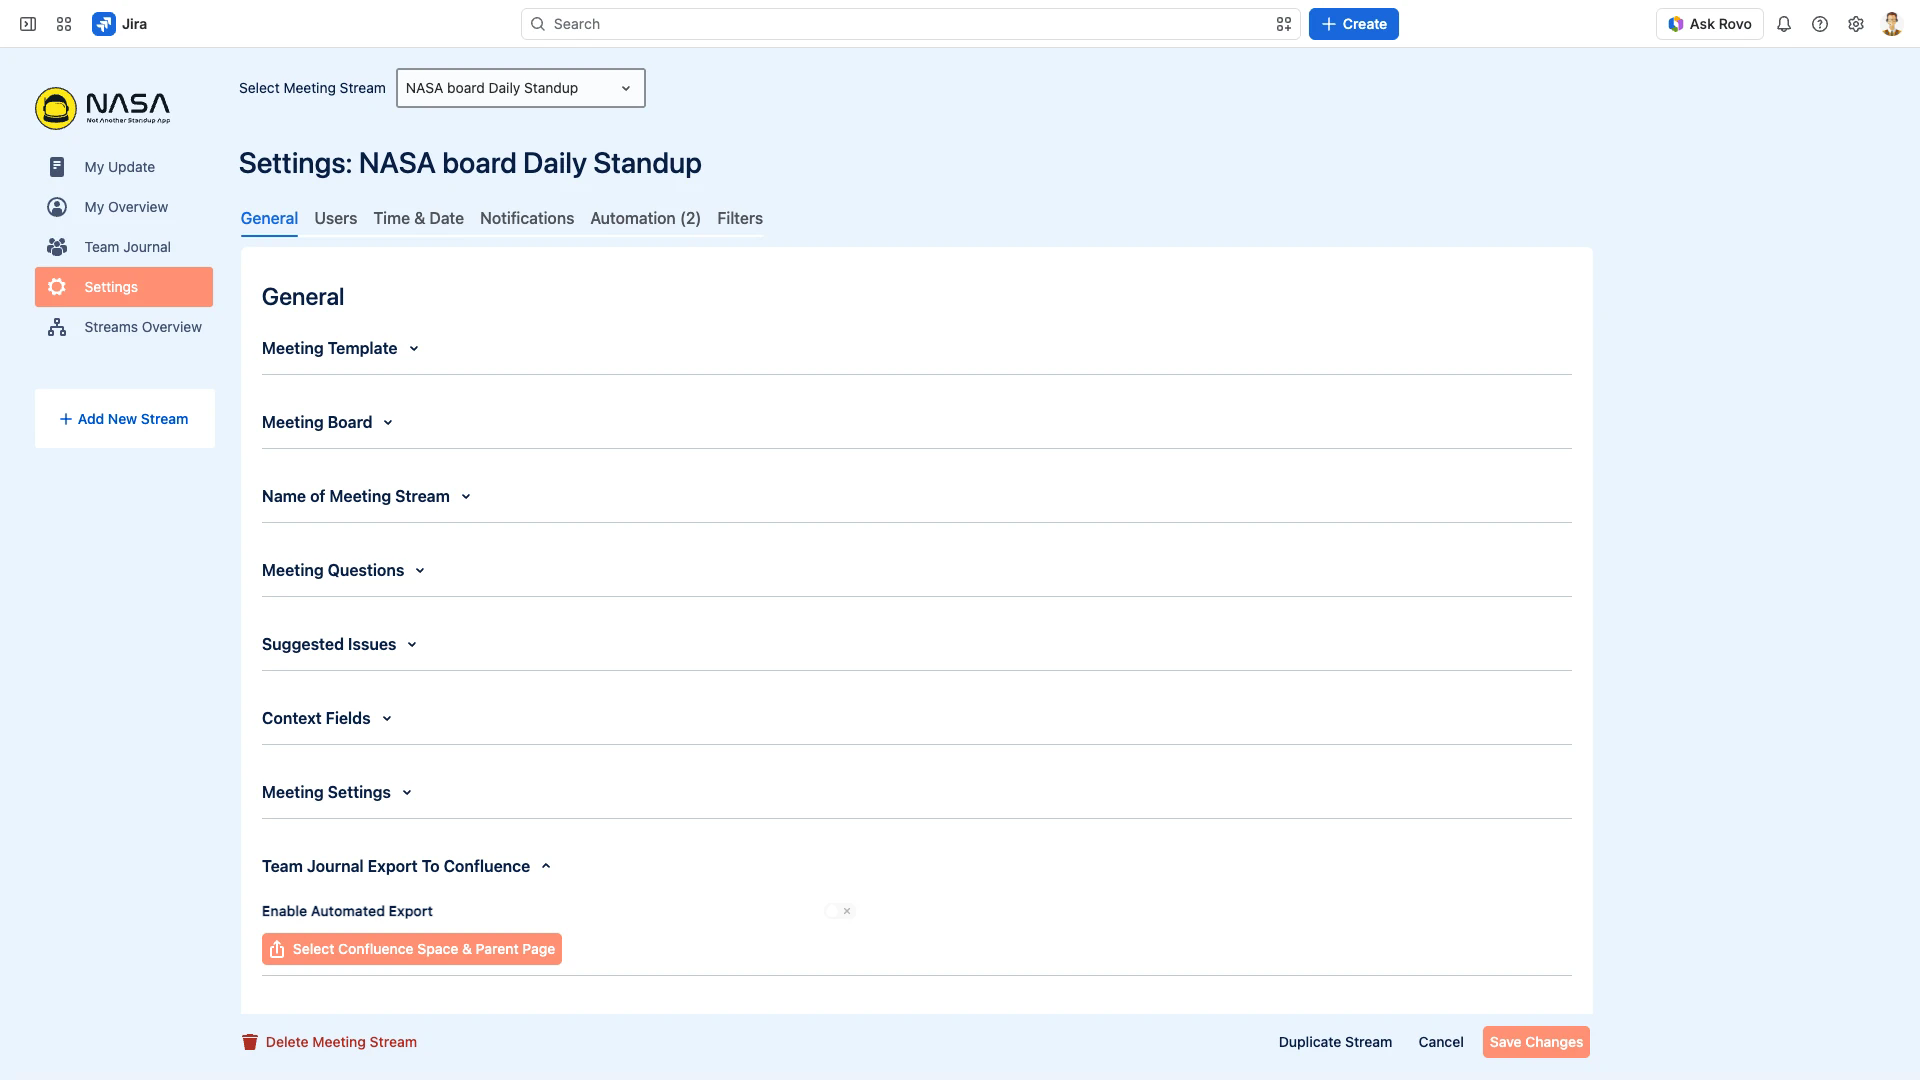
To configure the export destination for a stream:
Open Settings > General for the stream.
Expand Team Journal Export To Confluence.
Click Select Confluence Space & Parent Page and choose the destination.
Toggle Enable Automated Export to export after every meeting, or leave it off to export manually from Team Journal.
Permissions
The Confluence connection uses your Atlassian account permissions. Users can only add pages they have access to in Confluence.
If the Confluence Controls Are Greyed Out
The Select Confluence Space & Parent Page control stays disabled until Confluence is connected at the site level. A site admin can check and connect it:
Go to Atlassian Administration for the site.
Open Connected apps and select the NASA app.
Open the Connections tab.
Confirm Confluence shows Connected. If not, click Connect.
Disconnect
To remove the Confluence connection, a site admin clicks Disconnect next to Confluence on the same Connections tab. Existing Confluence-based filters will stop returning results until the connection is re-established.
NASA connects to the Confluence product on the same Atlassian site as Jira. Connecting a Confluence instance on a different site is not supported.
Remember to save
Click Save Changes at the bottom of the page after modifying any settings. Unsaved changes are lost when navigating away.
Related Pages
General - configure Team Journal export to Confluence
Filters - create Confluence page filters for meeting preparation
Team Journal - view and export meeting records
Preparation Features - add Confluence pages as agenda items